First one – finished 9/3/21
#2 finished 9/21/21 55×39 inches
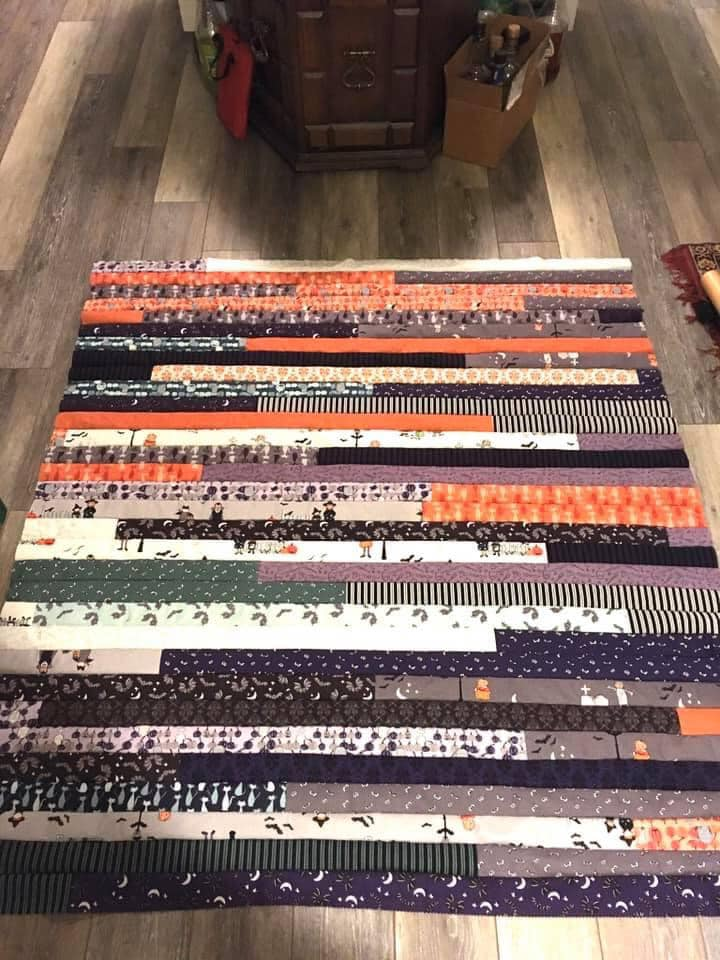
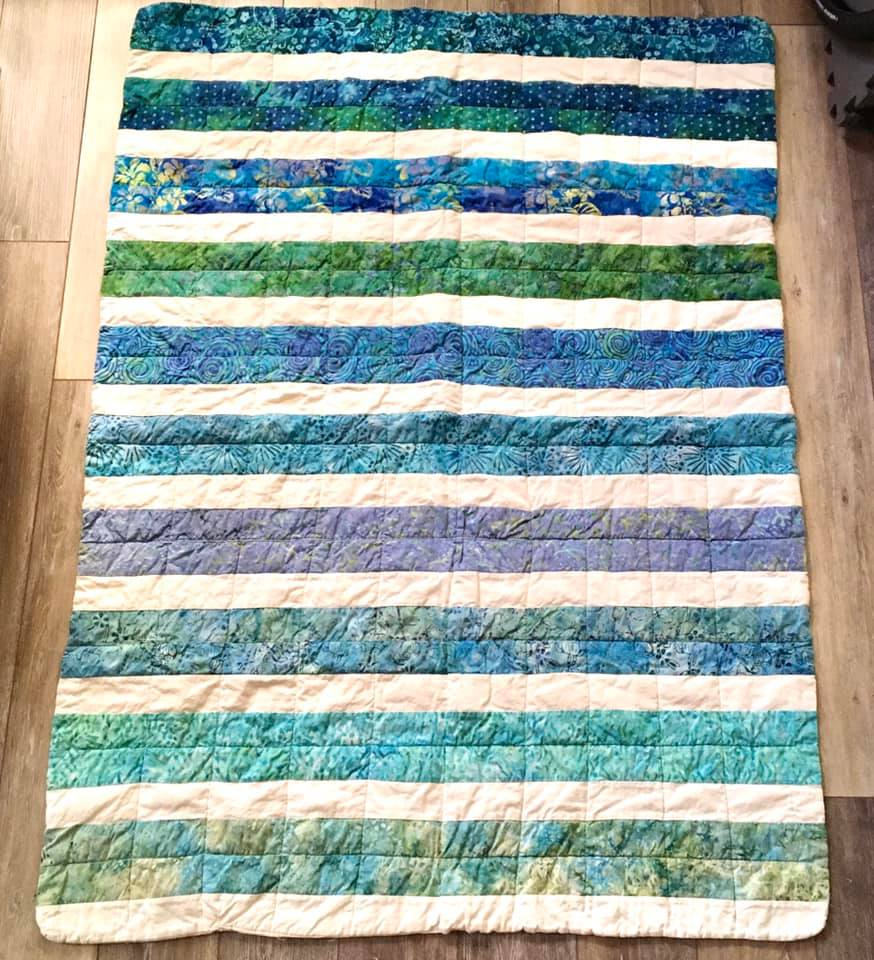
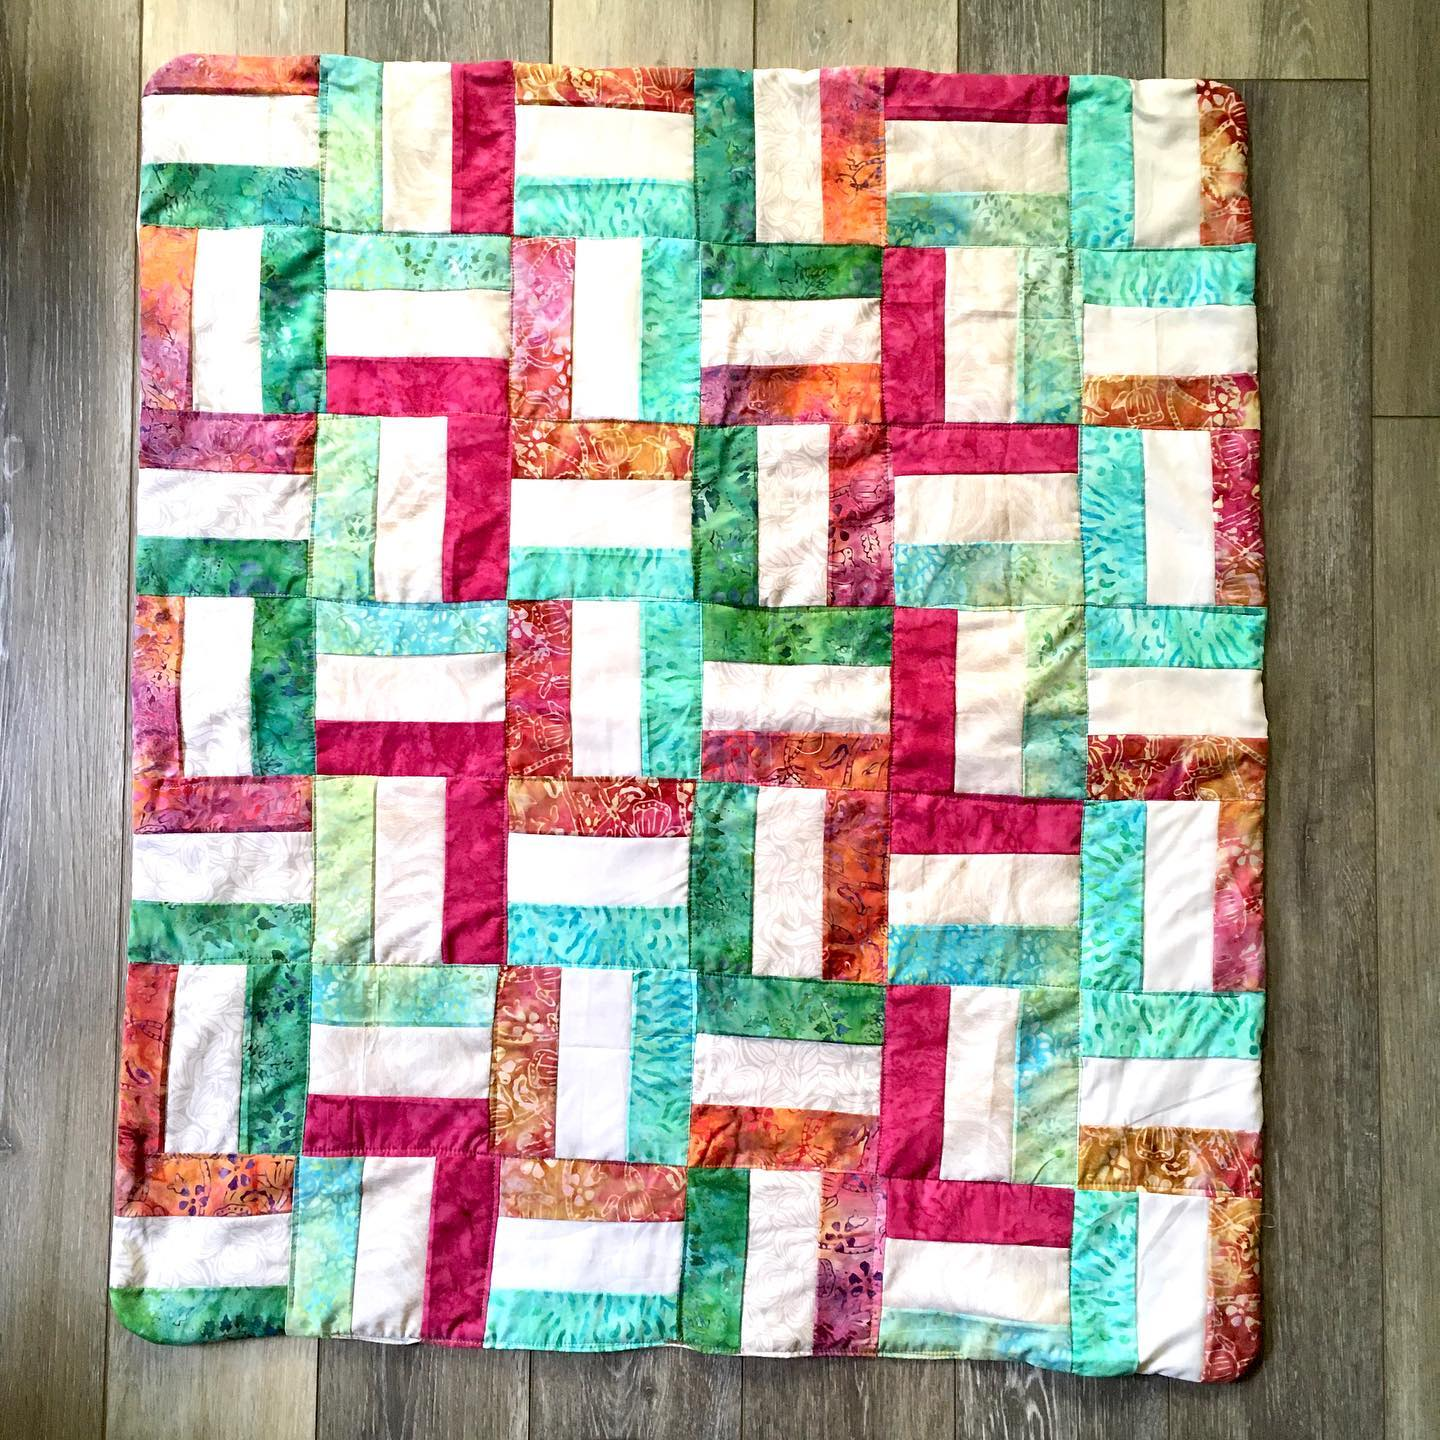
#3 finished 9-27-21 given away 6/8/23 A “jellyroll race” quilt with Halloween fabric
#4 Finished 10/11/21
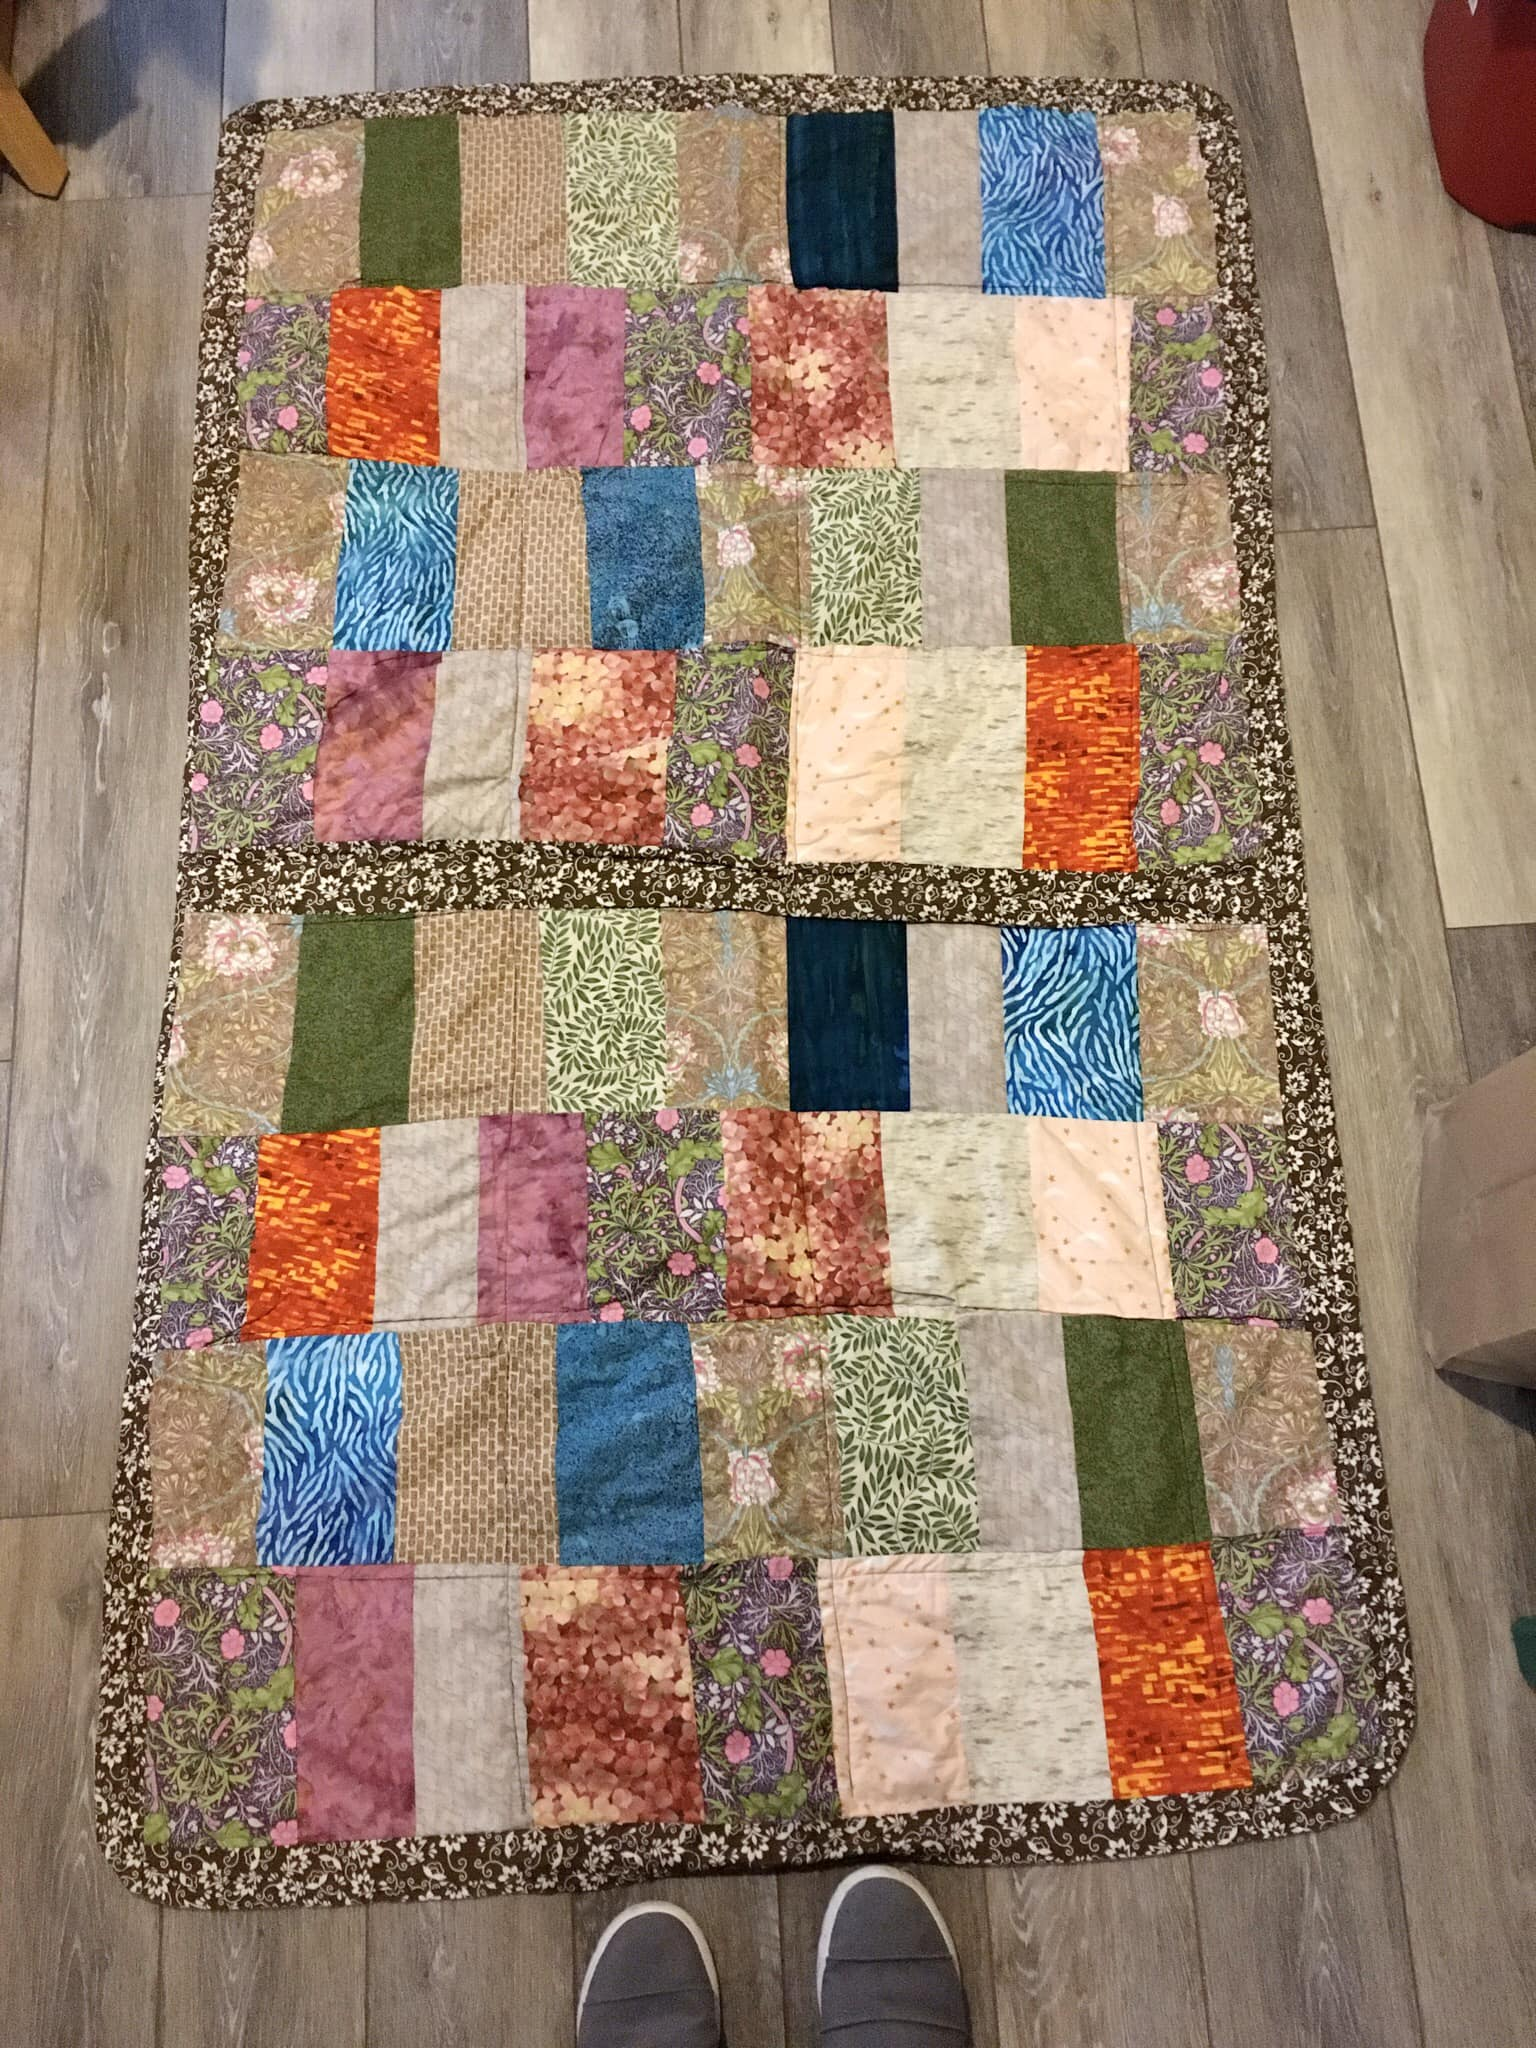
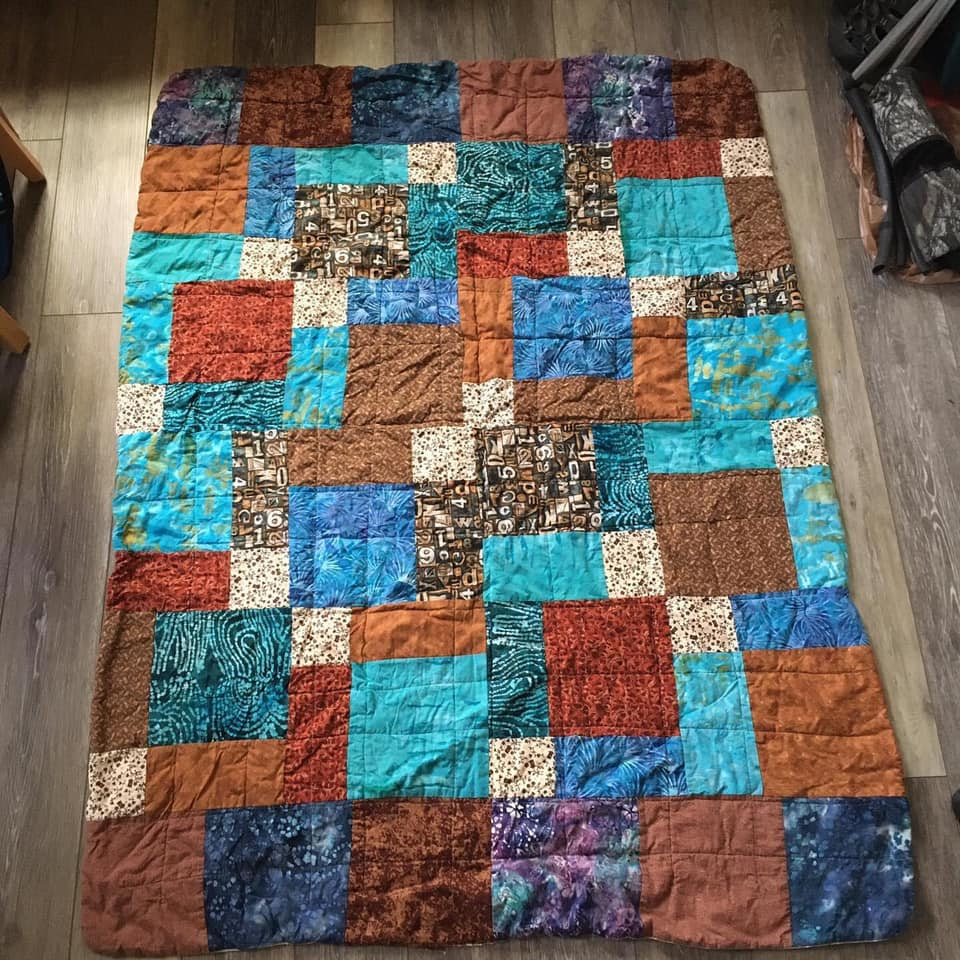
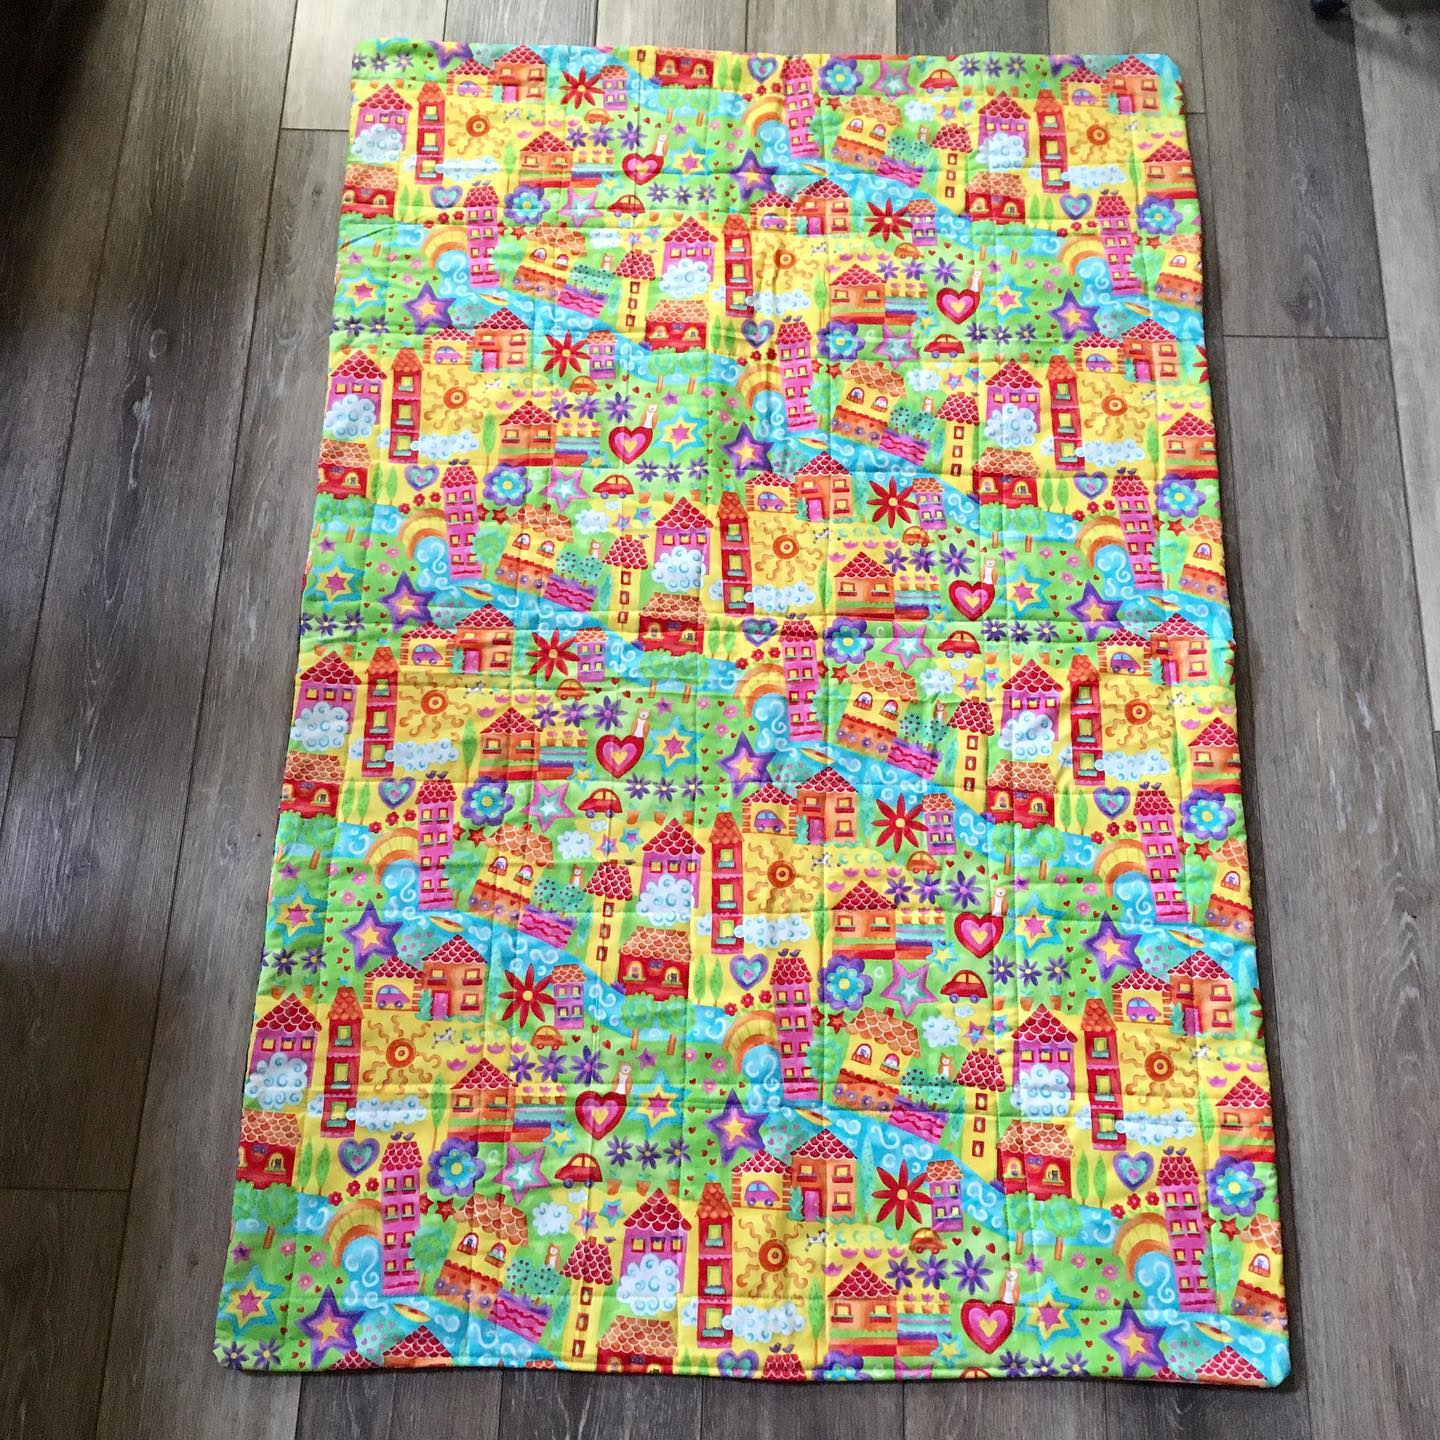
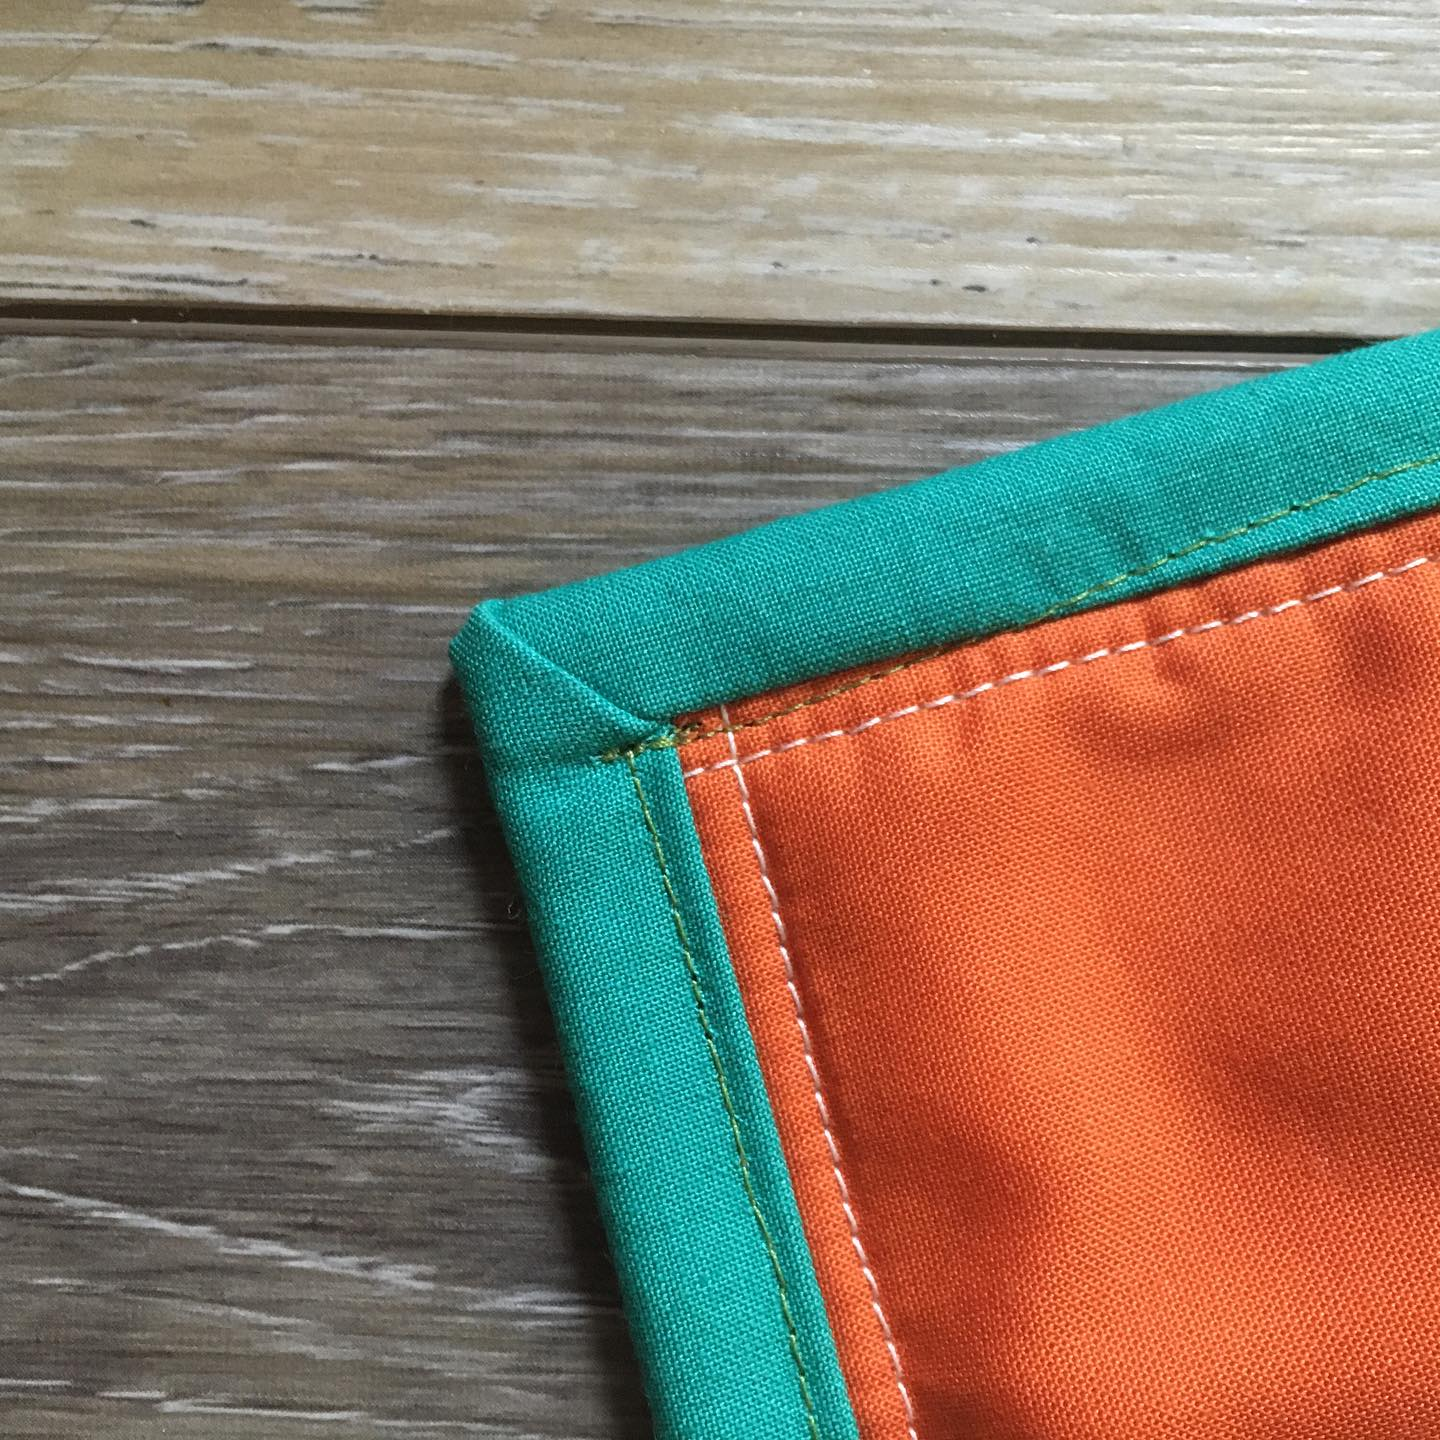
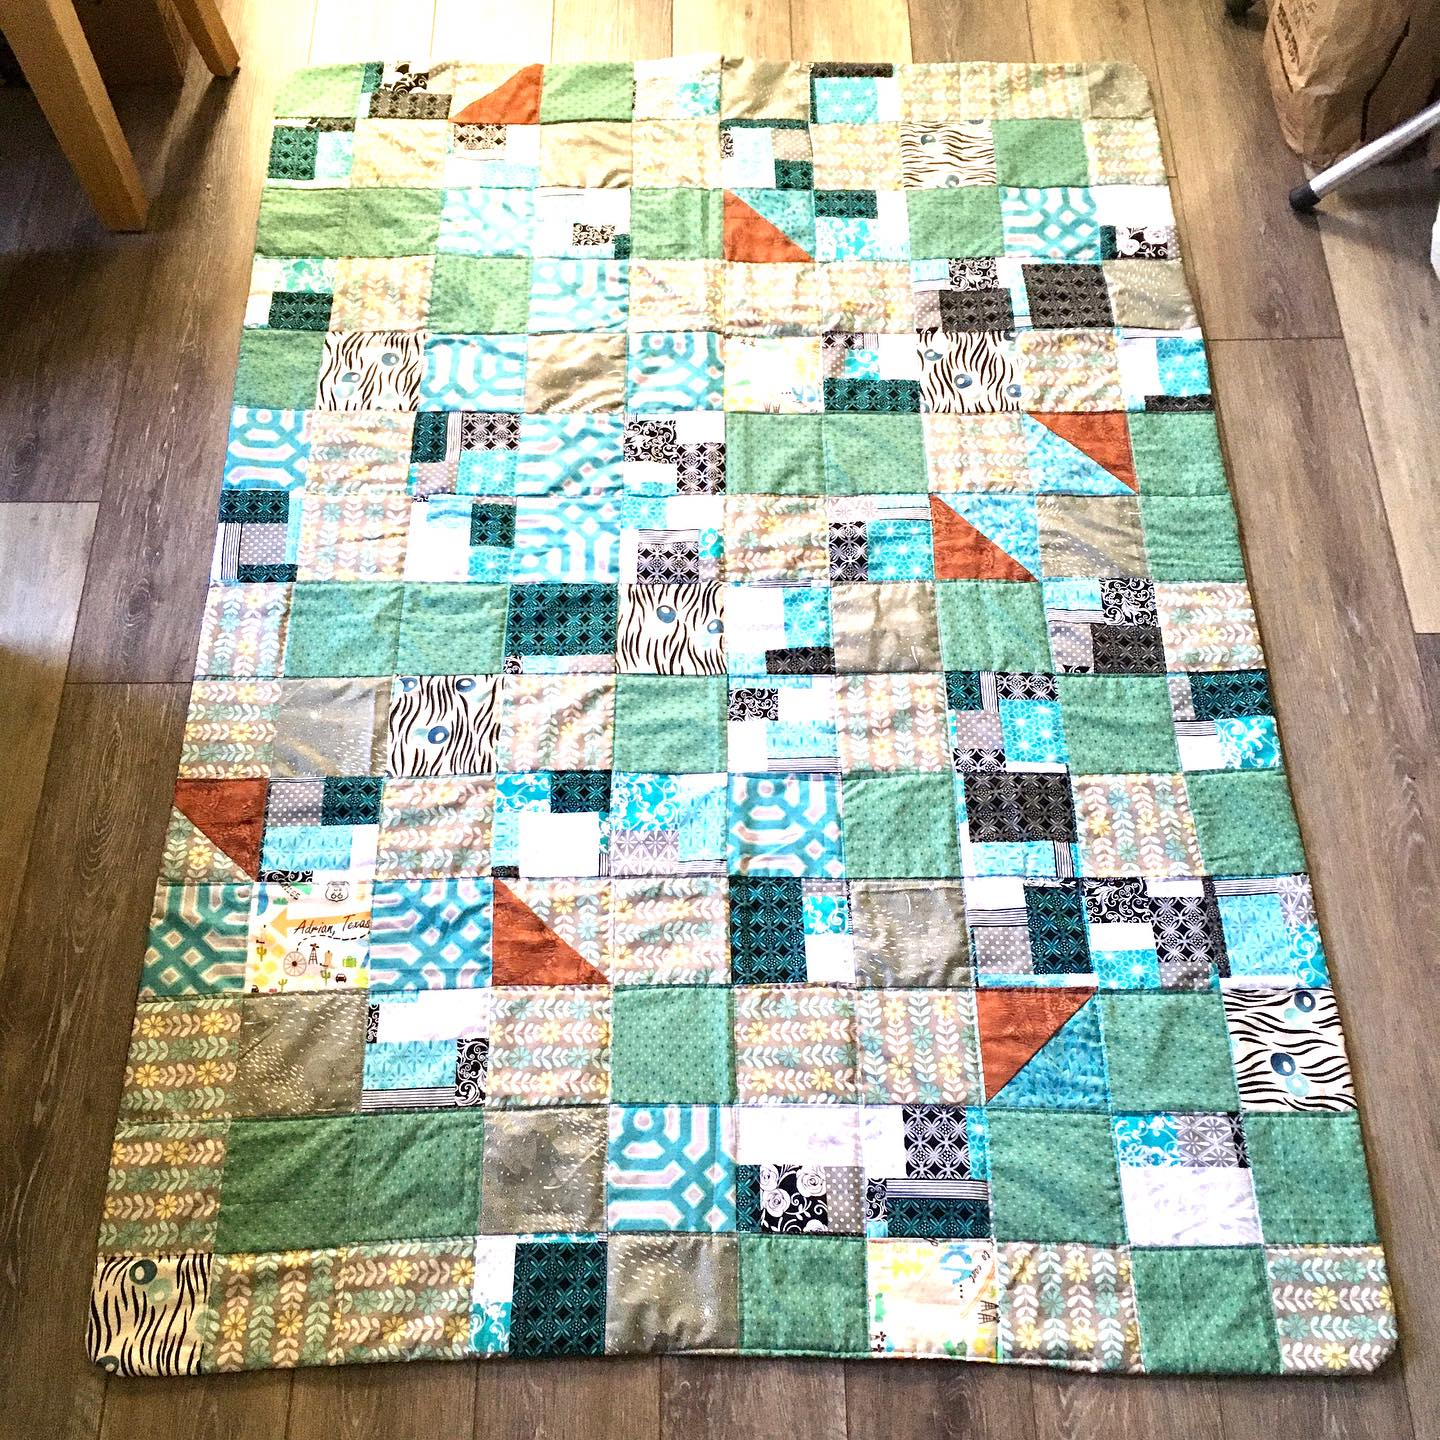
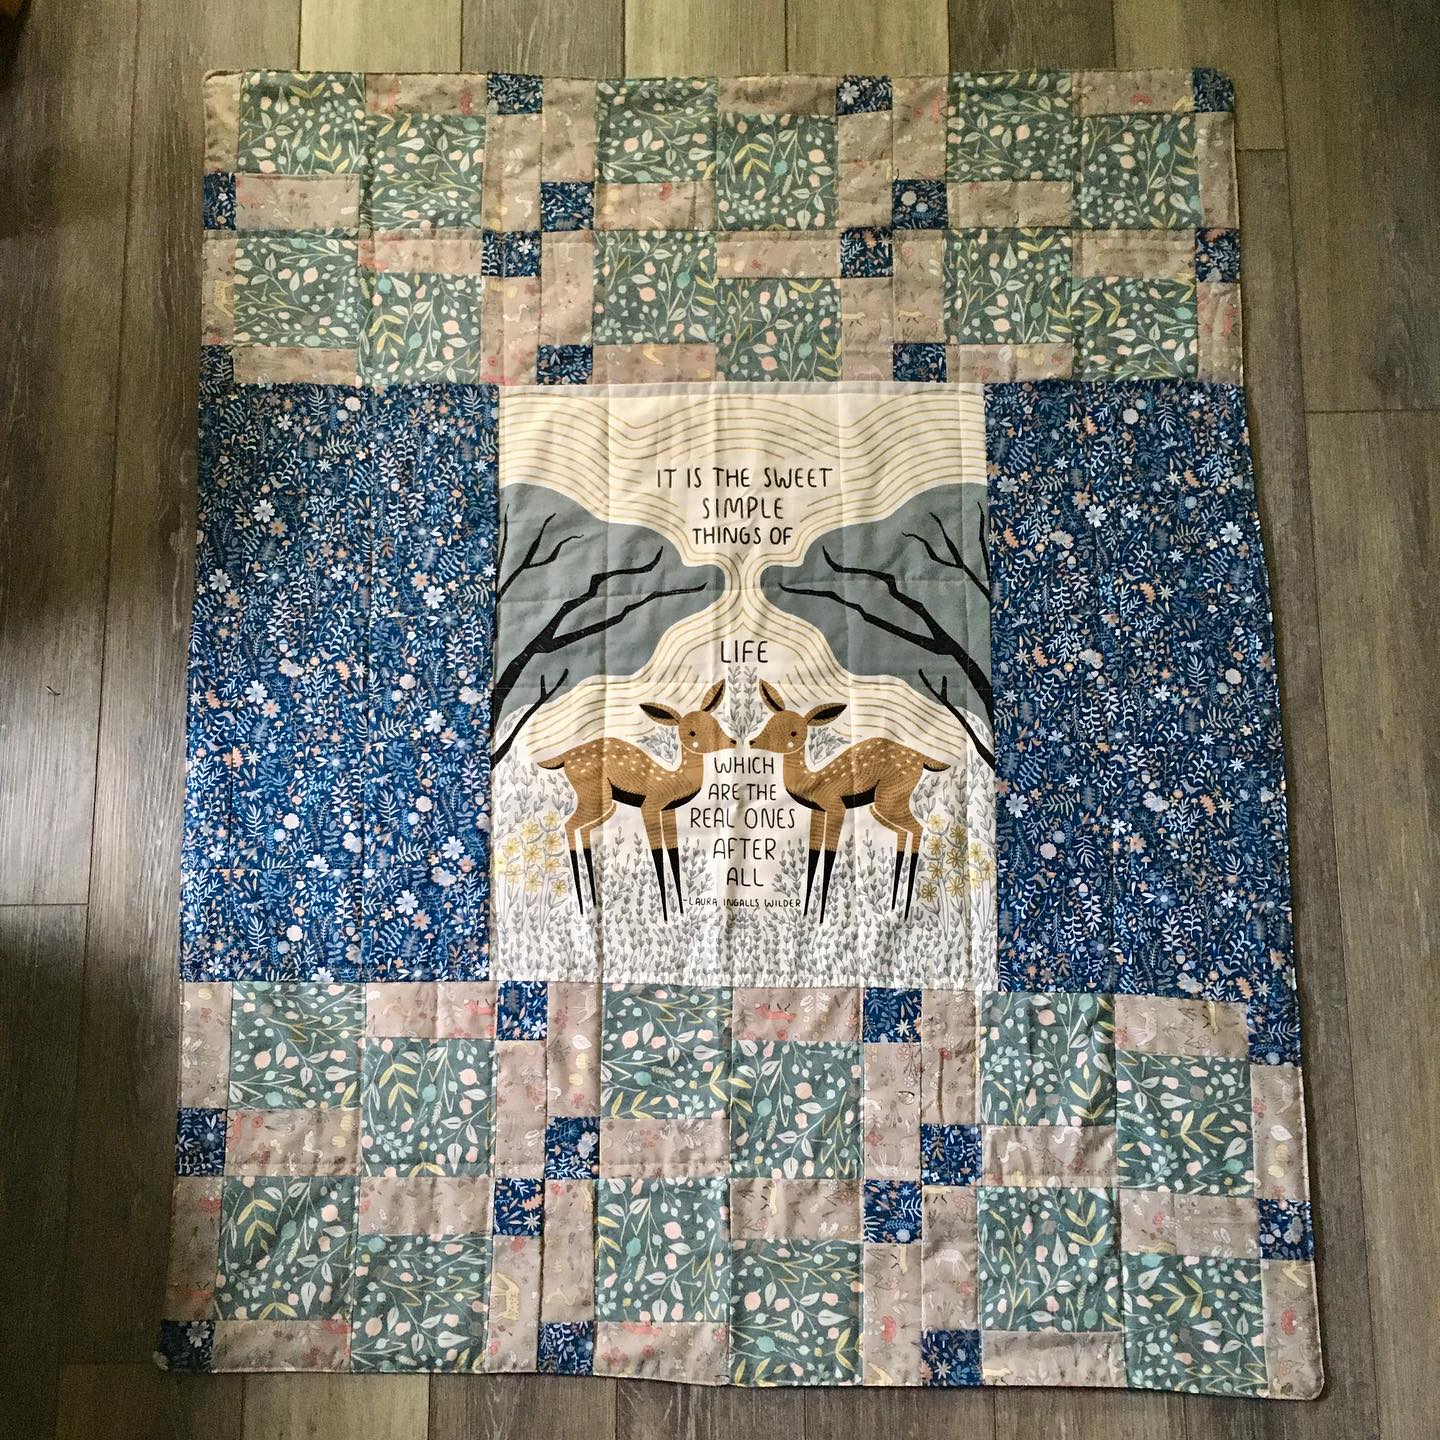
Fabric for the top came from Jo-Anns and Etsy. Fabric for the back came from SmArt art and craft supplies. I bought the Jo-Ann’s fabric and the Smart fabric before I knew how to quilt, knowing that I wanted to learn. This was made for sitting on the grass.
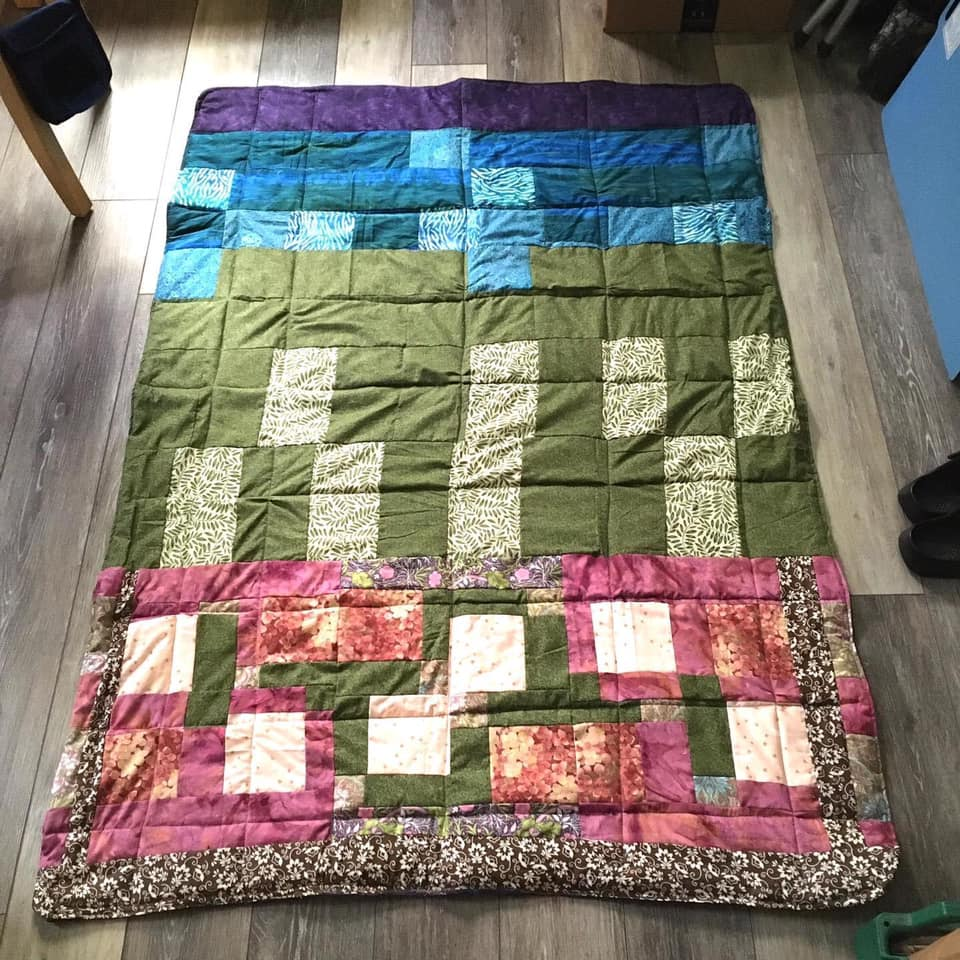
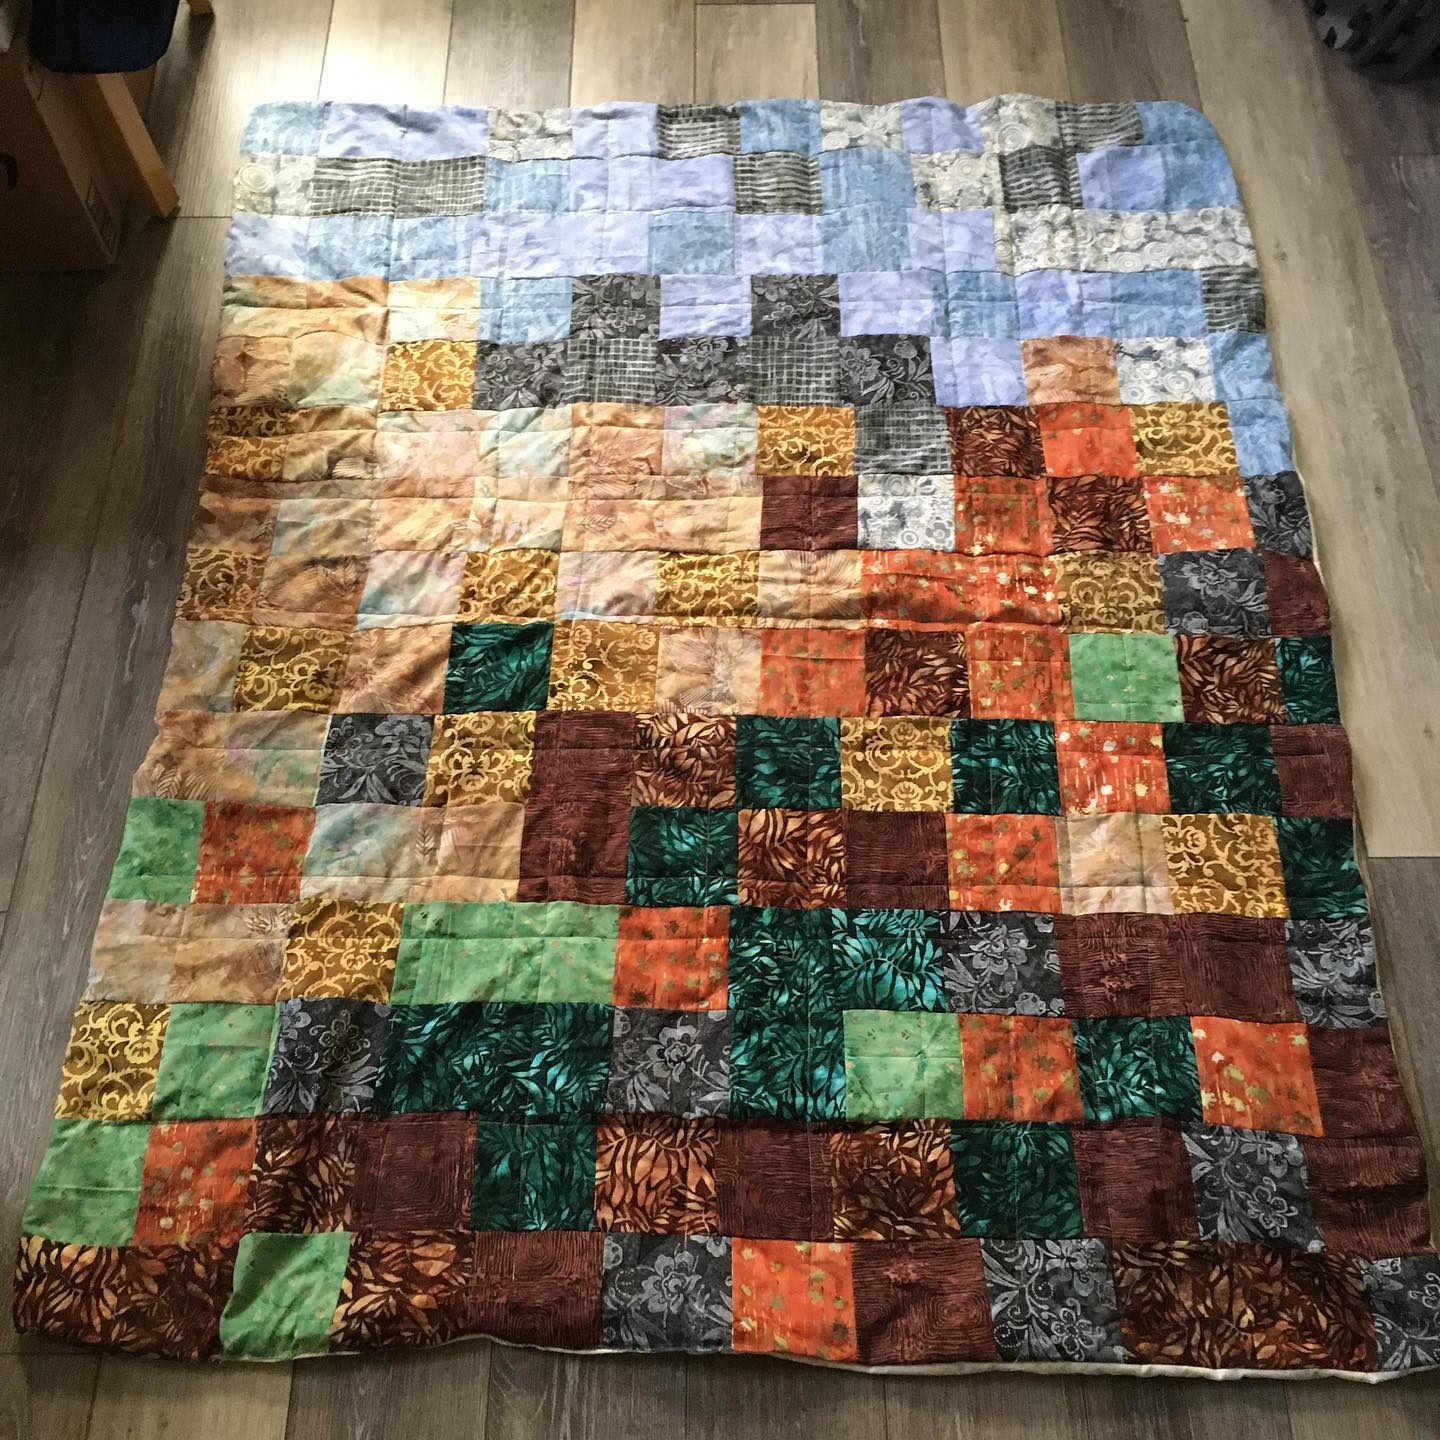
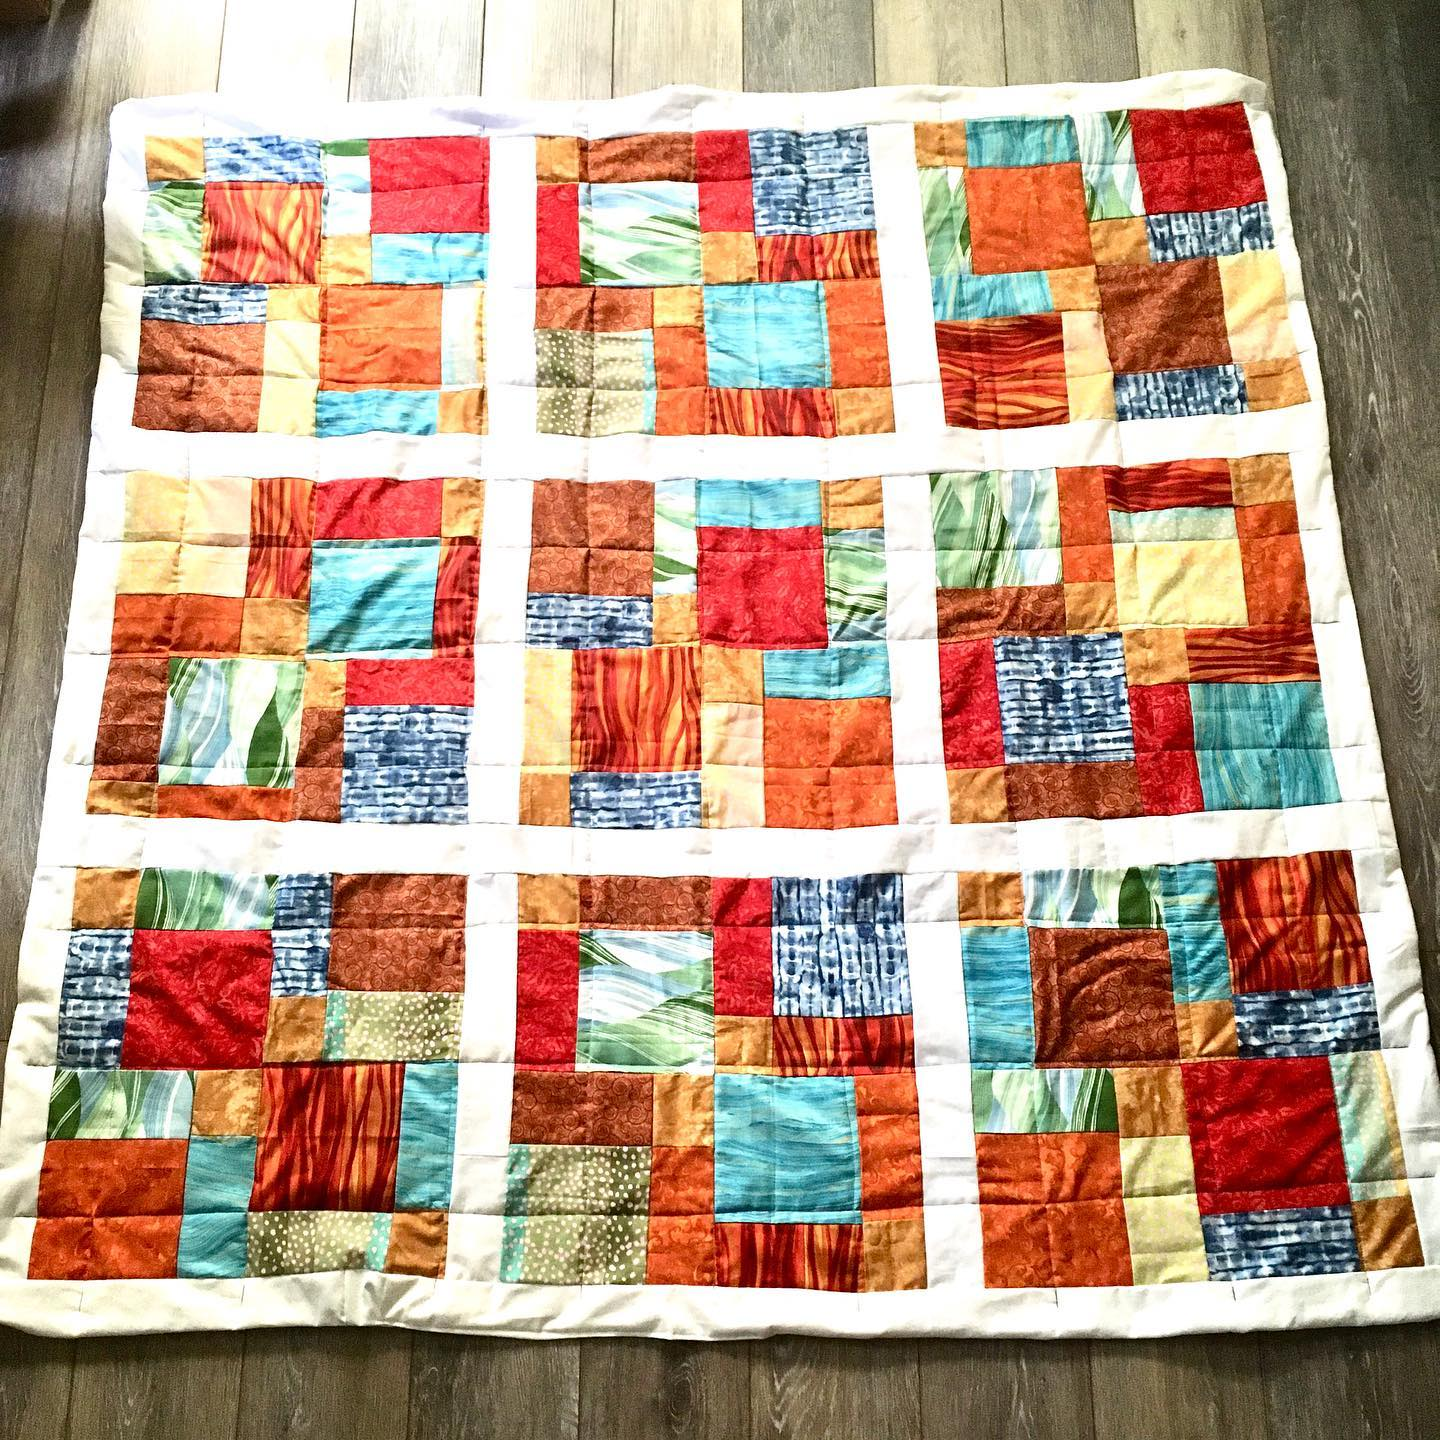
#5 finished 12/9/21 Blue-brown disappearing 9 patch. Fabrics from a fat quarter bundle from JoAnn’s in Rivergate (before I knew how to quilt) and Make & Mend. Sold 9/10/23
#6 finished 1/11/22 Donated to Caris Hospice 7/23/23 54×40″
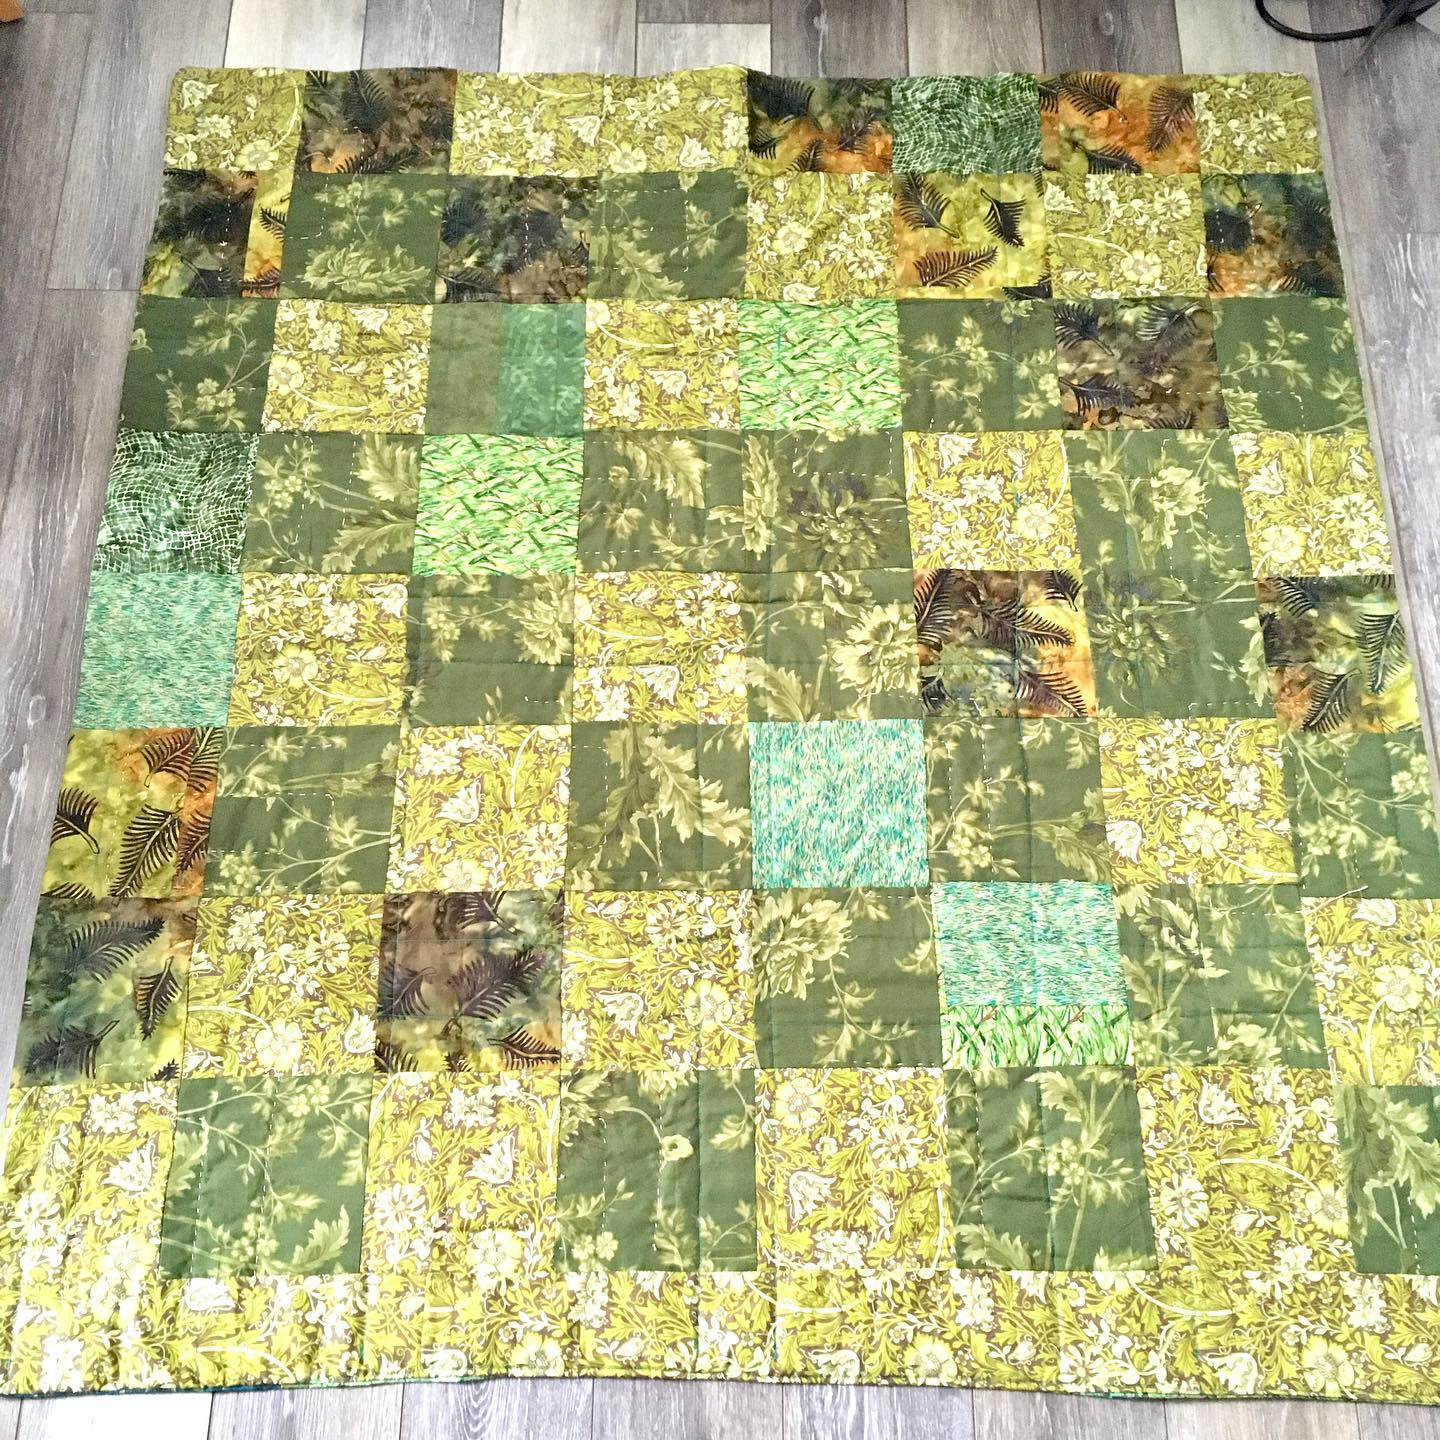
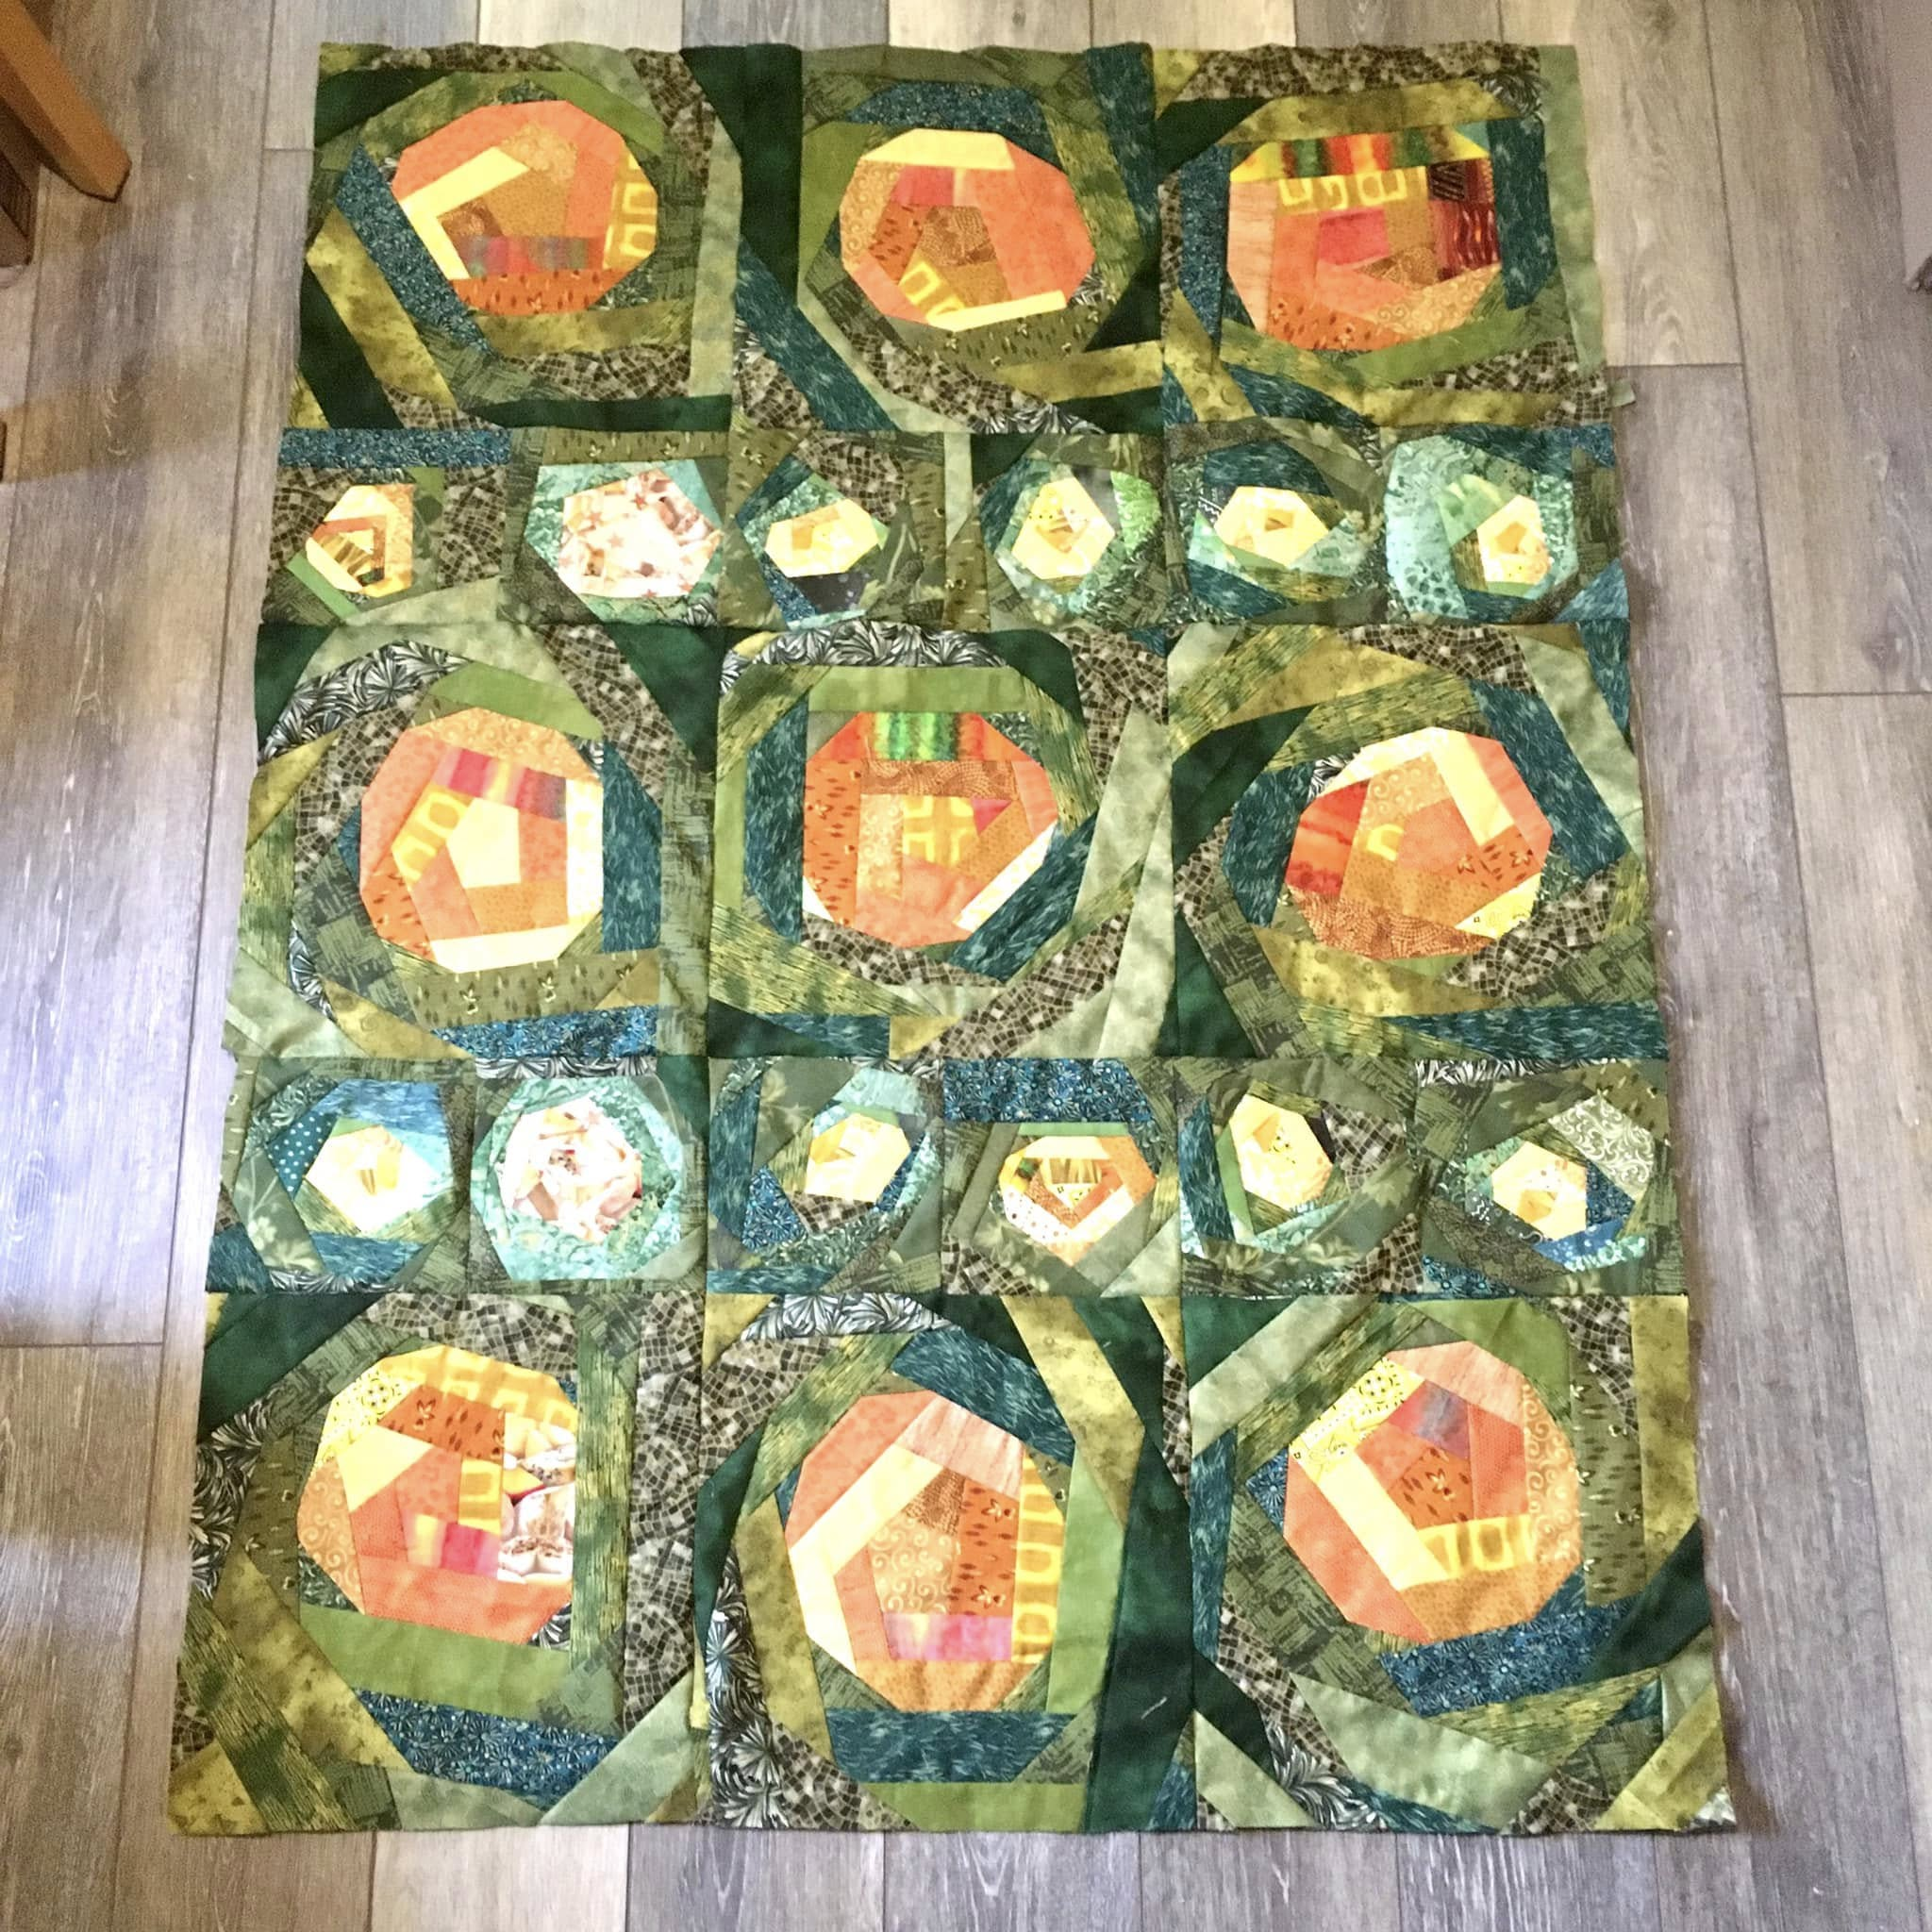
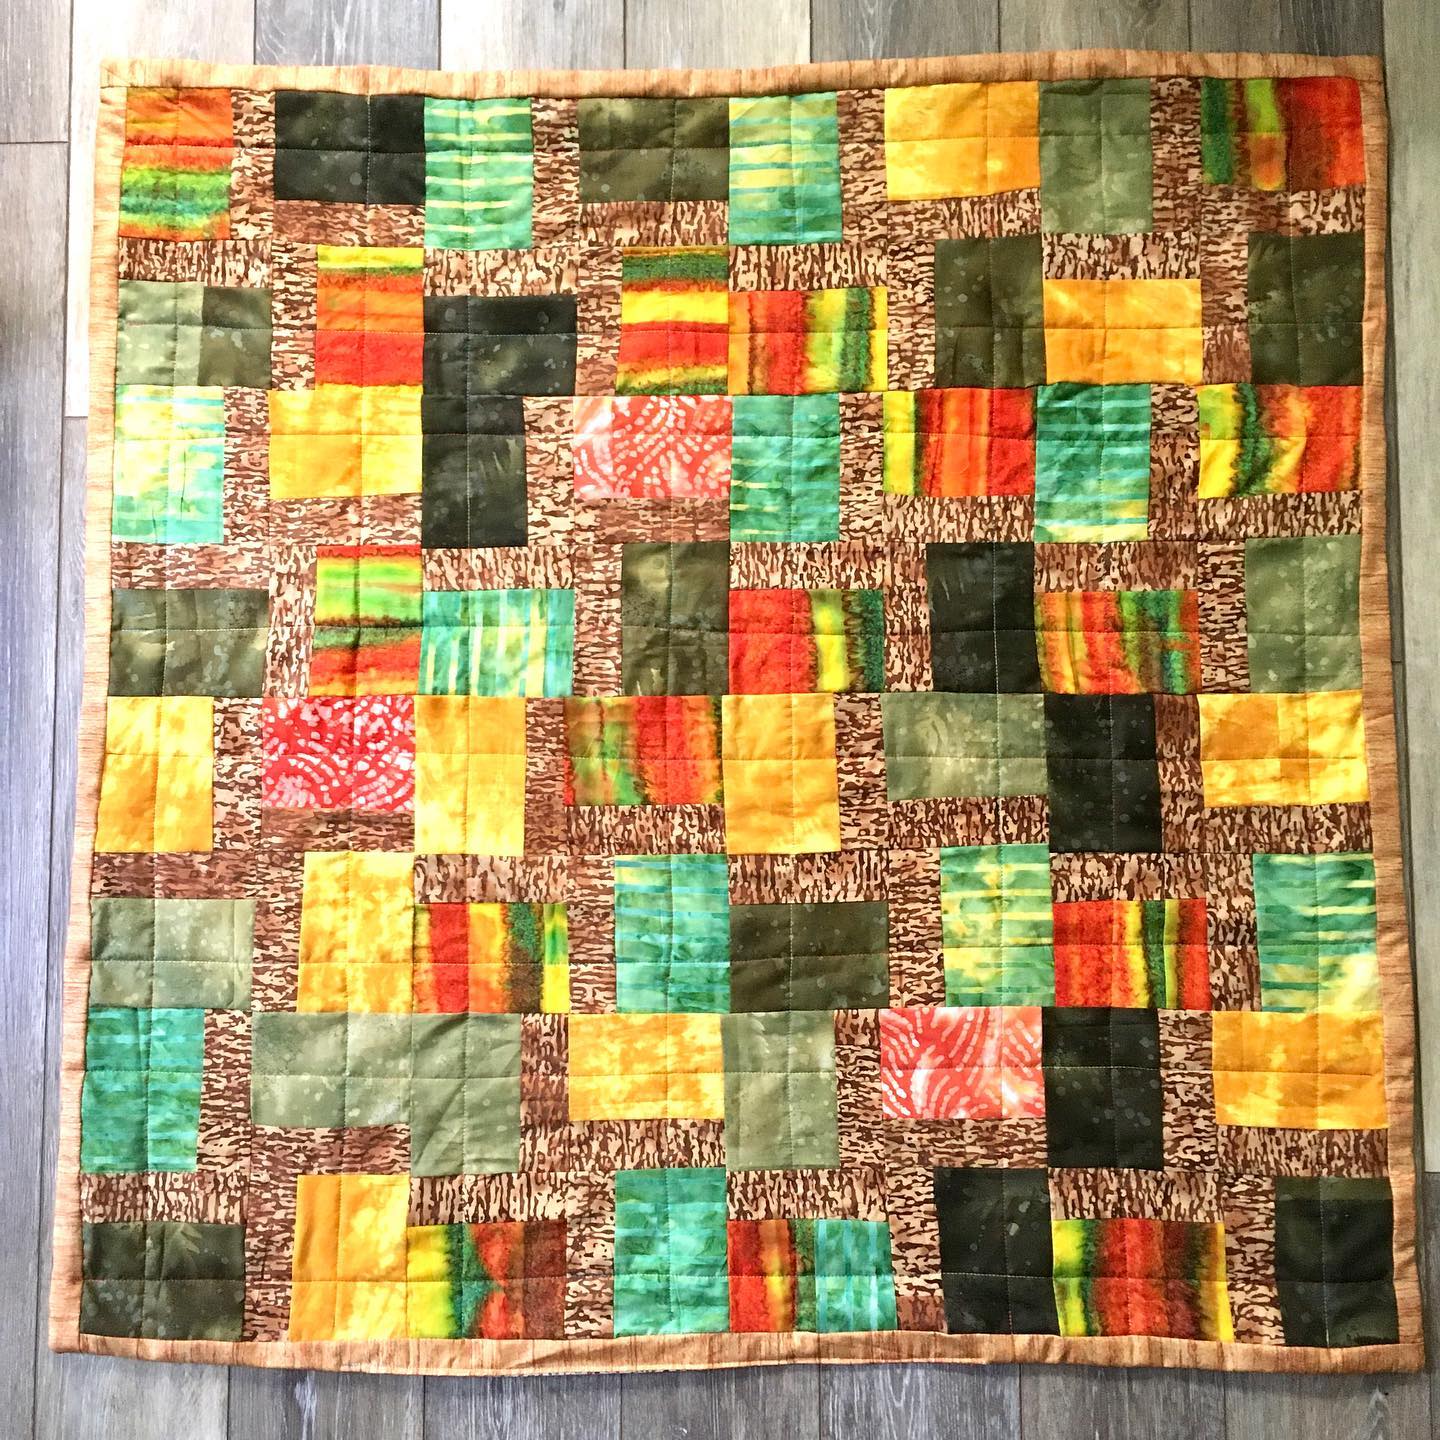
#7 Grandfather Mountain view in the fall finished 3/23/22 All fabric bought in Boone, NC
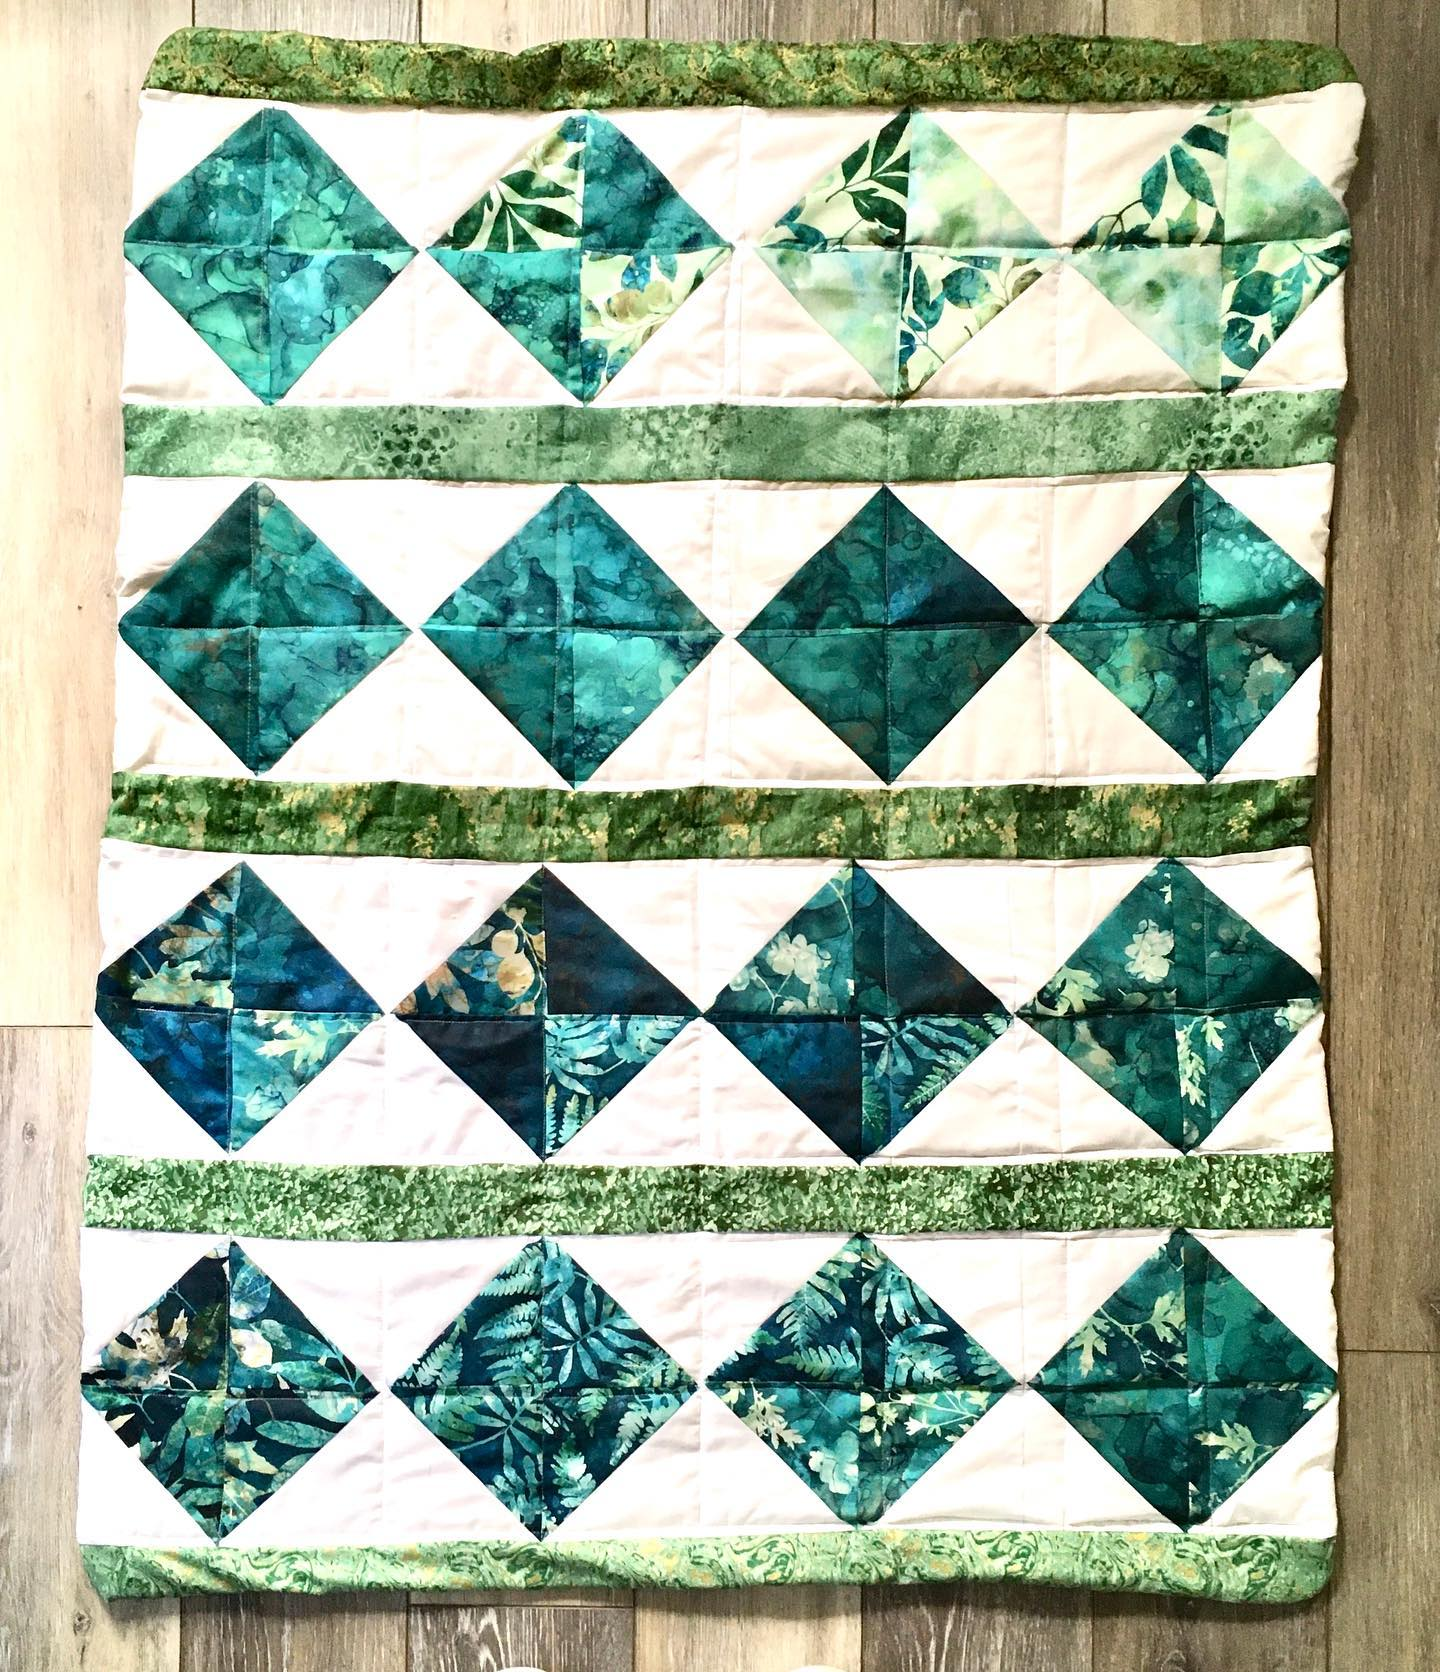
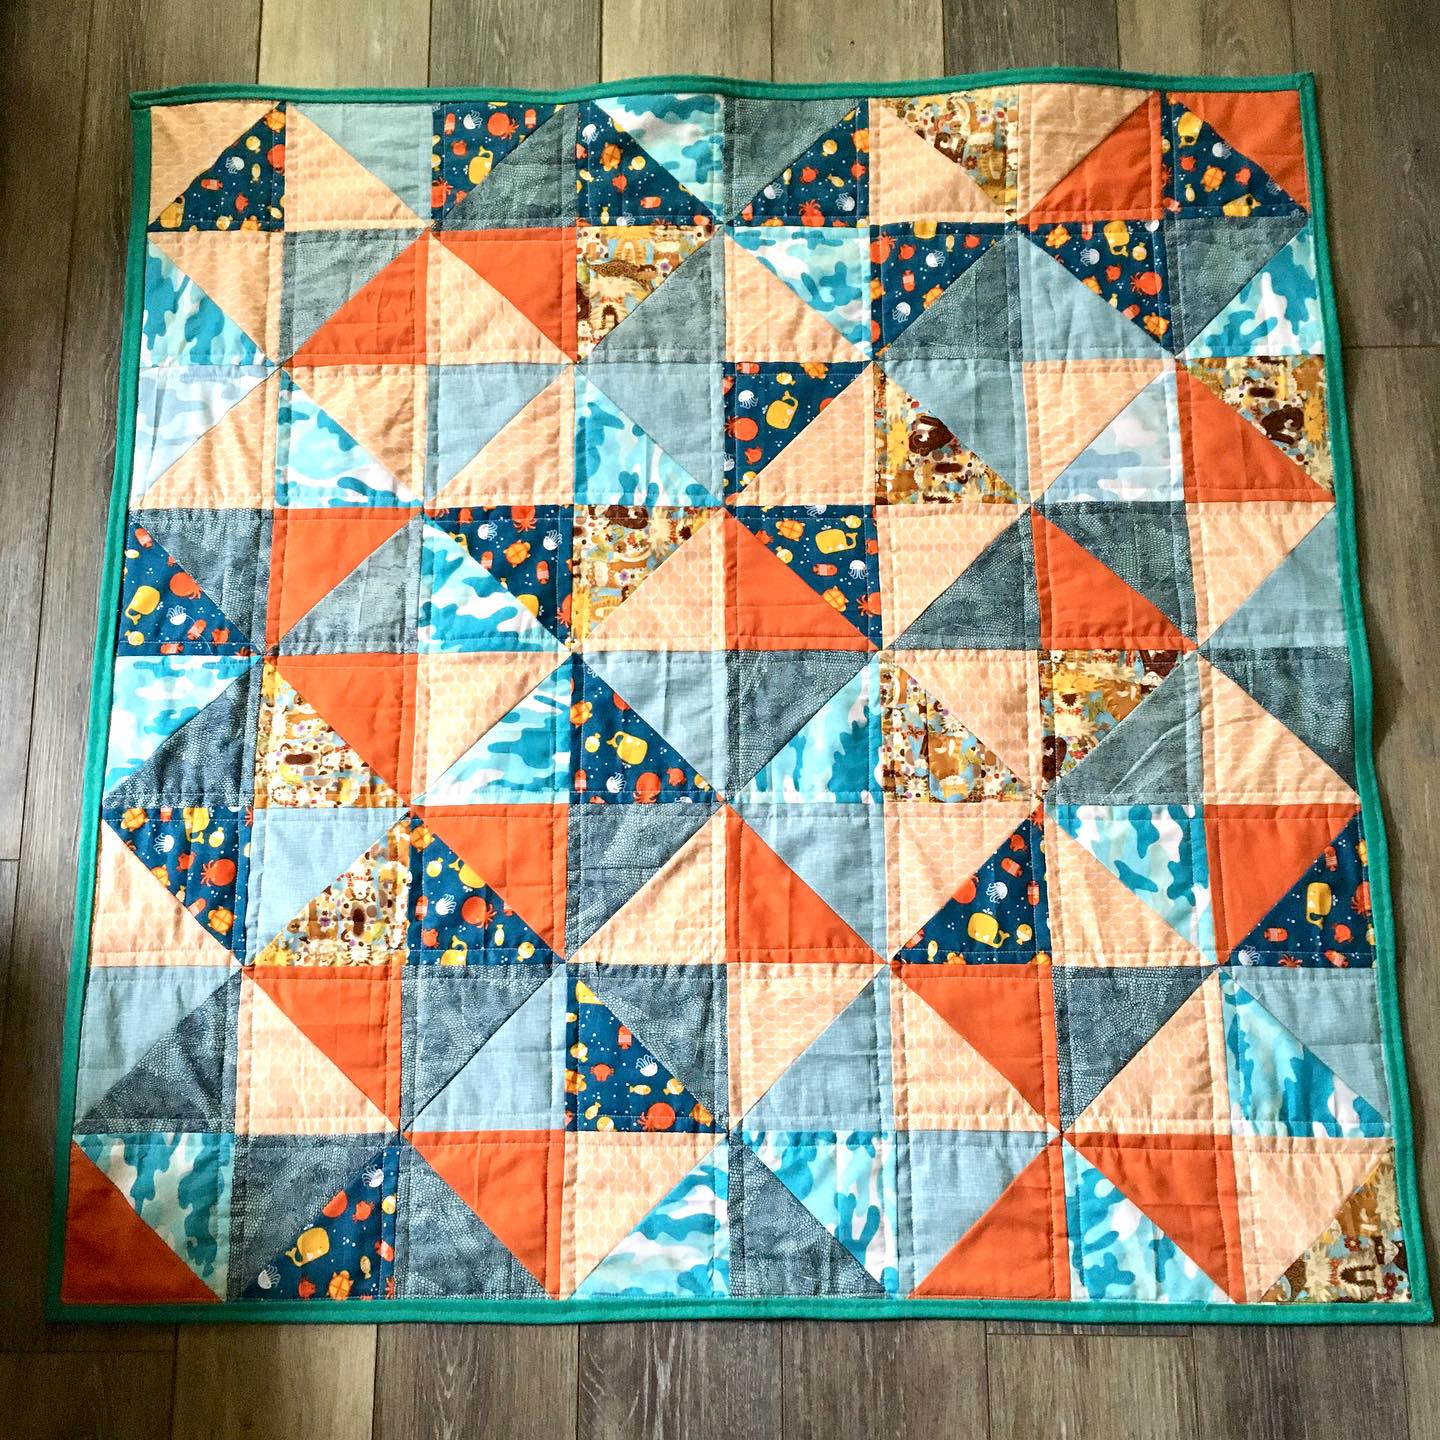
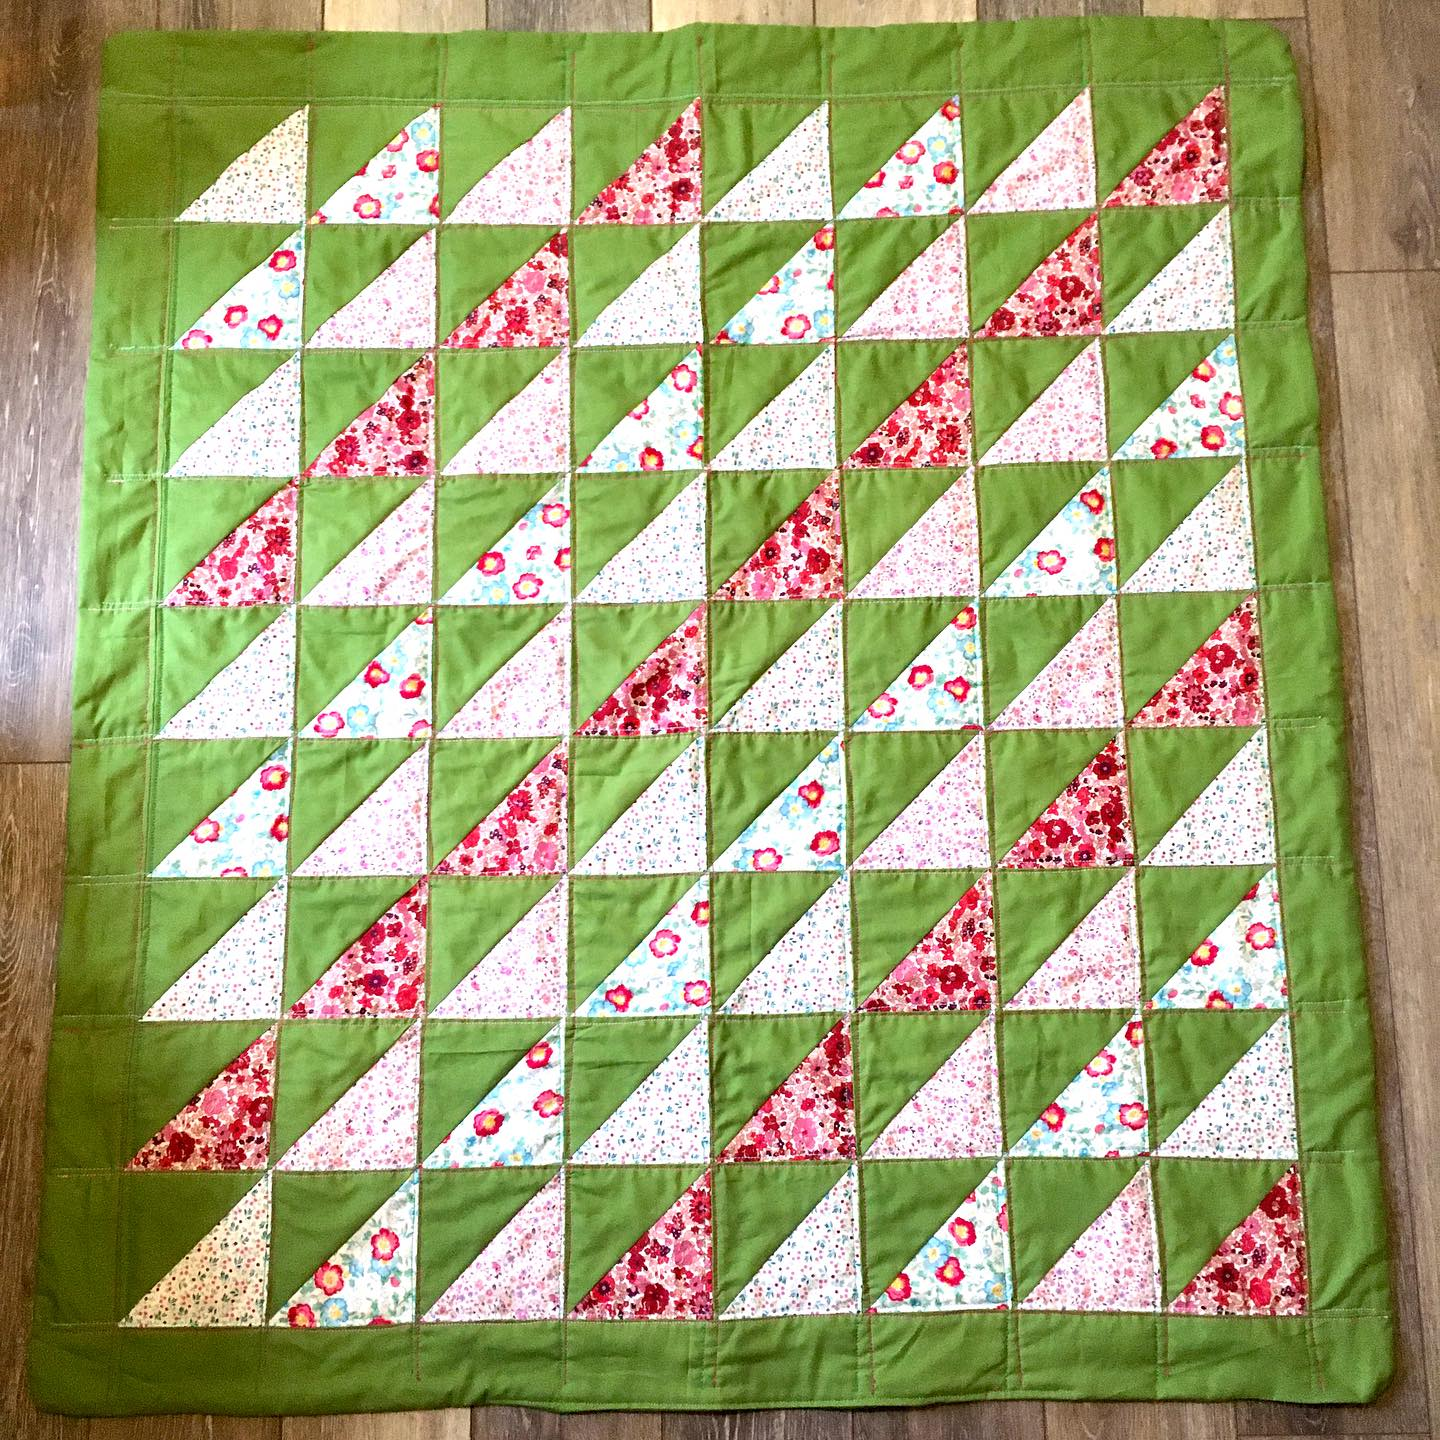
#8 Finished June 7, 2022, given as a baby blanket for my chiropractor. I learned how to do half-square triangles
#9 Finished June 14, 2022 Given as a baby blanket for a clerk at the pharmacy I use.
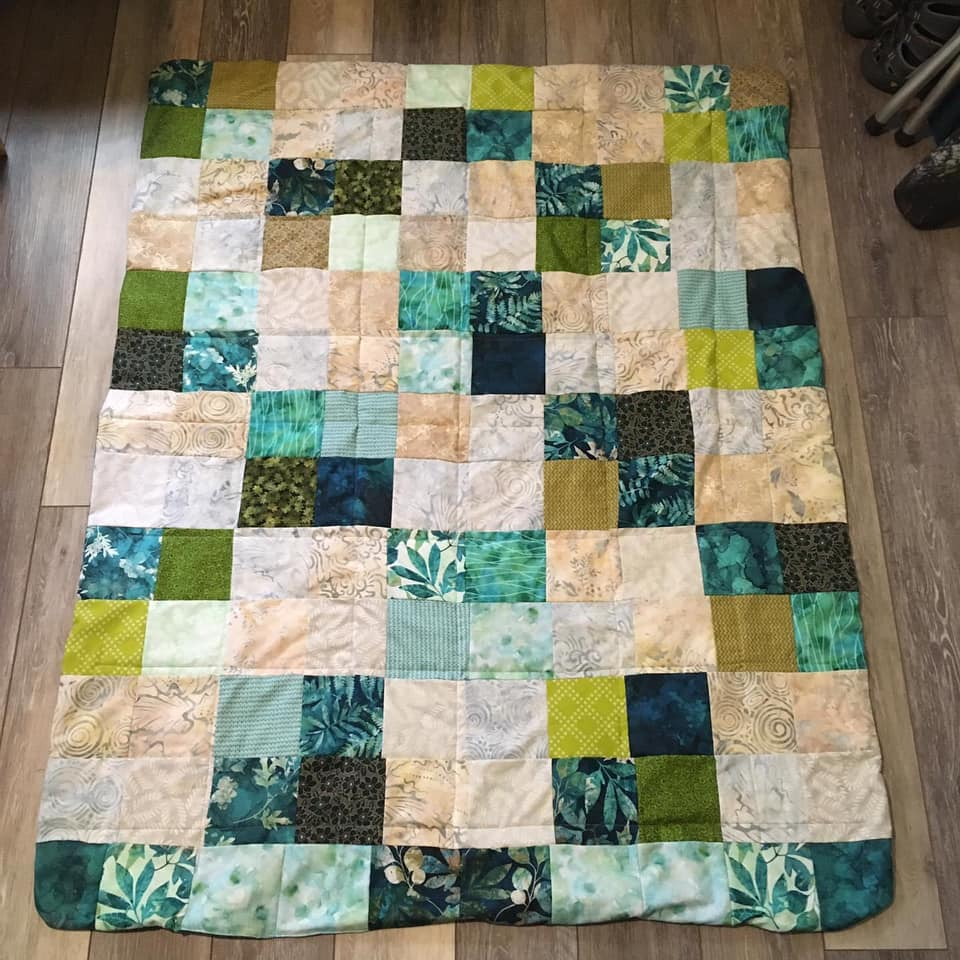
#10 finished 7/12/22 Disappearing Chattanooga. Disappearing 9 patch made with fabrics bought in Chattanooga TN.
#11 finished 11/9/22 Sold to a neighbor. First log cabin quilt. All fabric from SmArt.
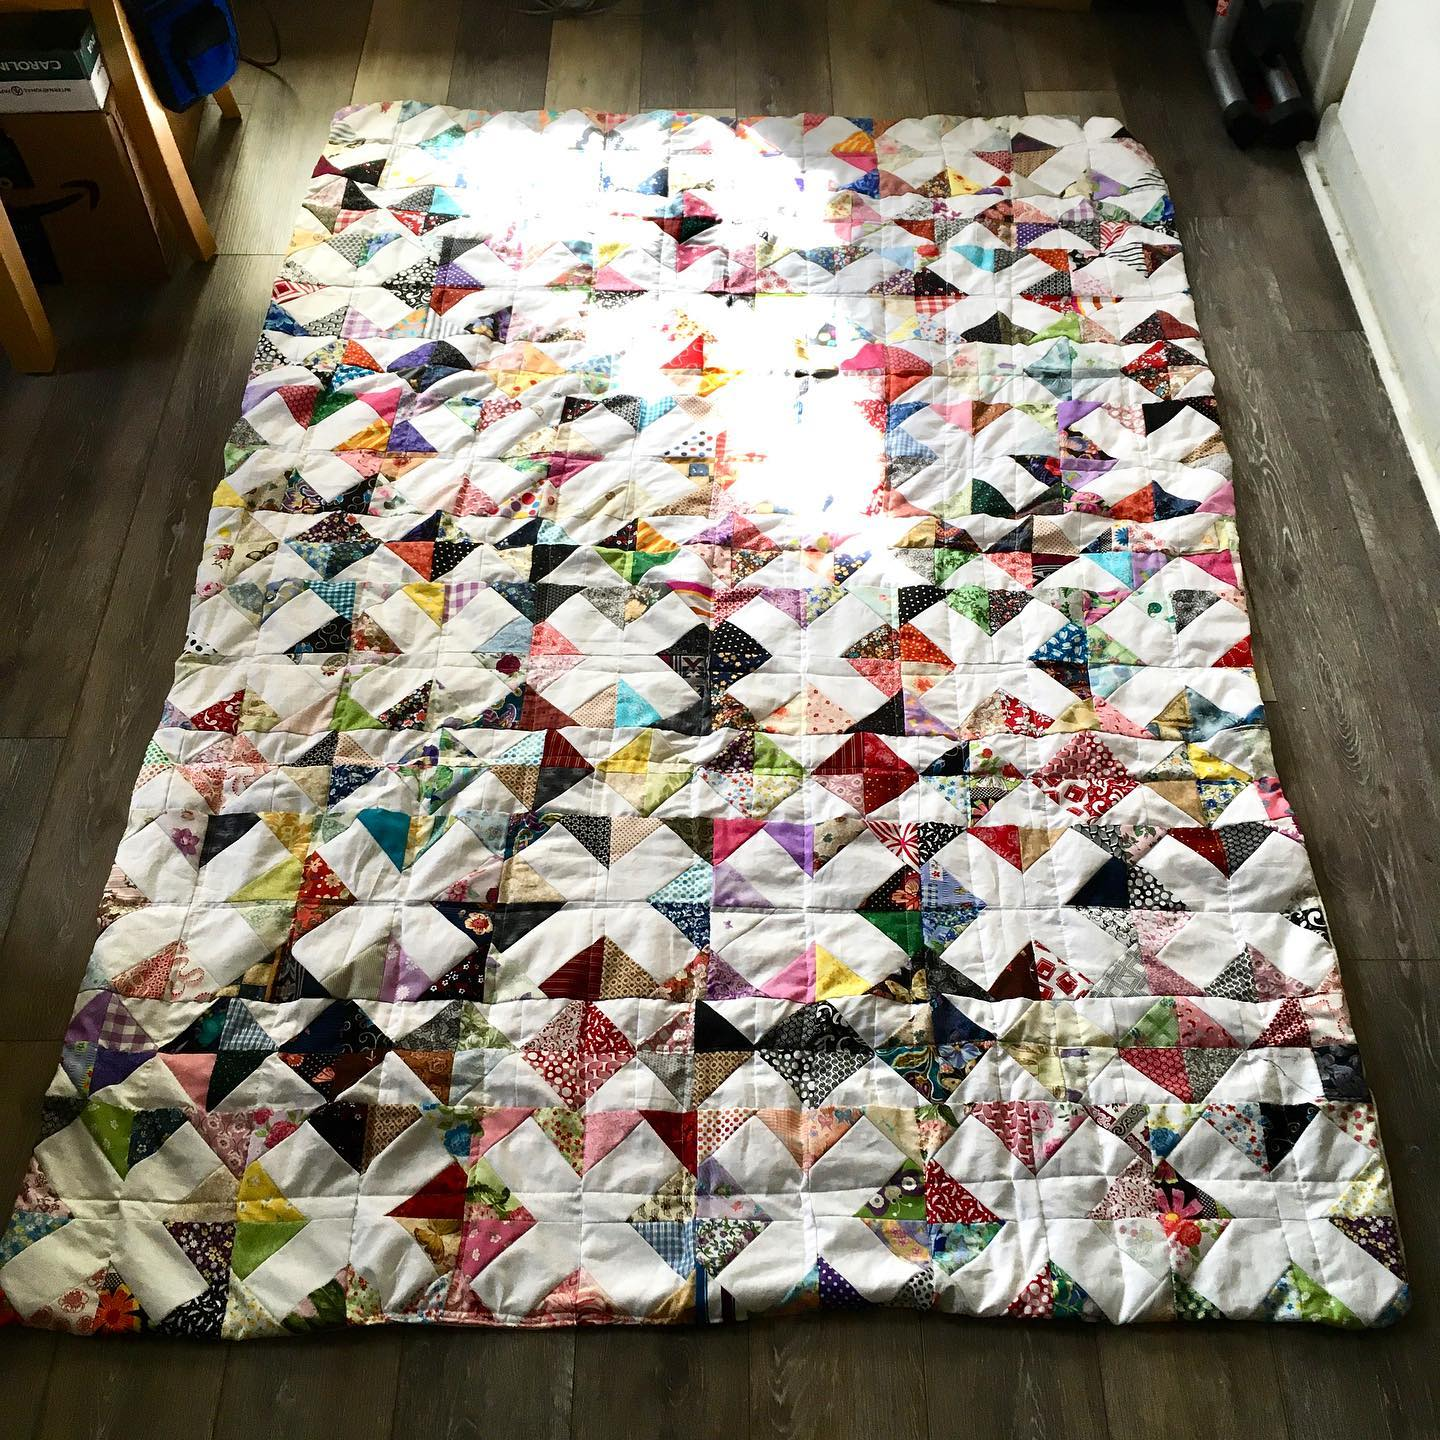
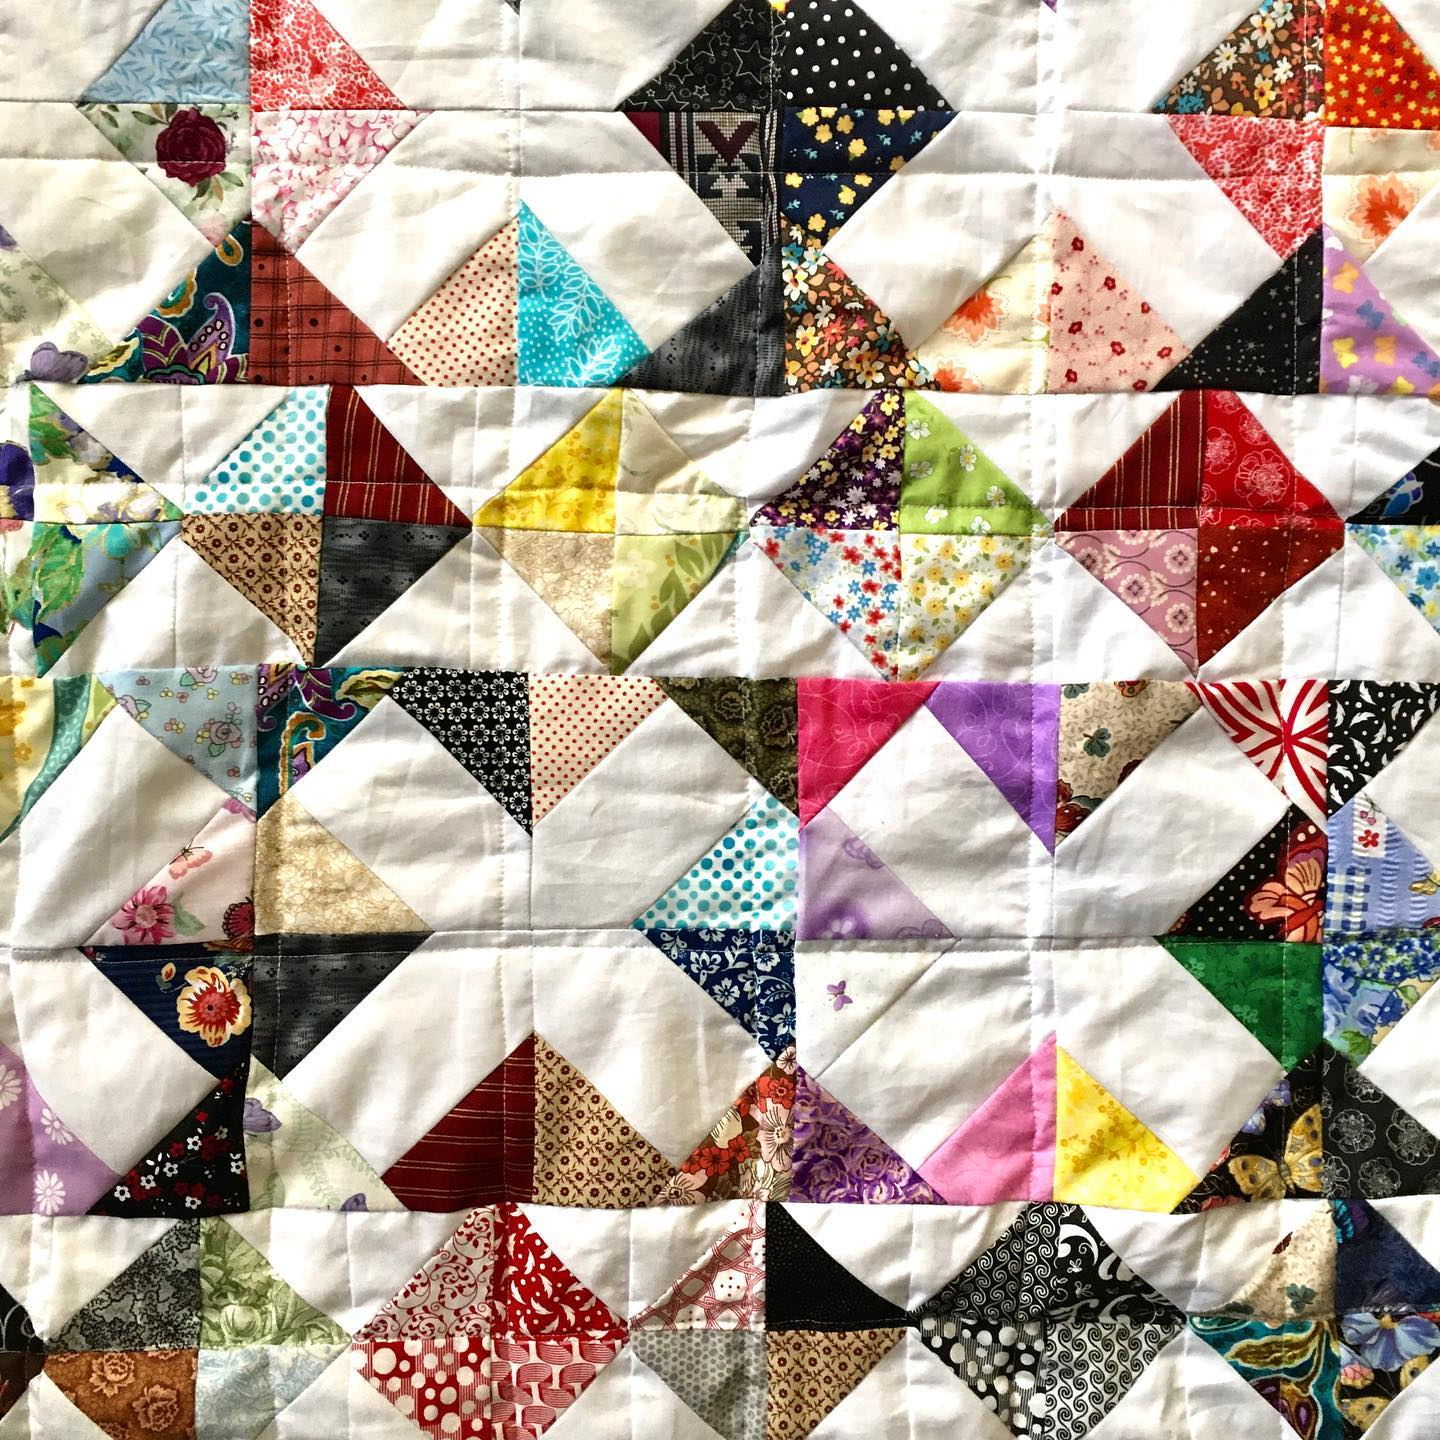
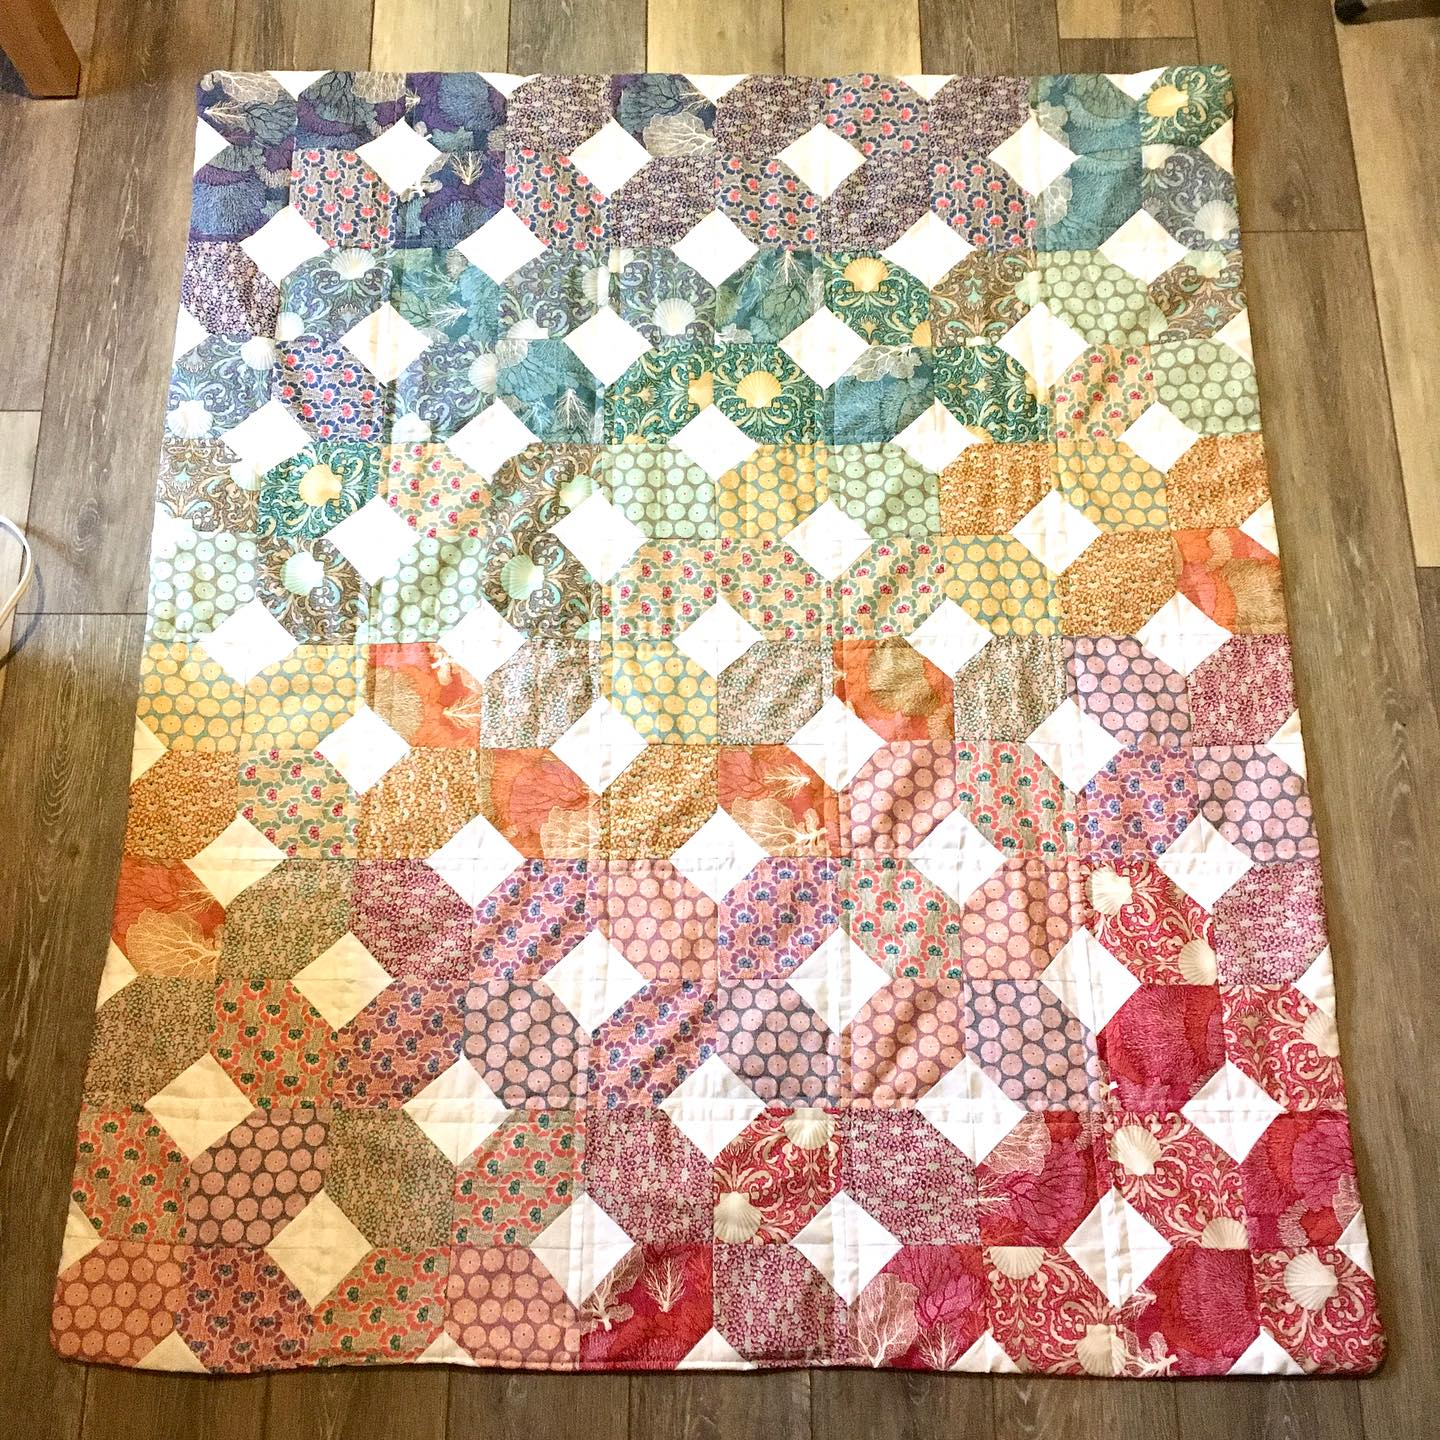
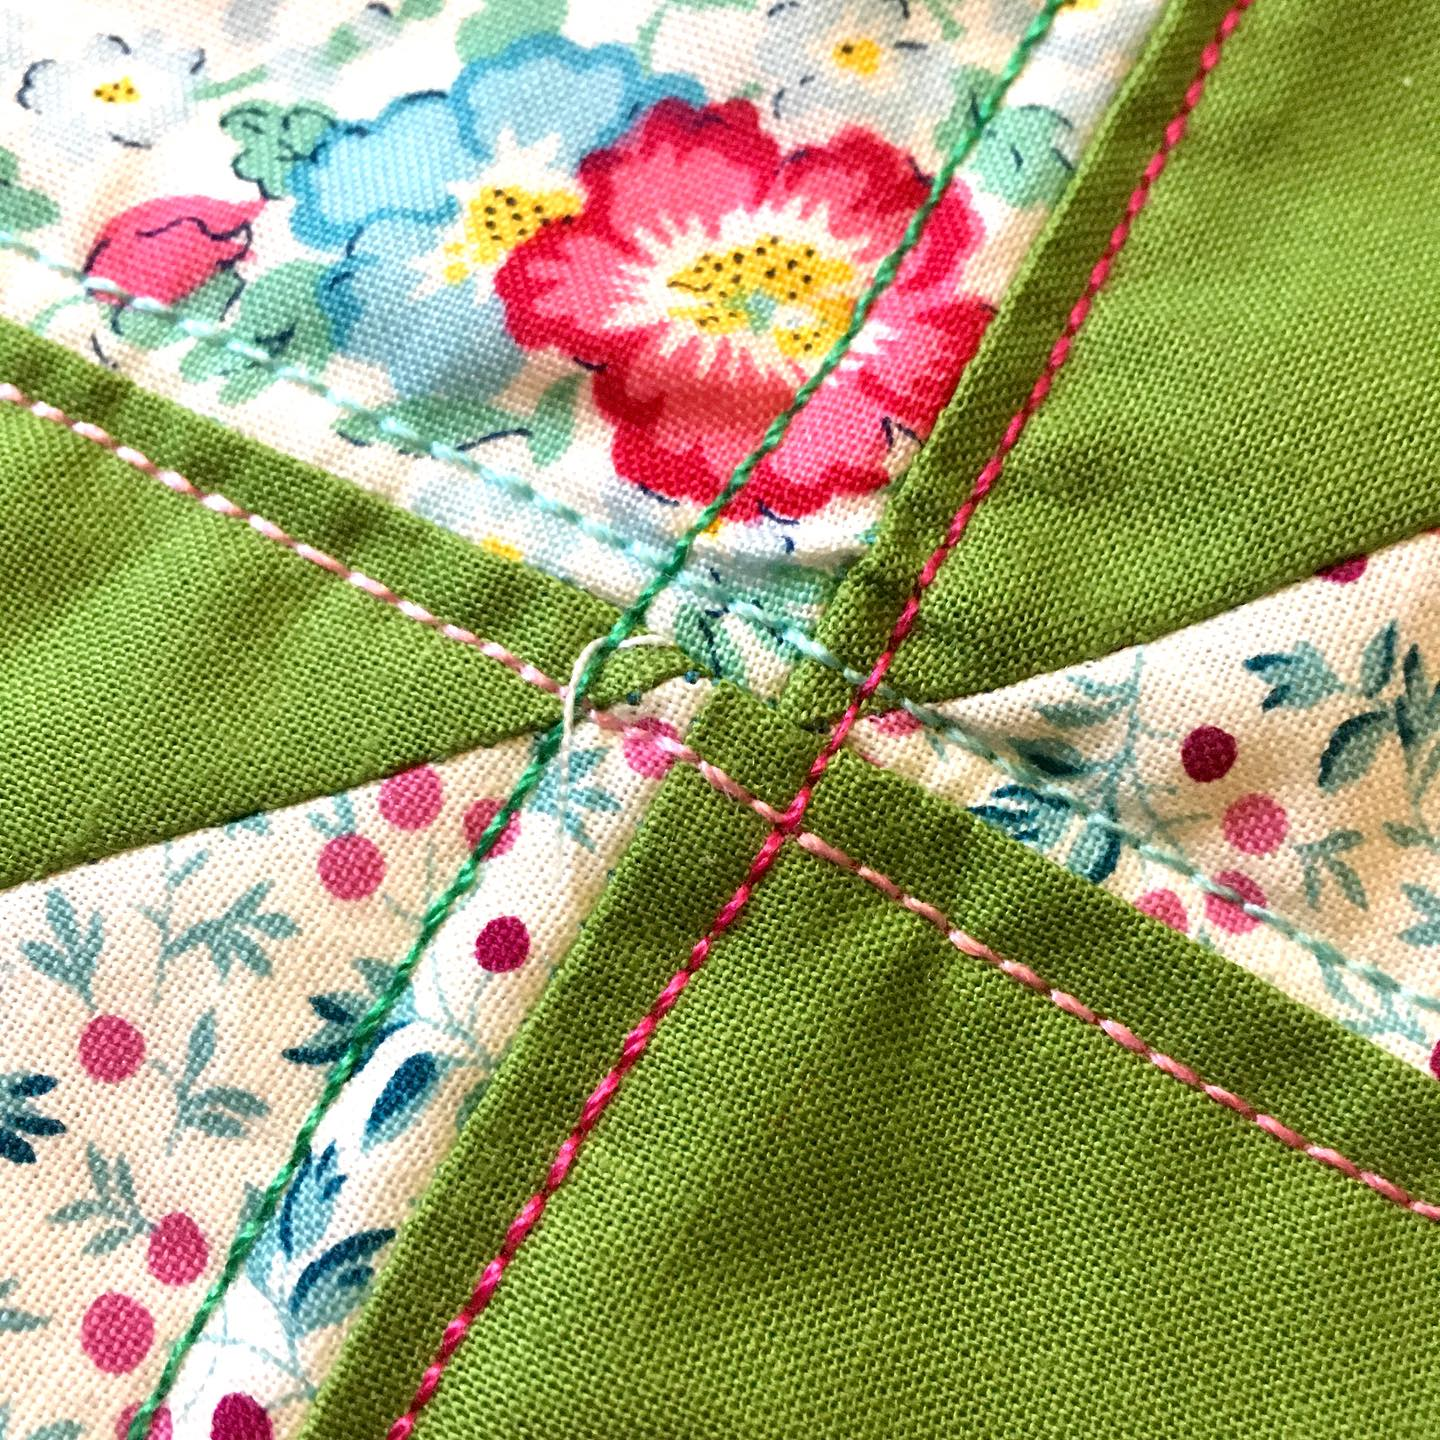
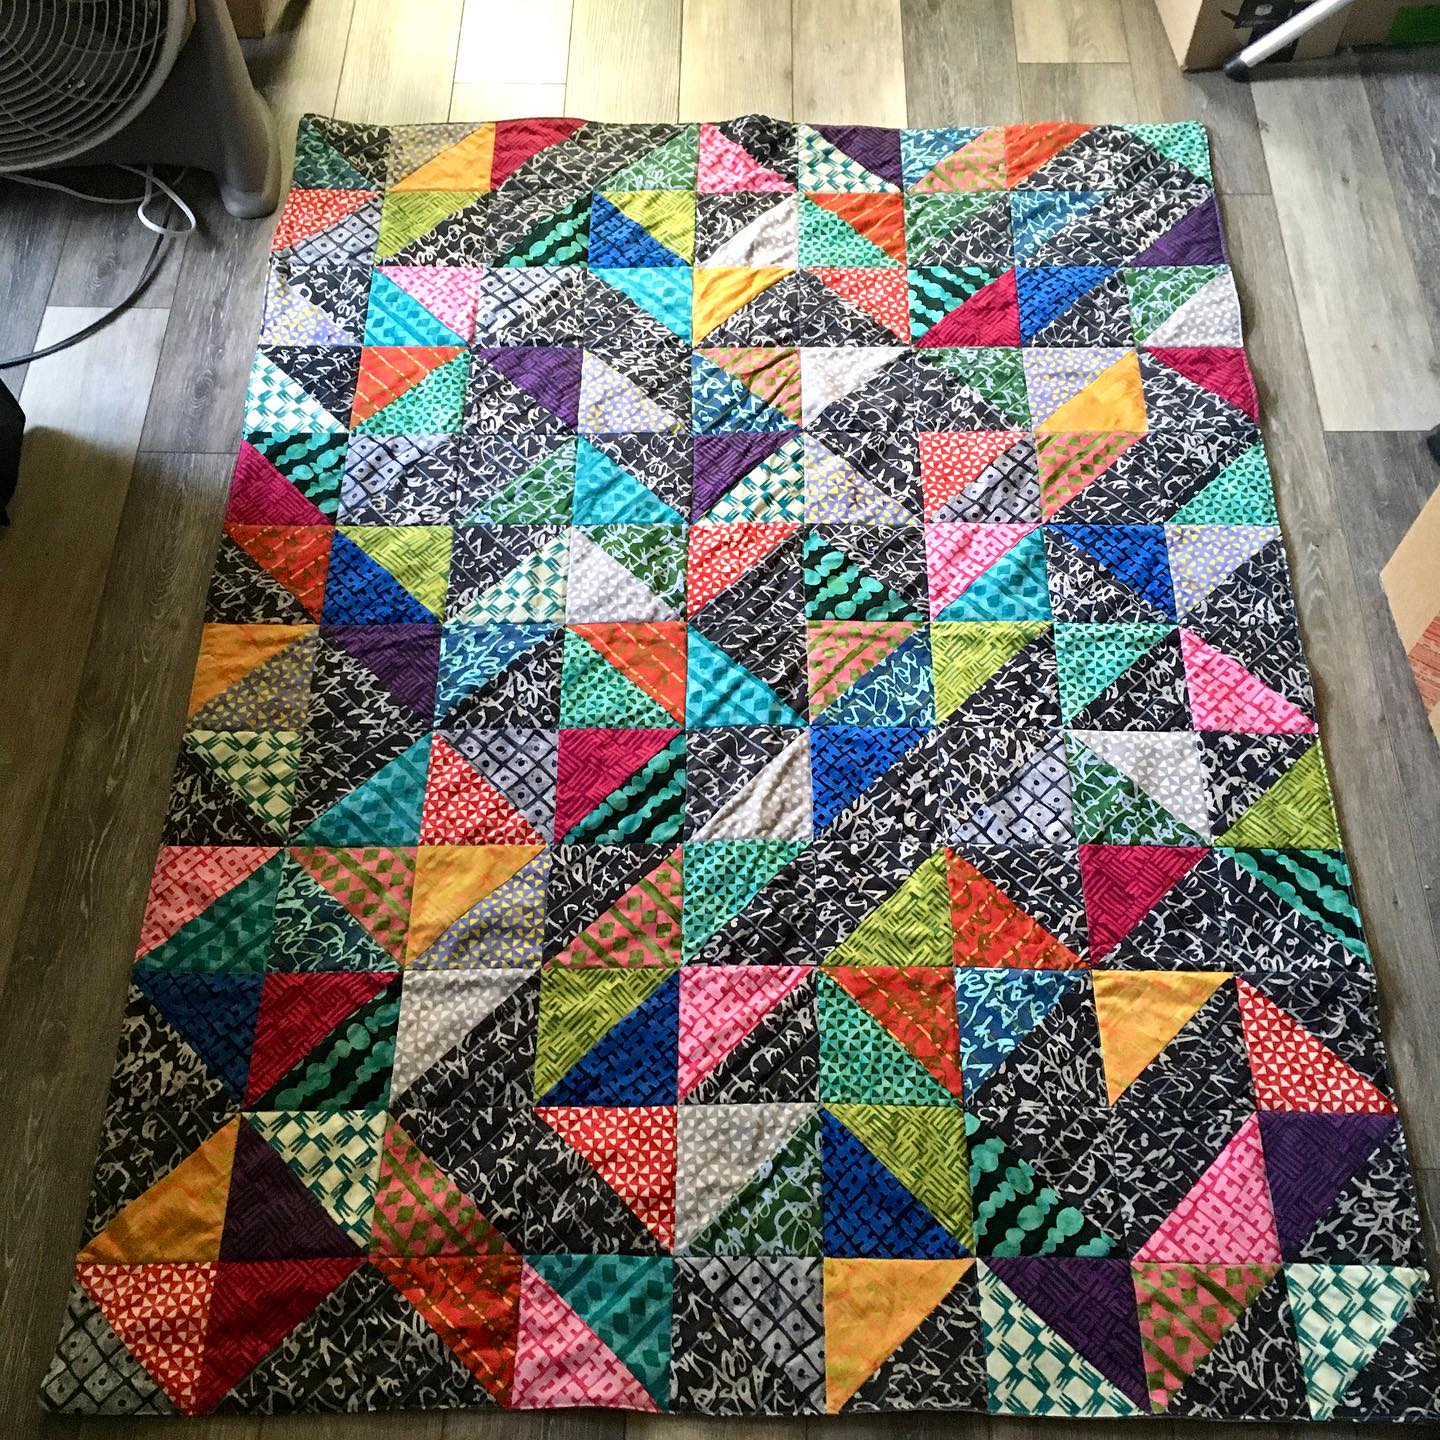
#12 Scrappy X finished 11/10/22 I learned how to do this from a YouTube channel called “My Sewing Room”. Fabric from “My Fabric Addiction” and “Farfalla Originals” on Etsy
#13 Finished 12/16, 2022 6 disappearing 9 patch panels, made from 9 inch squares. Used 14 fat quarters. Given as a gift to my husband. It is flannel.

#14 finished Jan 6, 2023 I didn’t cut or sew the HSTs. They were in a bag from Make and Mend. I assembled them into this pattern, to resemble fish in a pond. 61×37 inches

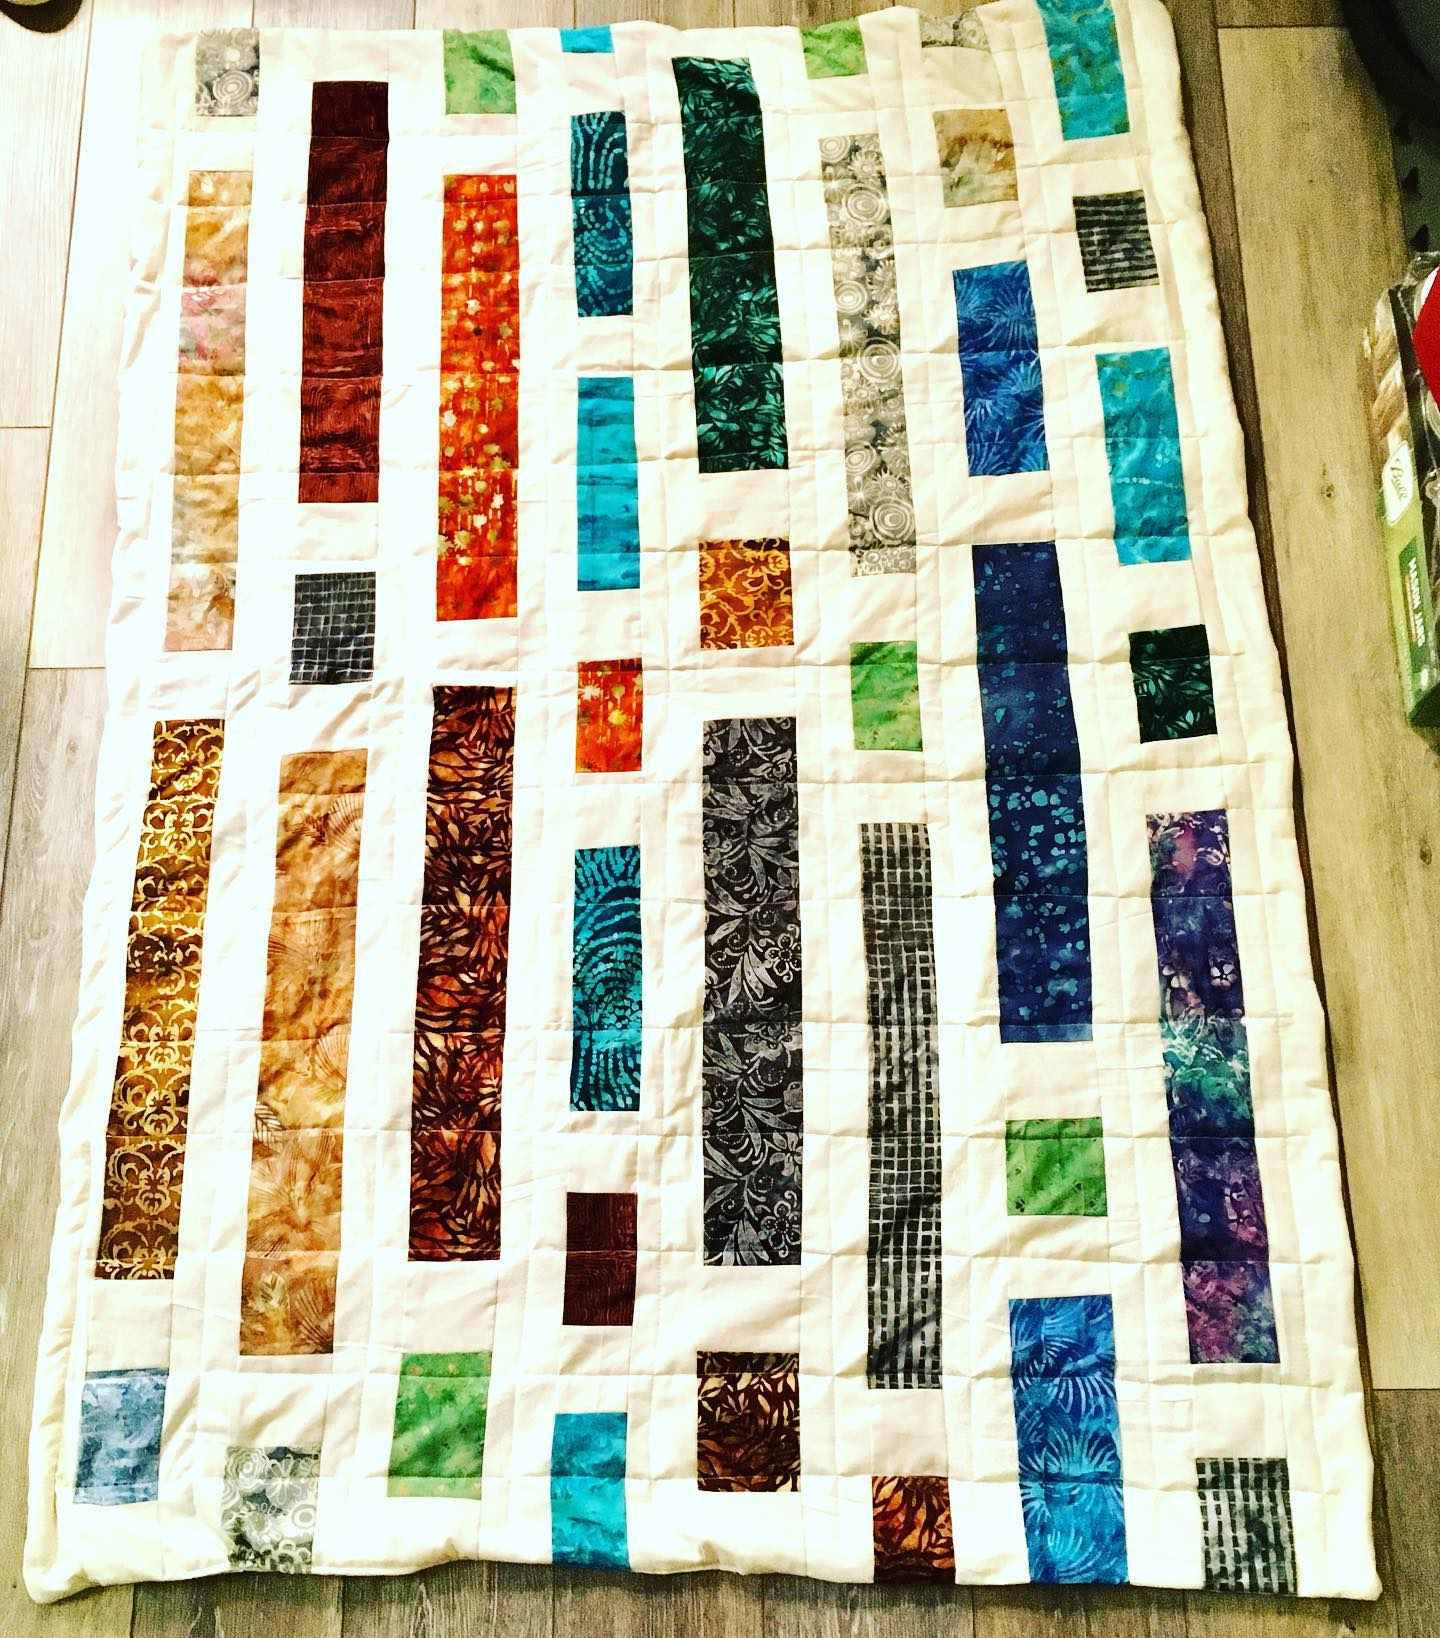
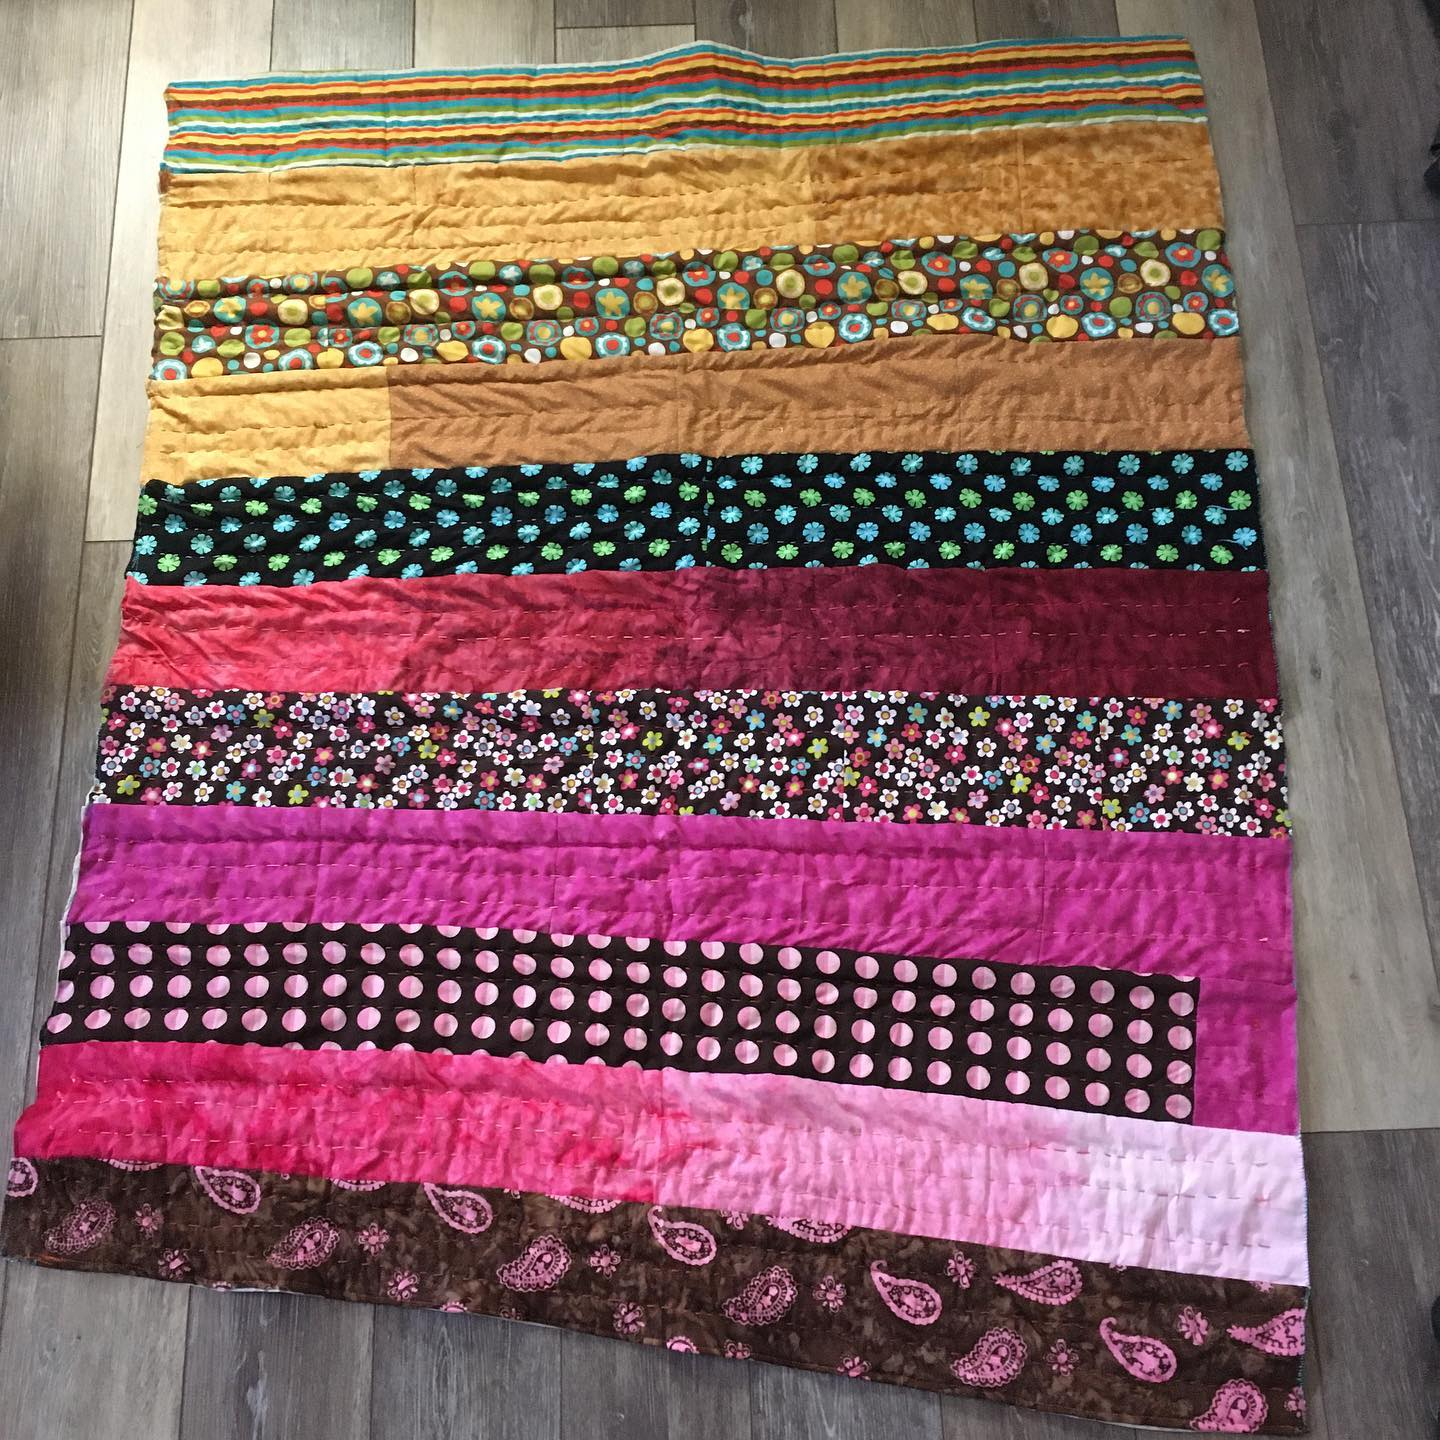
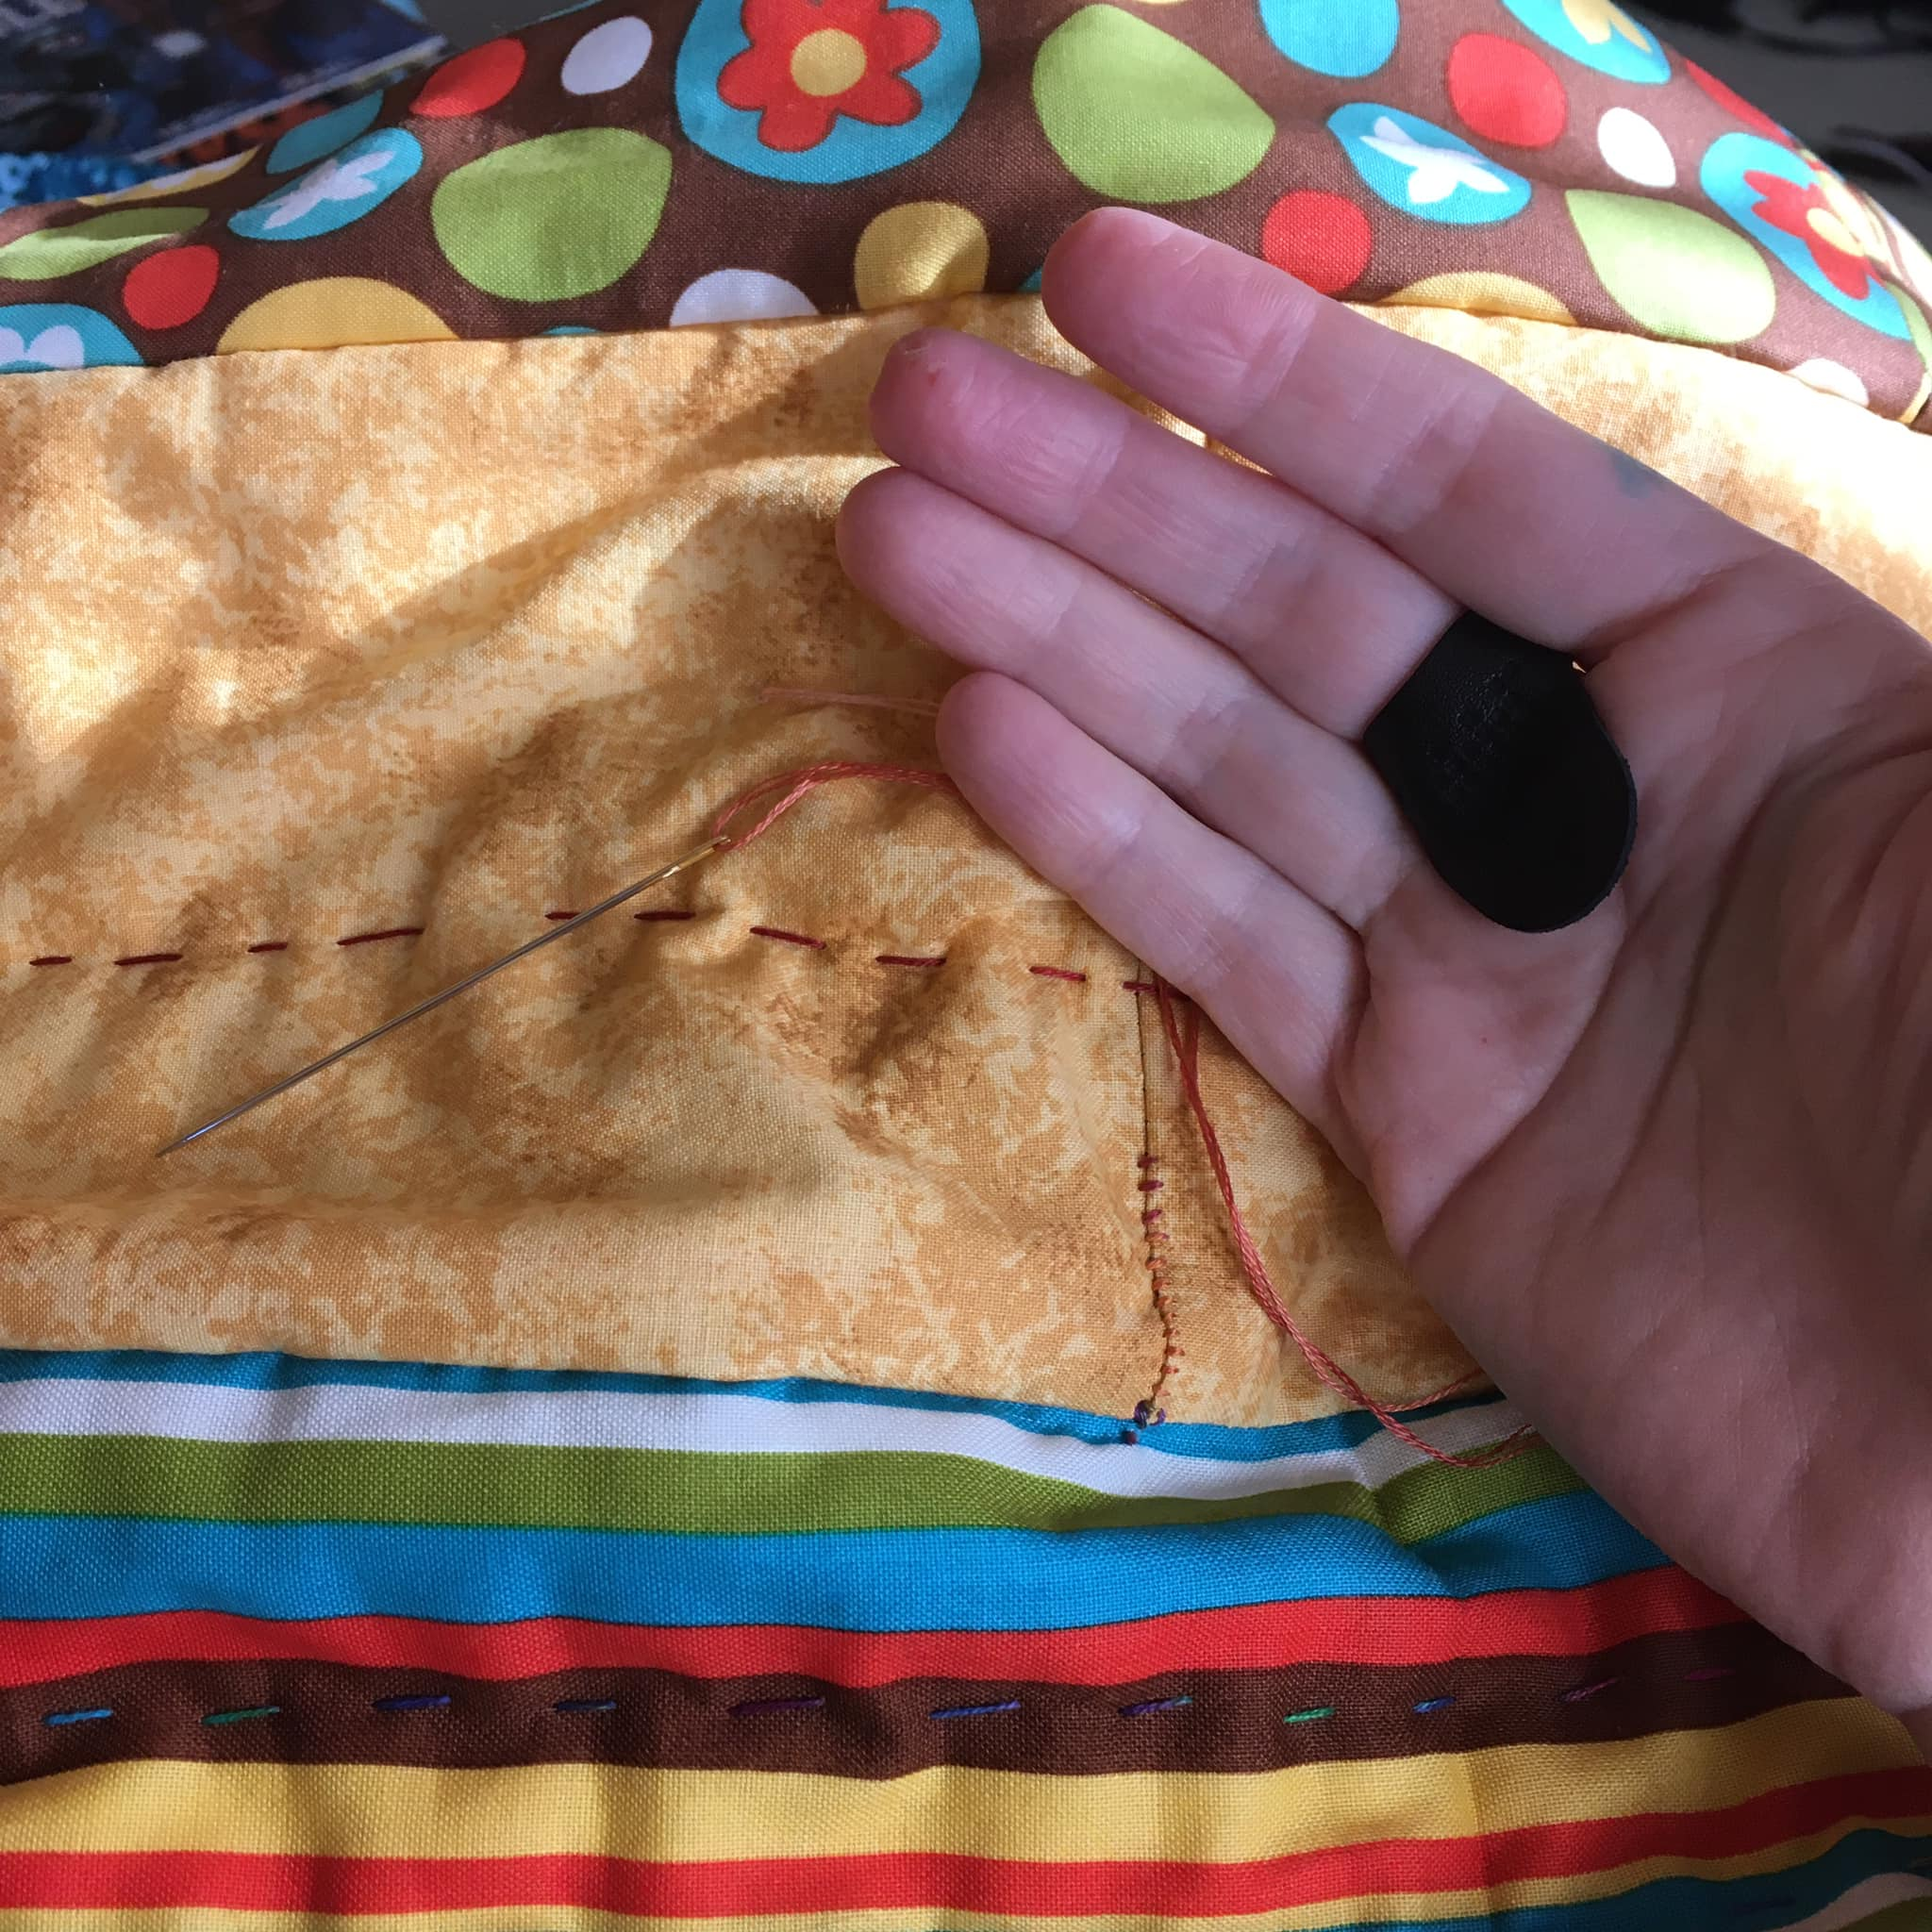
#15 finished 3/4/23 Kantha, technique by Terry Rowland. Fabric by Smart. Now I know why to sew coming from alternate sides
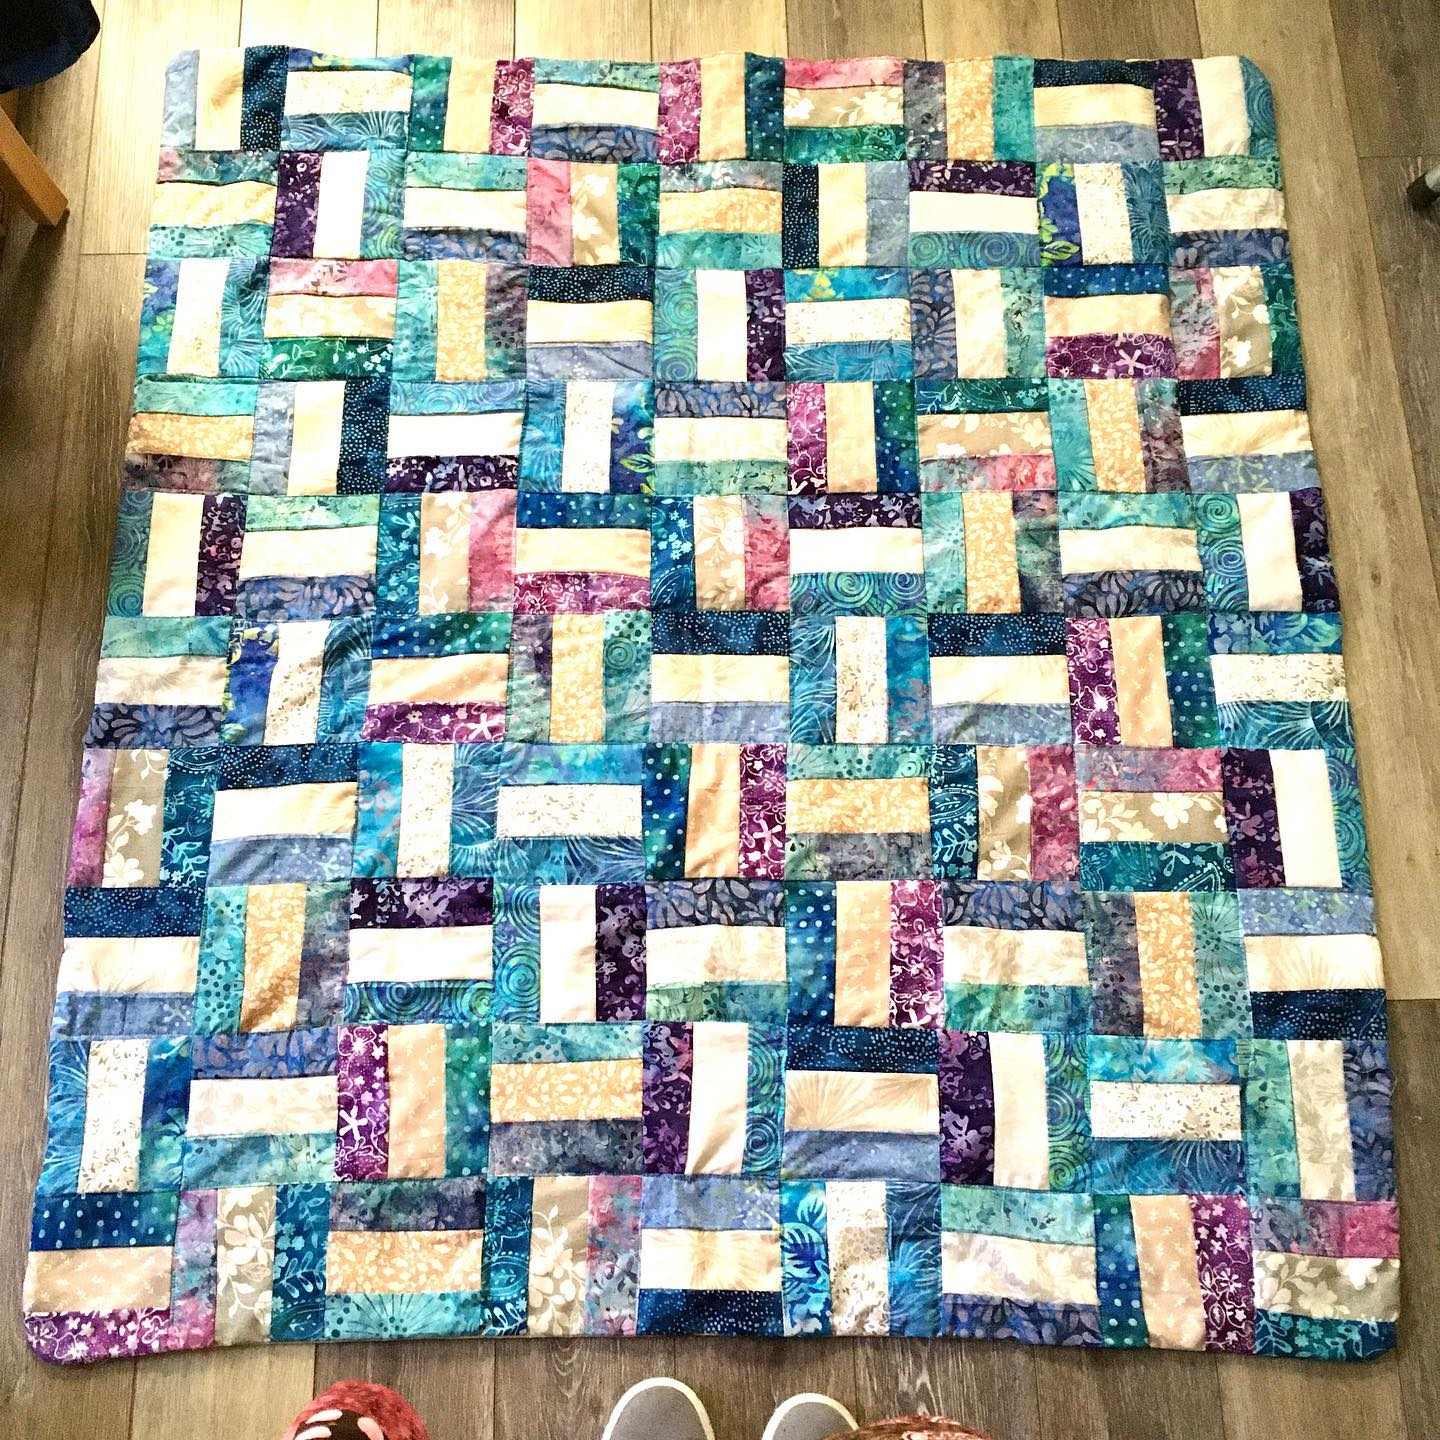
#16 finished 4/12/23 Fence rail. 49×52 inches. Gifted 2/26/26
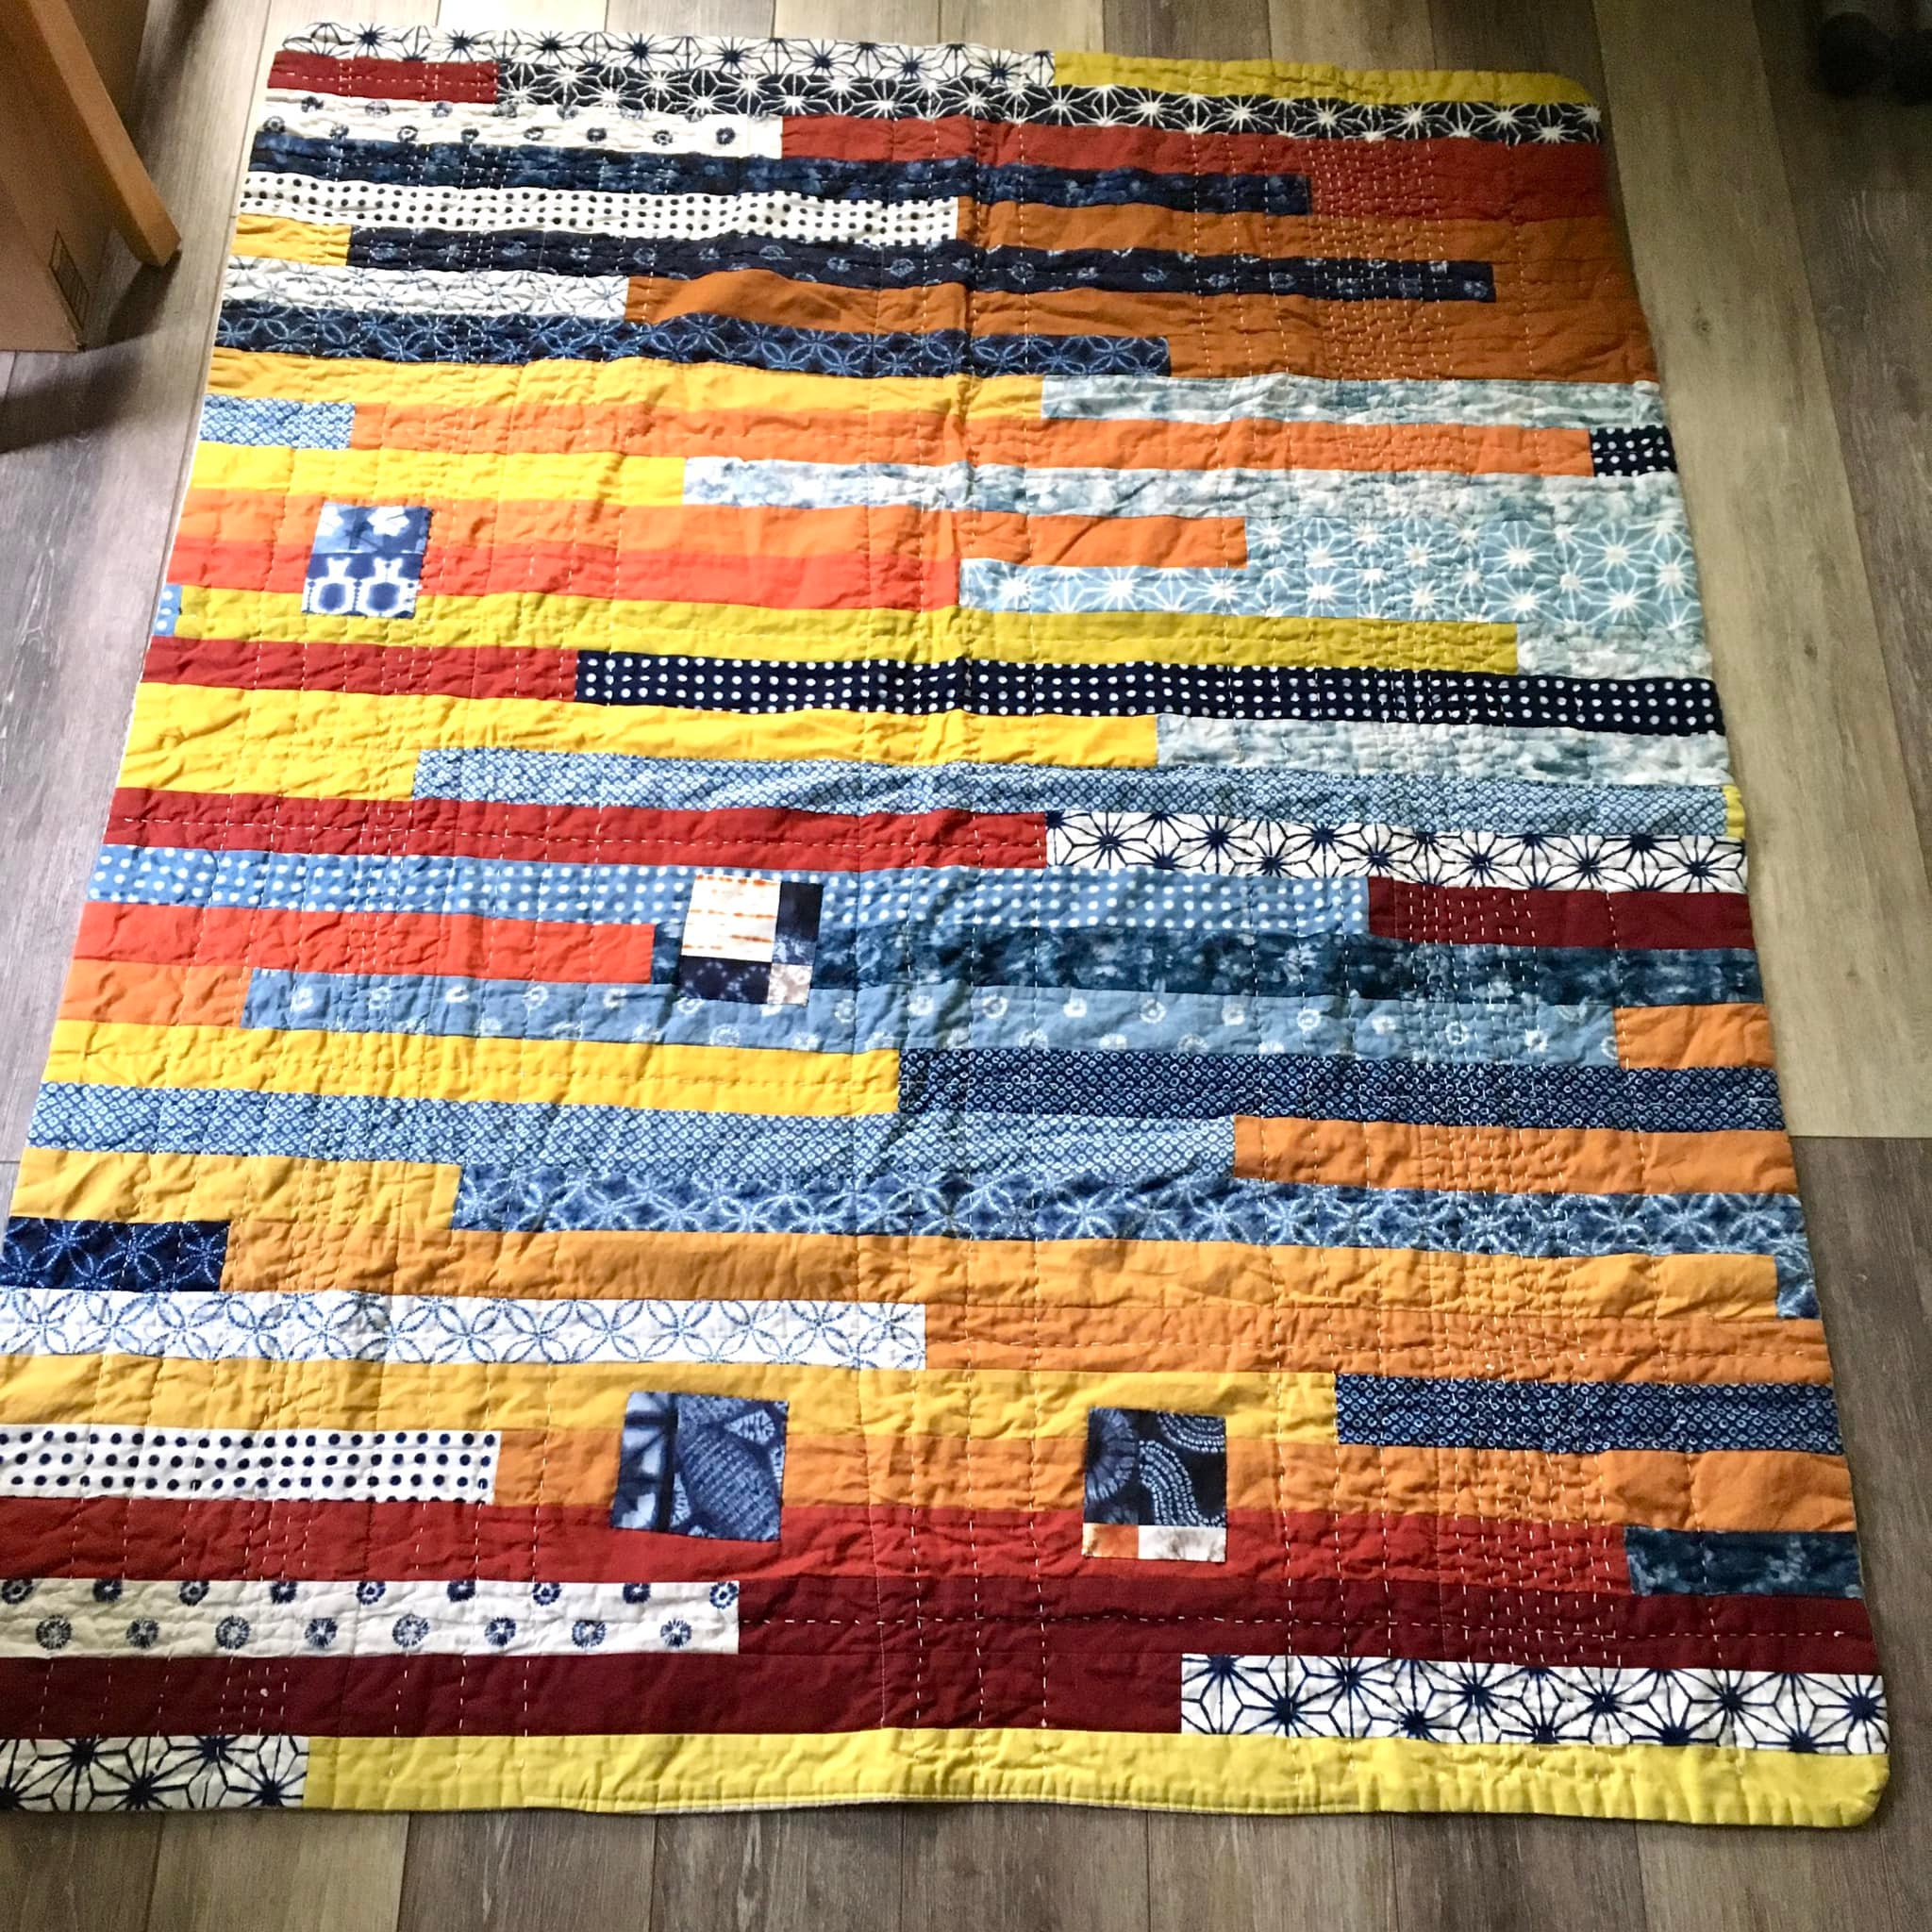
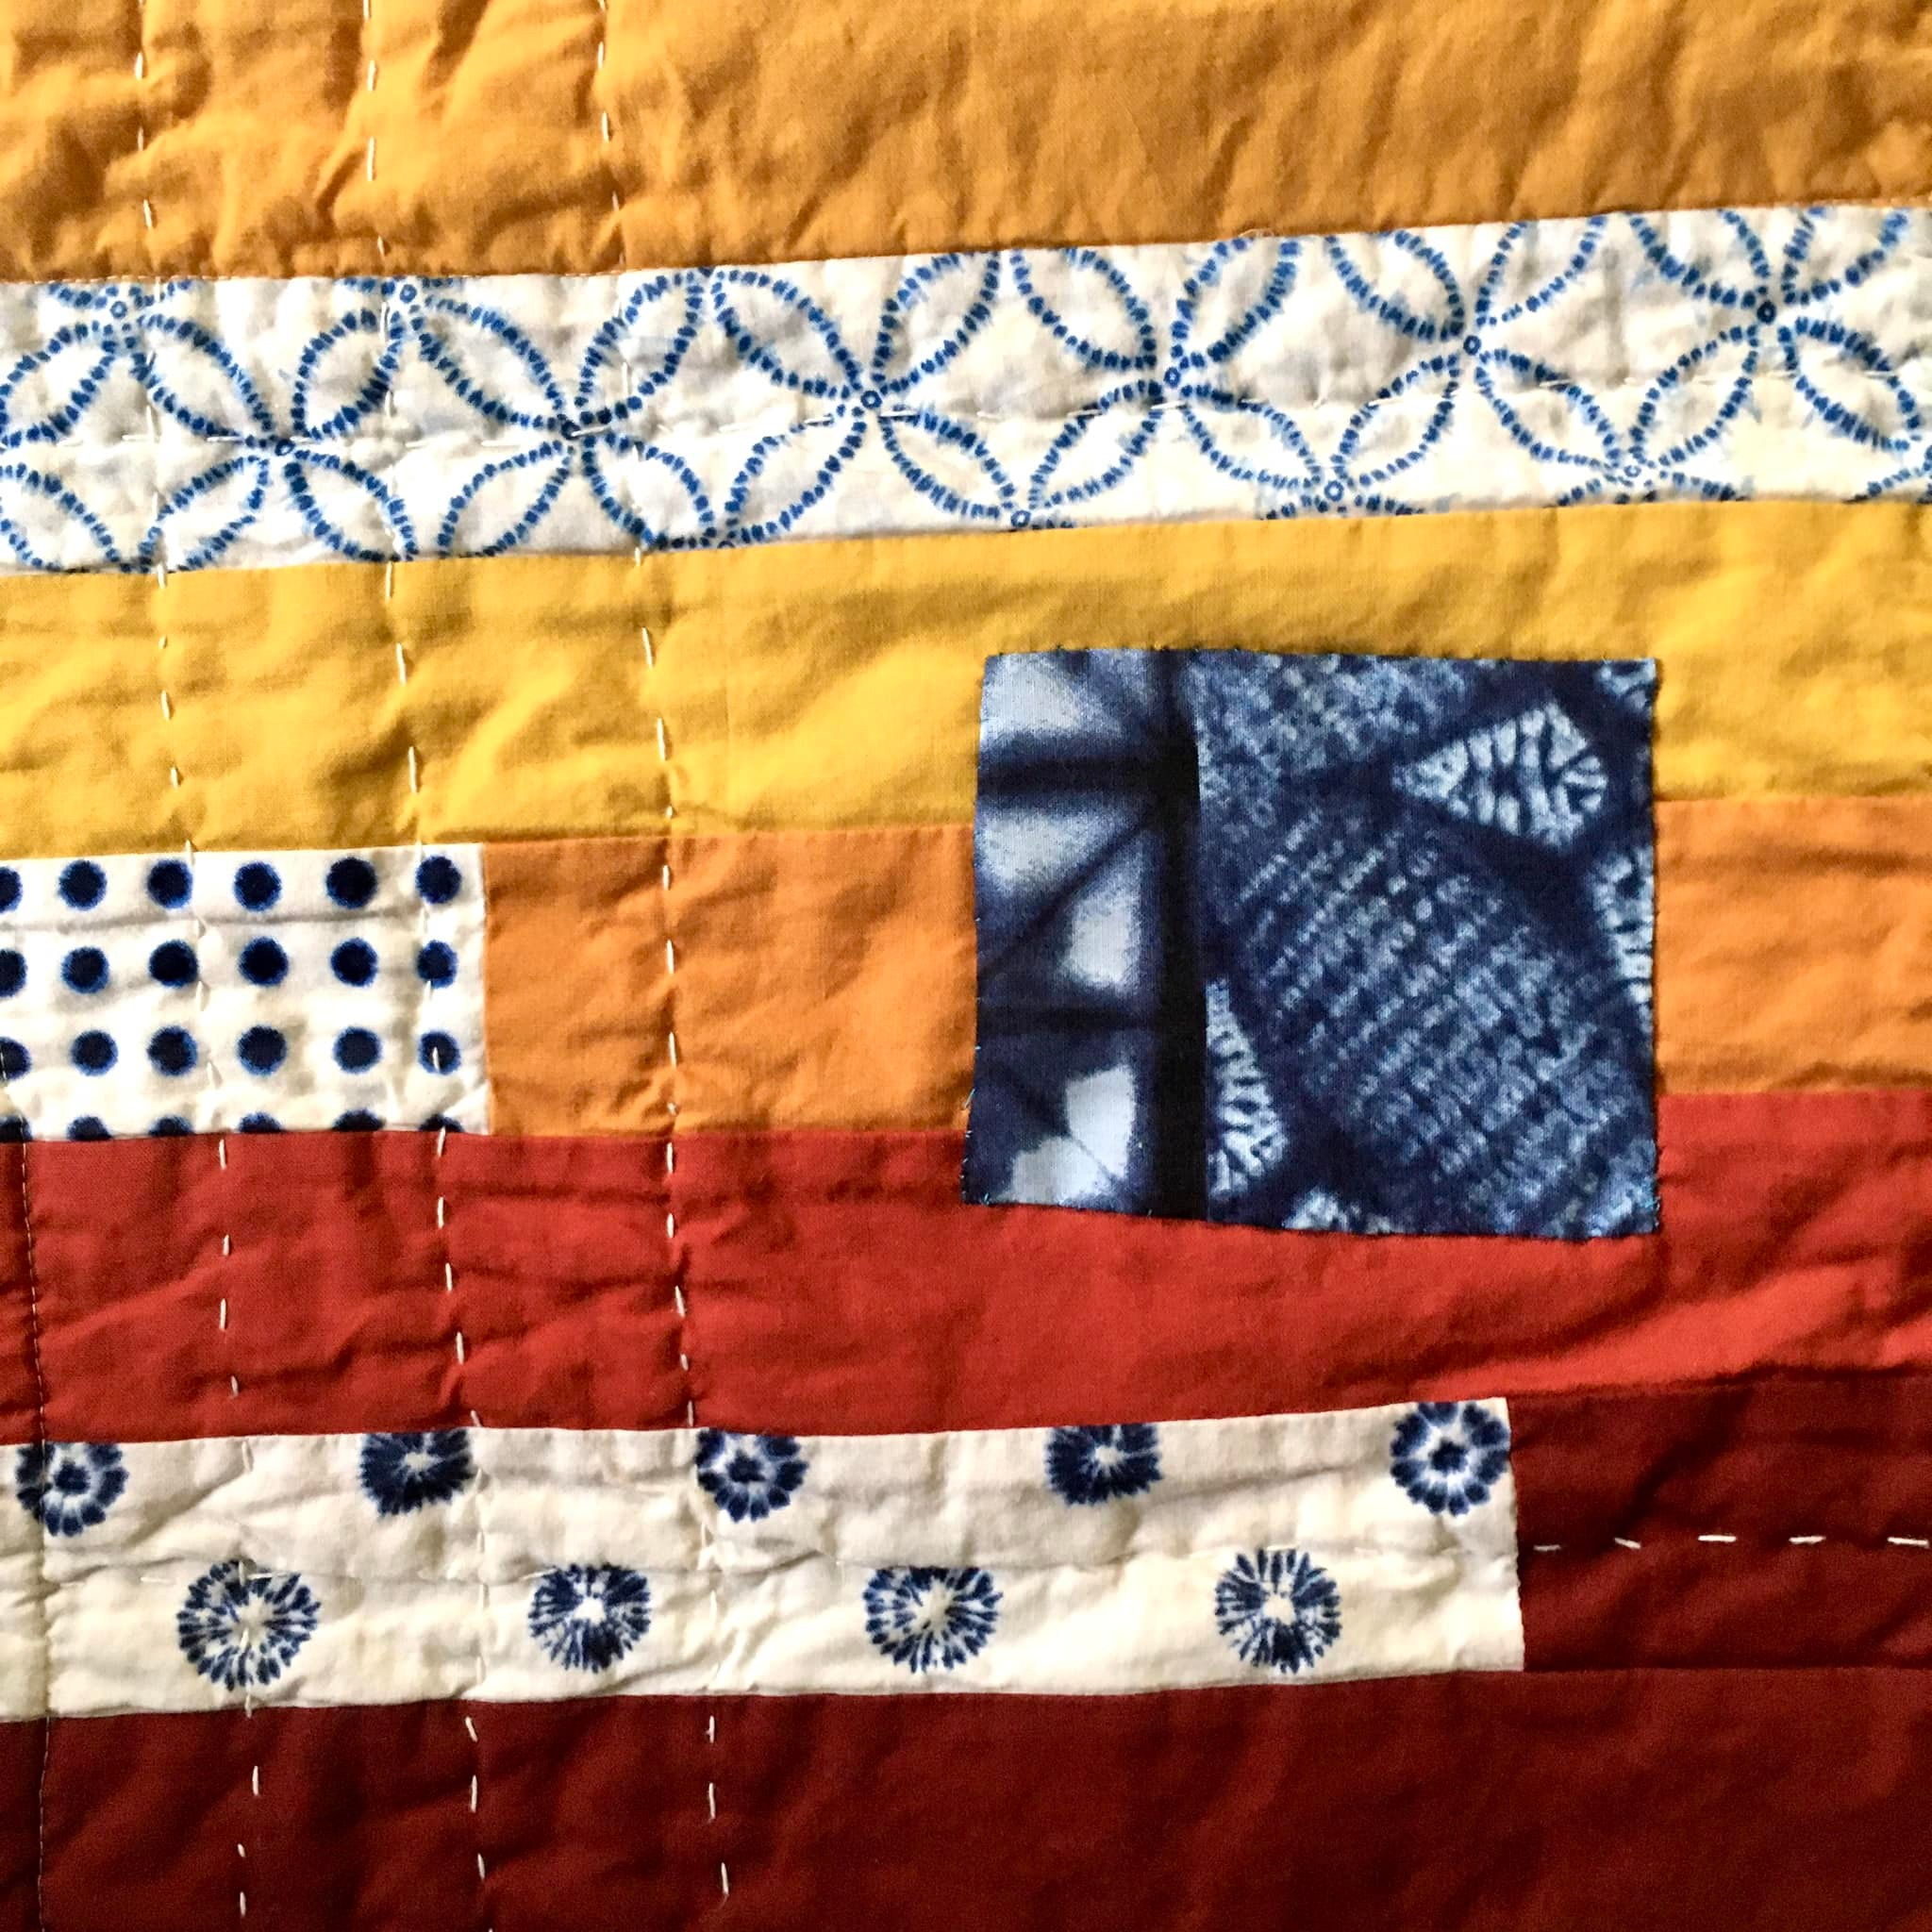
#17 finished 6/19/26 Sashiko quilting on shibori
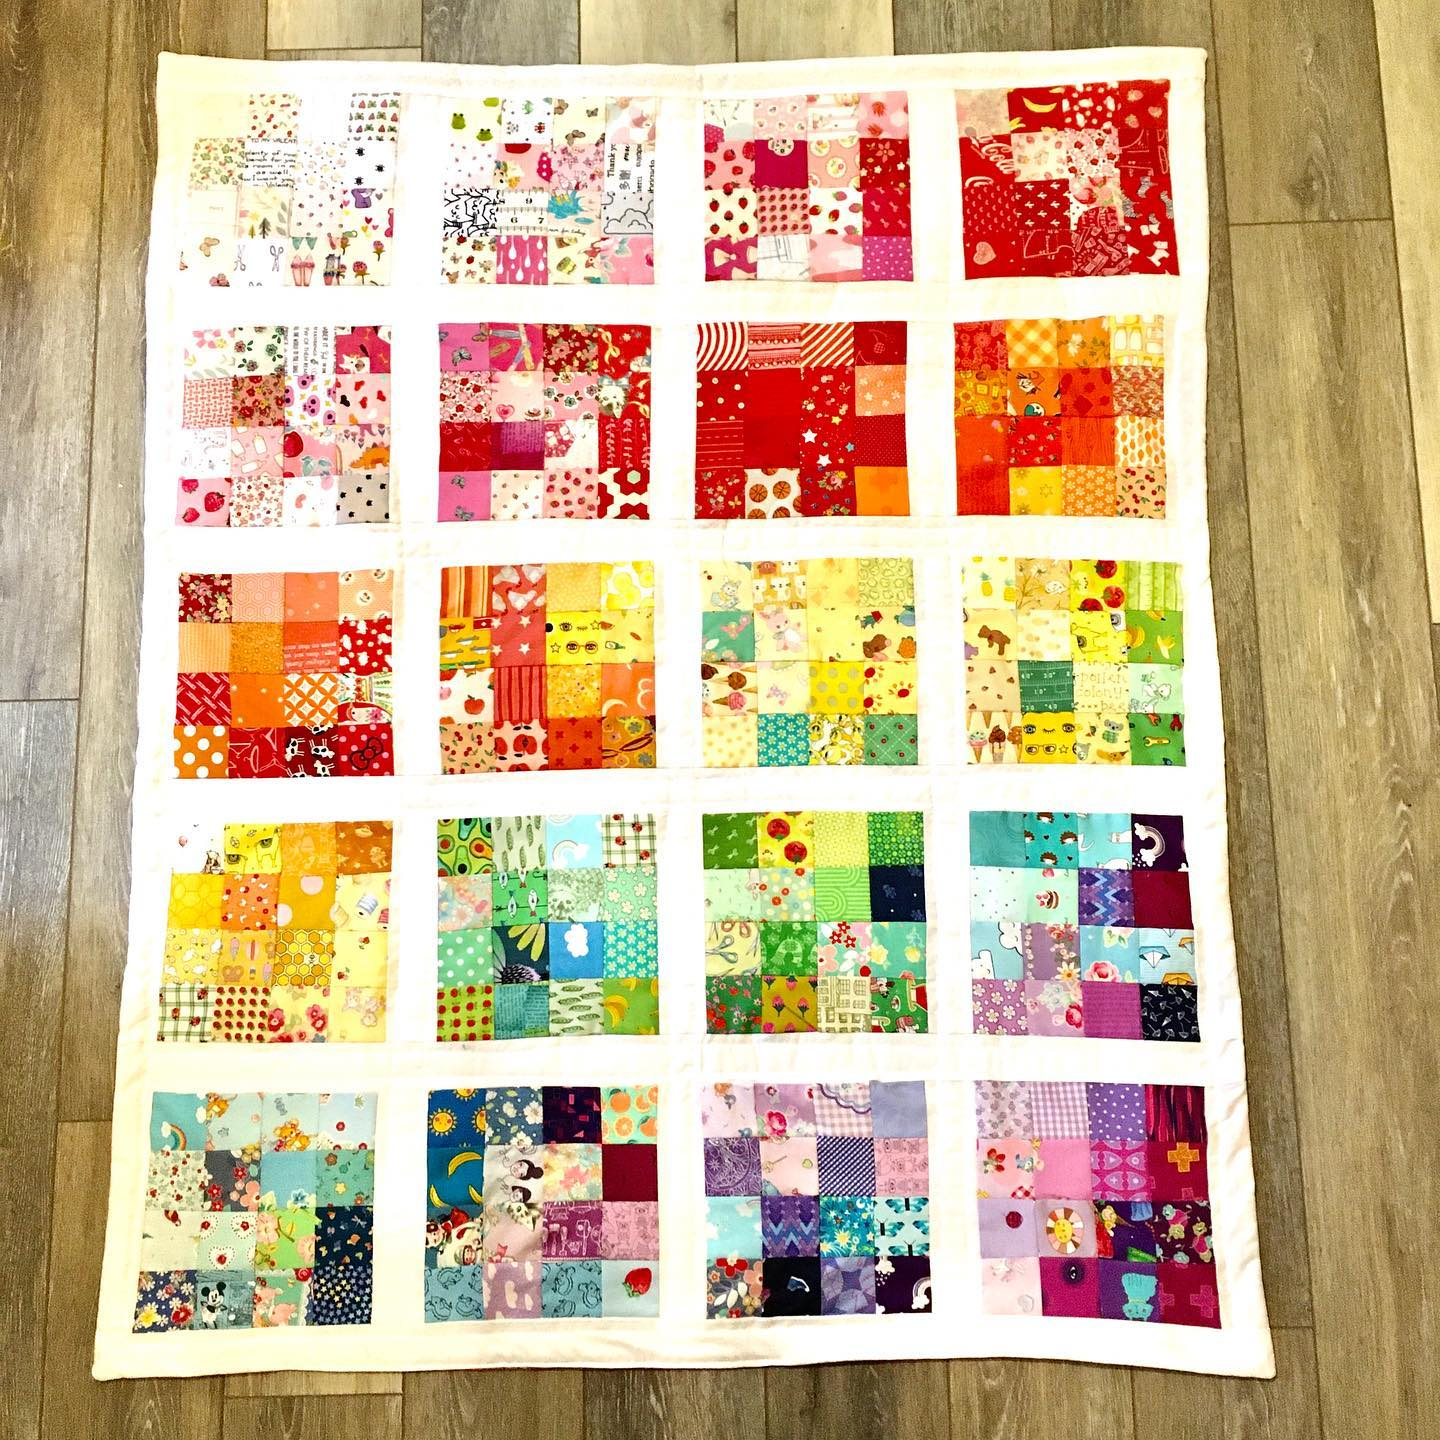
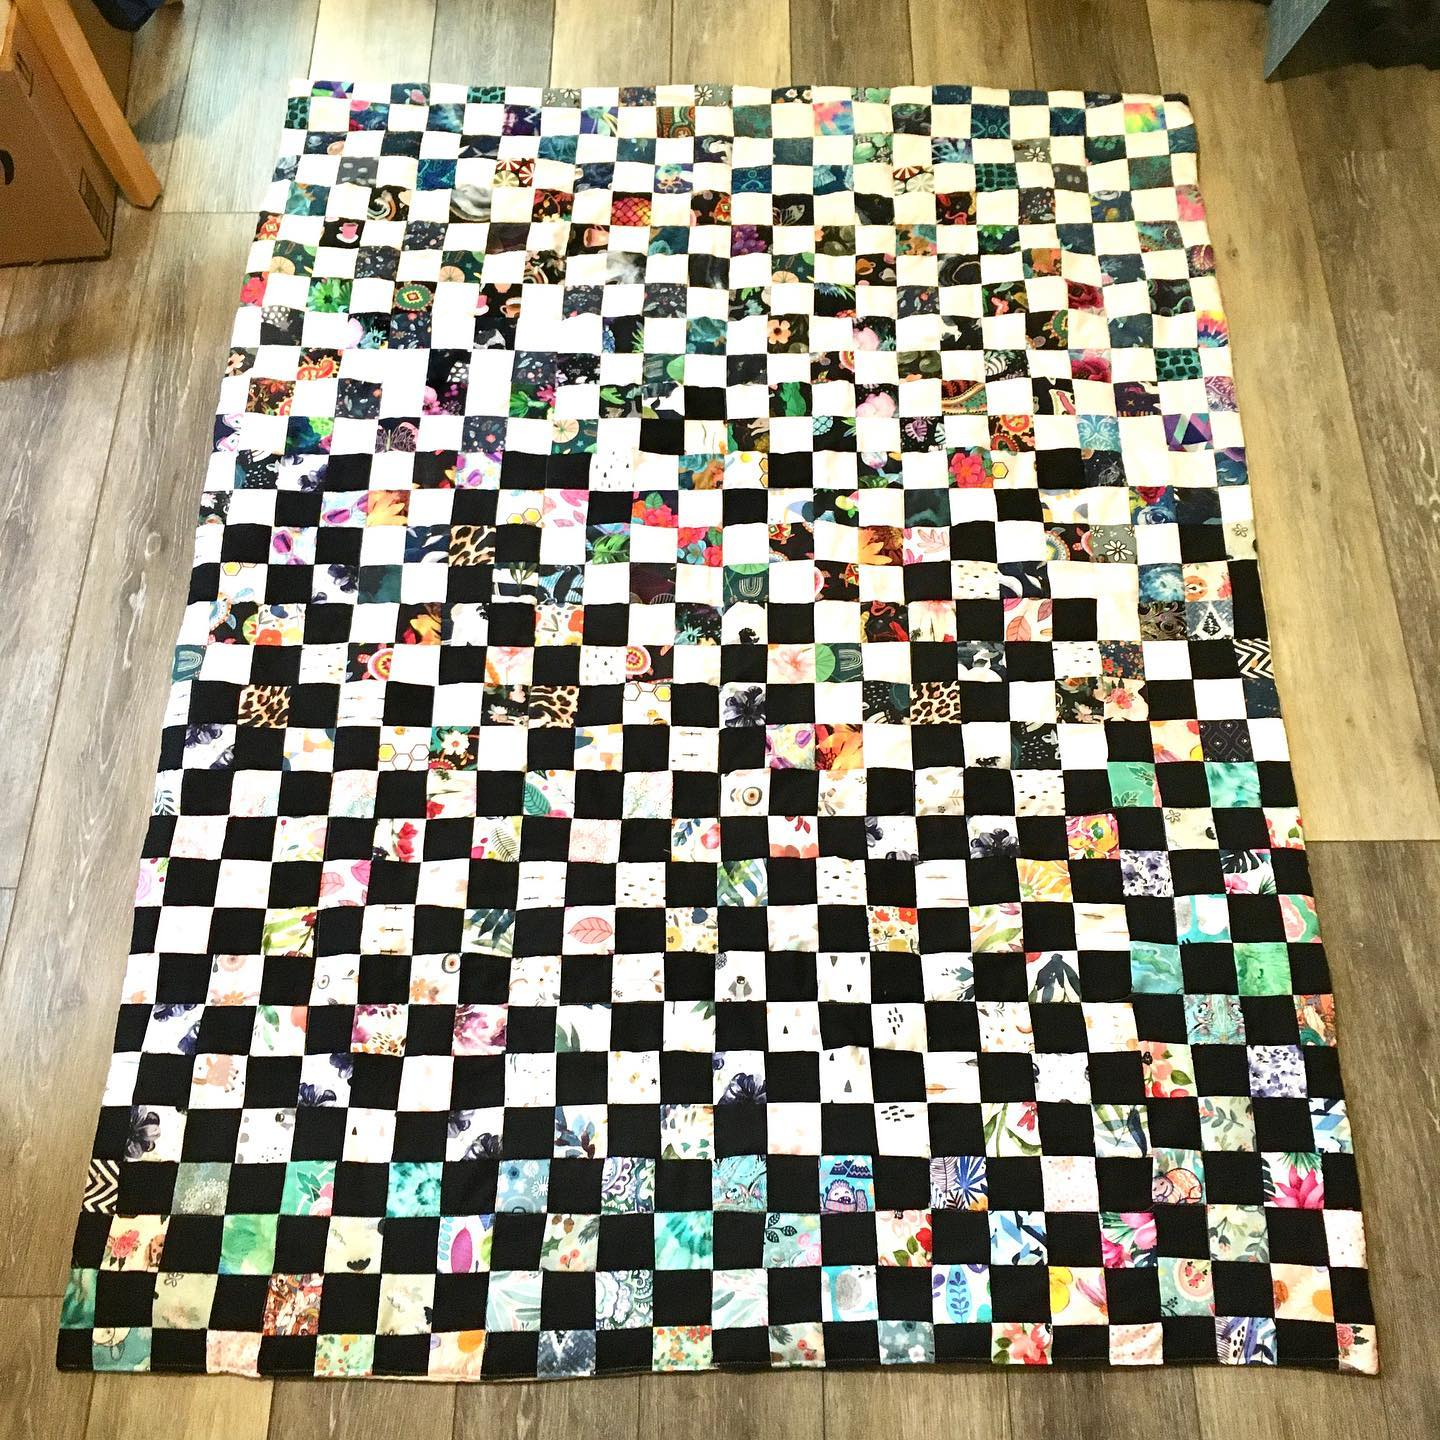
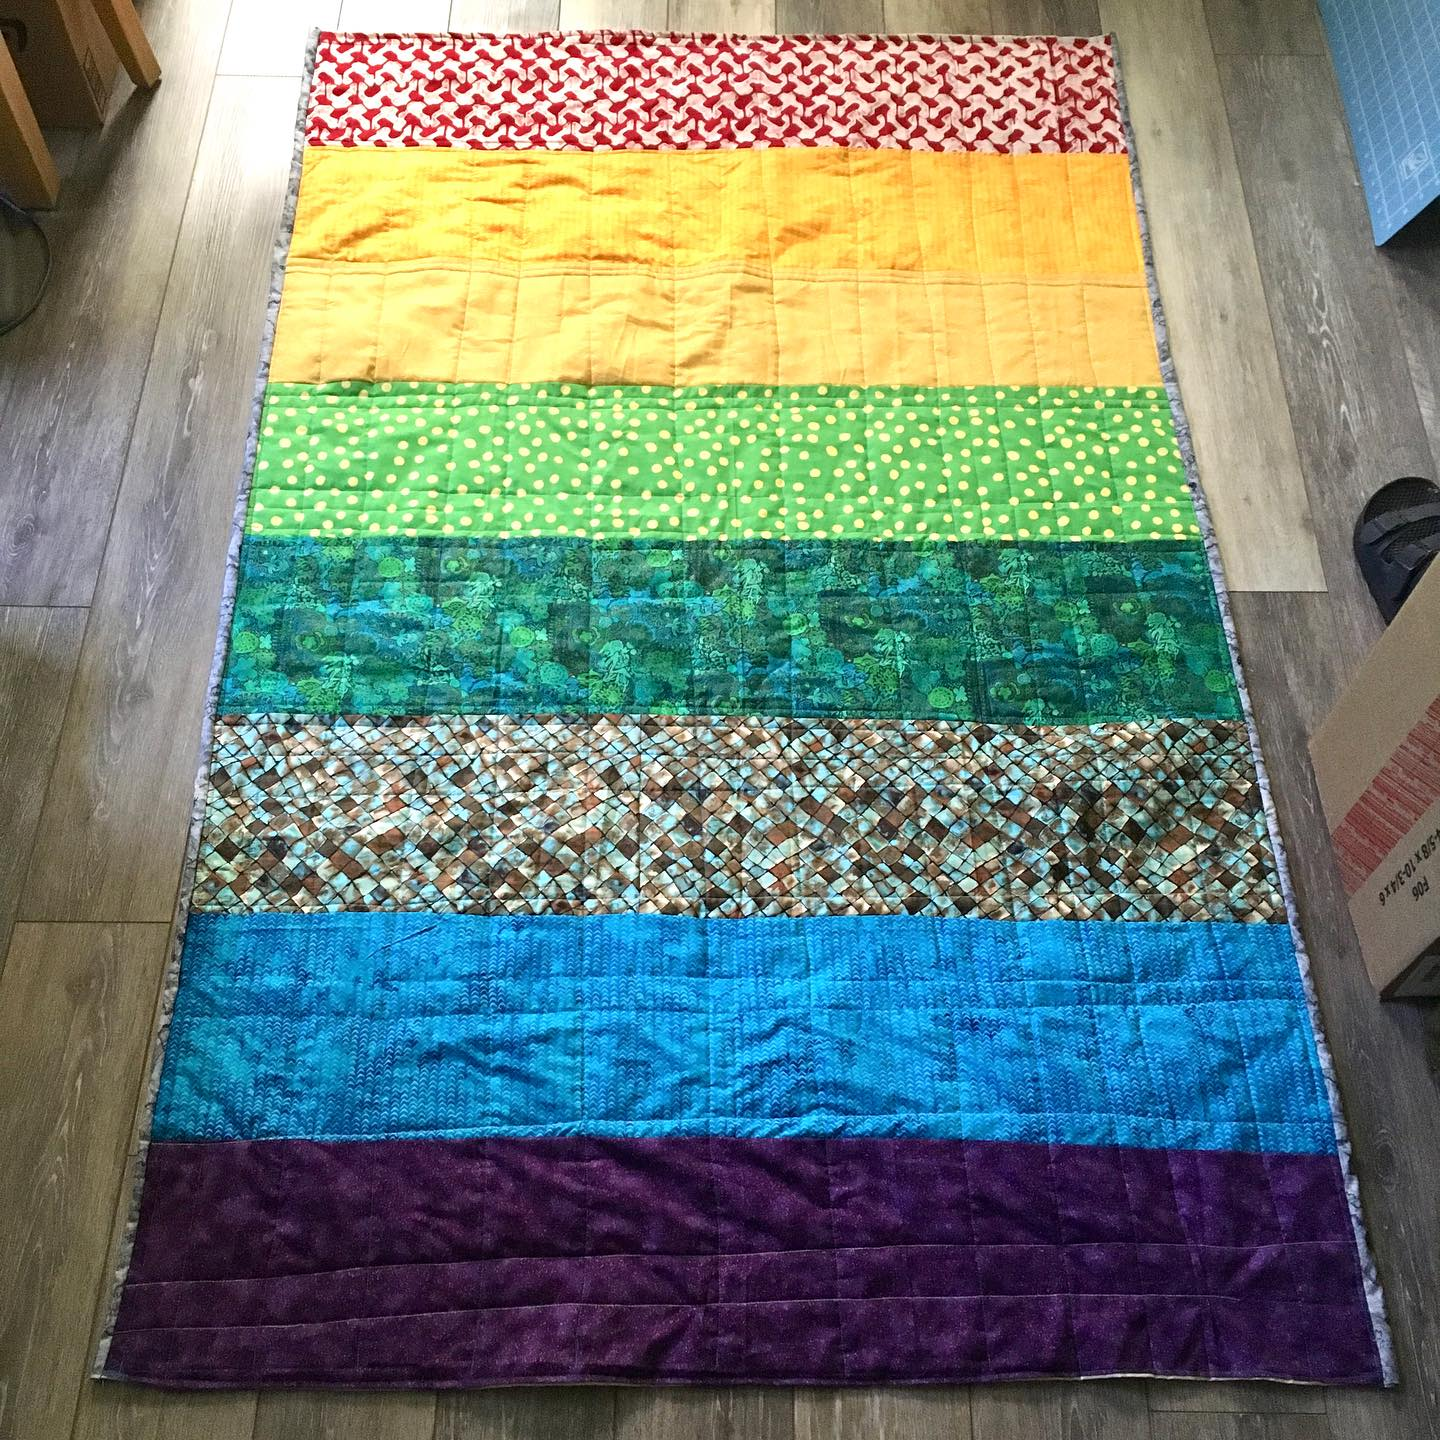
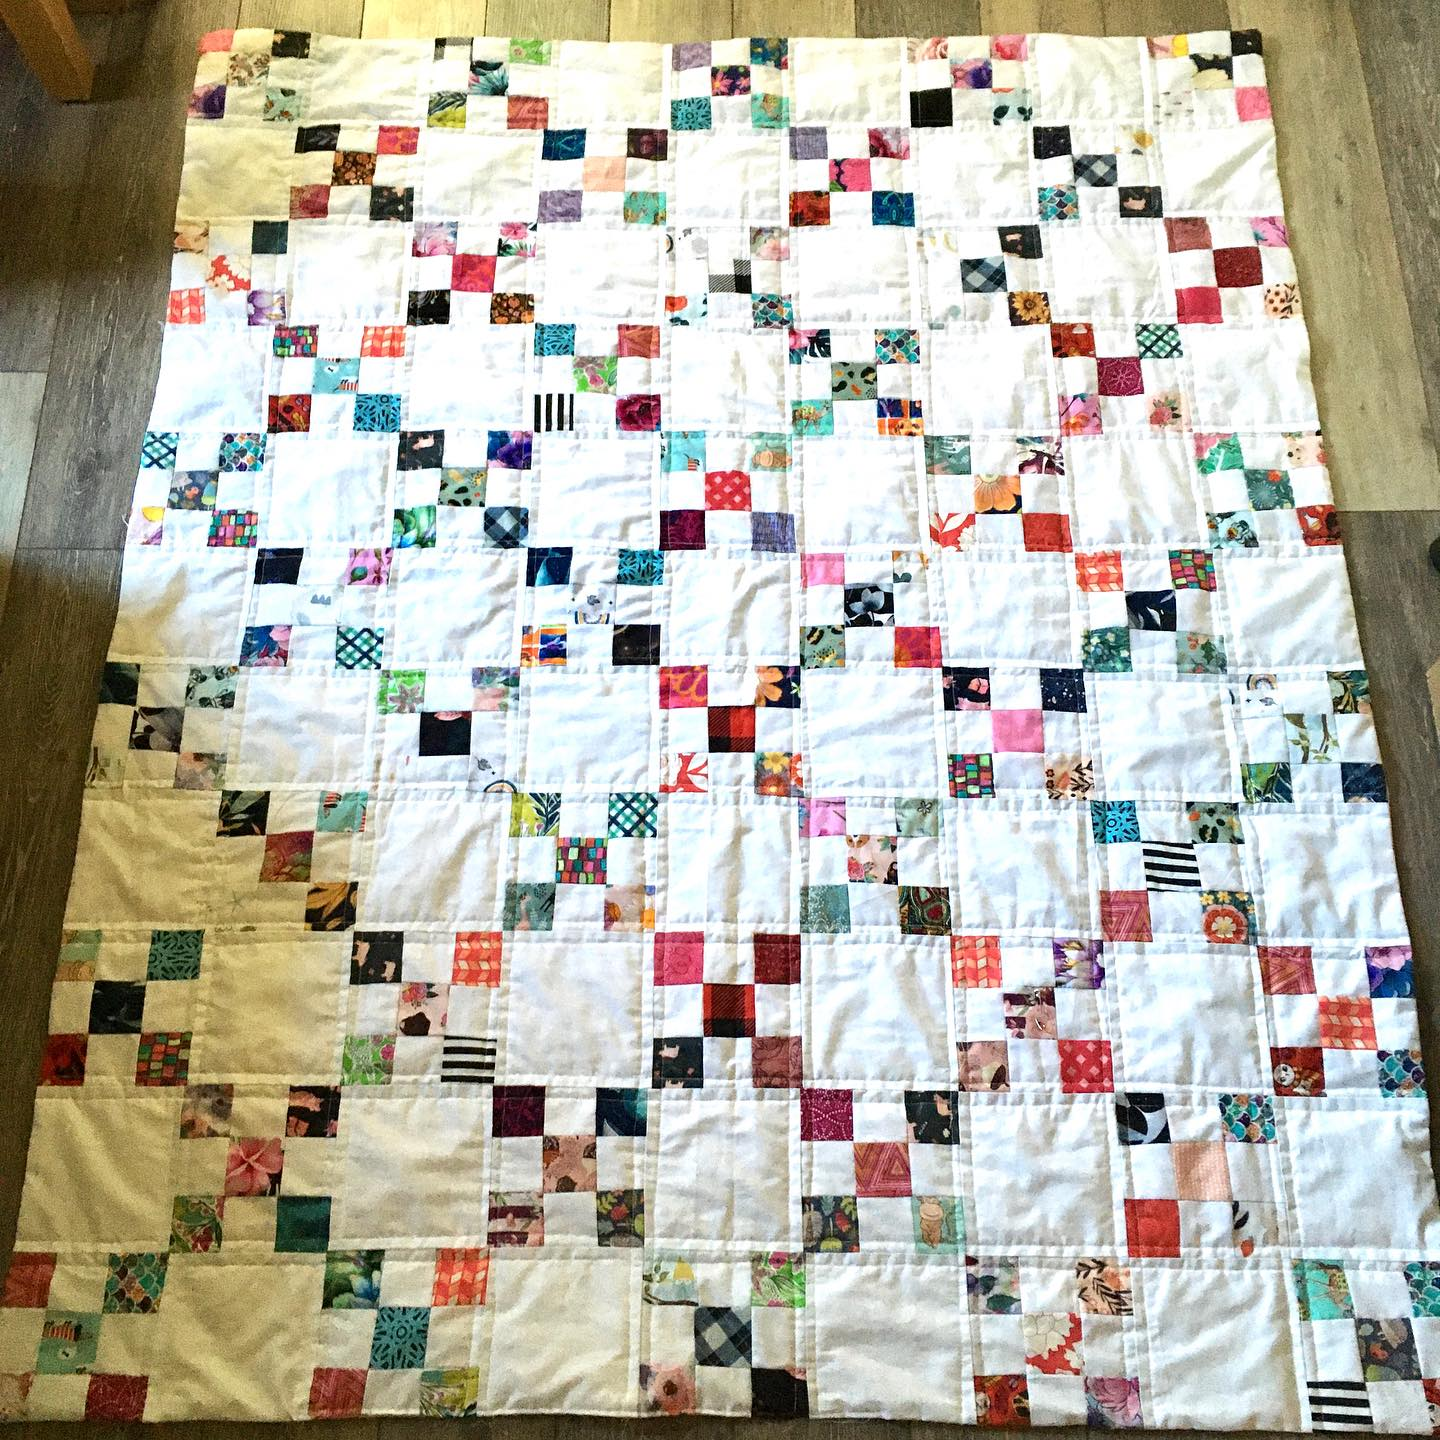
#18 finished 4/27/23 Rainbow postage stamp. Colorful fabric from “Shanzay’s Sewing Co” on Etsy
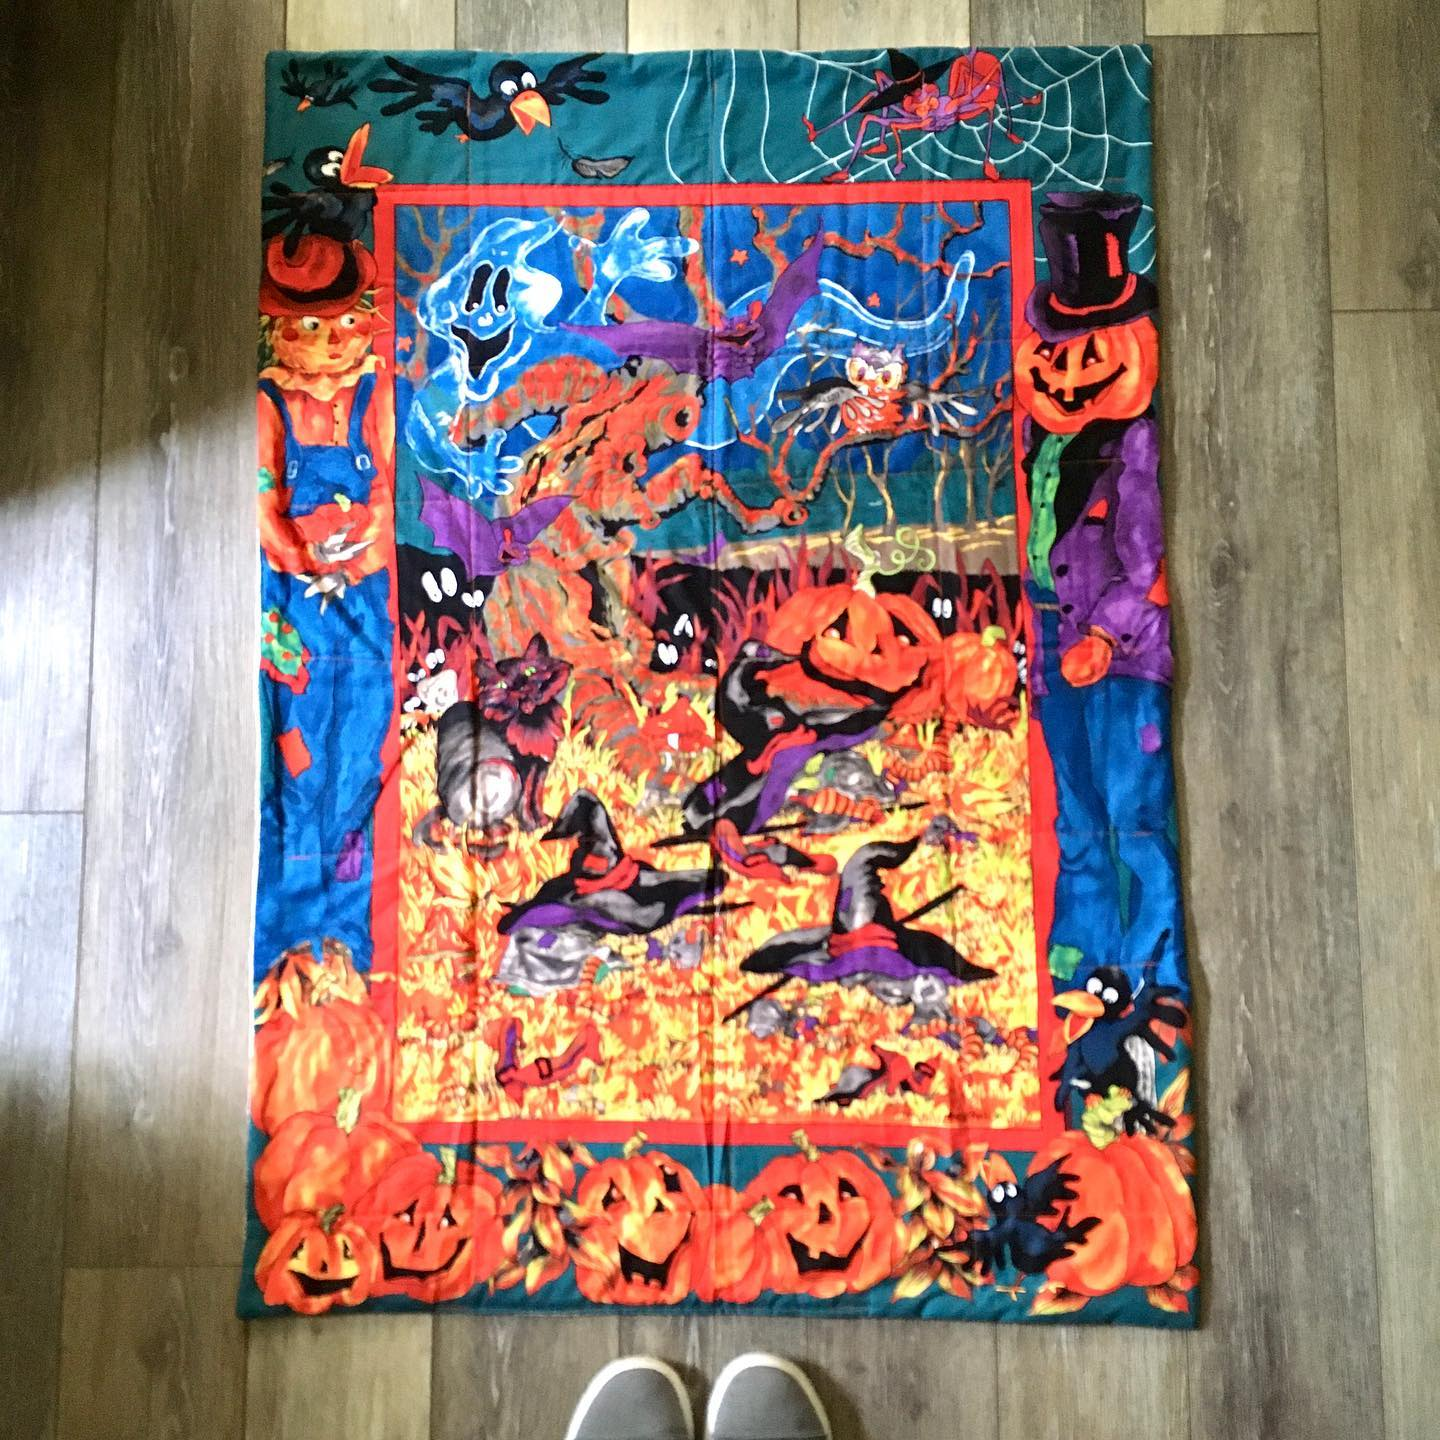
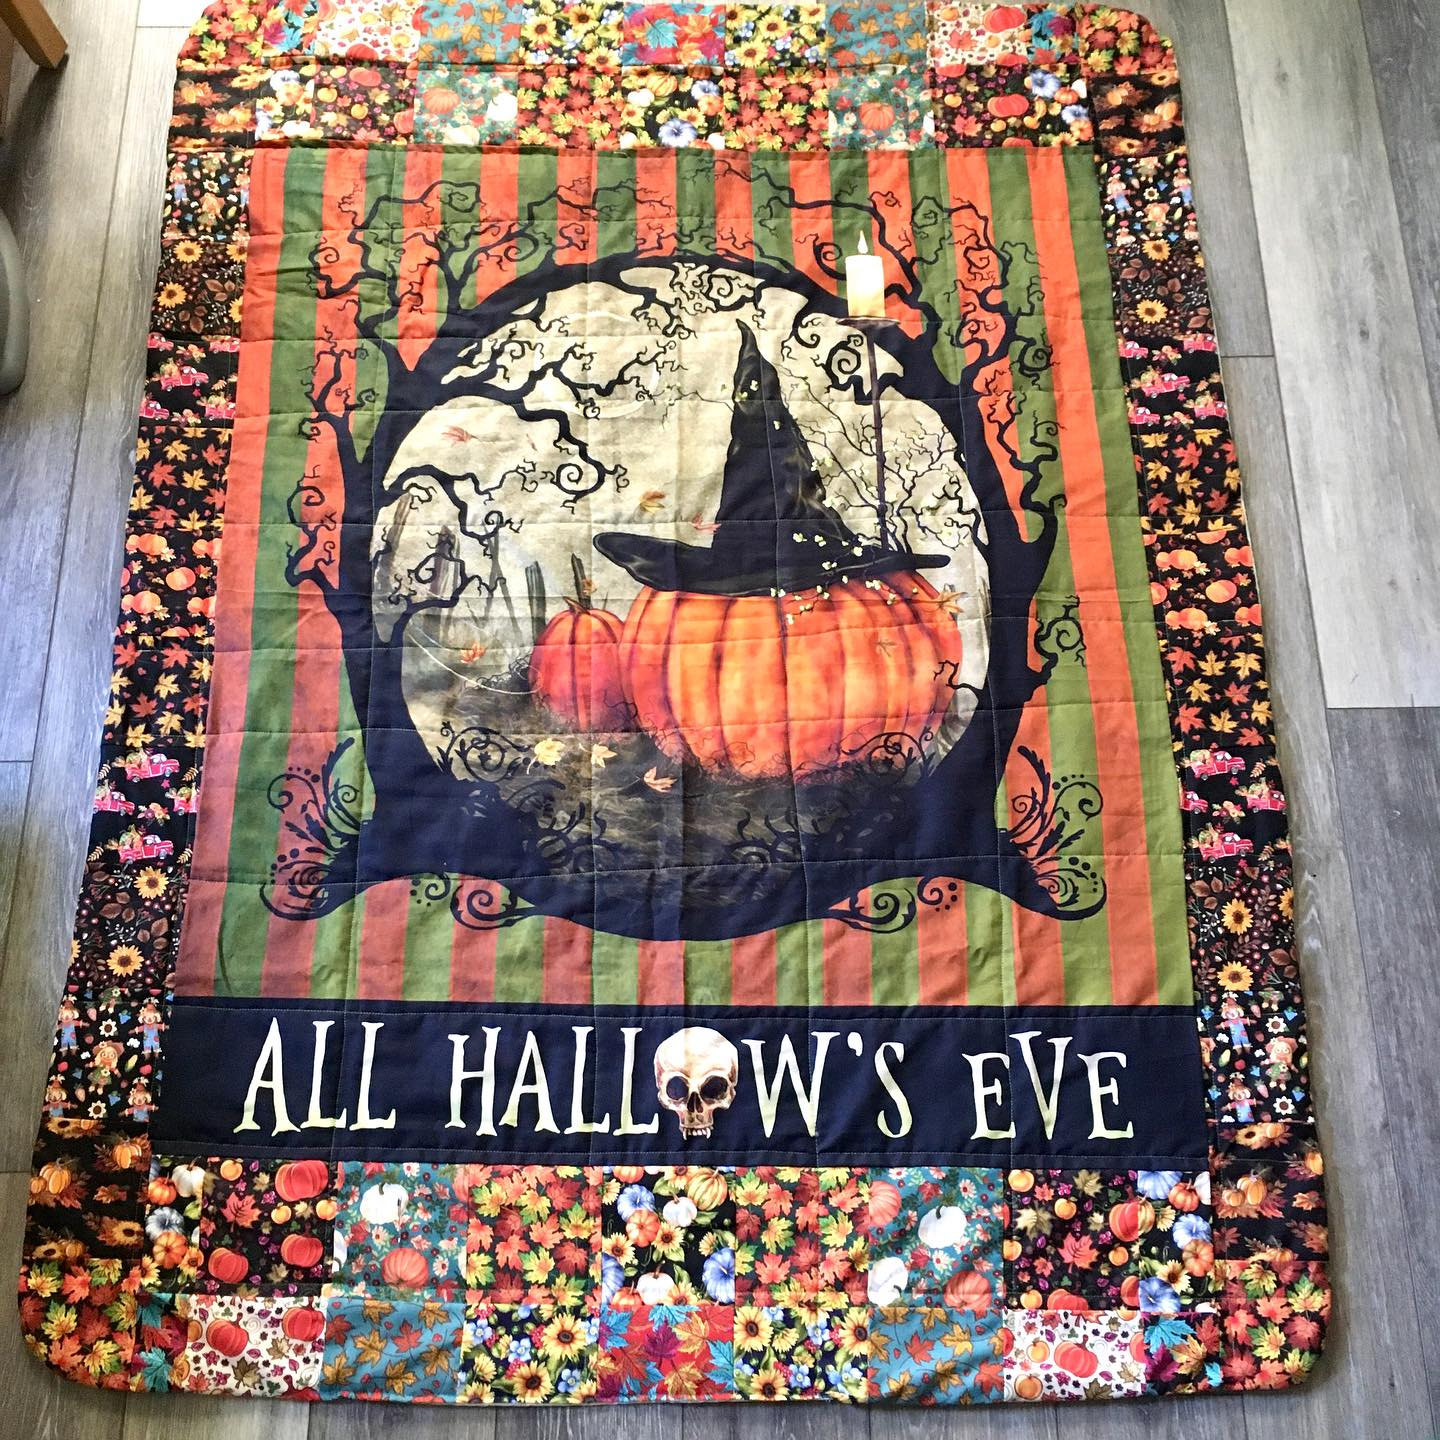
#19 finished 5/24/23 Halloween nap blanket for my husband
#20 finished 6/20/23 Donated to Caris Hospice 7/27/23
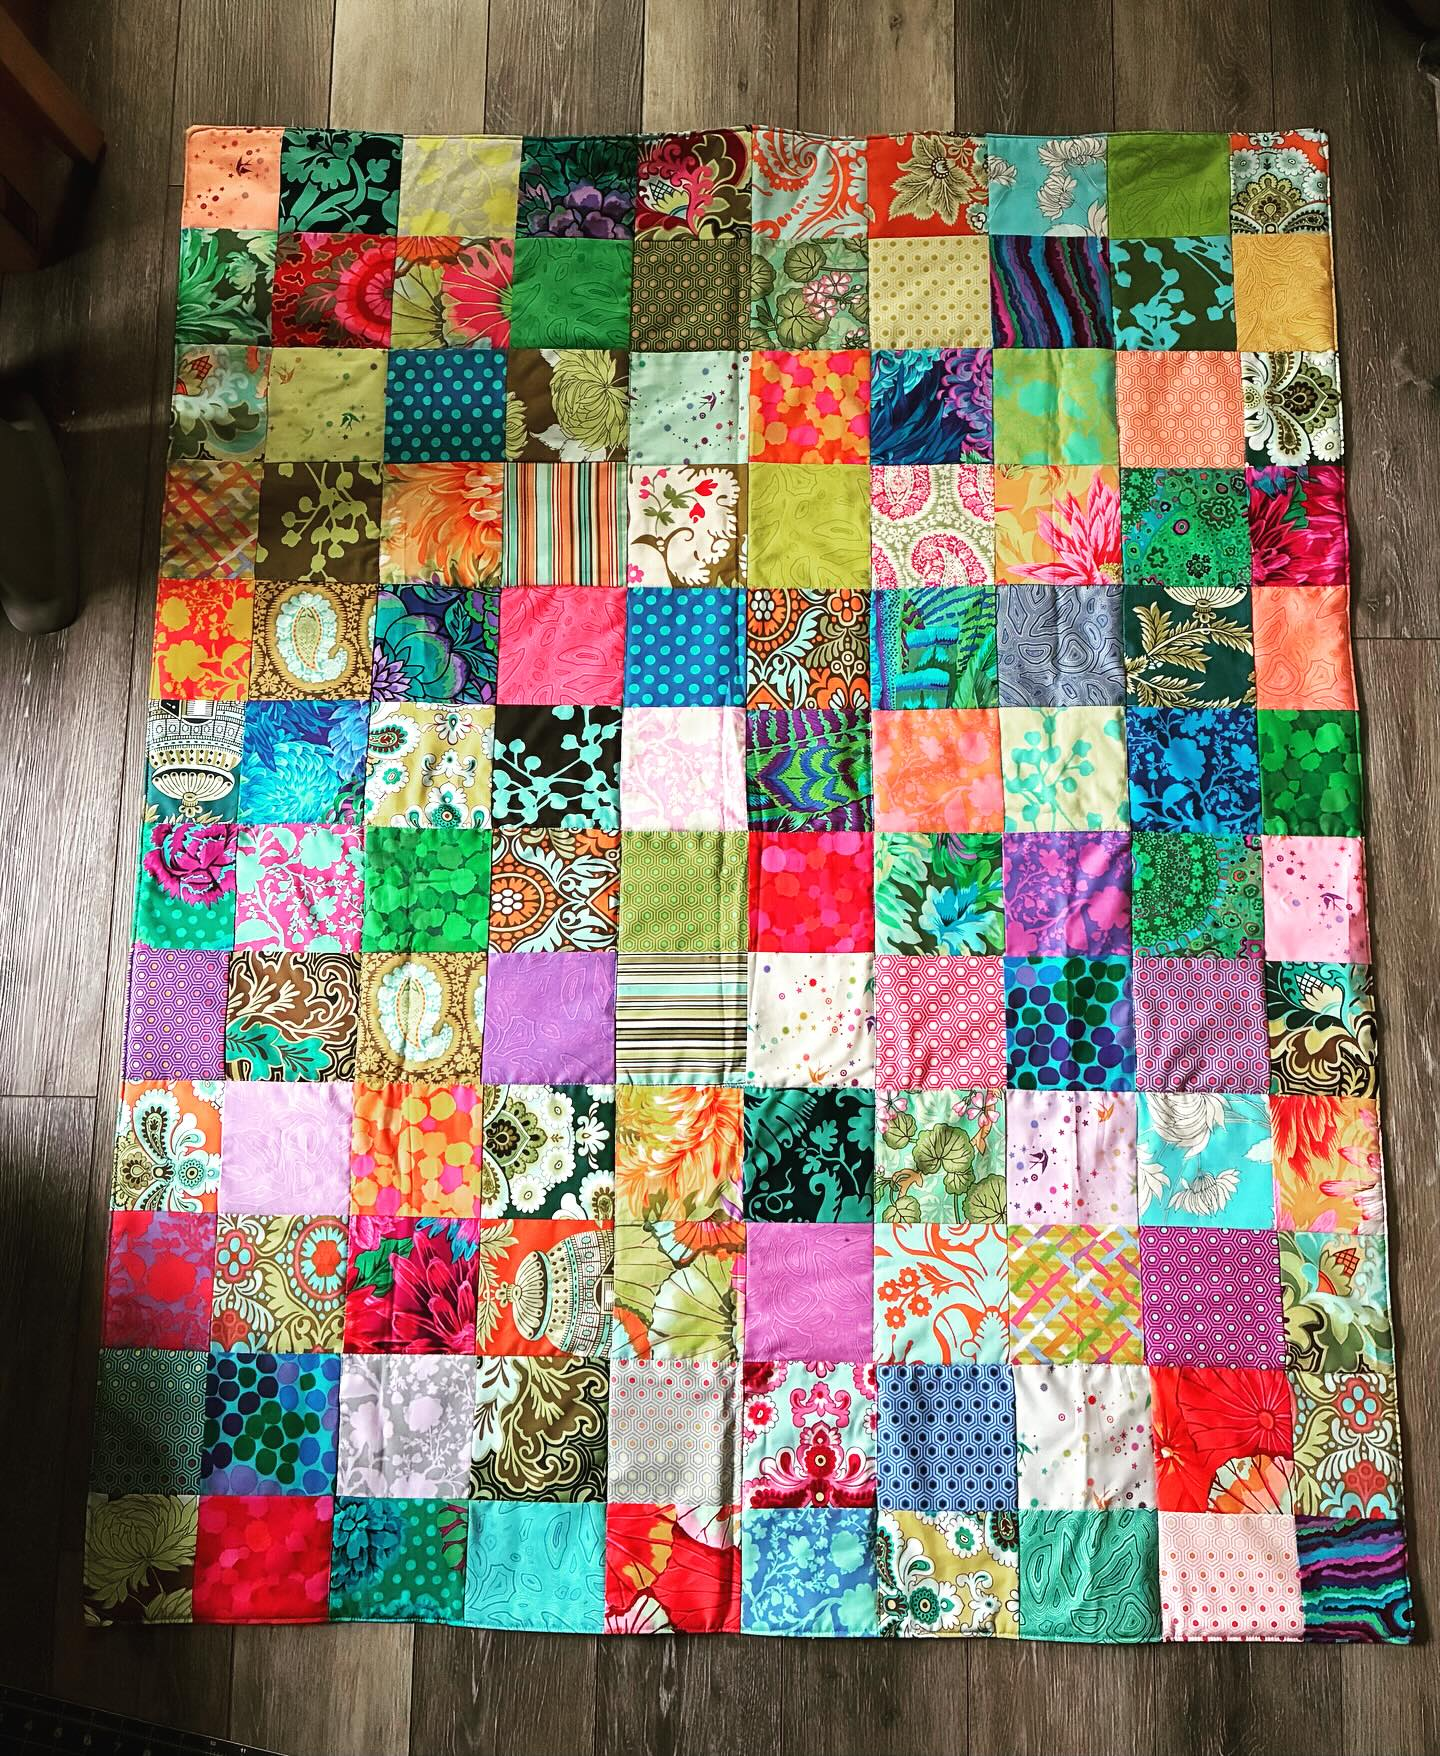
#21 finished June 22, 2023 Fabric from “My fabric addiction” on Etsy

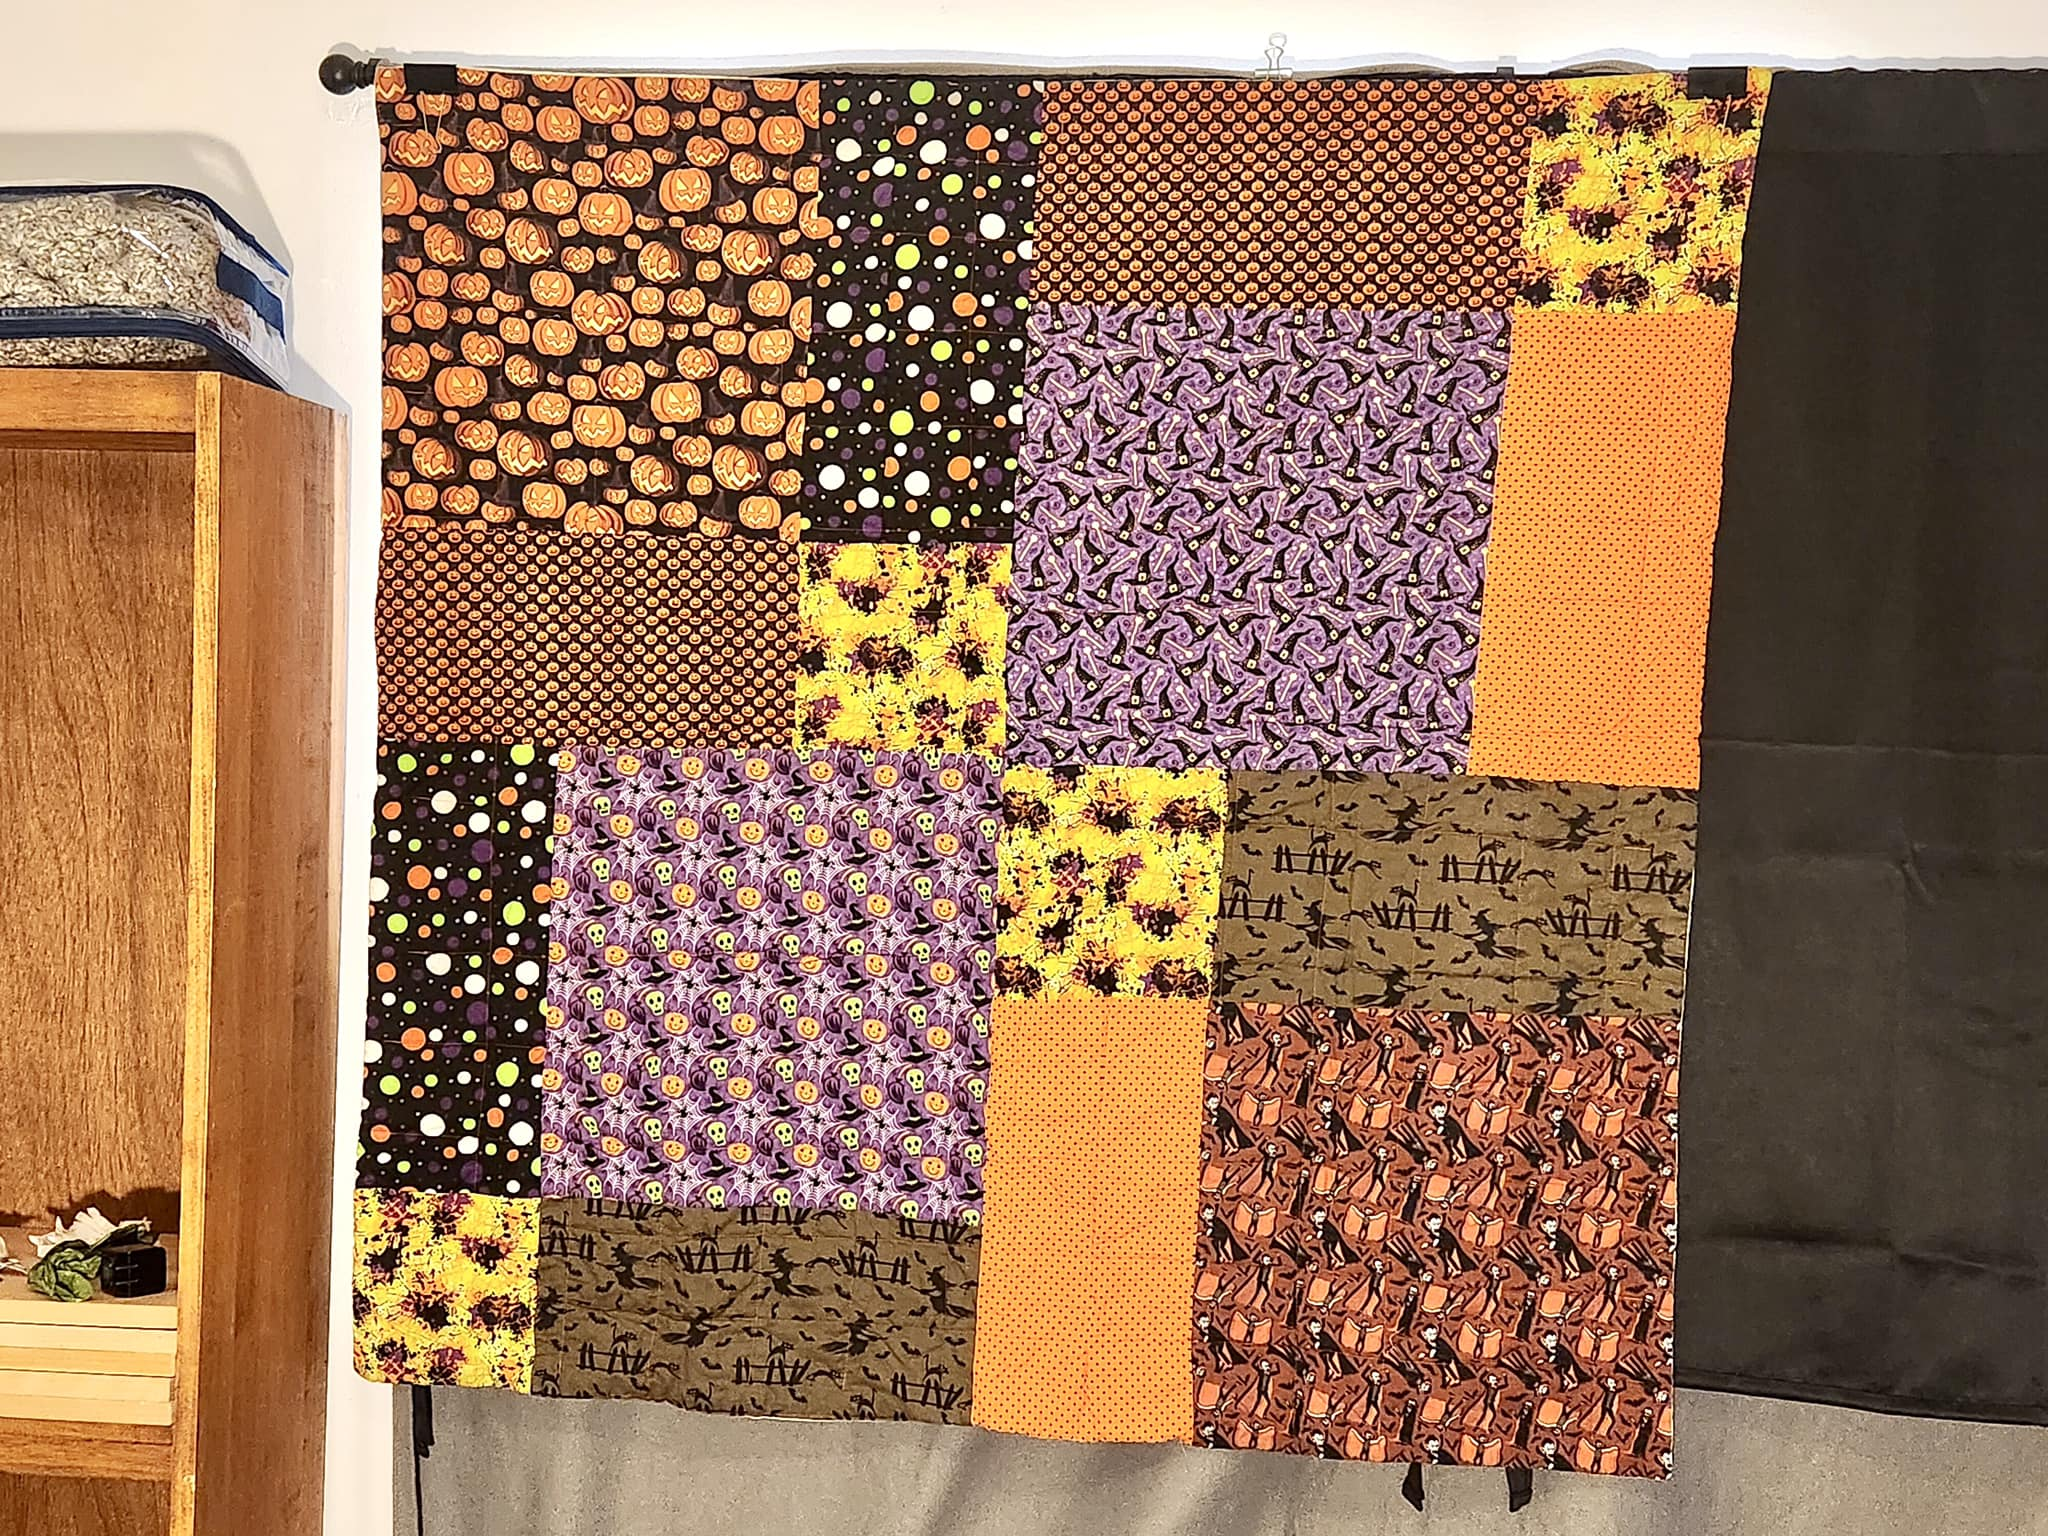
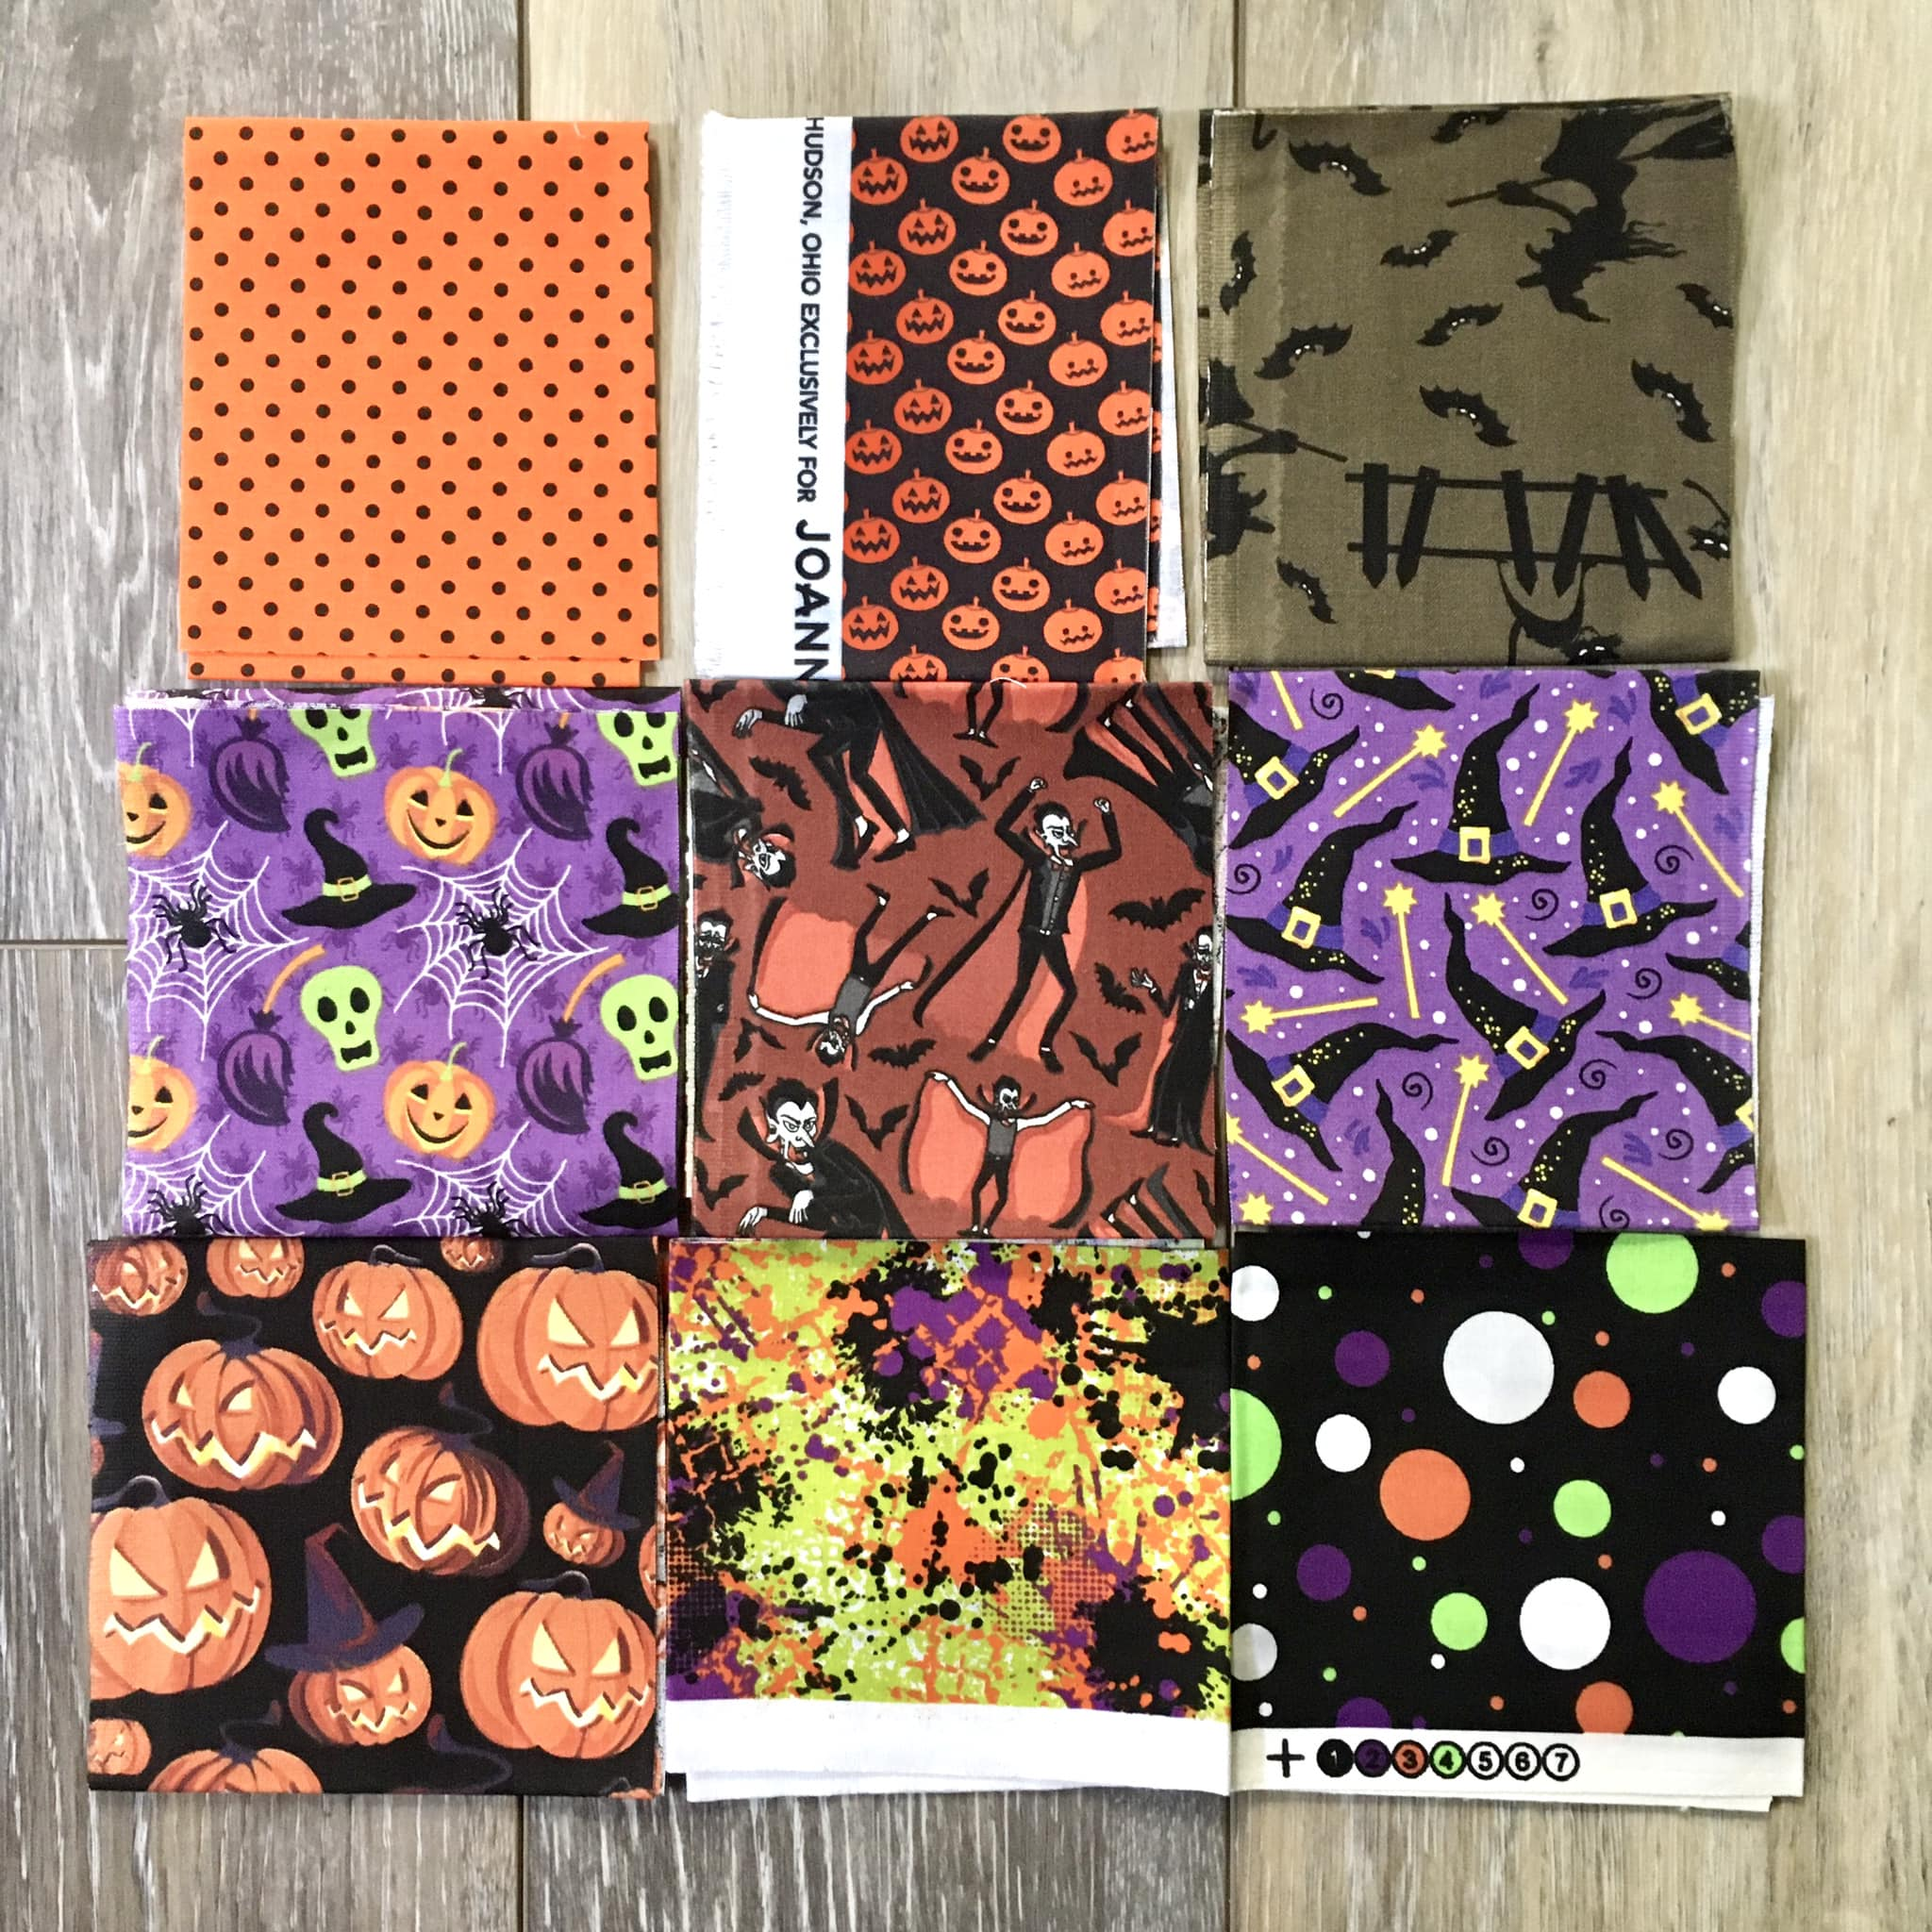
#22 finished 3/25/23 gifted 4/8/23 (forgot to take a photo of it so it got lost in the numbering) The recipient uses it as sound baffling because he is a musician. All Halloween fabrics. First picture is from him, second is the fabric before I sewed it (better light)
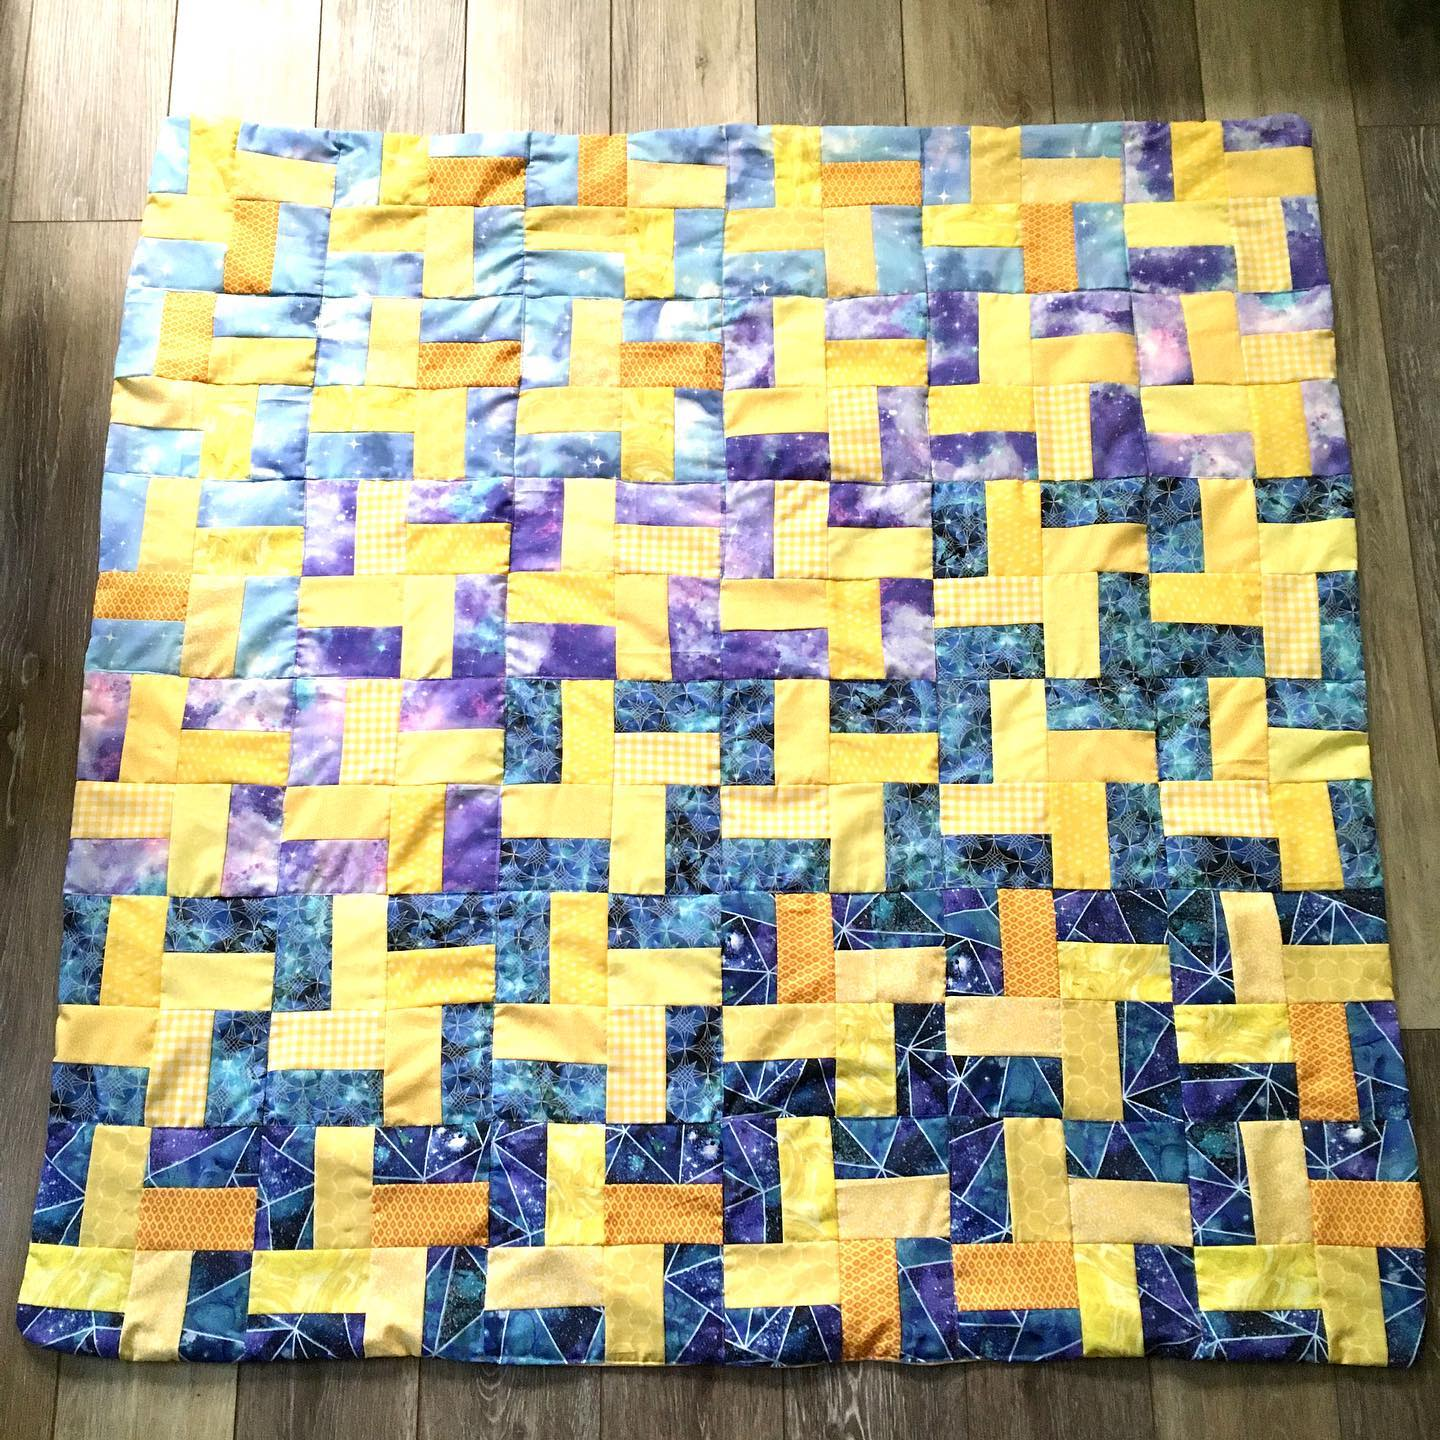
#23 finished 6/24/23 given 1/1/24 ‘L7″ quilt, fireflies at twilight. Fabric from JoAnn’s
#24 finished 7/7/23. Donated 7/27/23 All fabric from Smart. Autumn Leaves and Twigs

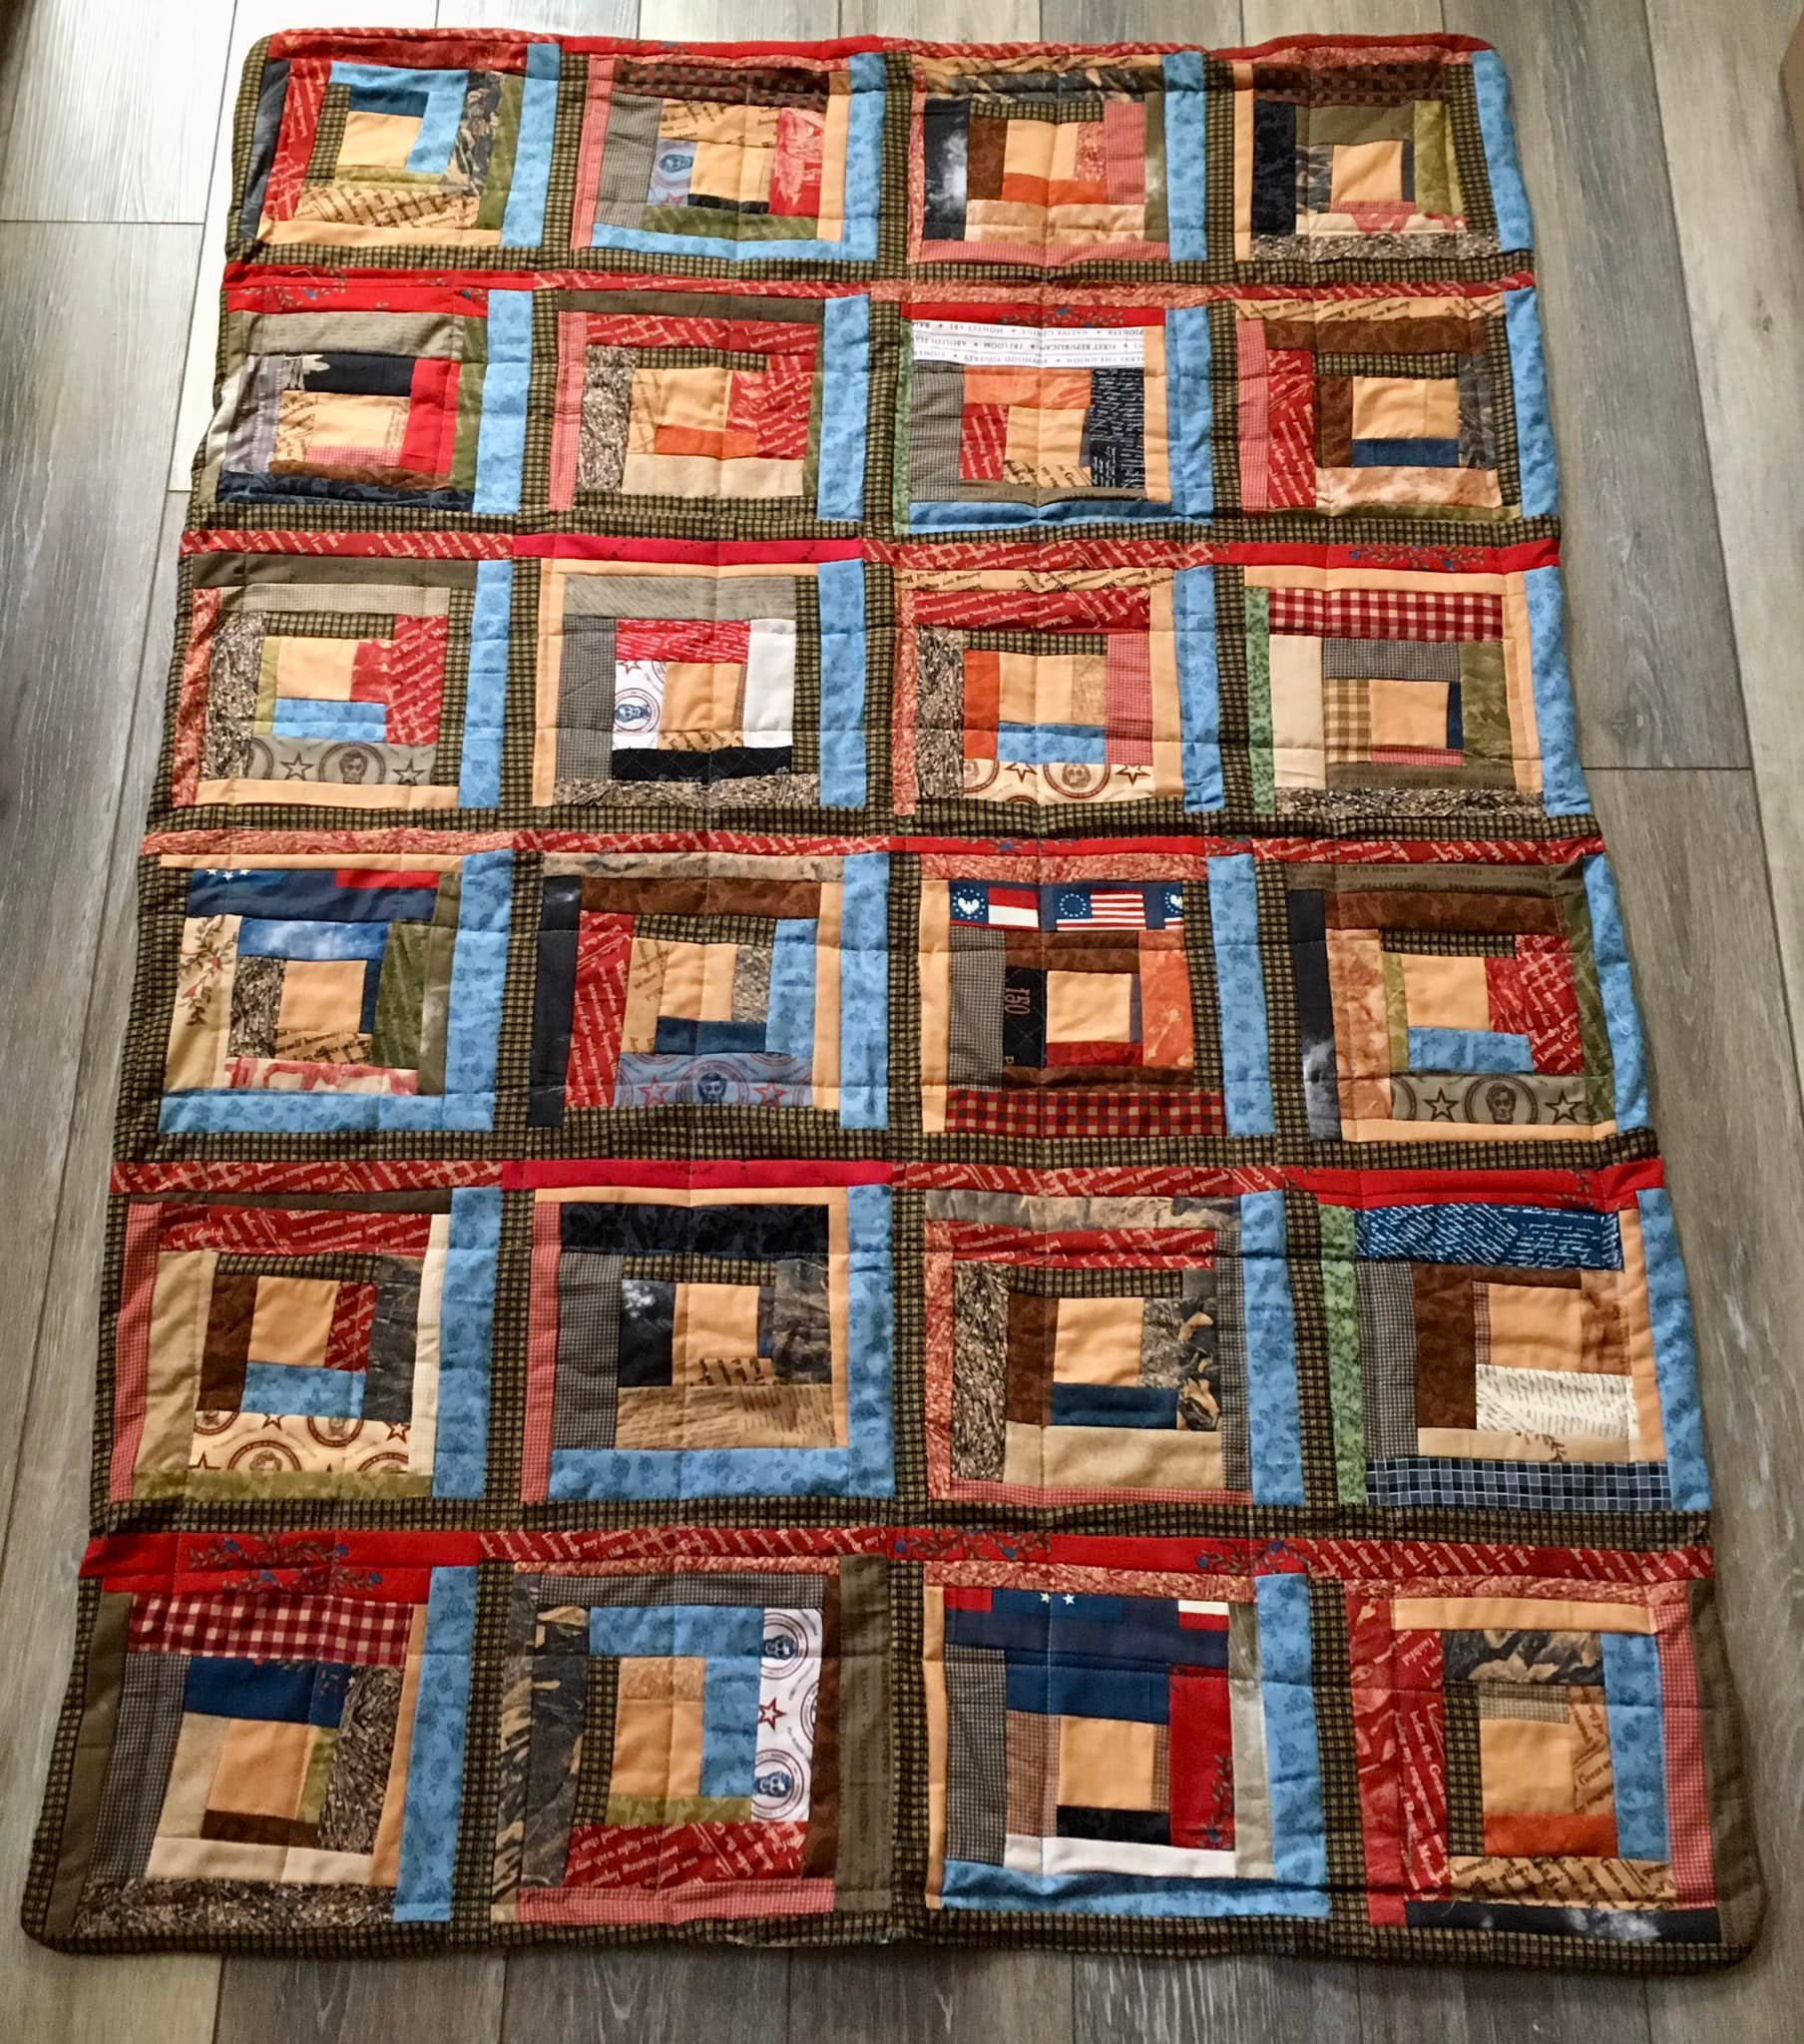
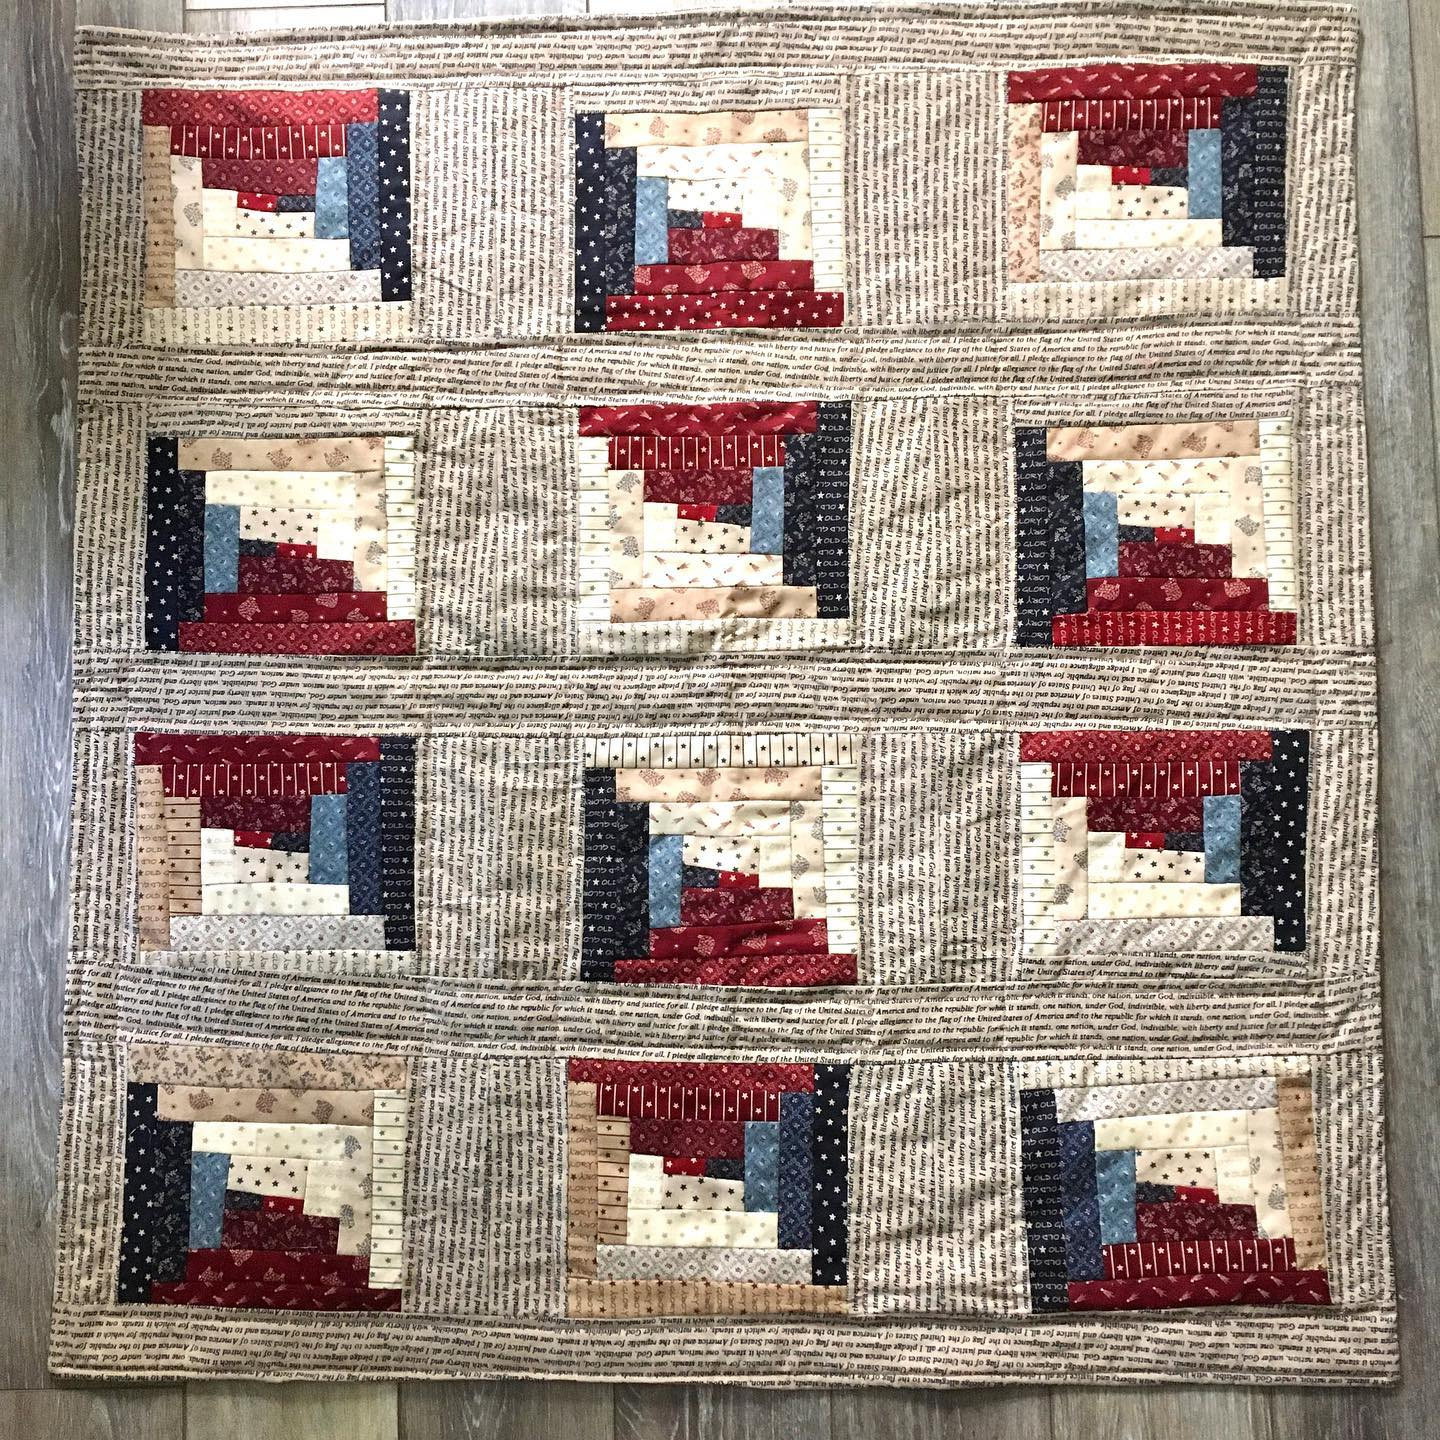
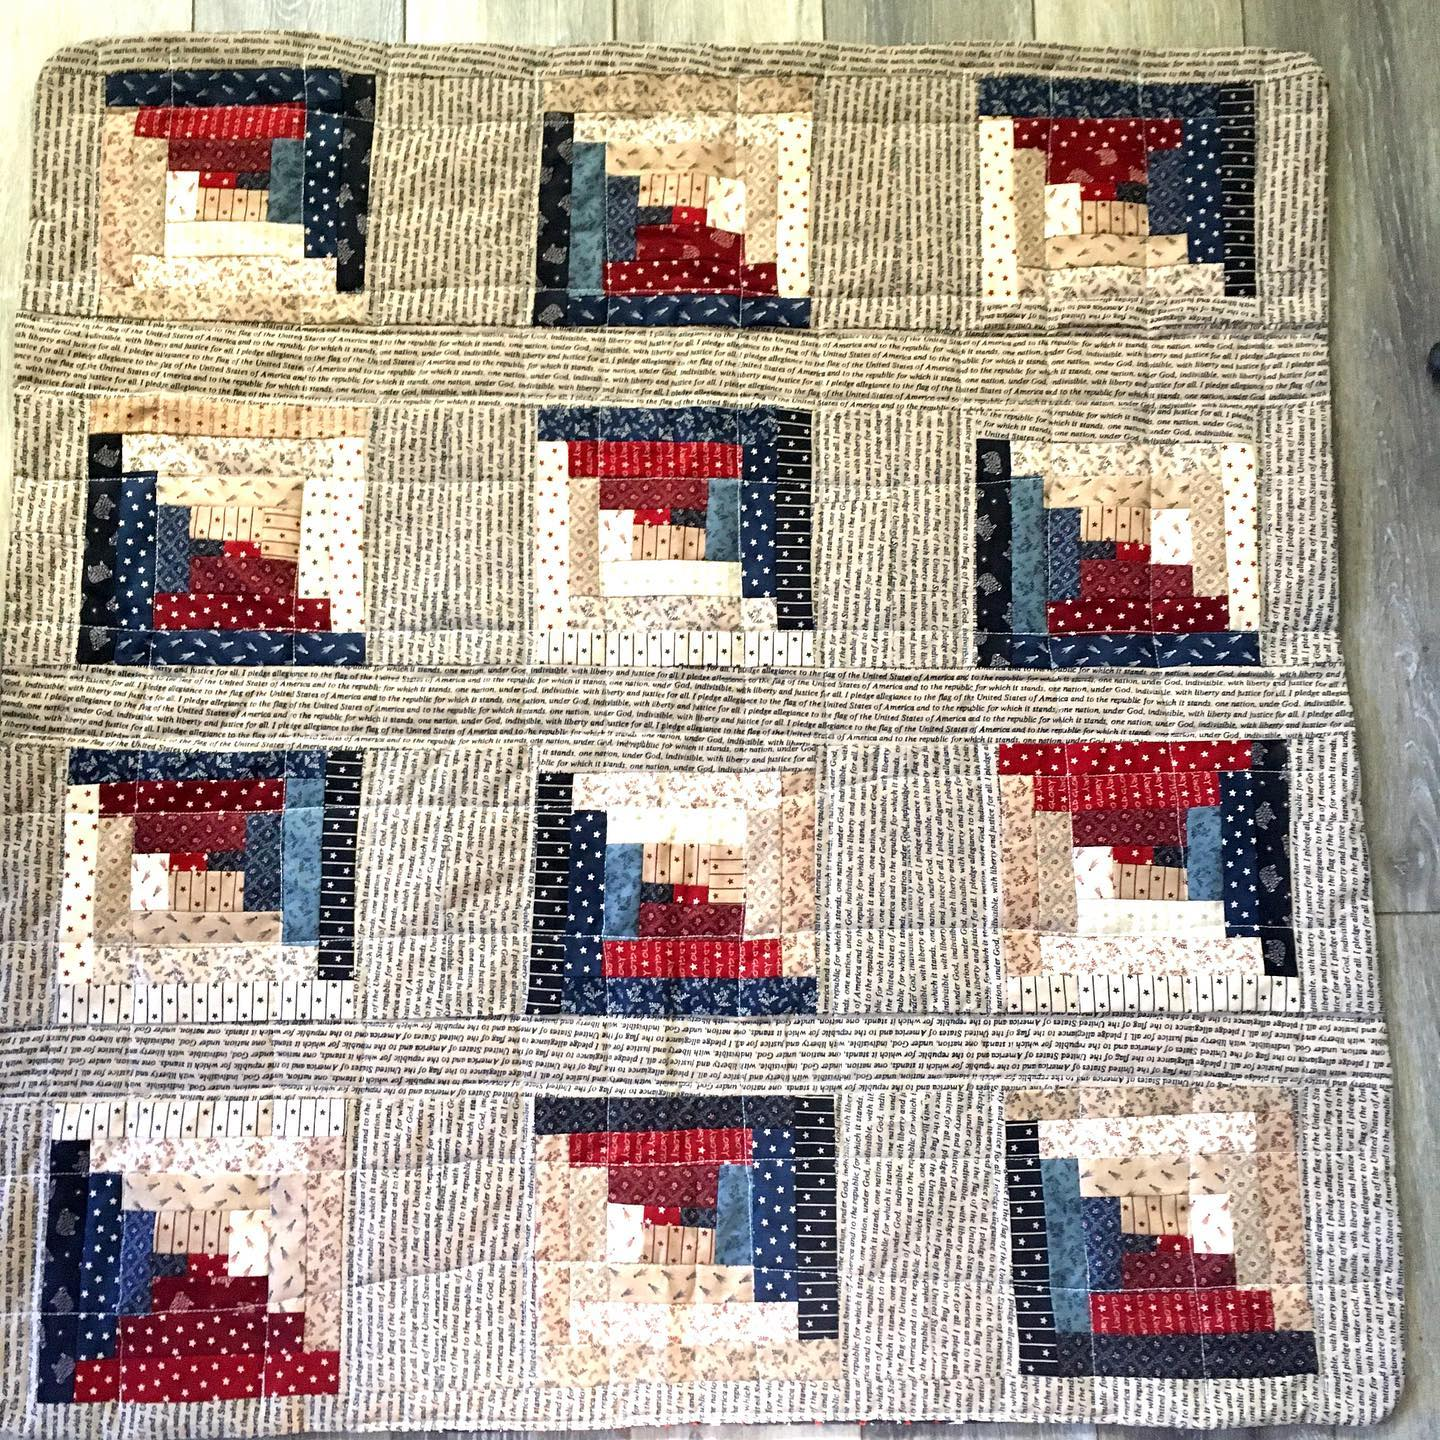
#25 finished 7/7/23 Patriotic Log Cabin. all fabric from Smart. Donated 10/18/24
#26 finished 7/14/23. Some hand quilting with perle cotton. Fabrics from Smart and Etsy
#27 finished 7/12/23 Autumn log cabin. Fabric from Smart
#28 finished 7/14/23 58 x 43 inches. A meditation on the “new normal” after Covid
#29 finished 12/6/23 Also made the back. Top- JoAnn, back, Smart
#30 finished 12/12/23 Gifted. Batman comic strip. Fabric from Hobby Lobby

#31 finished 12/12/23. Donated 10/17/24 Fabric from Smart. One-quarter log cabin
#32 finished 12/13/23. Donated 10/18/24 (yes, I made the same quilt twice)
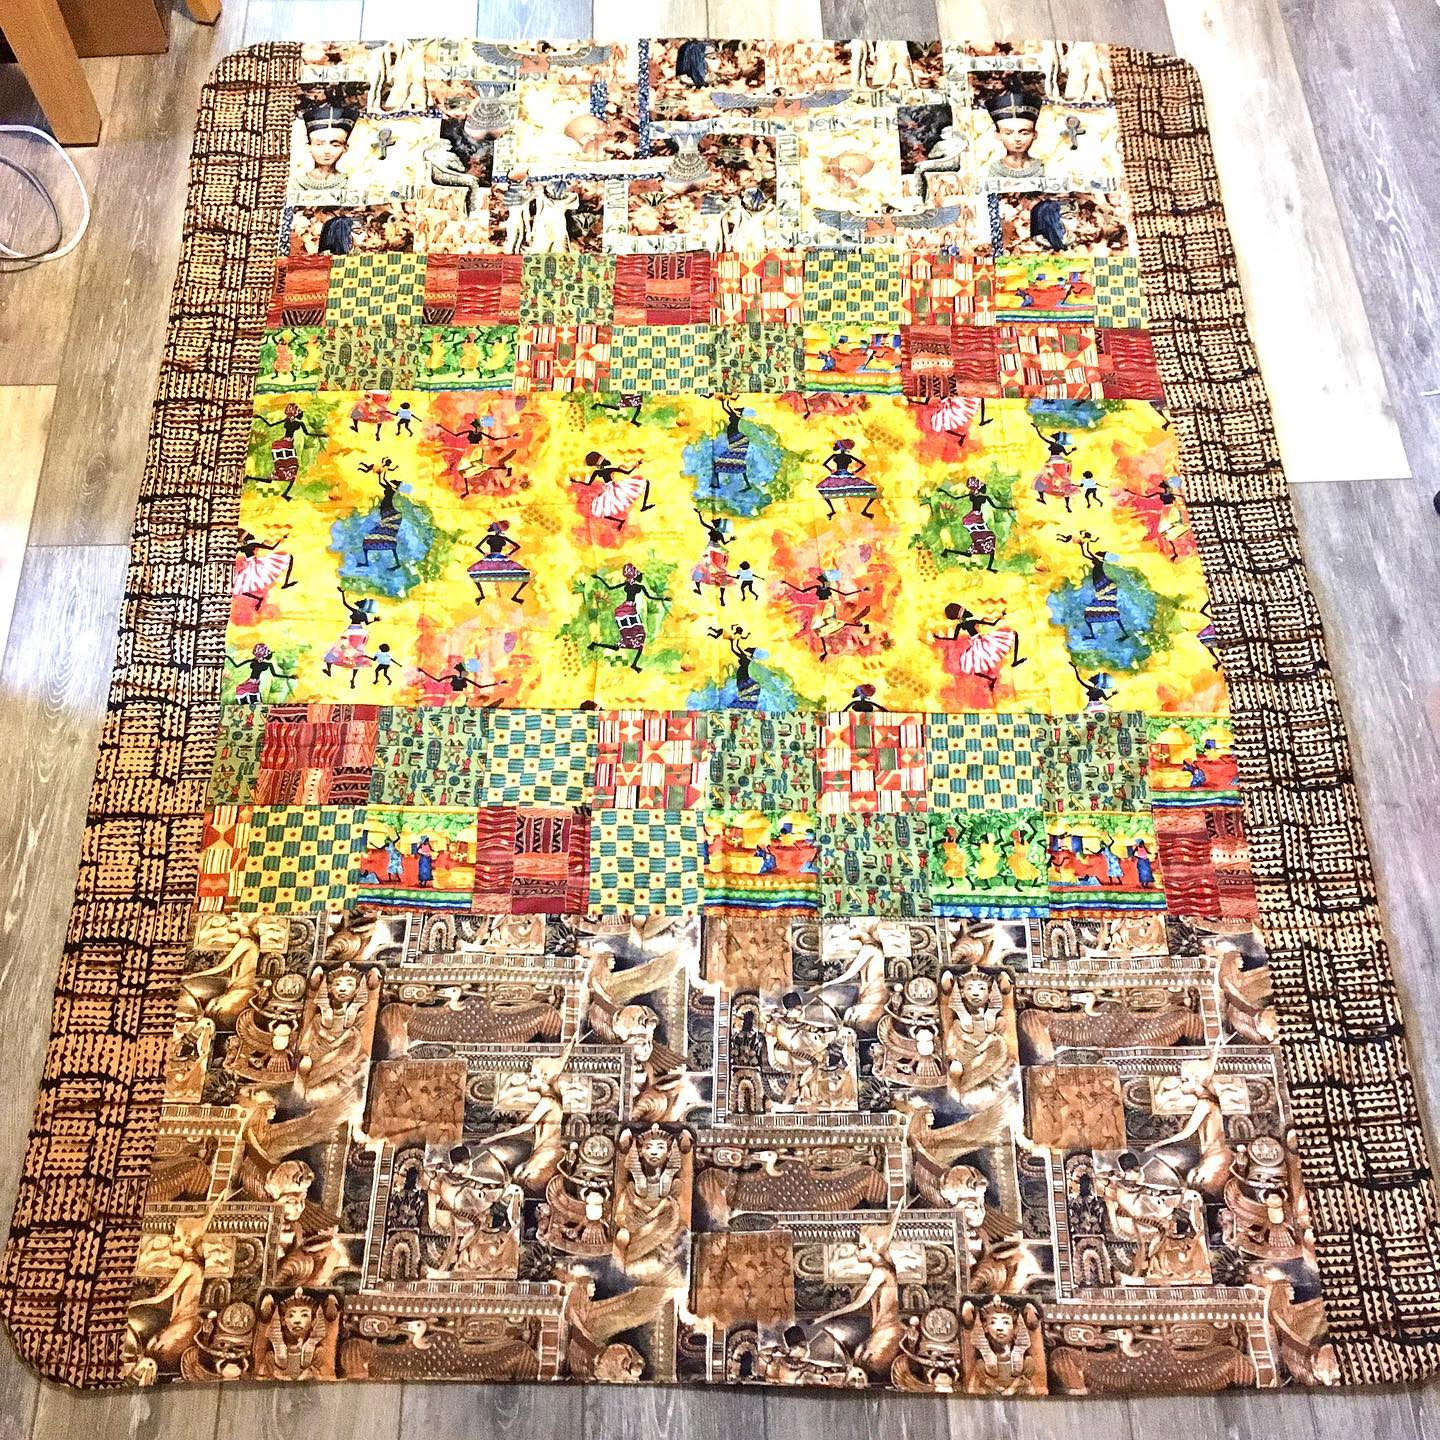
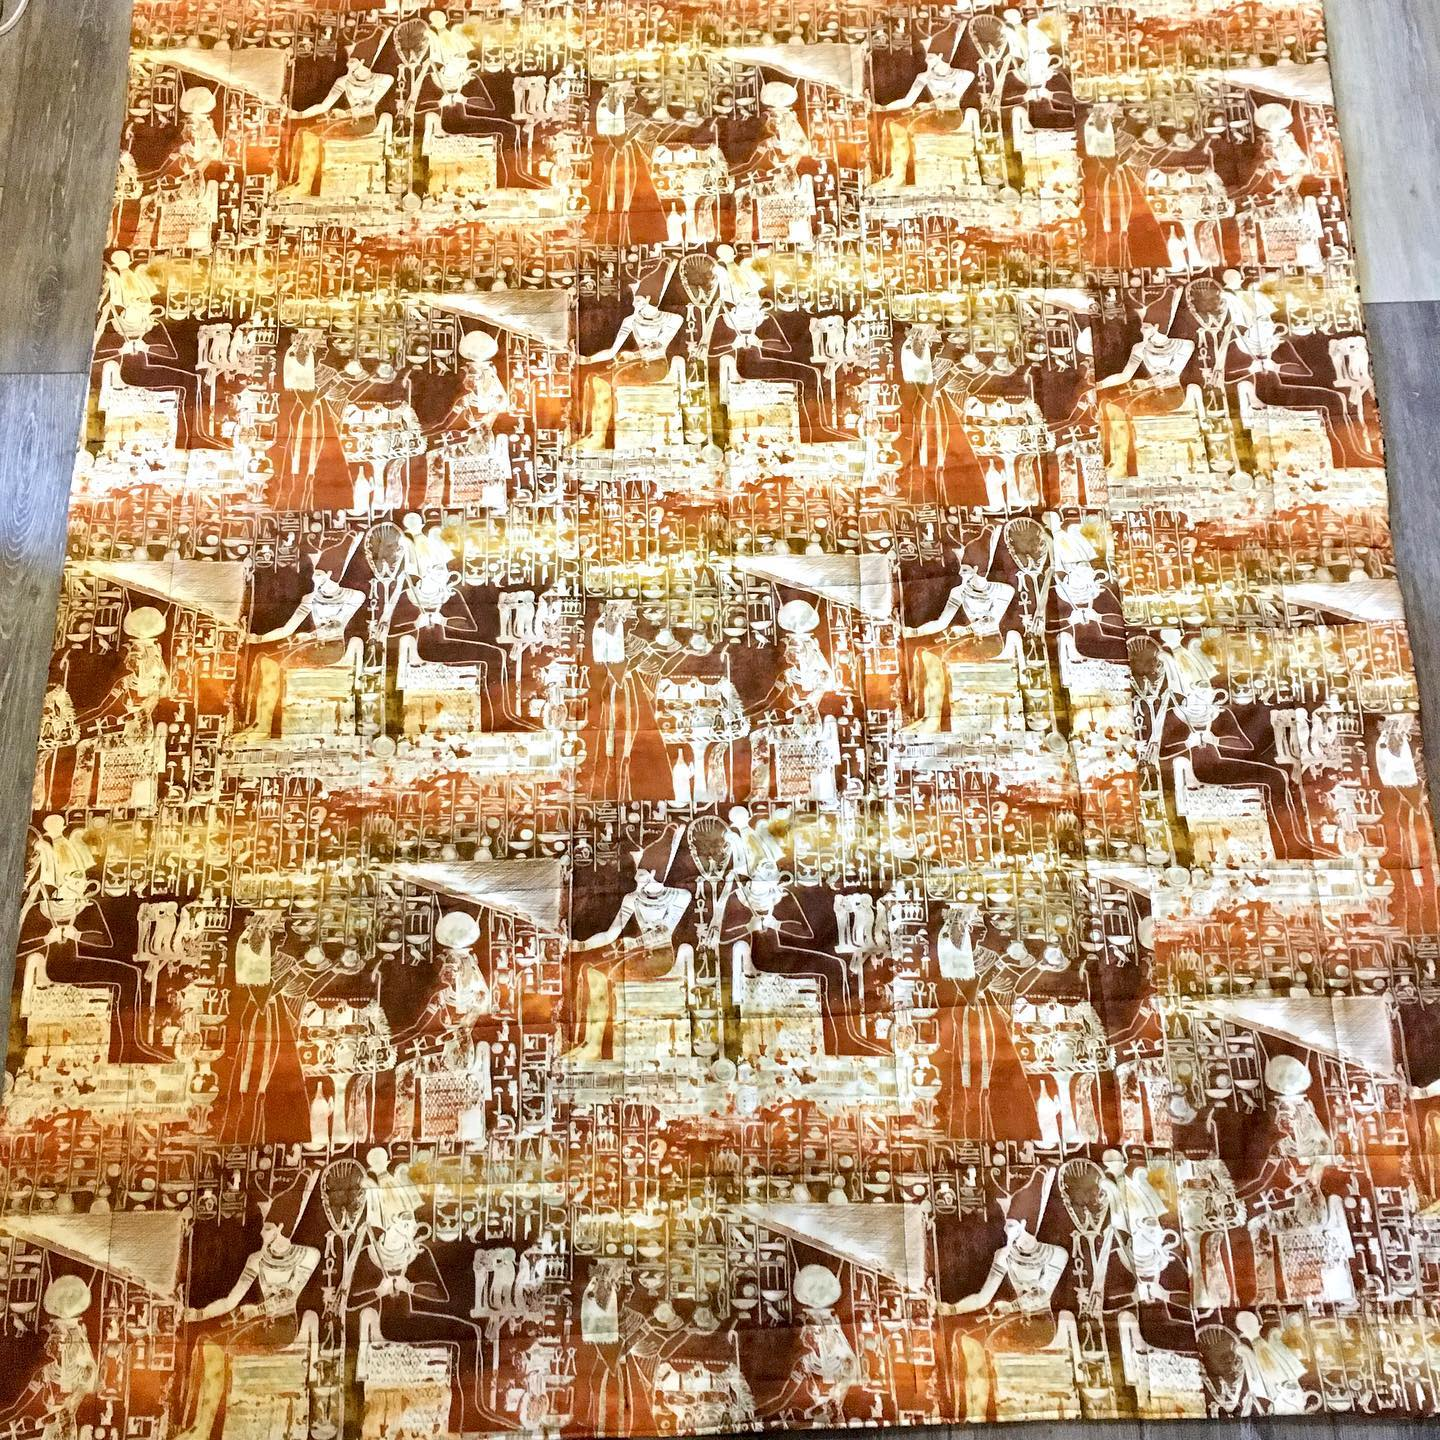
#33 finished 12/29/23 63×48 inches. All Egyptian and African fabrics from Smart
the back
#34 finished 1/17/24 48×51

the back
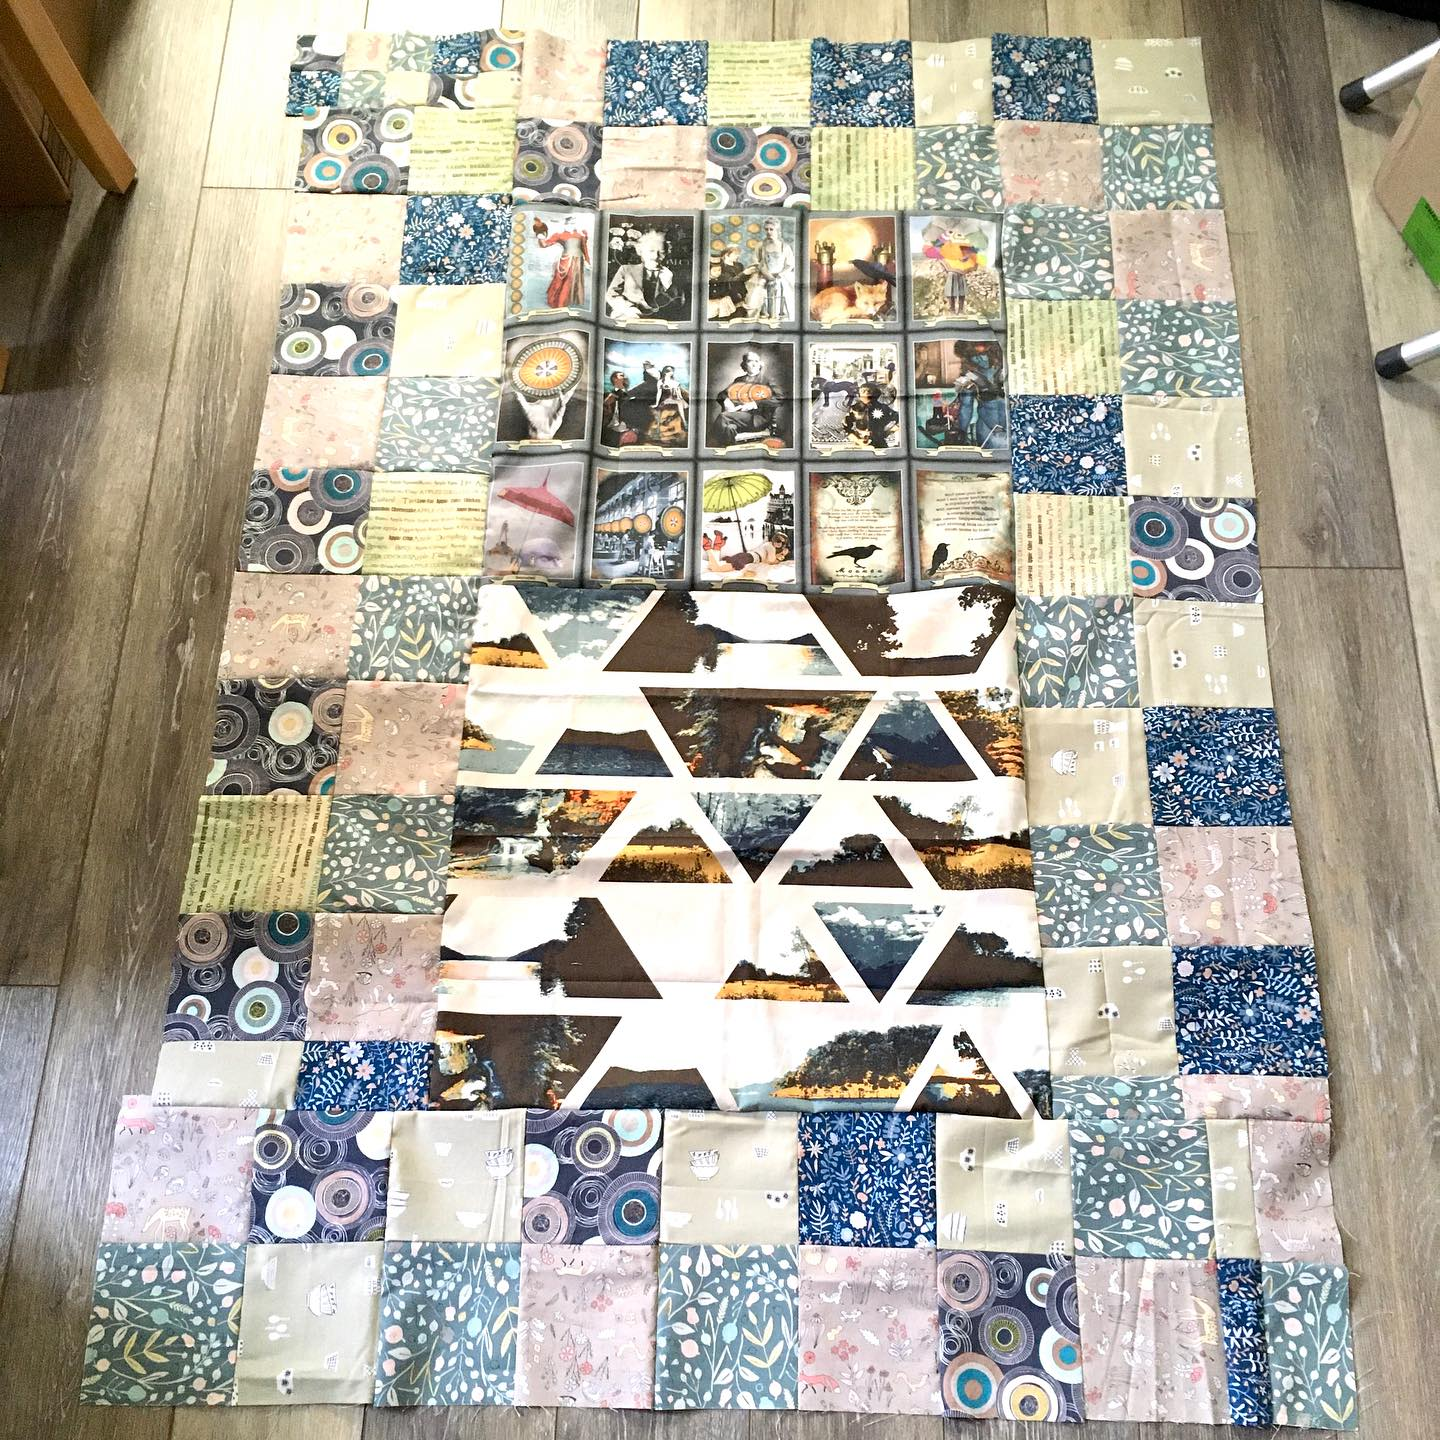
#35 finished July 27, 2024 Mystic panels. Fabric from Smart
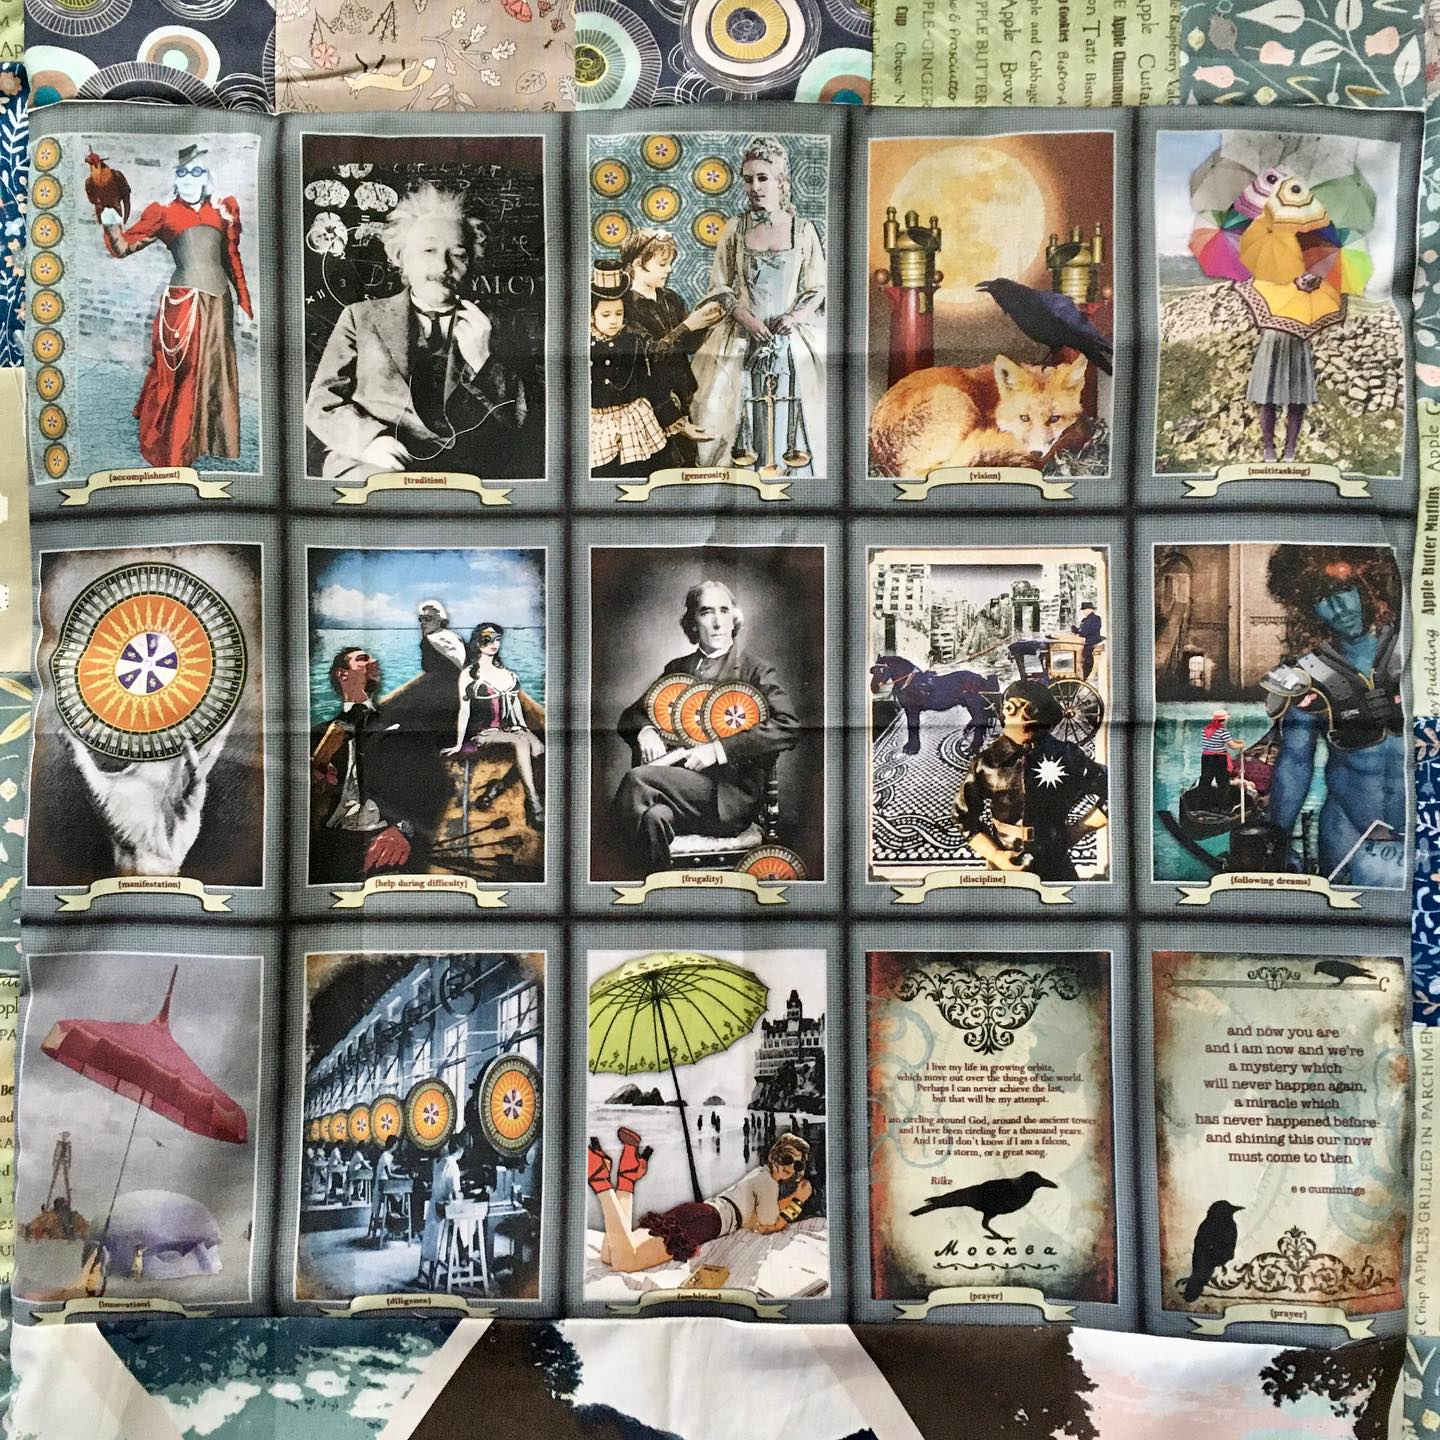
close up
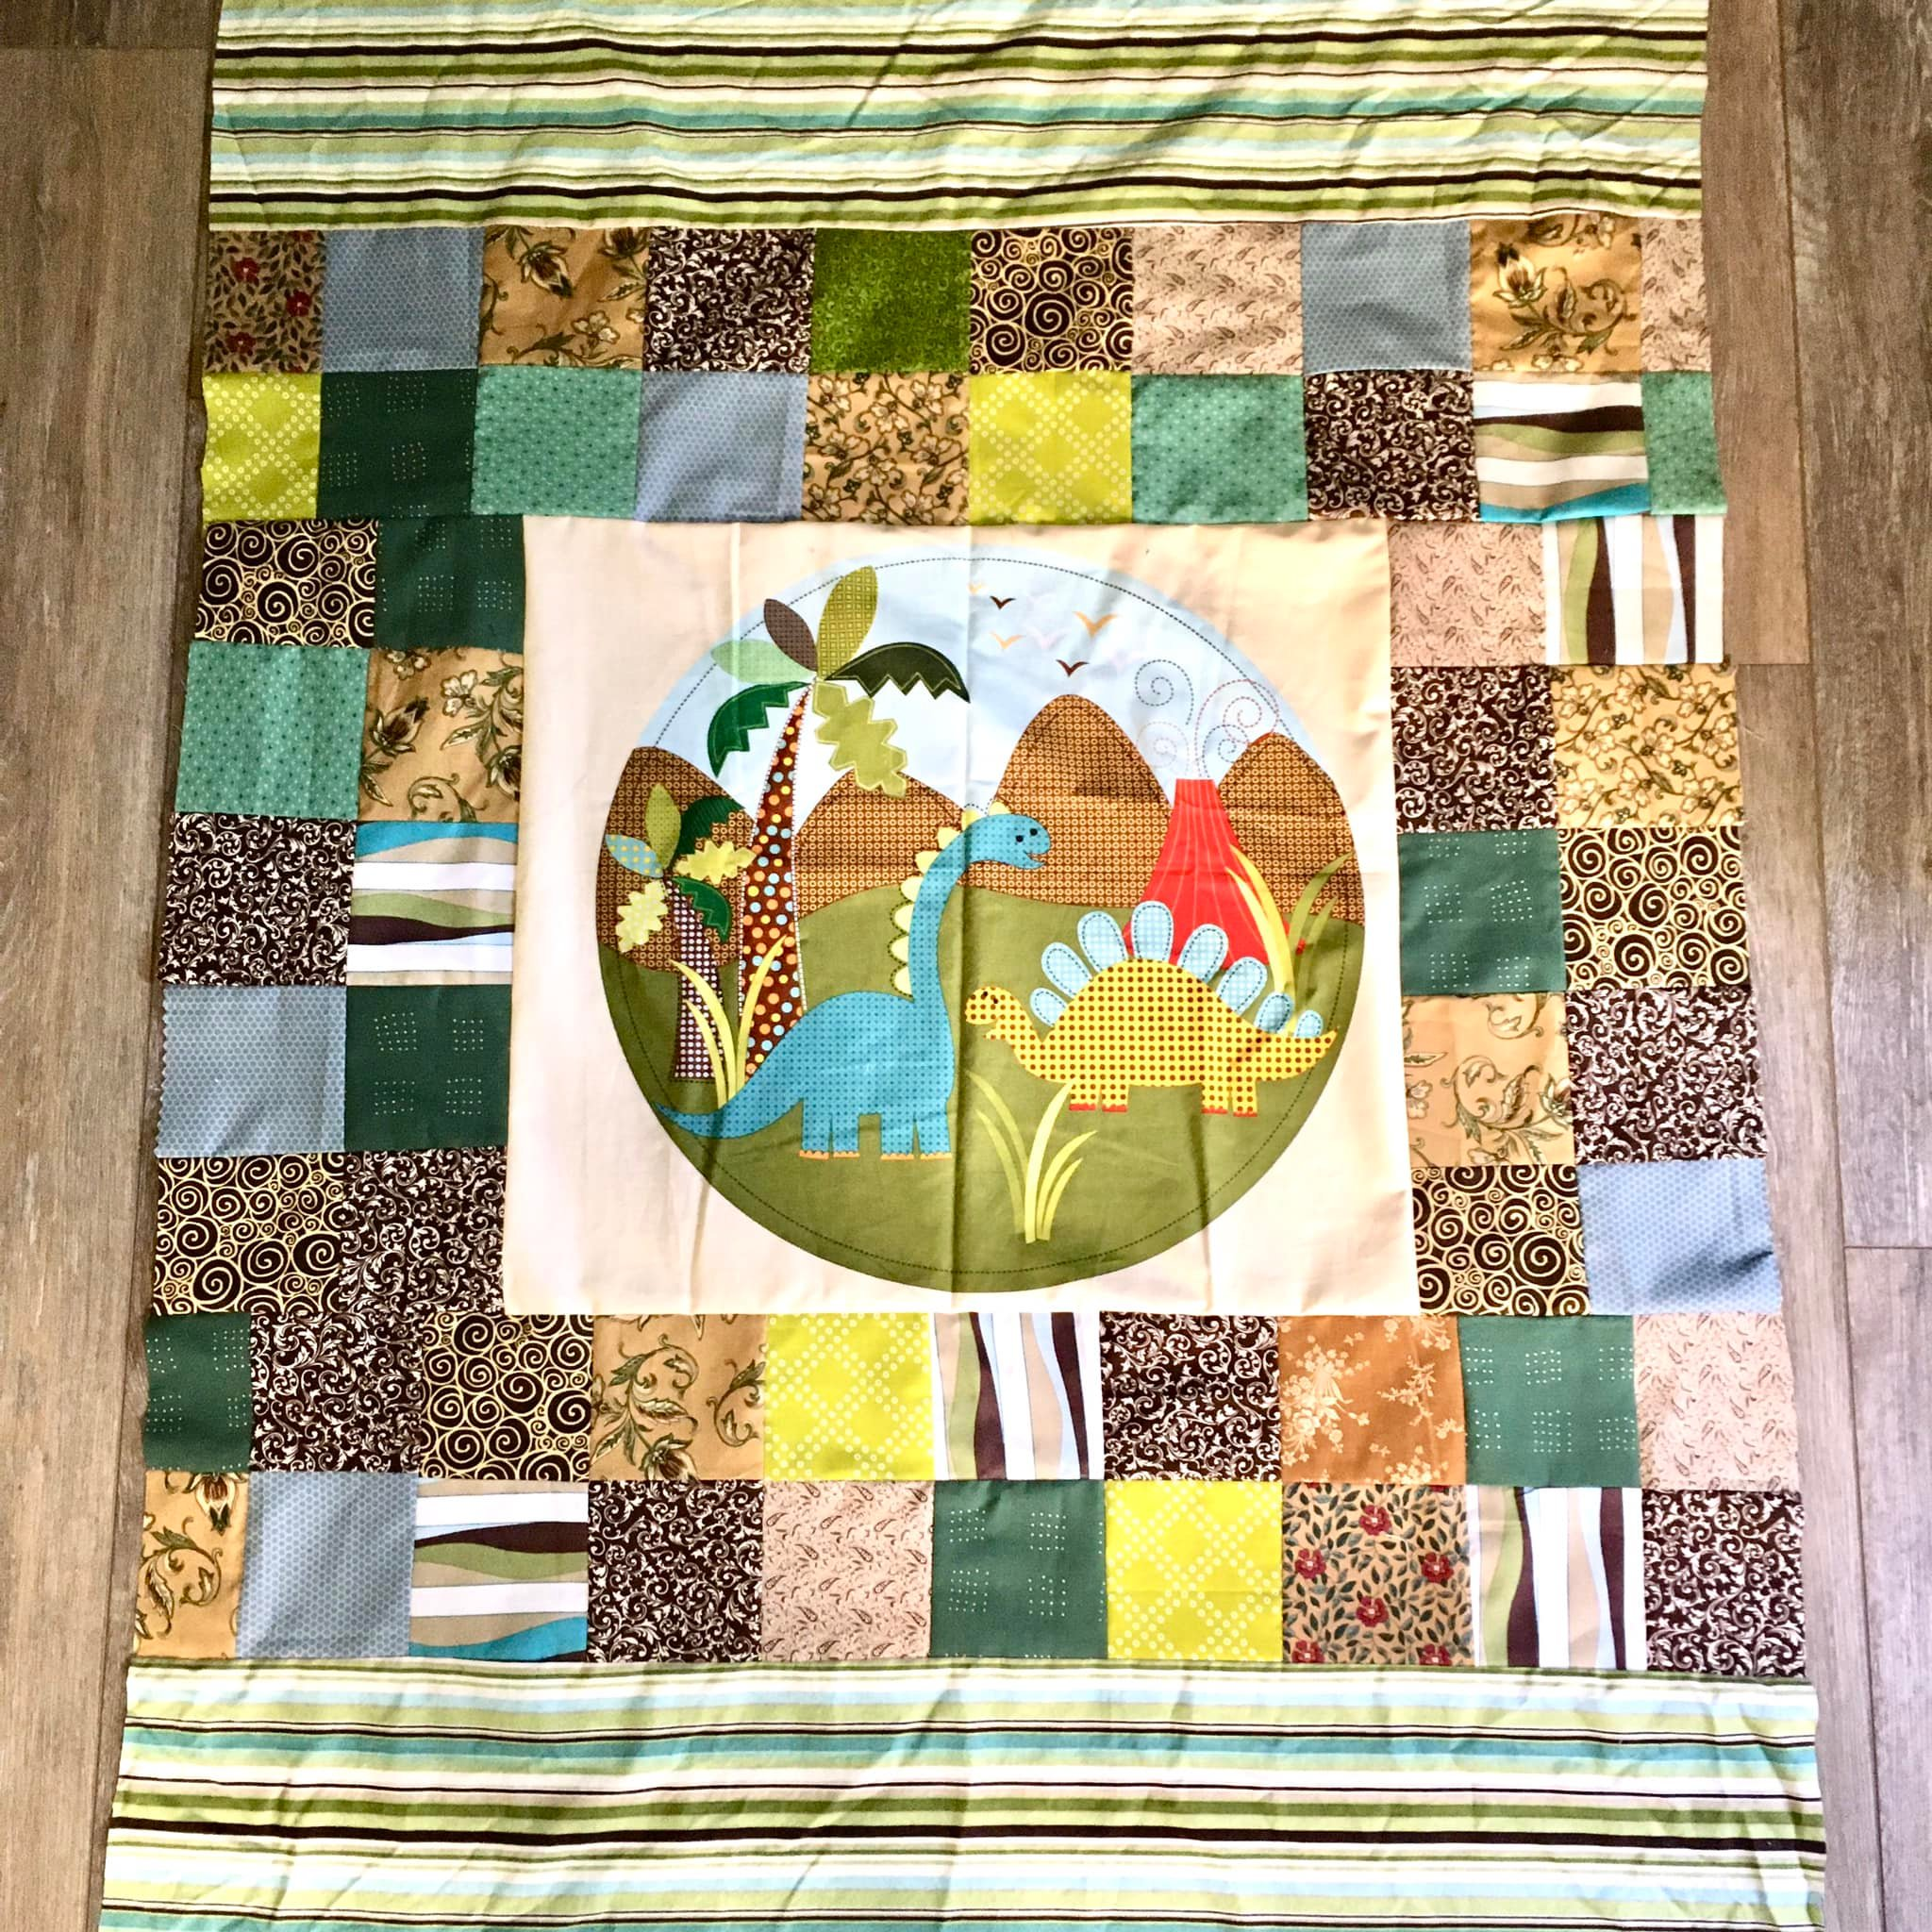
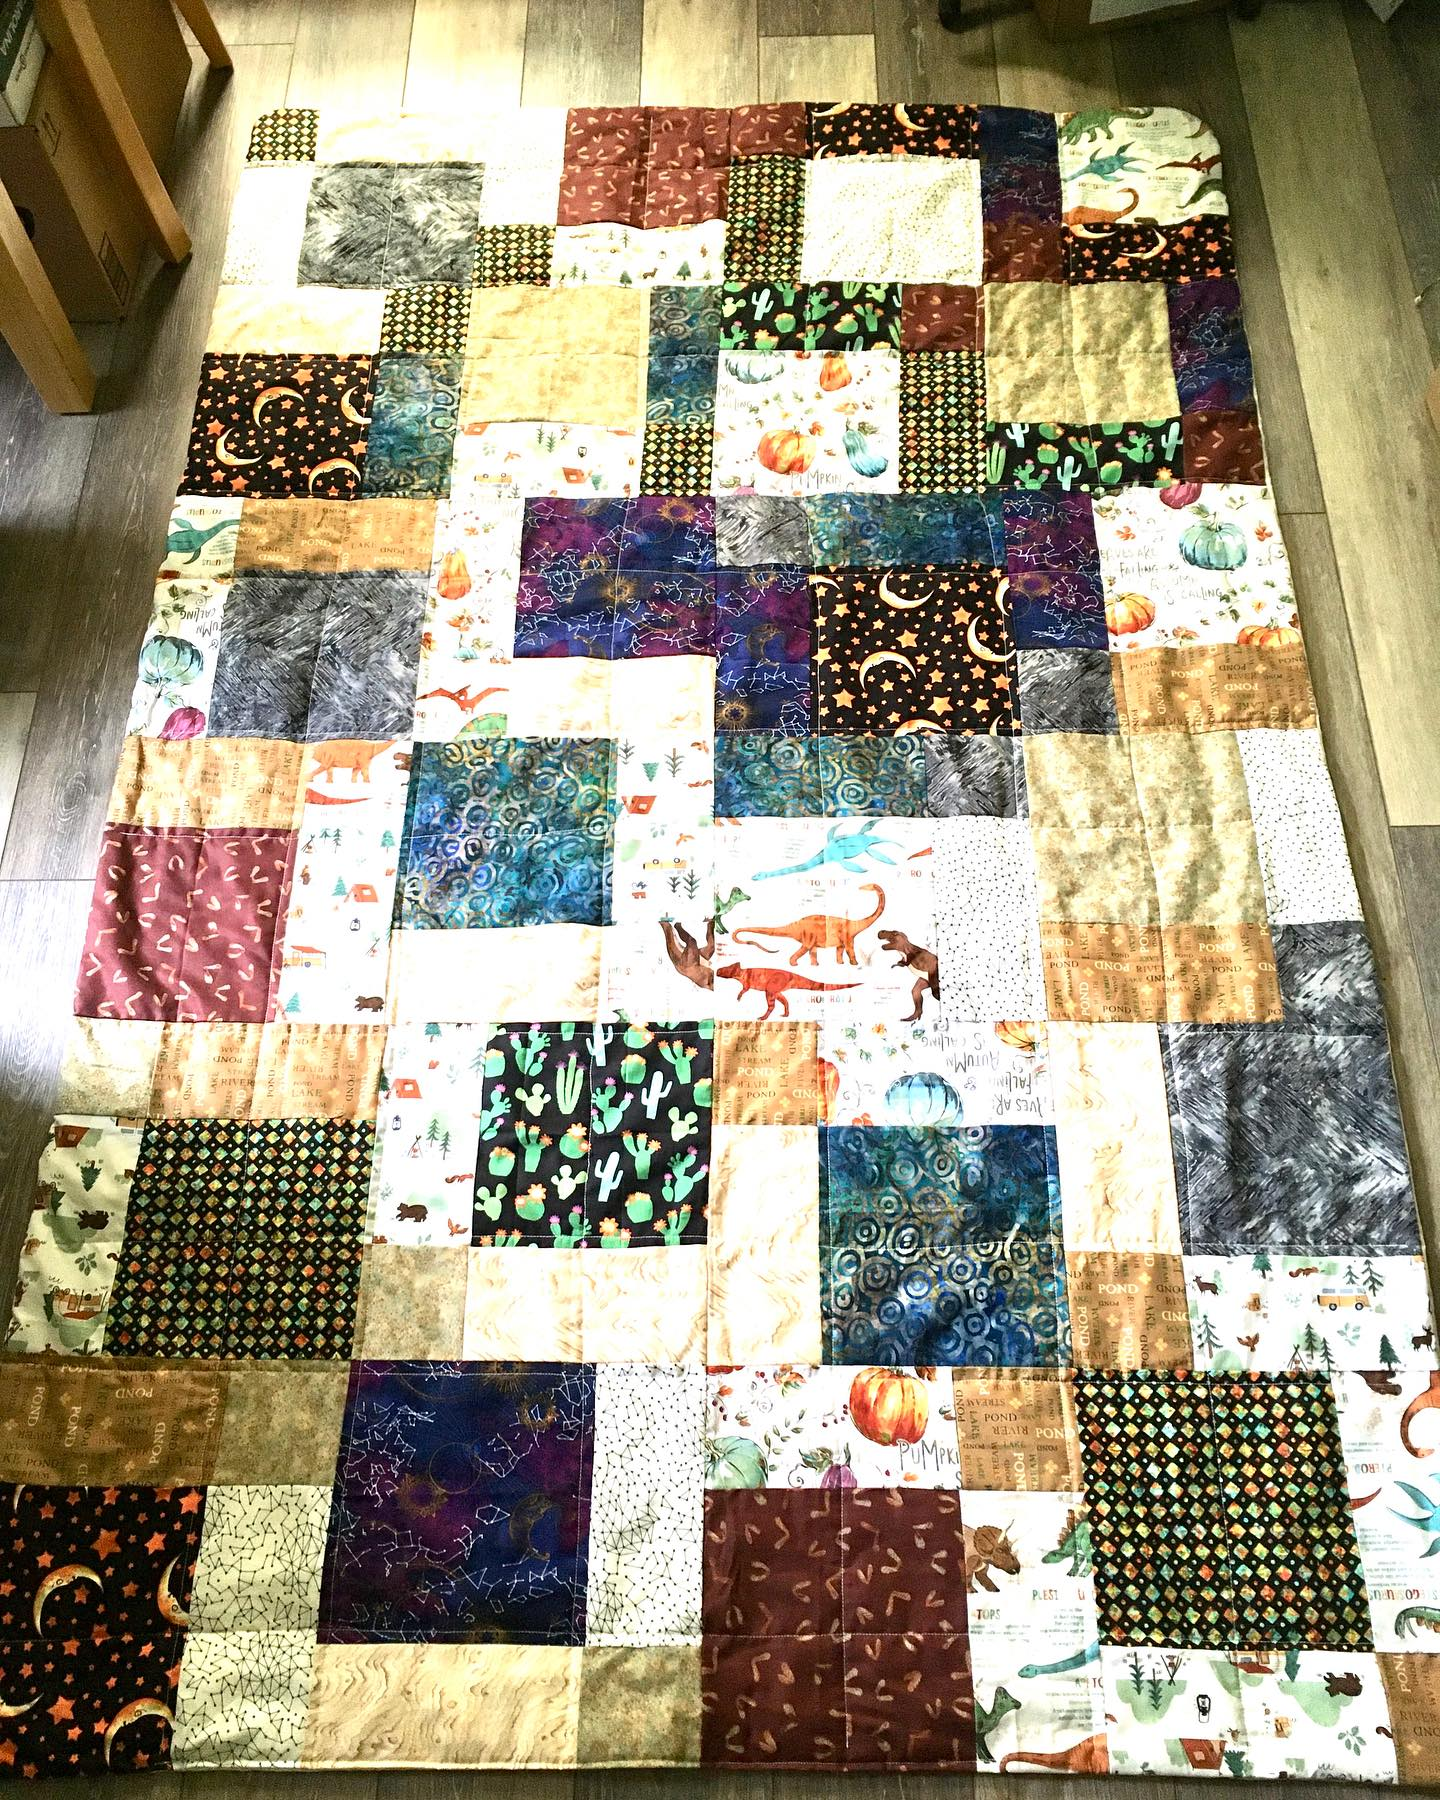
#36 finished 7/27/23 fat quarter favorites. Dinosaur fabric from Hobby Lobby. Some from a fabric shop in Chattanooga
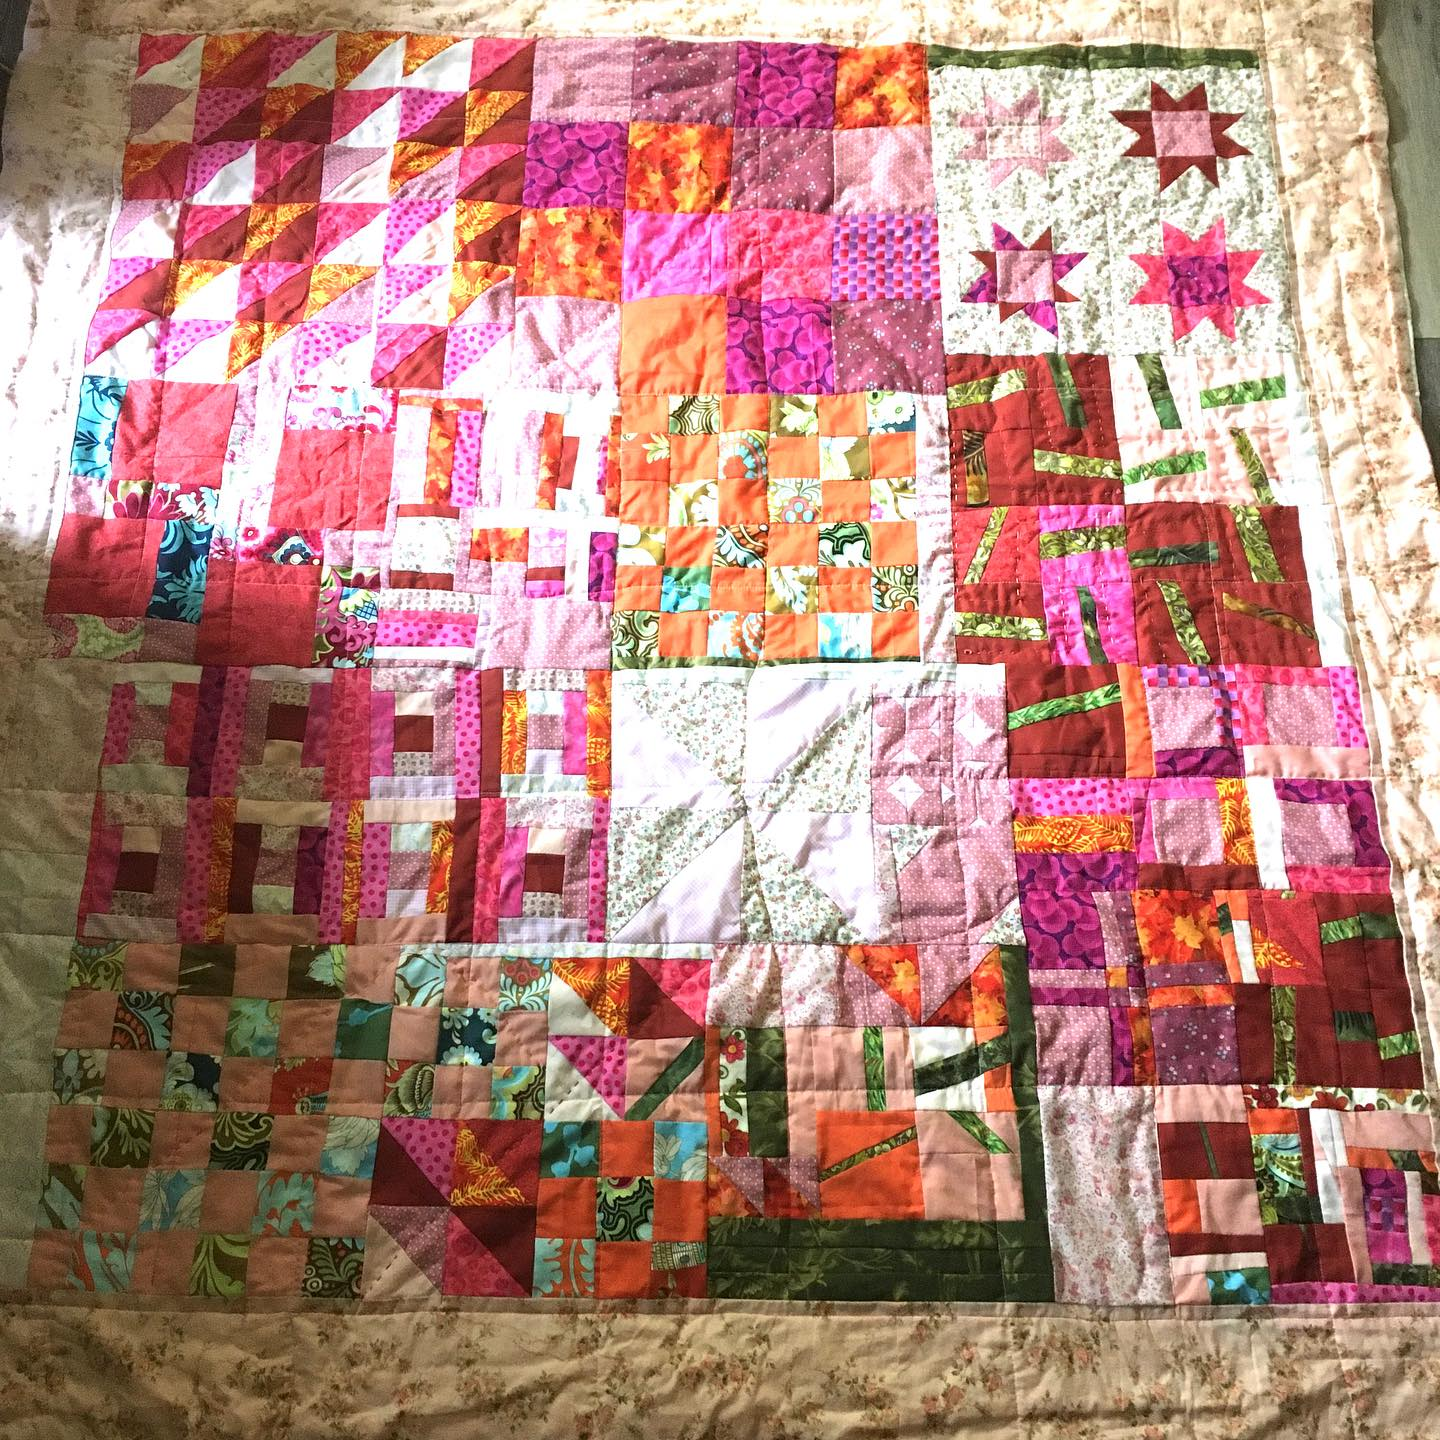
#37 finished 9/11/24 Orange/Pink orphan – created during a week when there was an ice/snow storm (Jan 2024) Learned Courthouse Steps, Wonky Star, Disappearing 4 patch, and practiced different sizes of make 4 at once HSTs for an upcoming project. Listening to “Otherland”
#38 finished 10/16/24 Blade Runner quilt as you go.
#39 finished 10/29/24 Panel from “Ready Set Sew” in Chattanooga, in 2022. Charm pack from “My Fabric Addiction” on Etsy
#40 finished 11/6/24 (after Election day). Scrap bundle from Smart. Given as a baby blanket to a local baker/ coffee shop owner. Good HST practice. Also, first time to bind it like normal quilters do.
#41 finished 11/9/24 Tilda X and O. Colorful fabrics from a fat eighth bundle from Smart. Given to my aunt who was in a nursing home.
#42 finished 11/21/24 Irish Chain
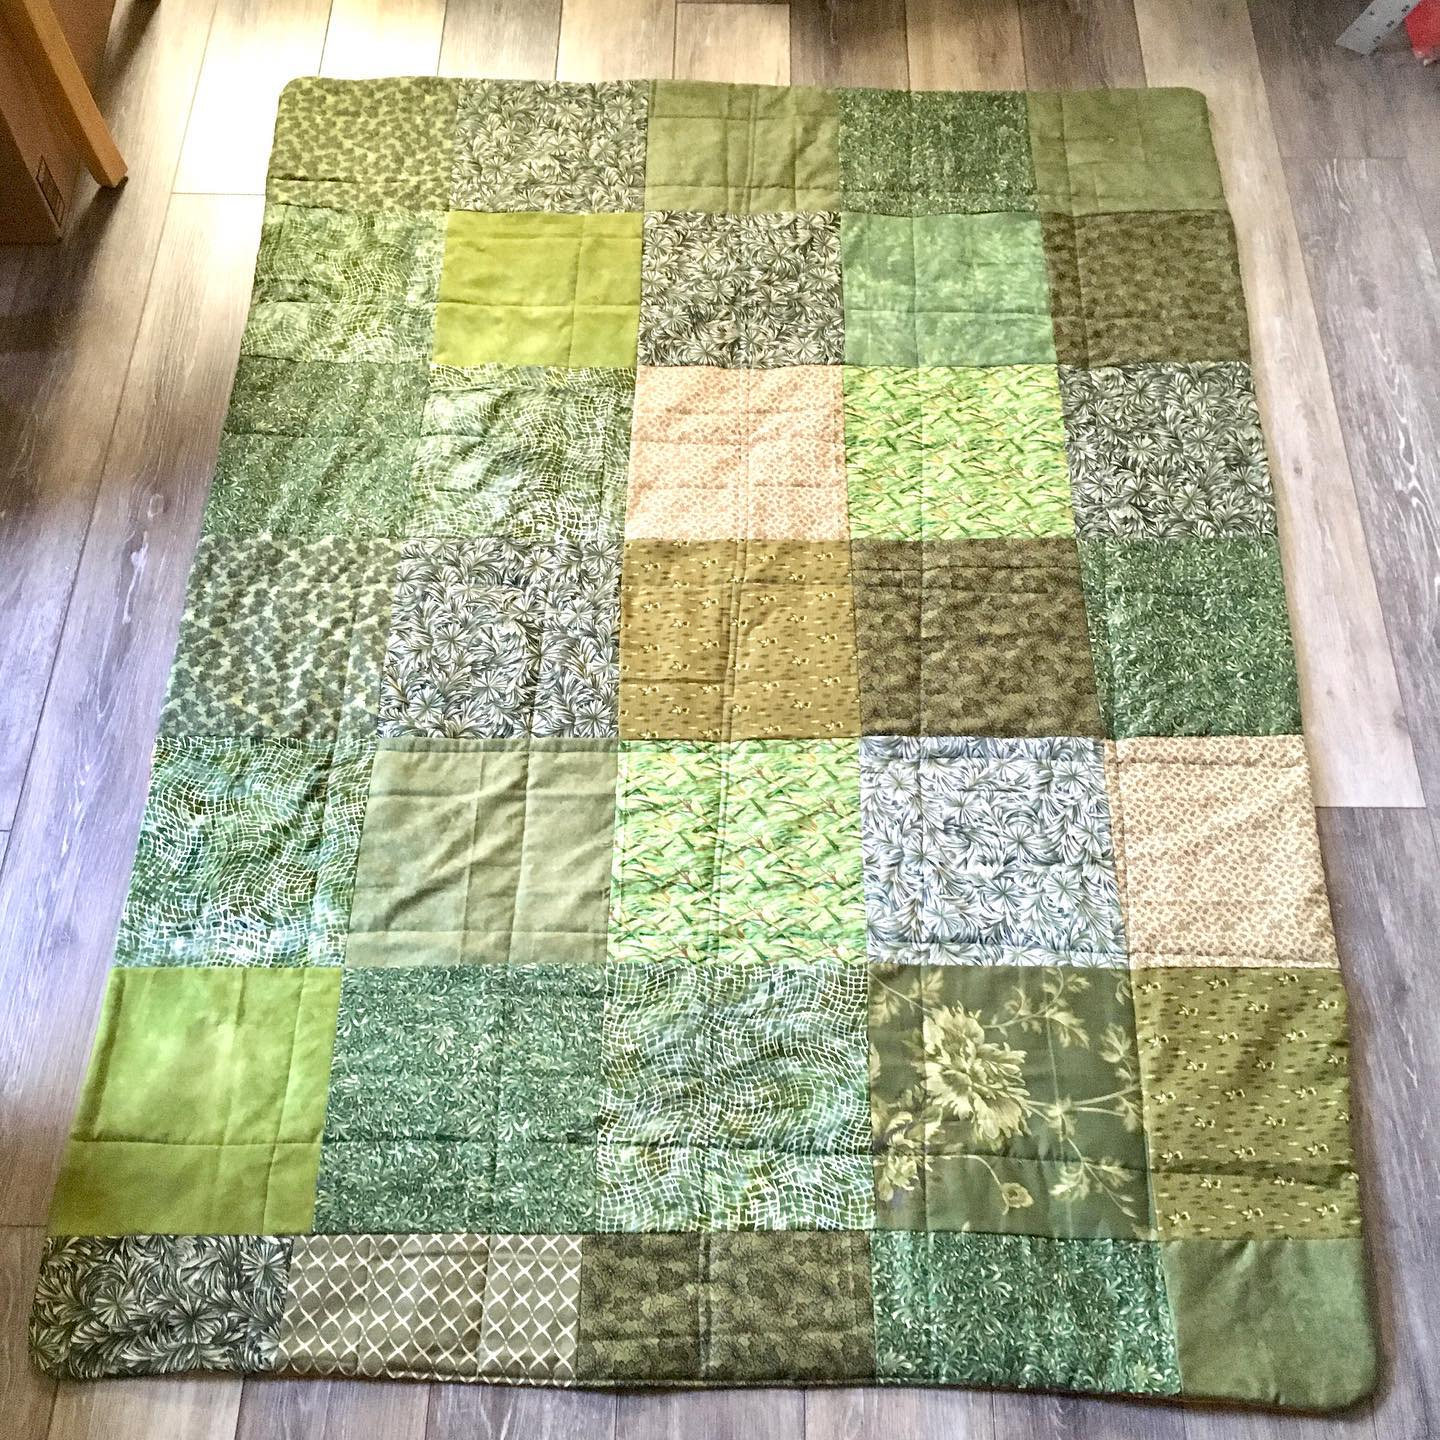
#43 finished 12/28/24 Lime/Liberty Liberty of London quilting fat quarters from “The Last Homely House” youtube channel. Lime Green fabric from JoAnn’s
Quilted using Aurifil thread that came with the Christmas packet
#44 finished 1/1/25 Fish in a pond. Given to my husband. Fabric from SmArt
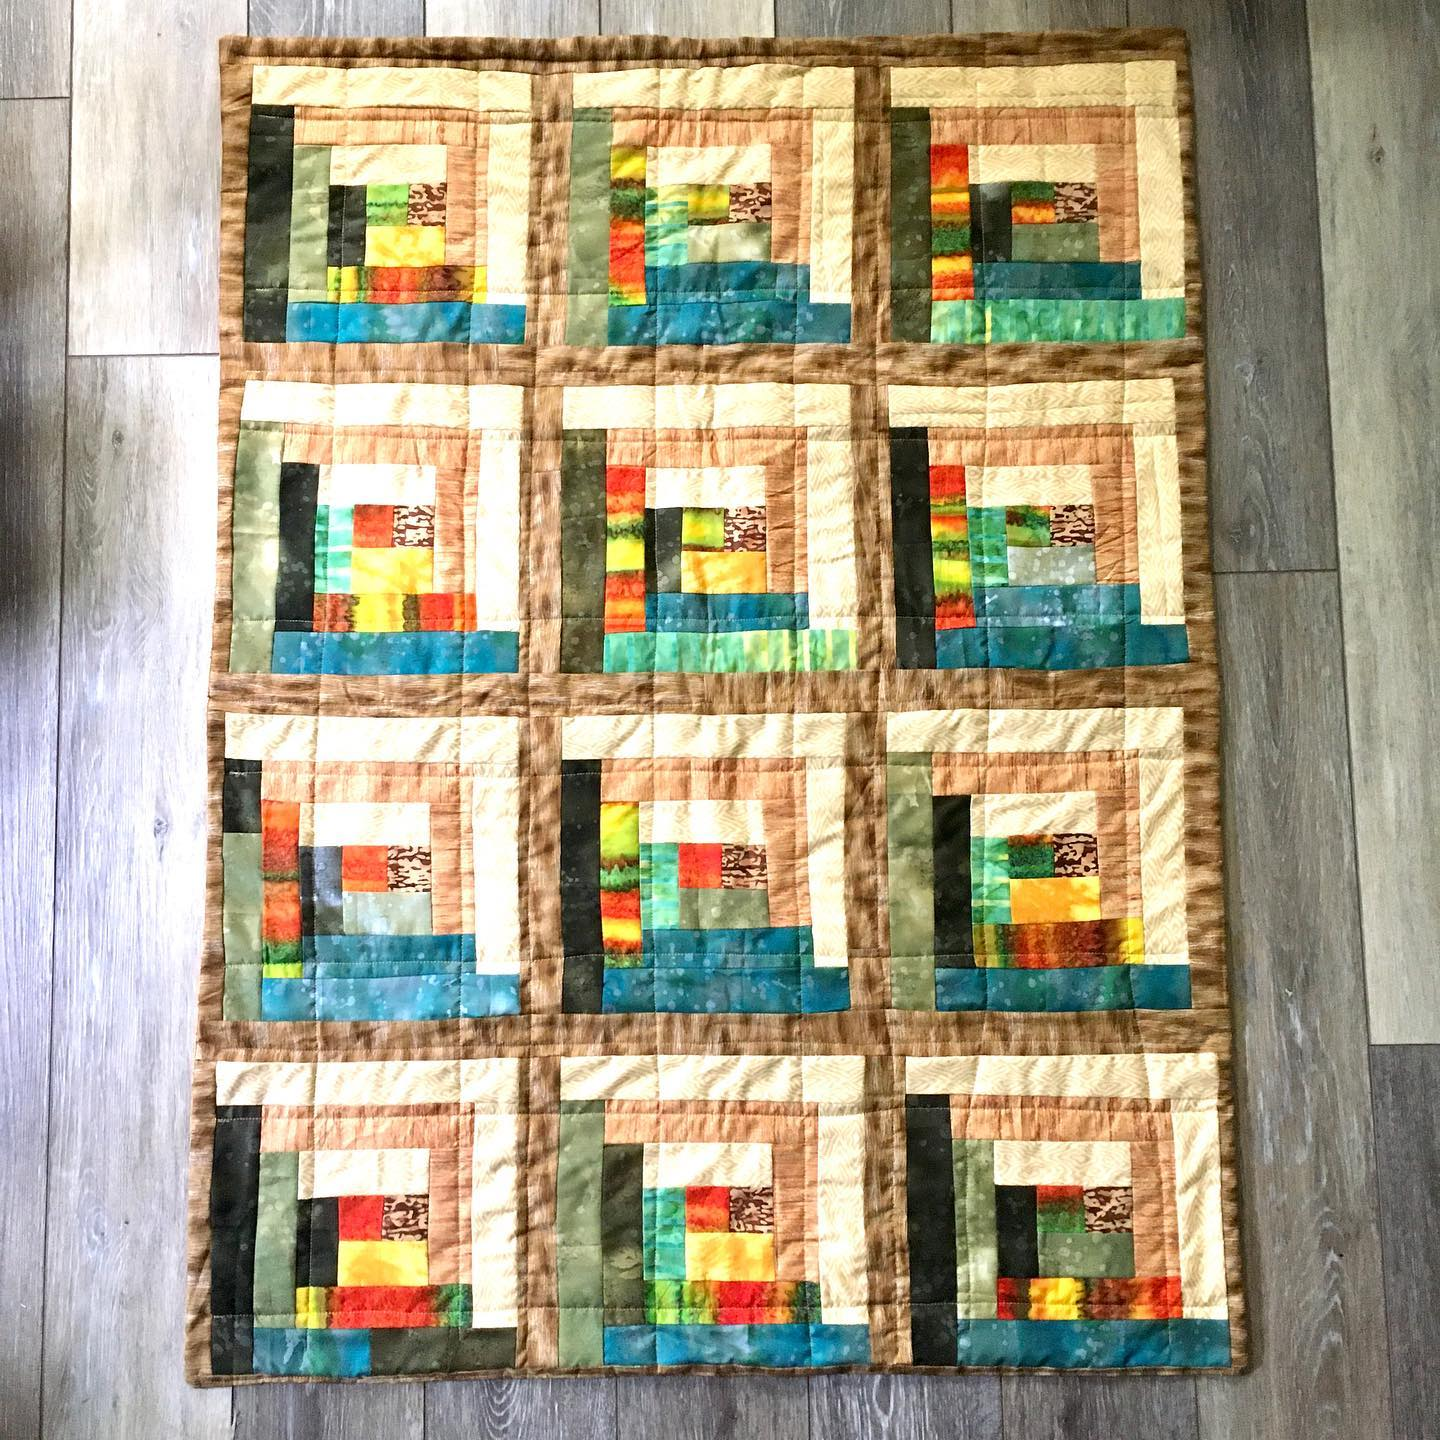
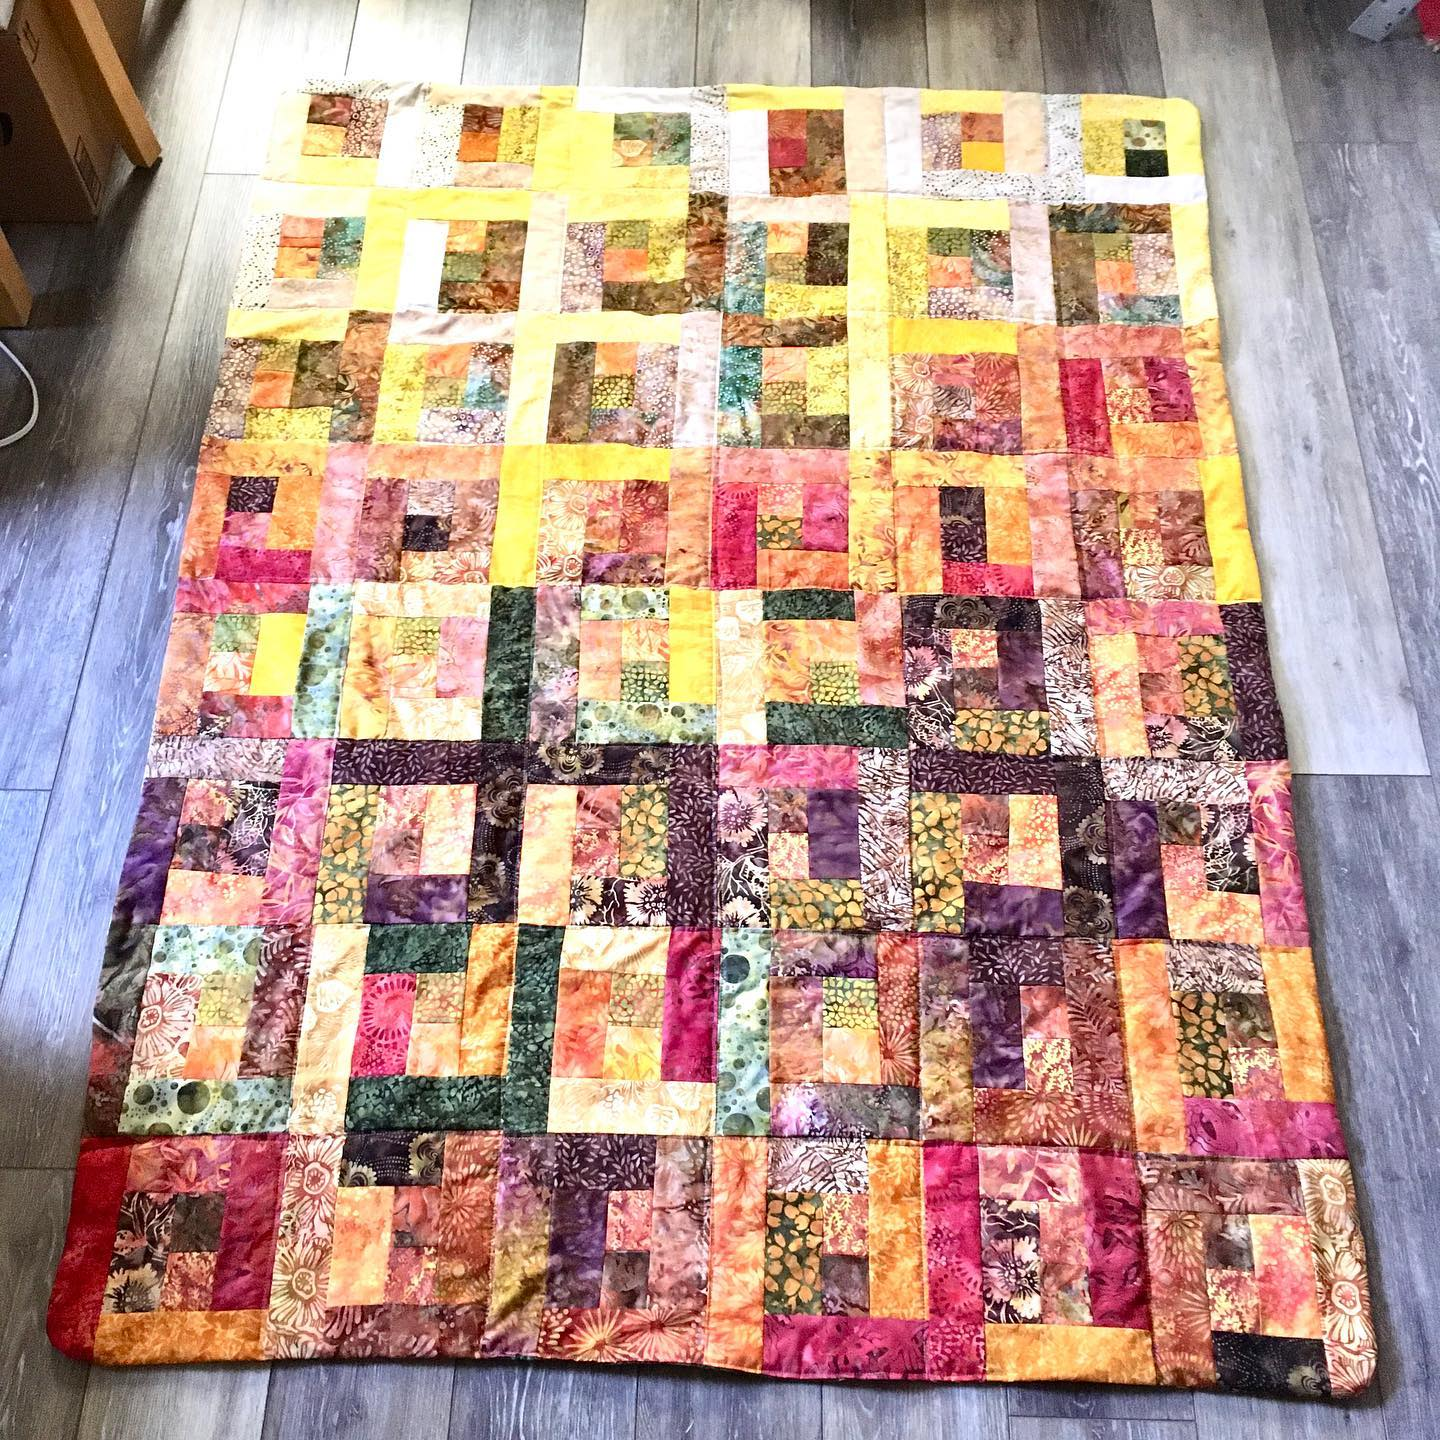
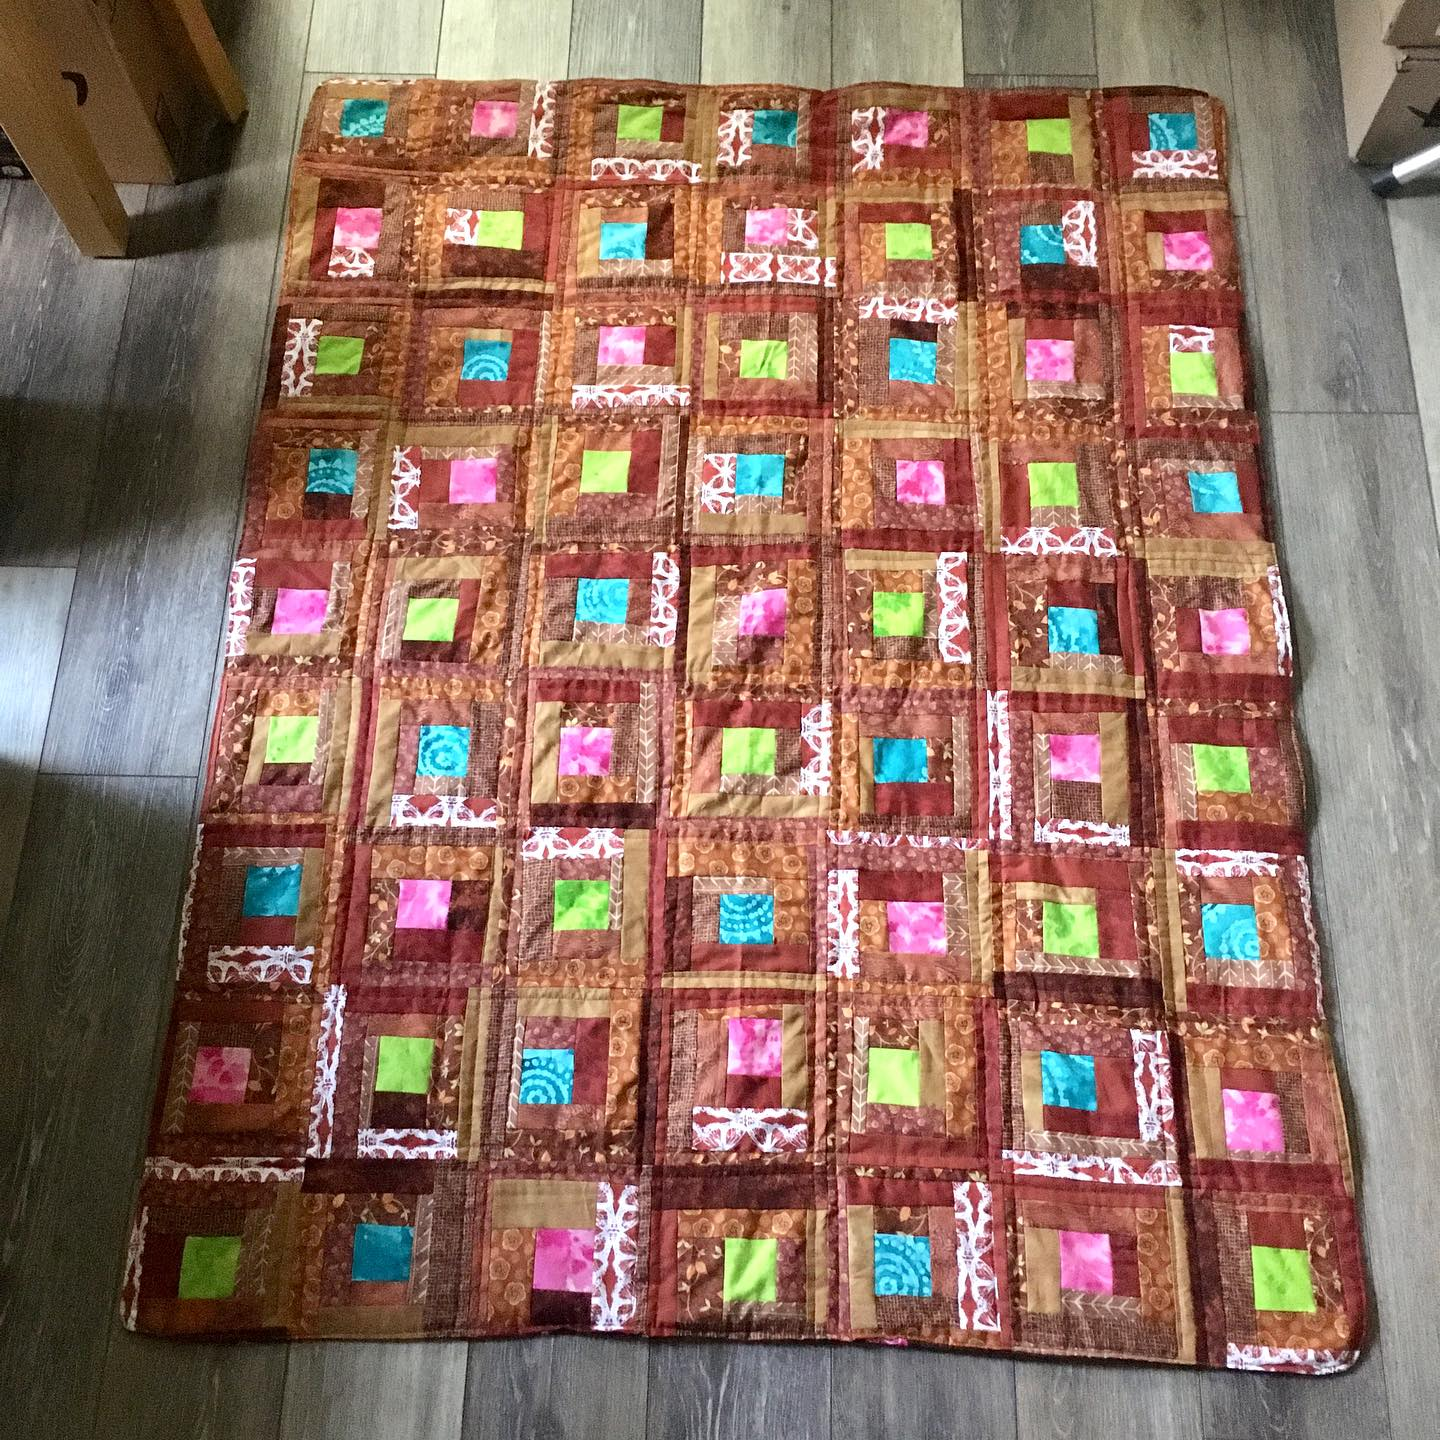
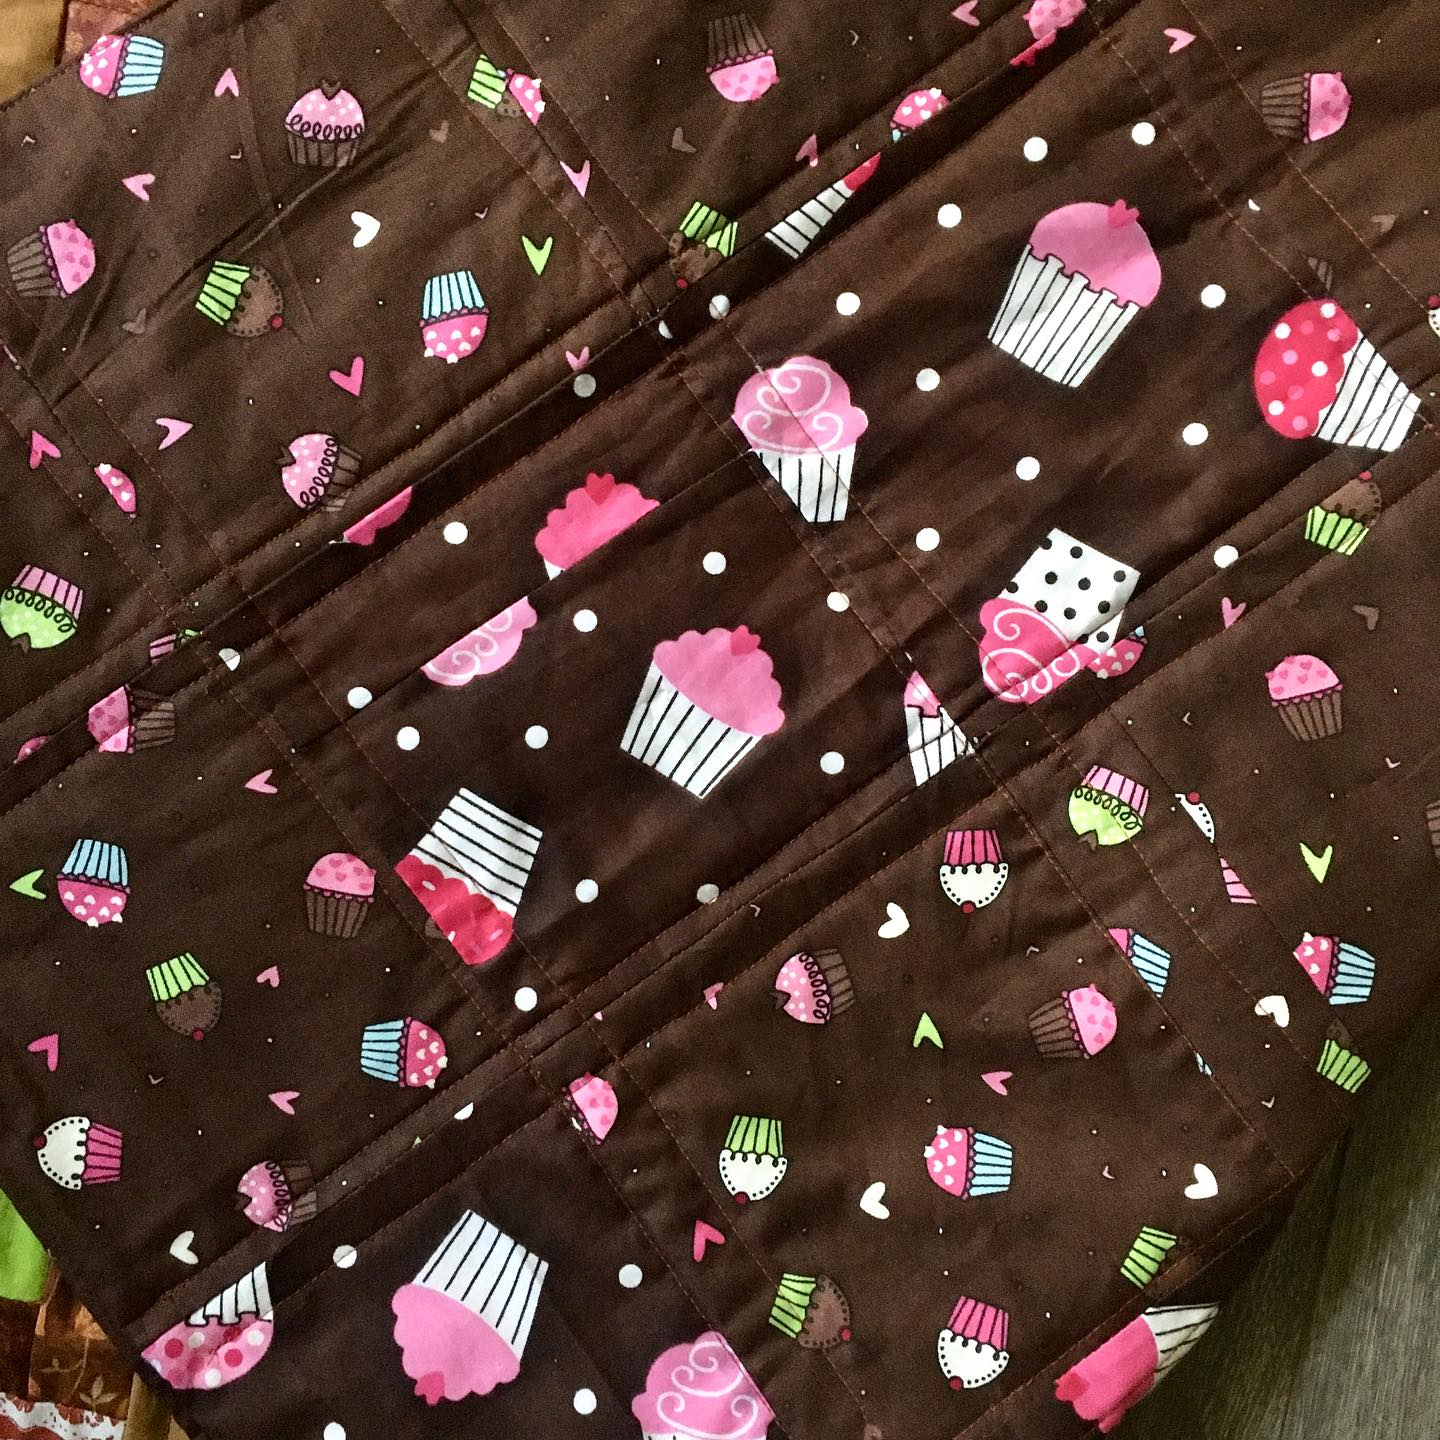
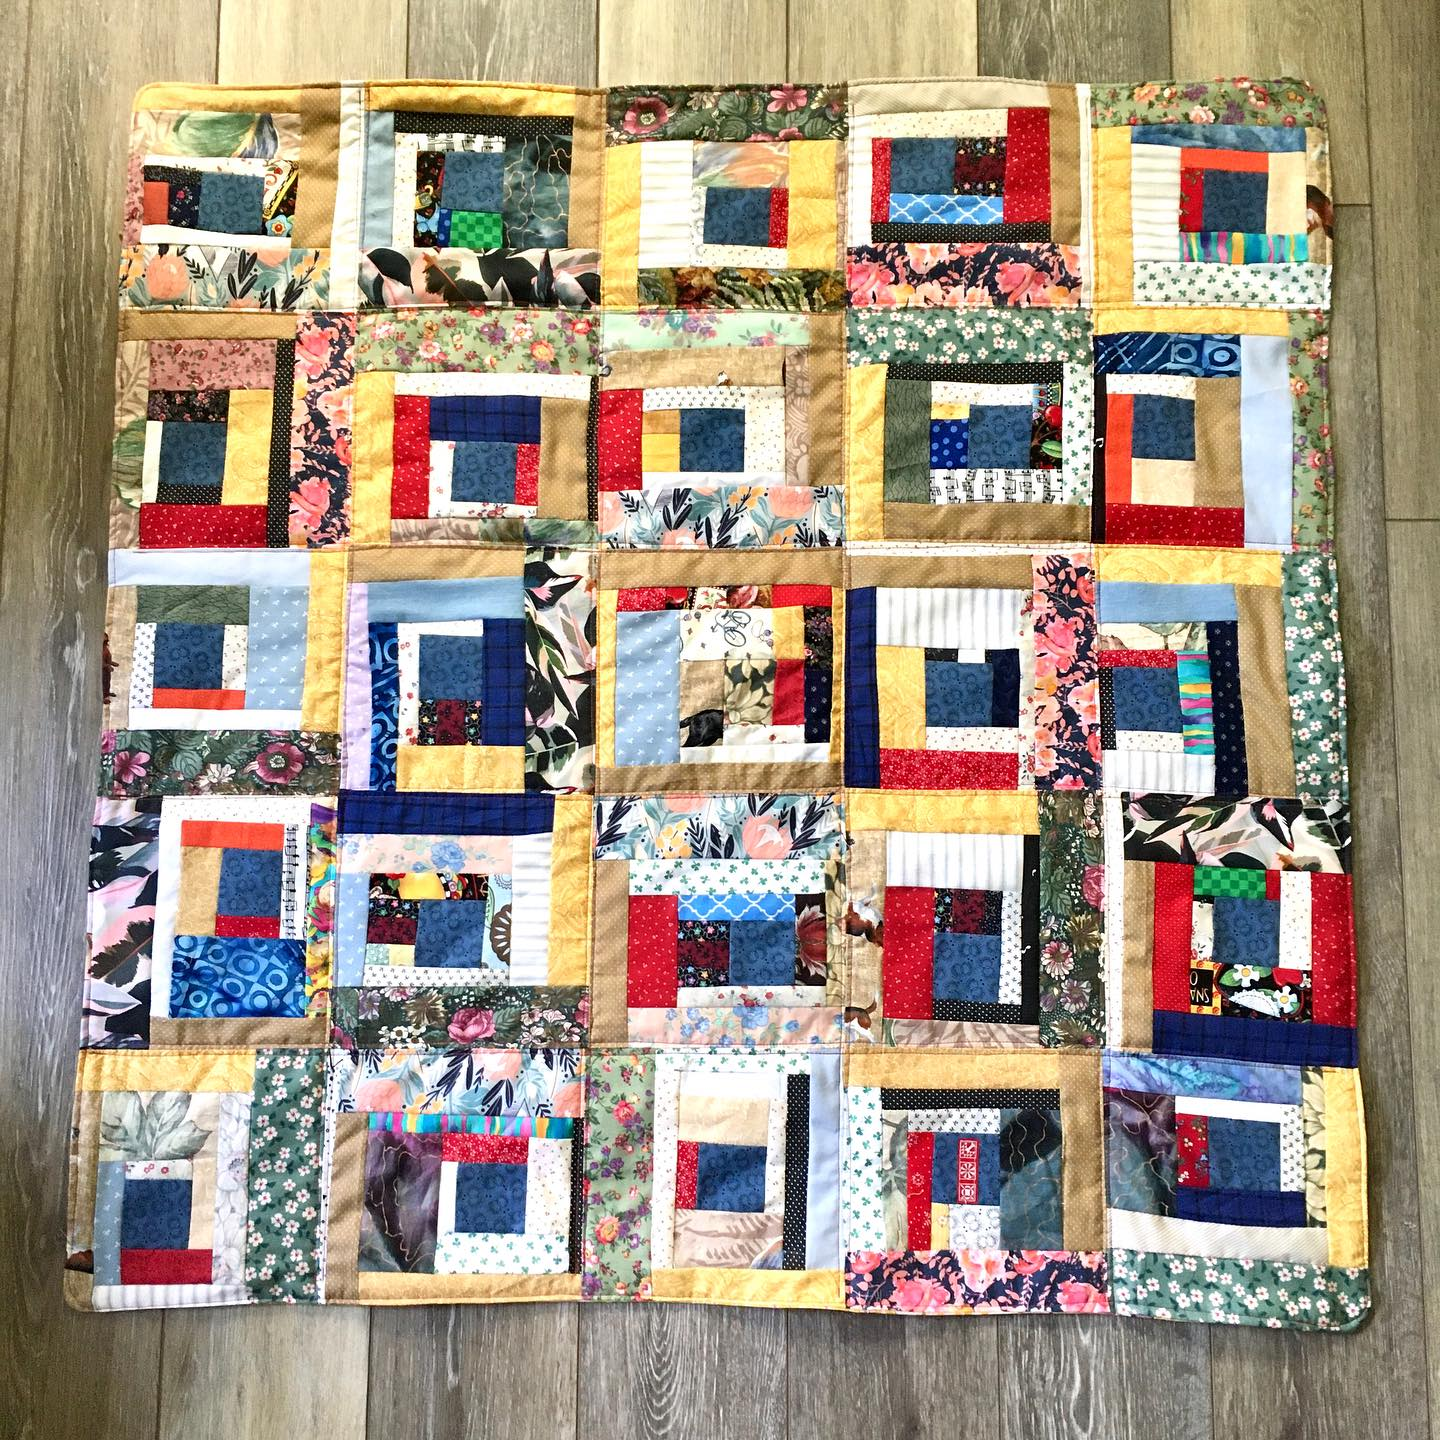
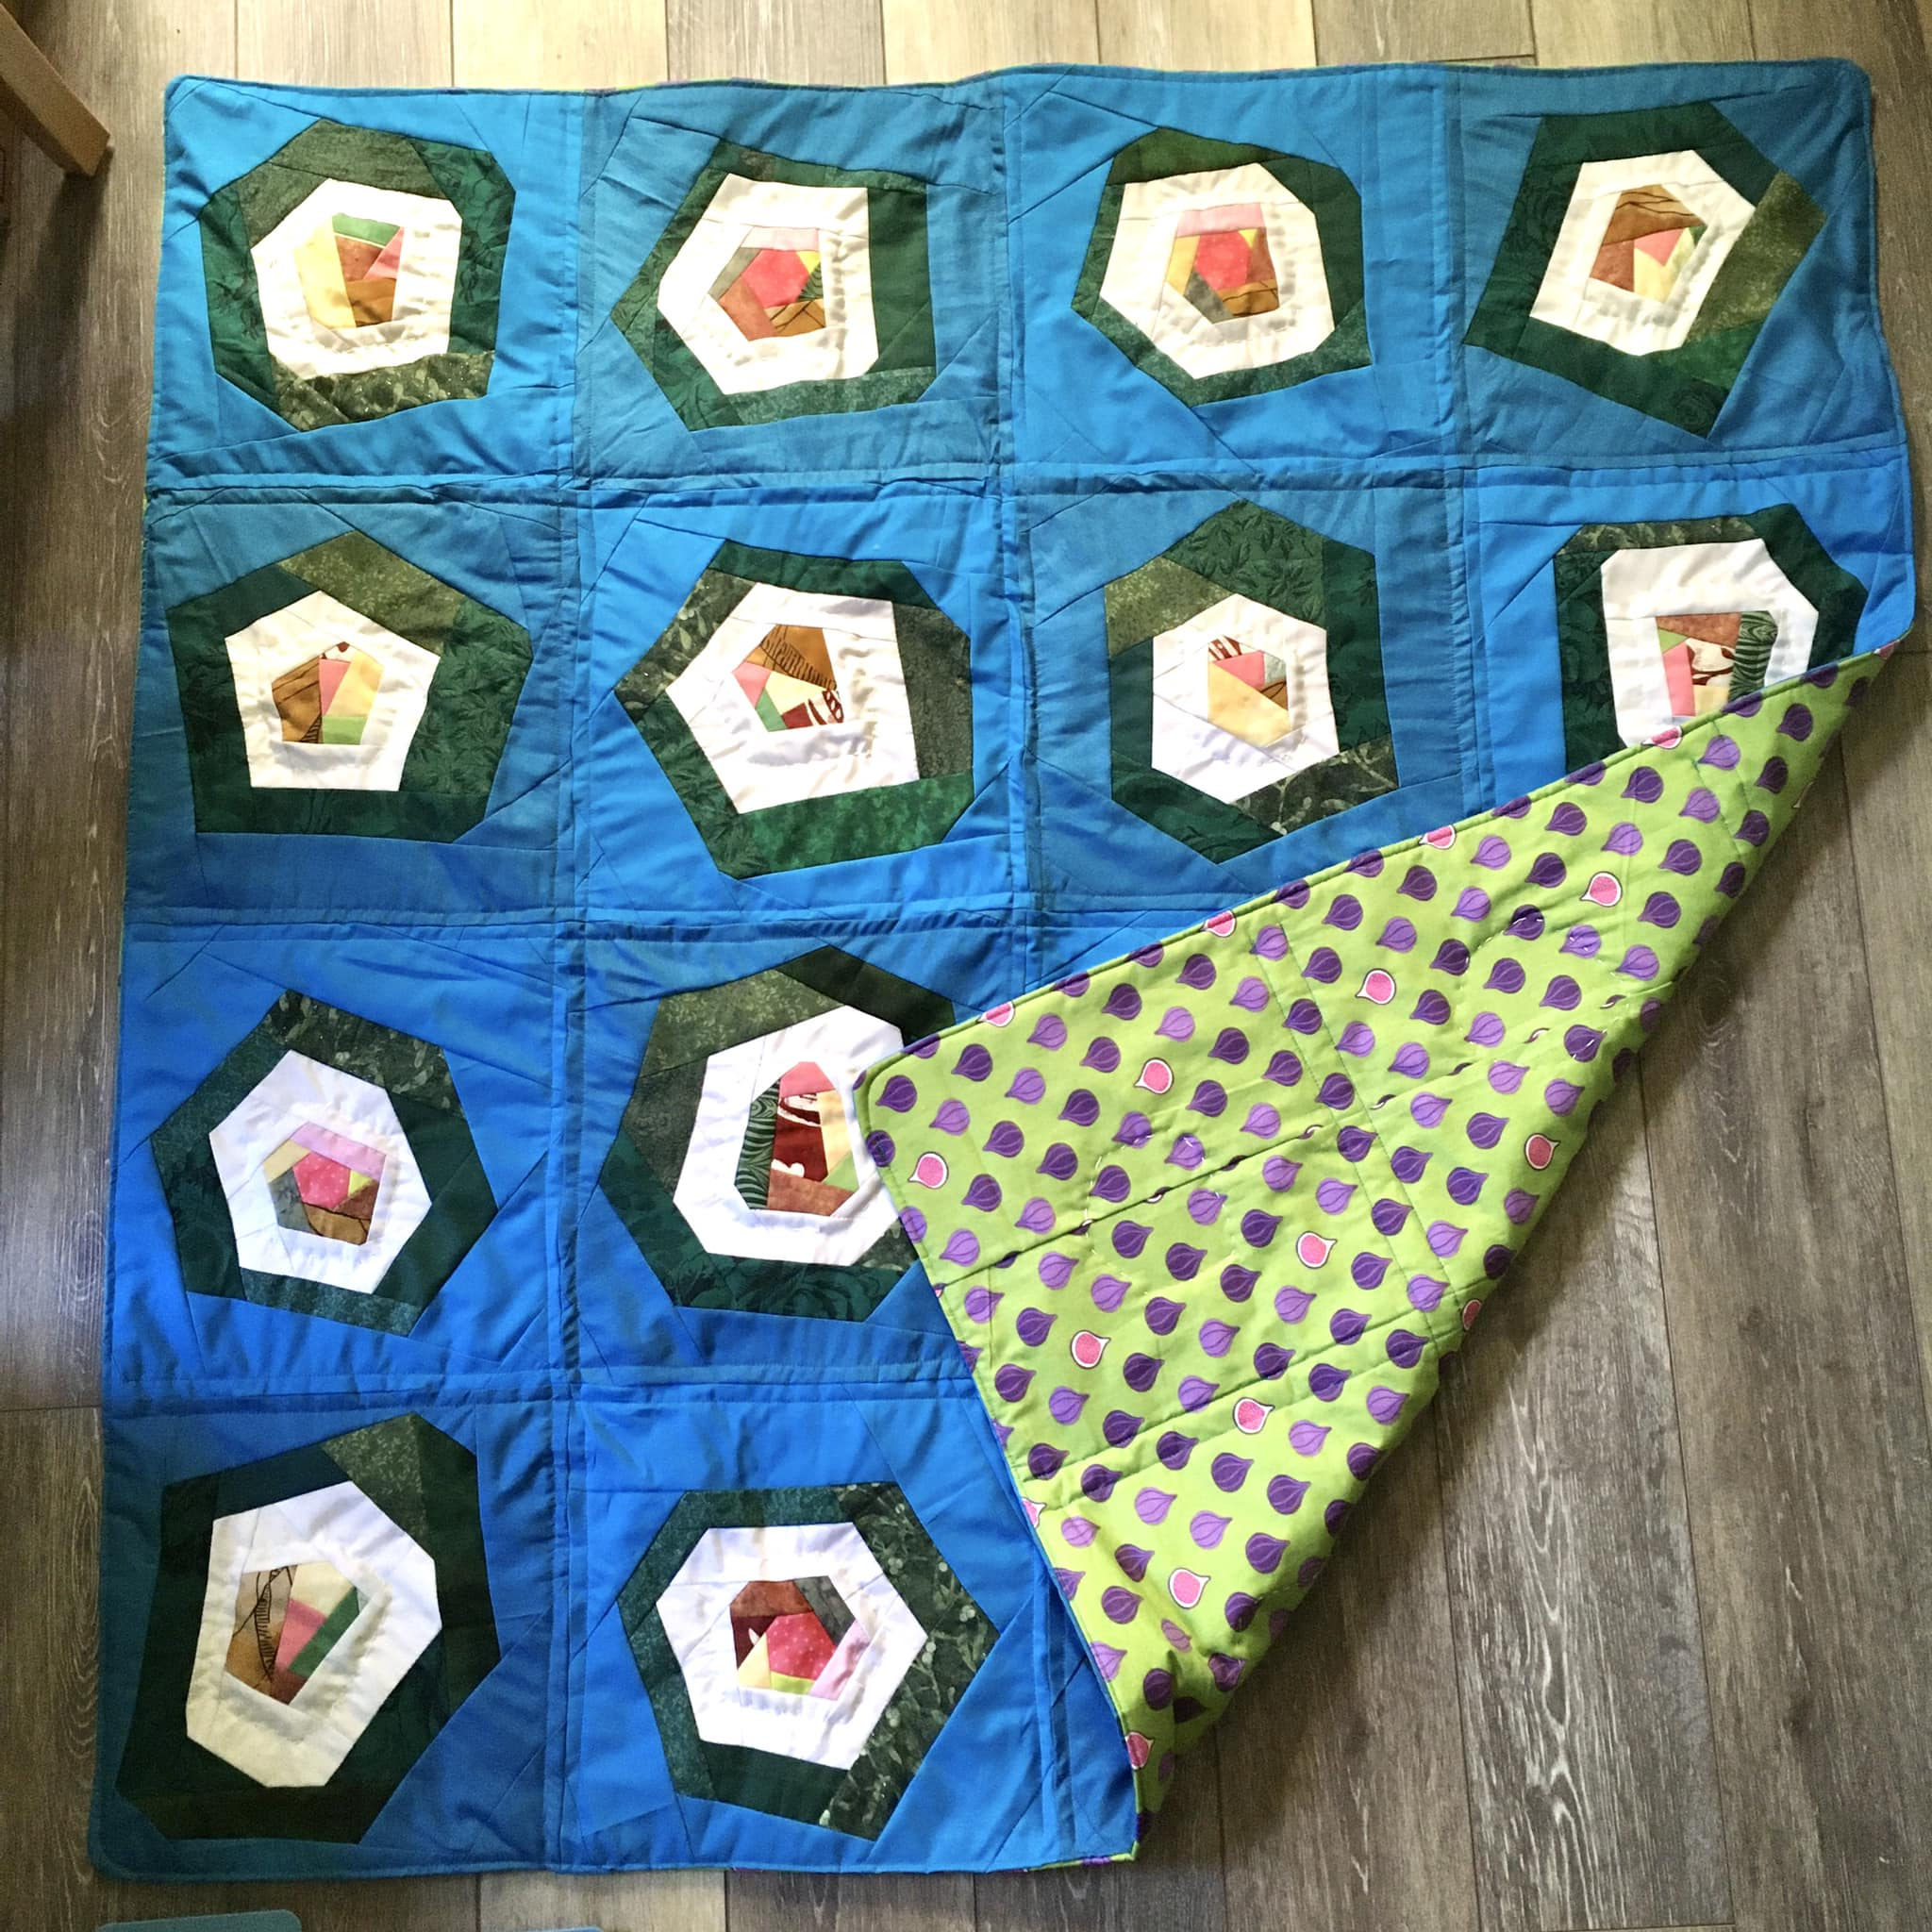
#45 finished 4/2/25 browns from Smart, pink/blue/green centers from JoAnn’s Log cabin – but a Chocolate Cupcake with Sprinkles. Backing fabrics were a fortuitous find.
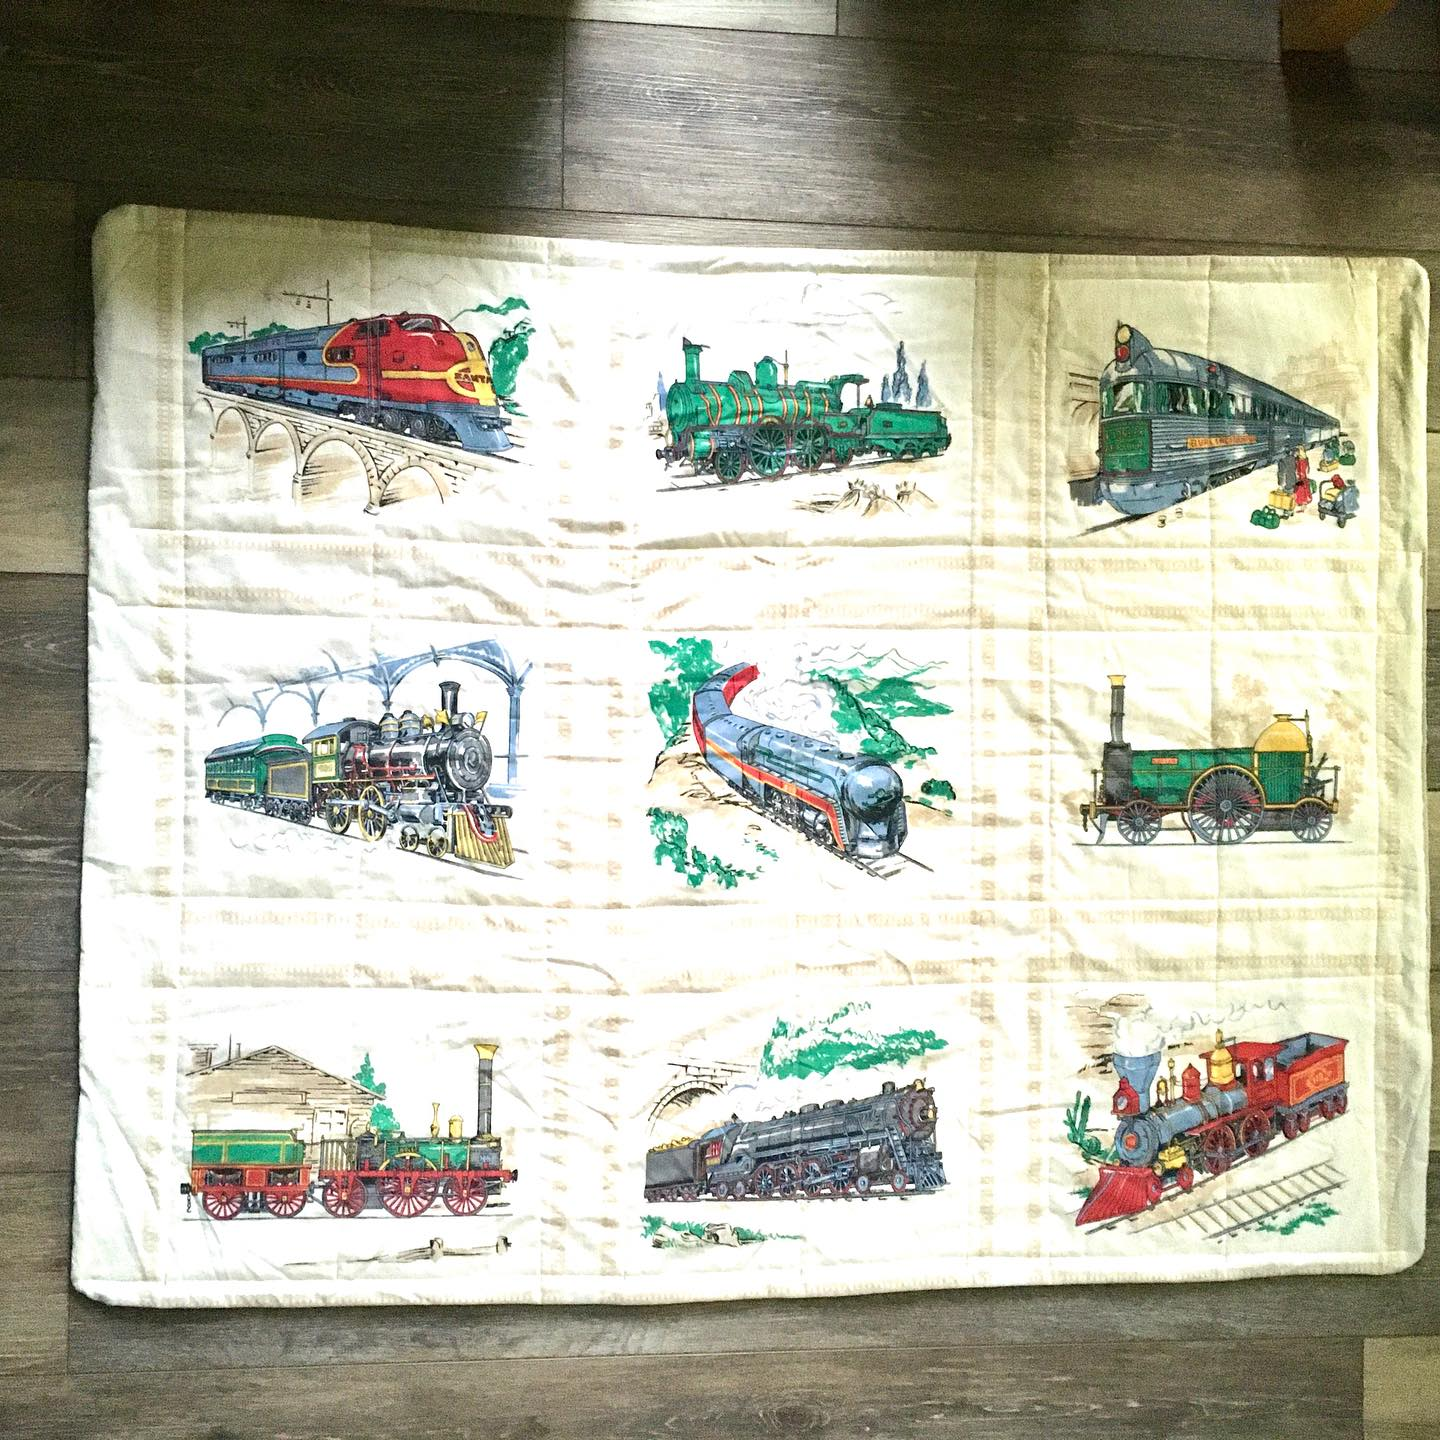
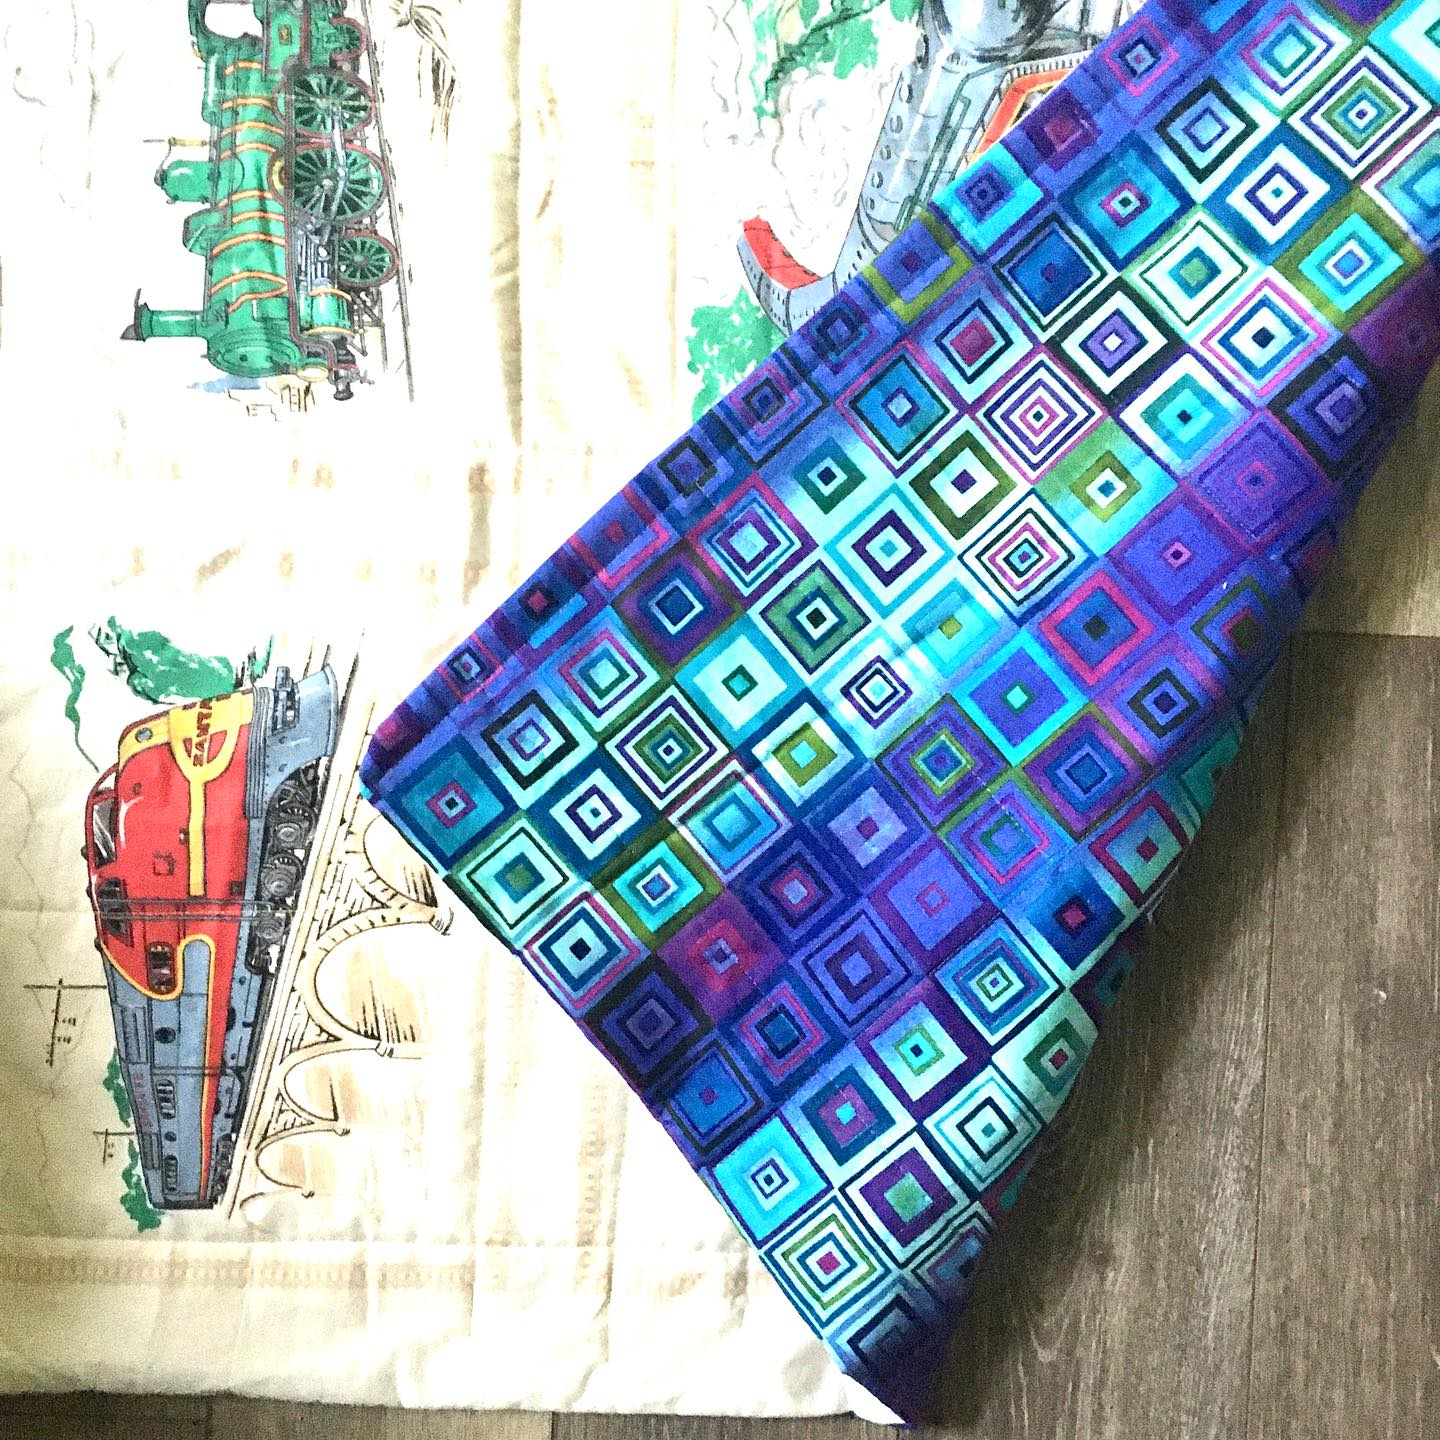
#46 finished 4/3/25 Train nap blanket. Fabric from Smart
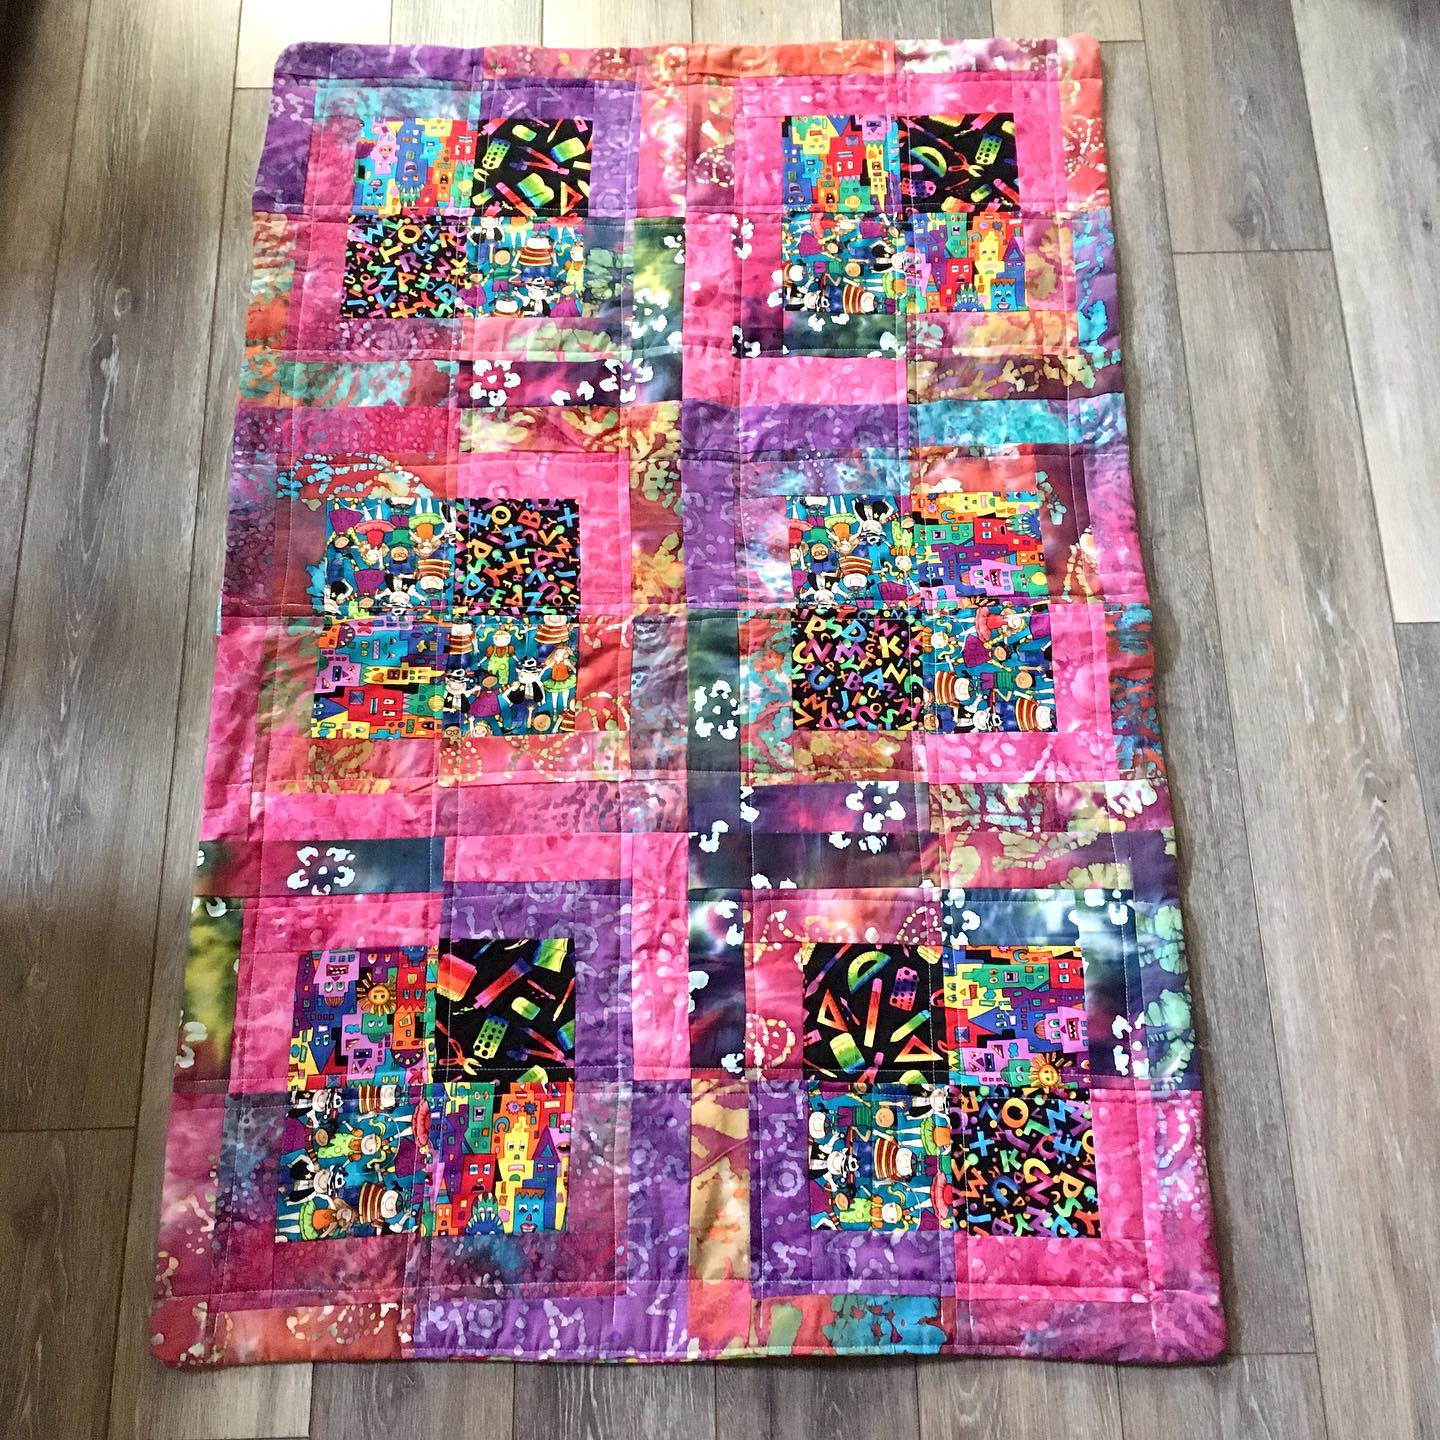
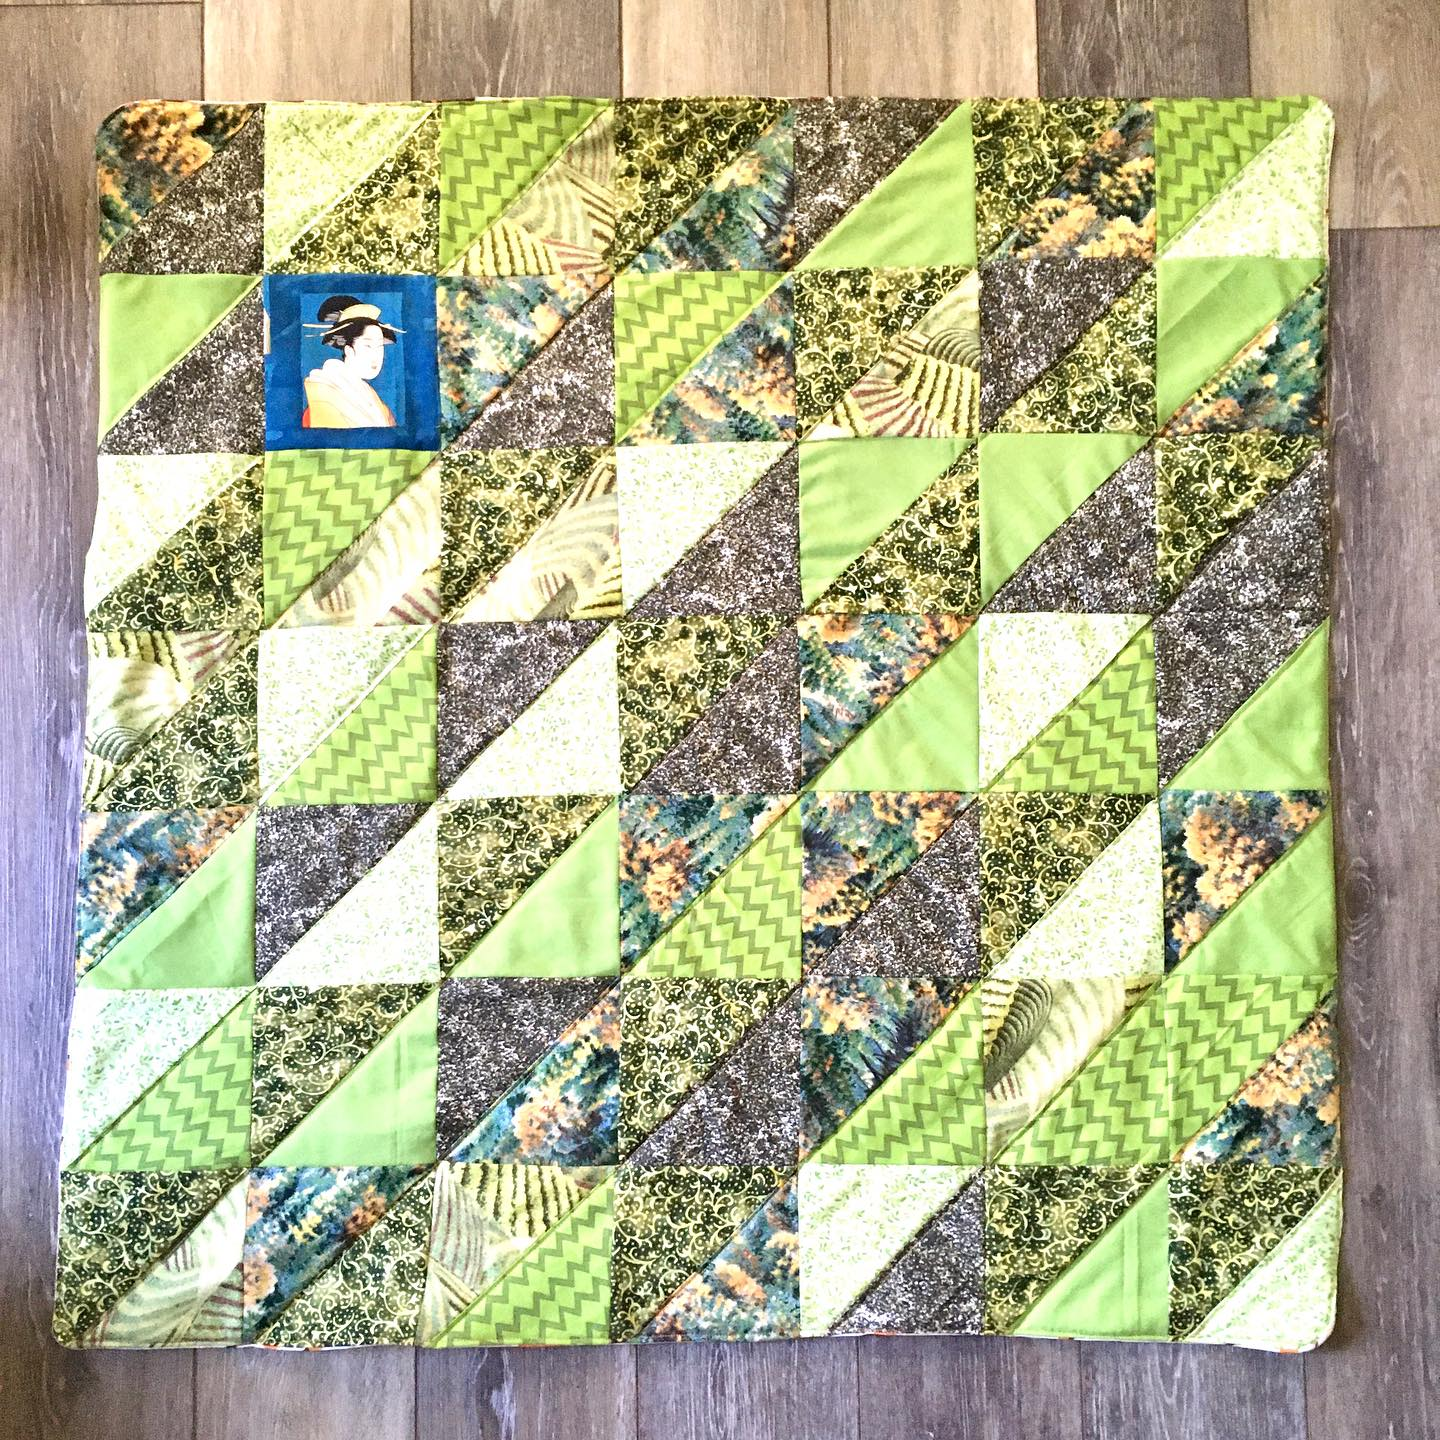
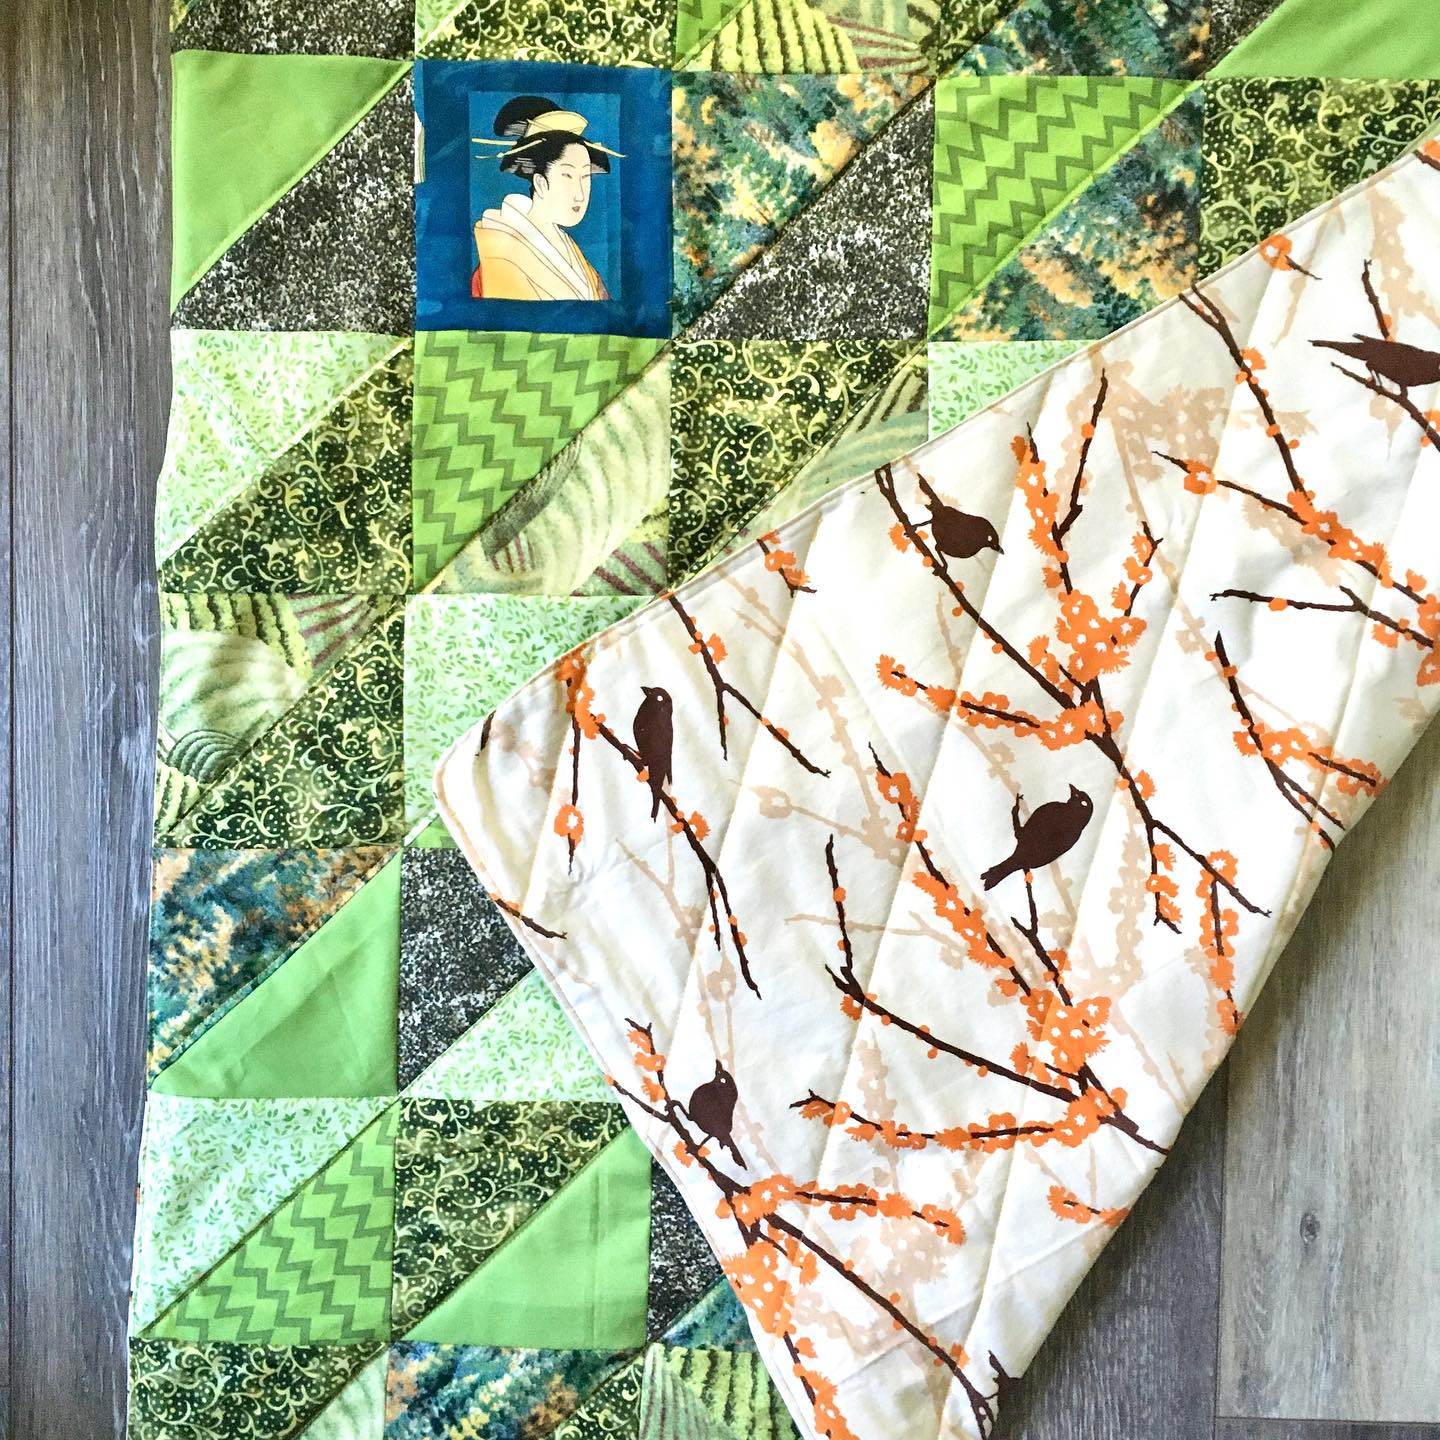
#47 finished 4/9/25 Given to my chiropractor for his second baby. 4/30/25 Geisha in a tea garden. Fabric from Smart
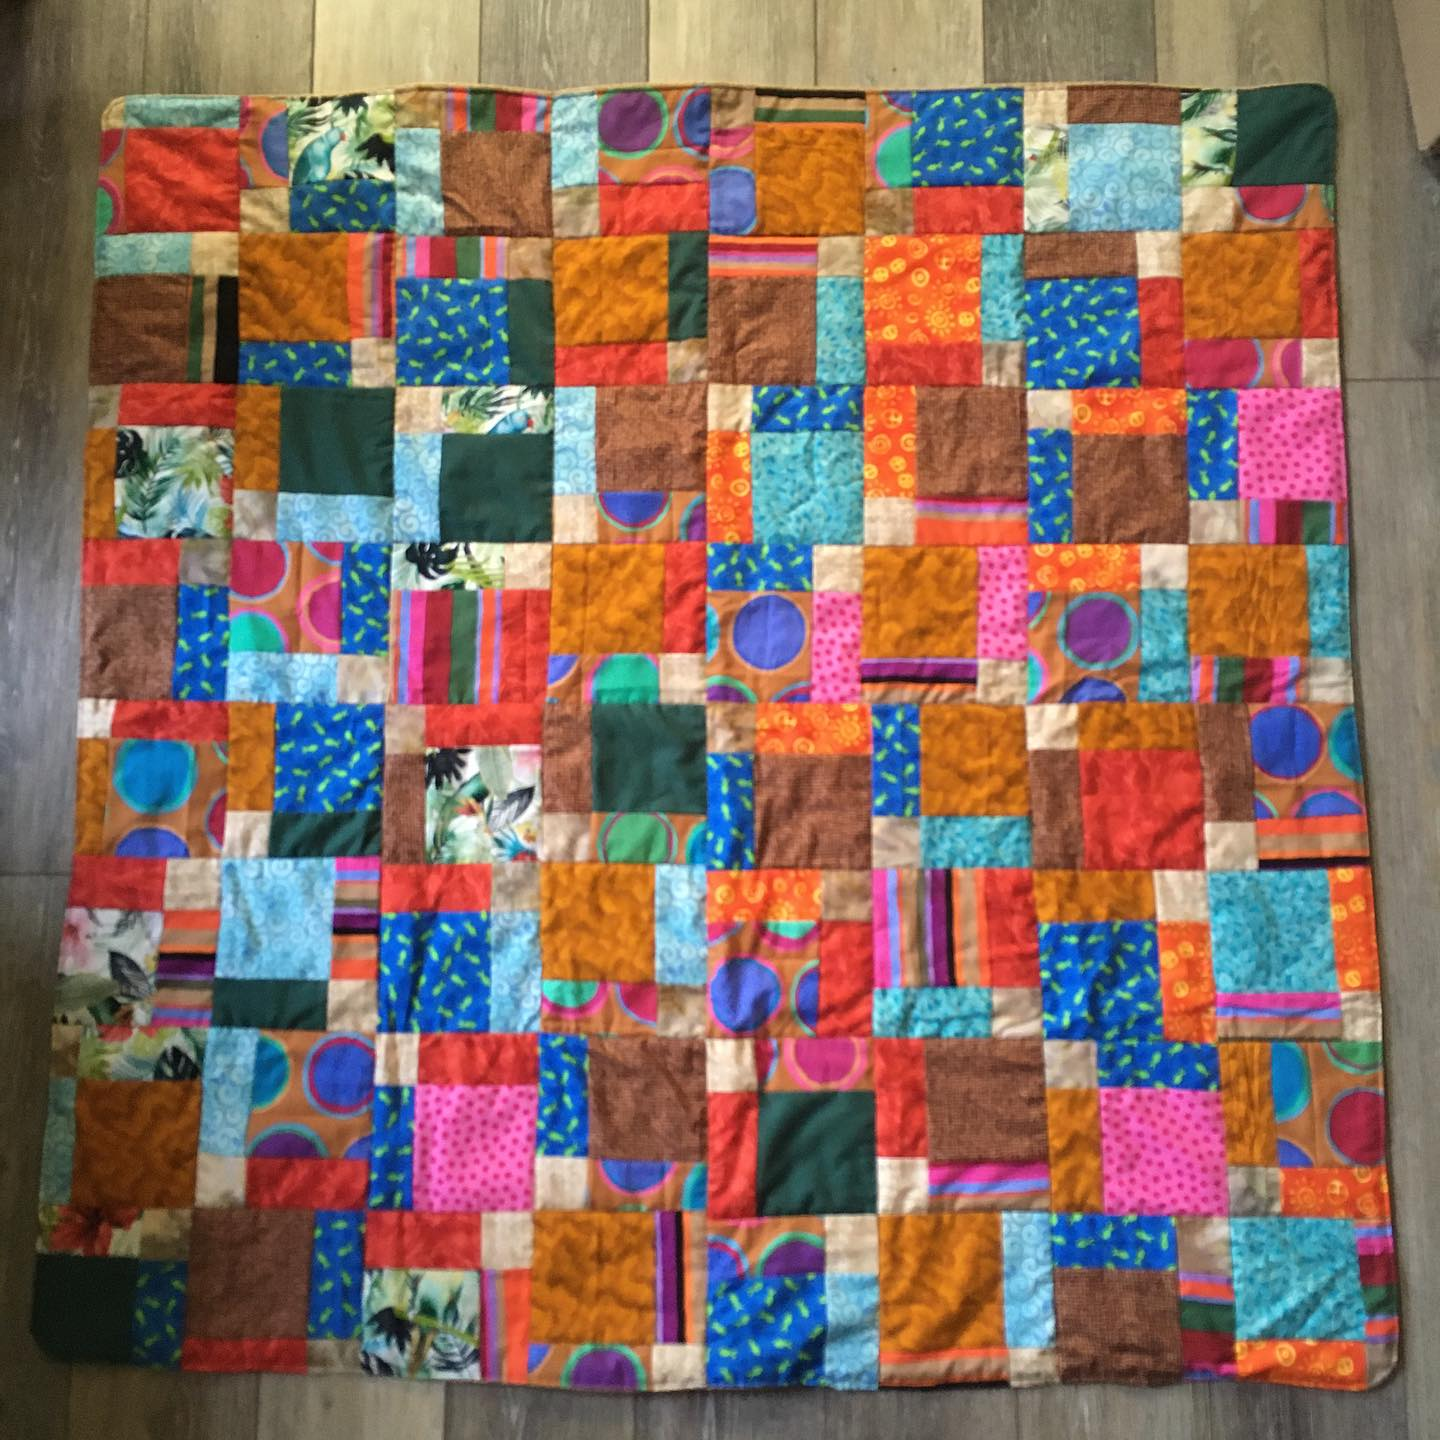
#48 finished 4/17/25 Dpmated 5/1/25 Scrappy Log Cabin. Fabric from Smart
#49 finished 4/22/25 Dpmated 5/1/25 Panel from Ready Set Sew, rest from Smart
#50. finished 6/16/25 Donated 7/1/25 Fabric from Smart, by way of Stitcher’s Garden

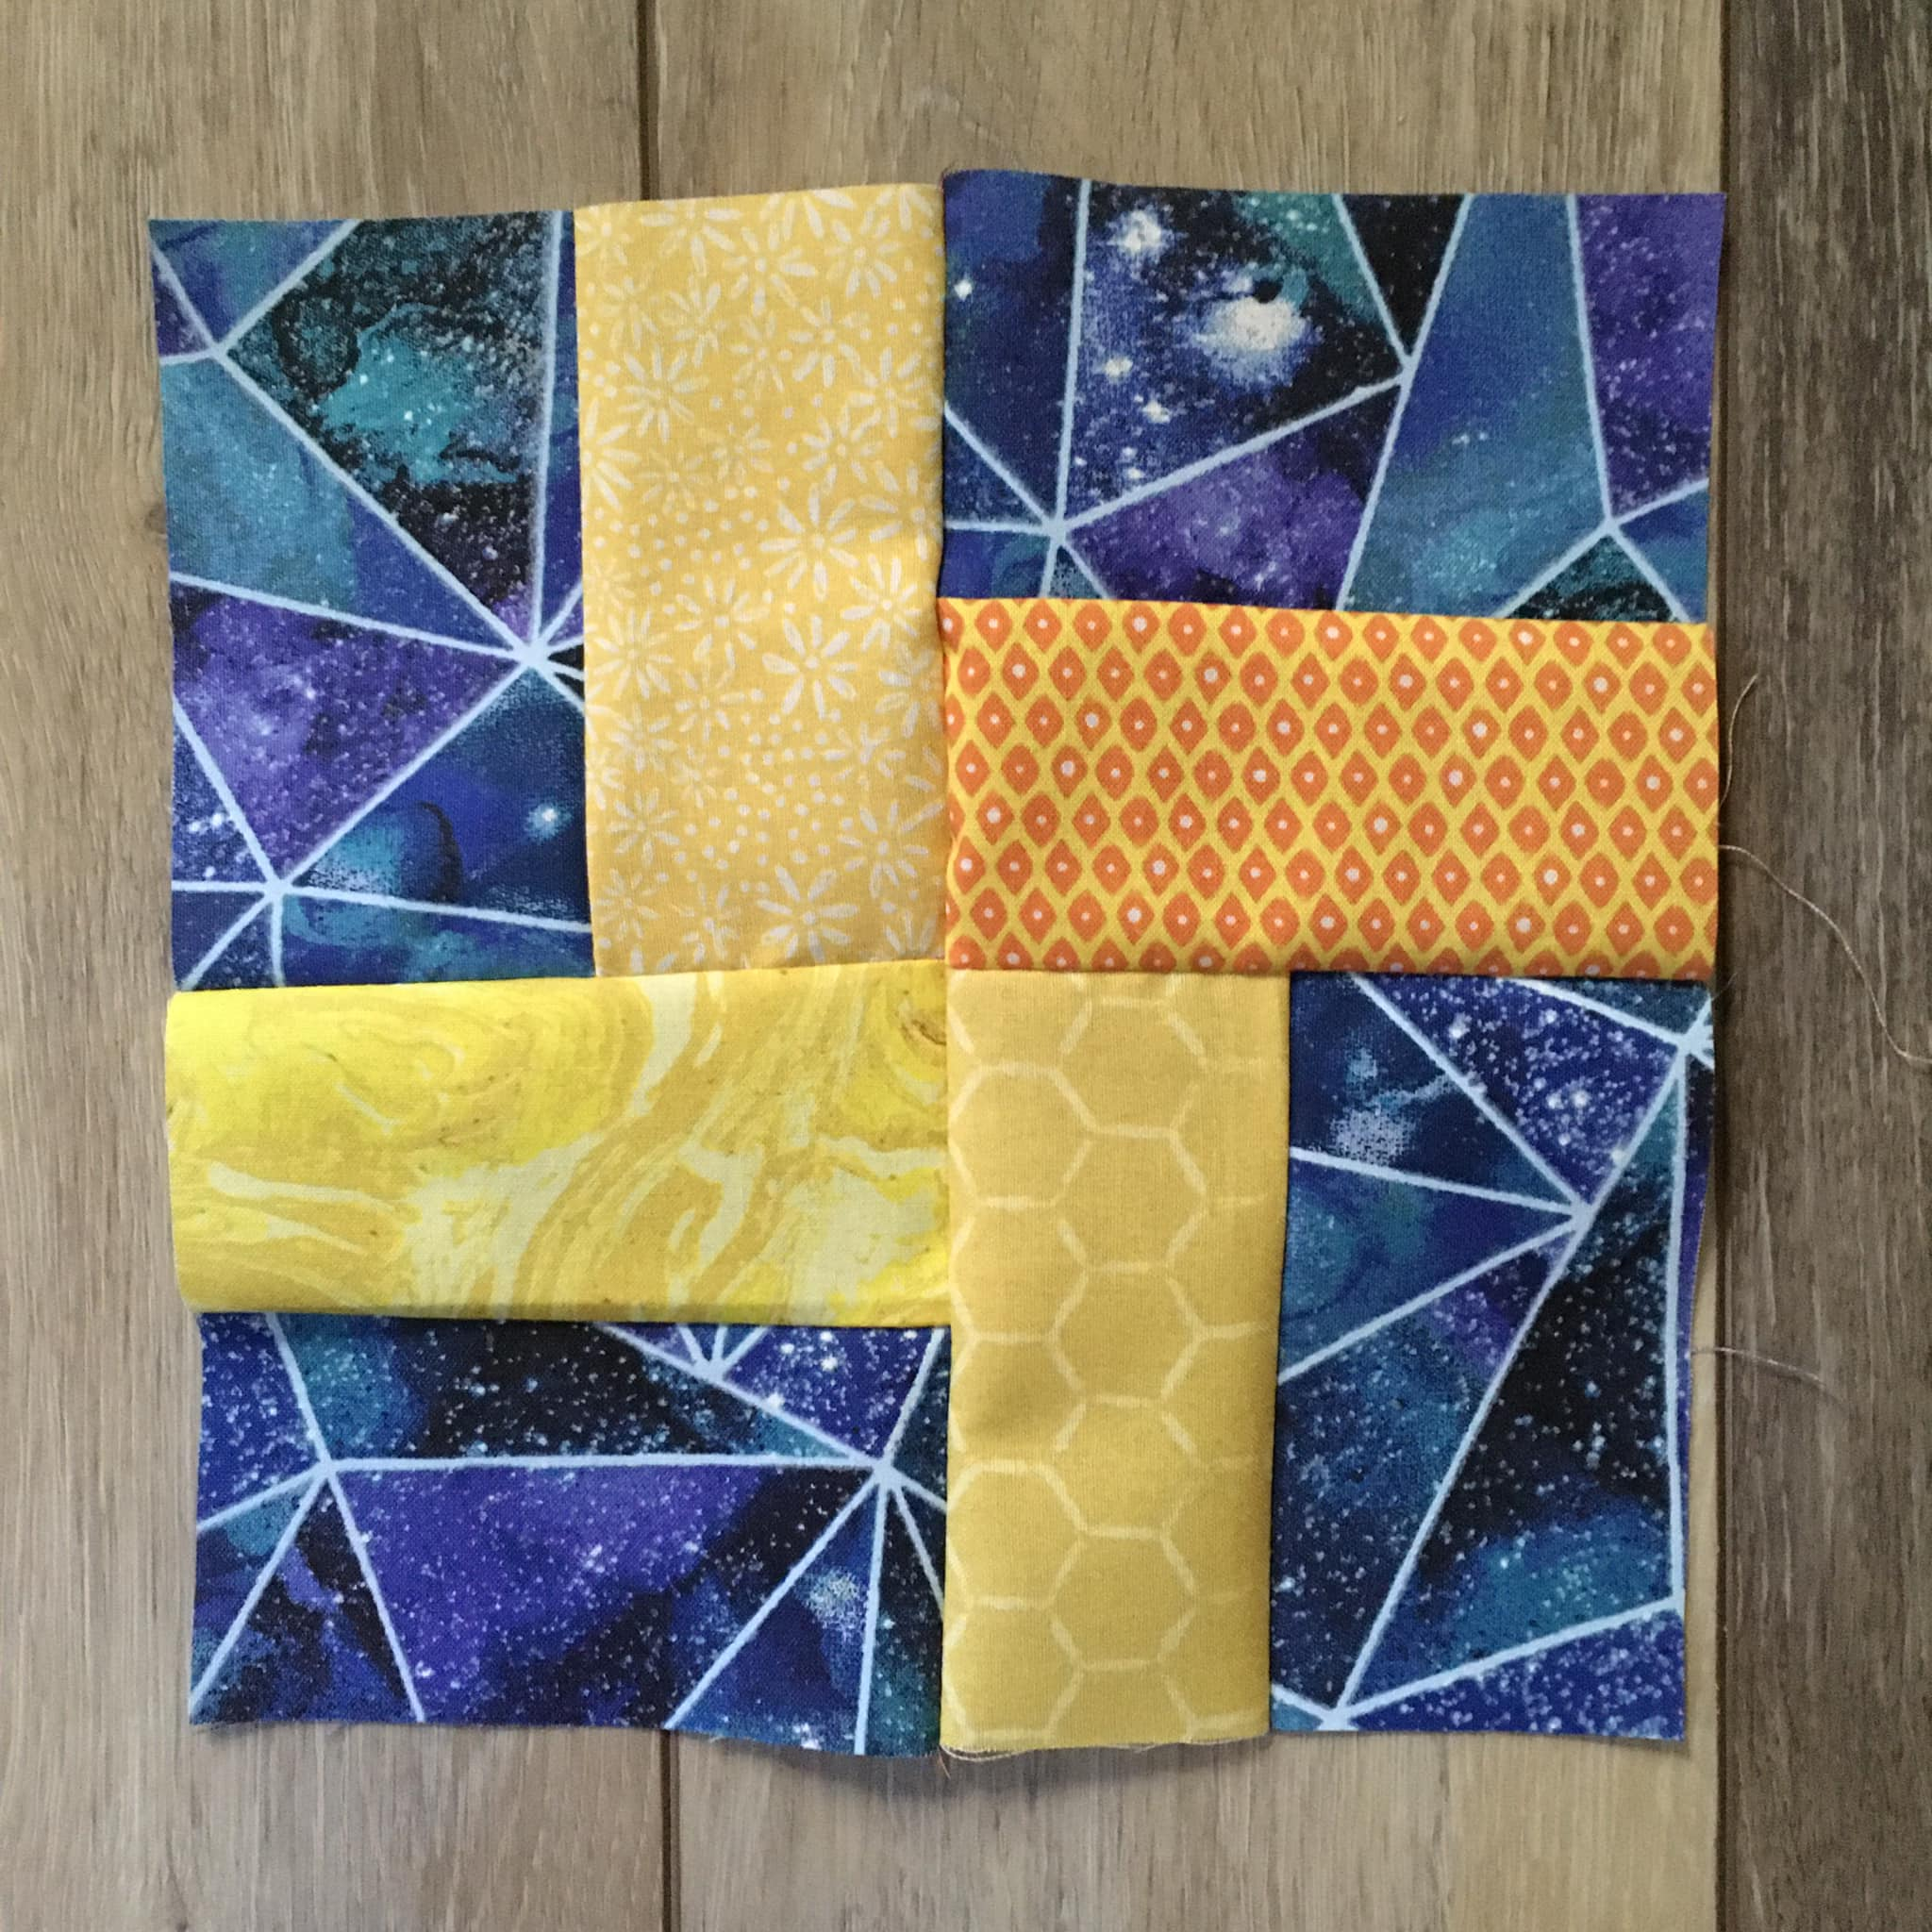
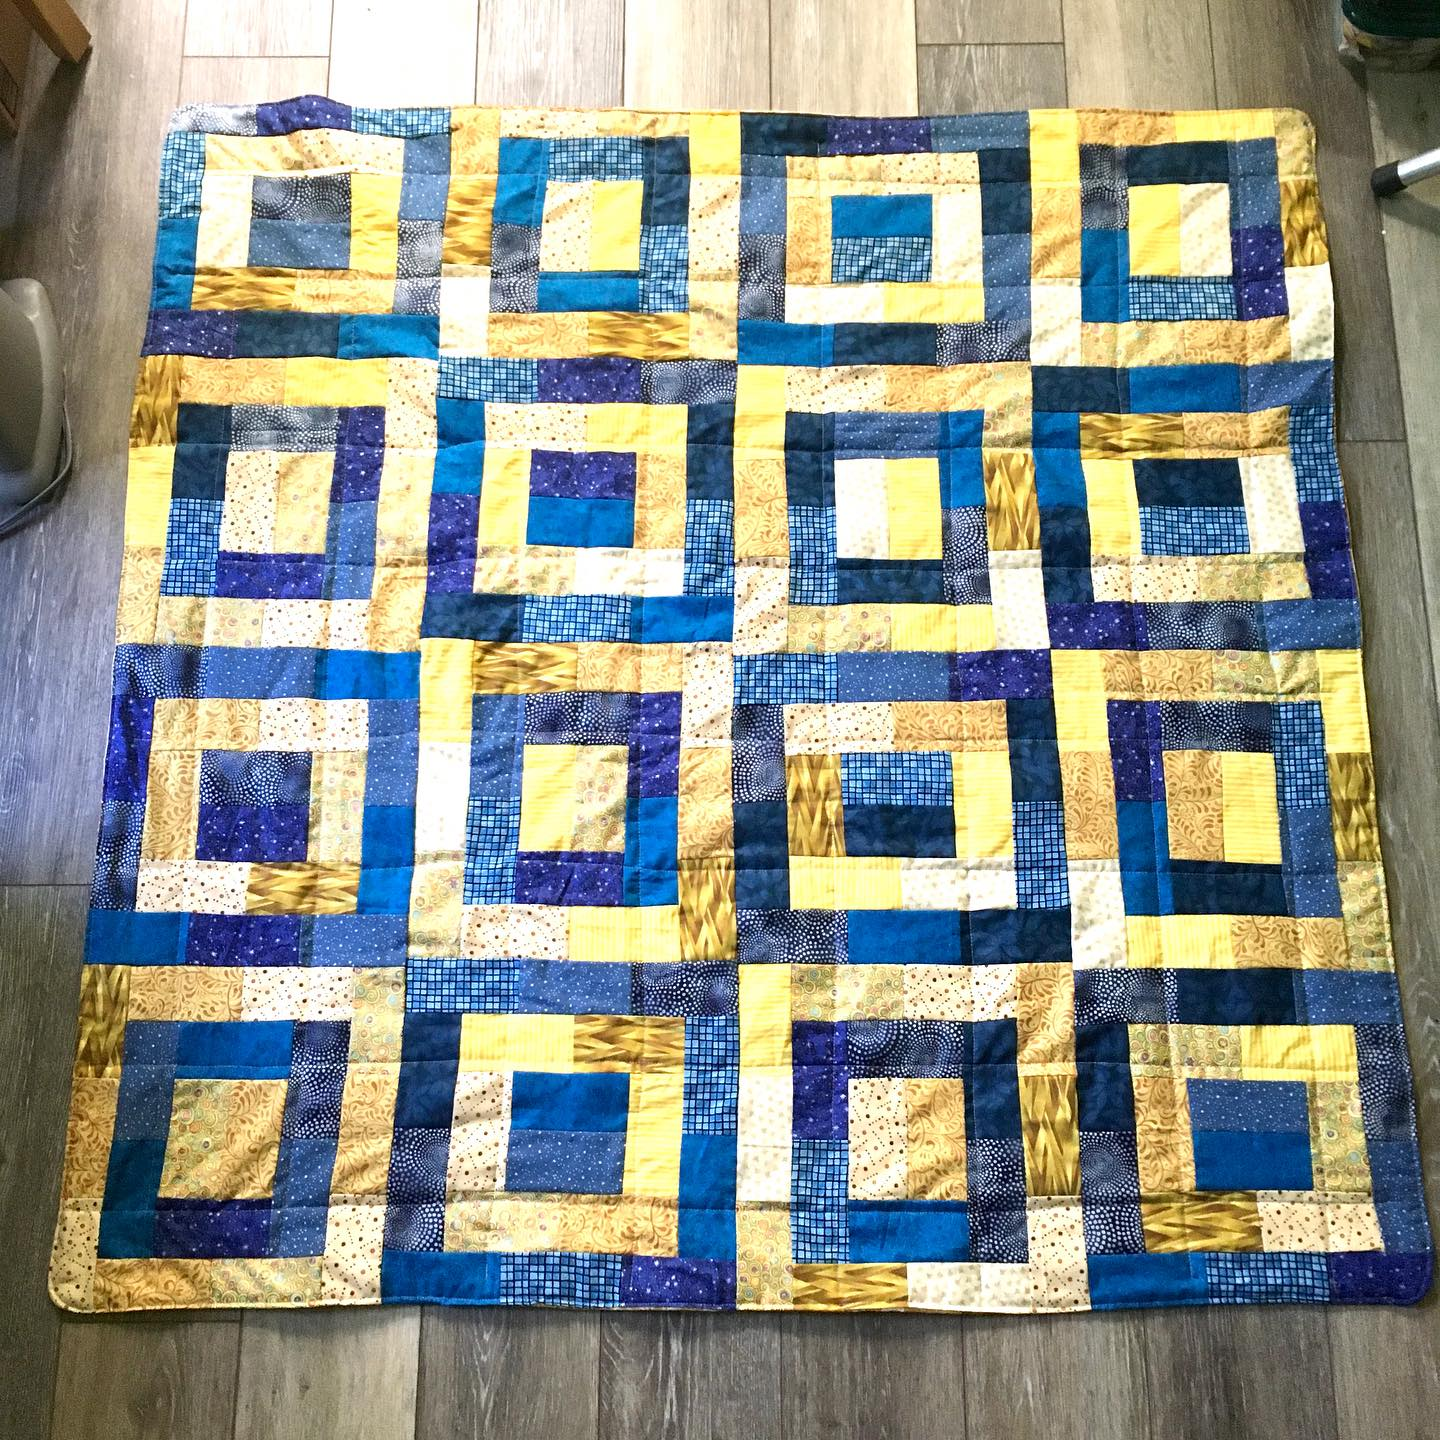
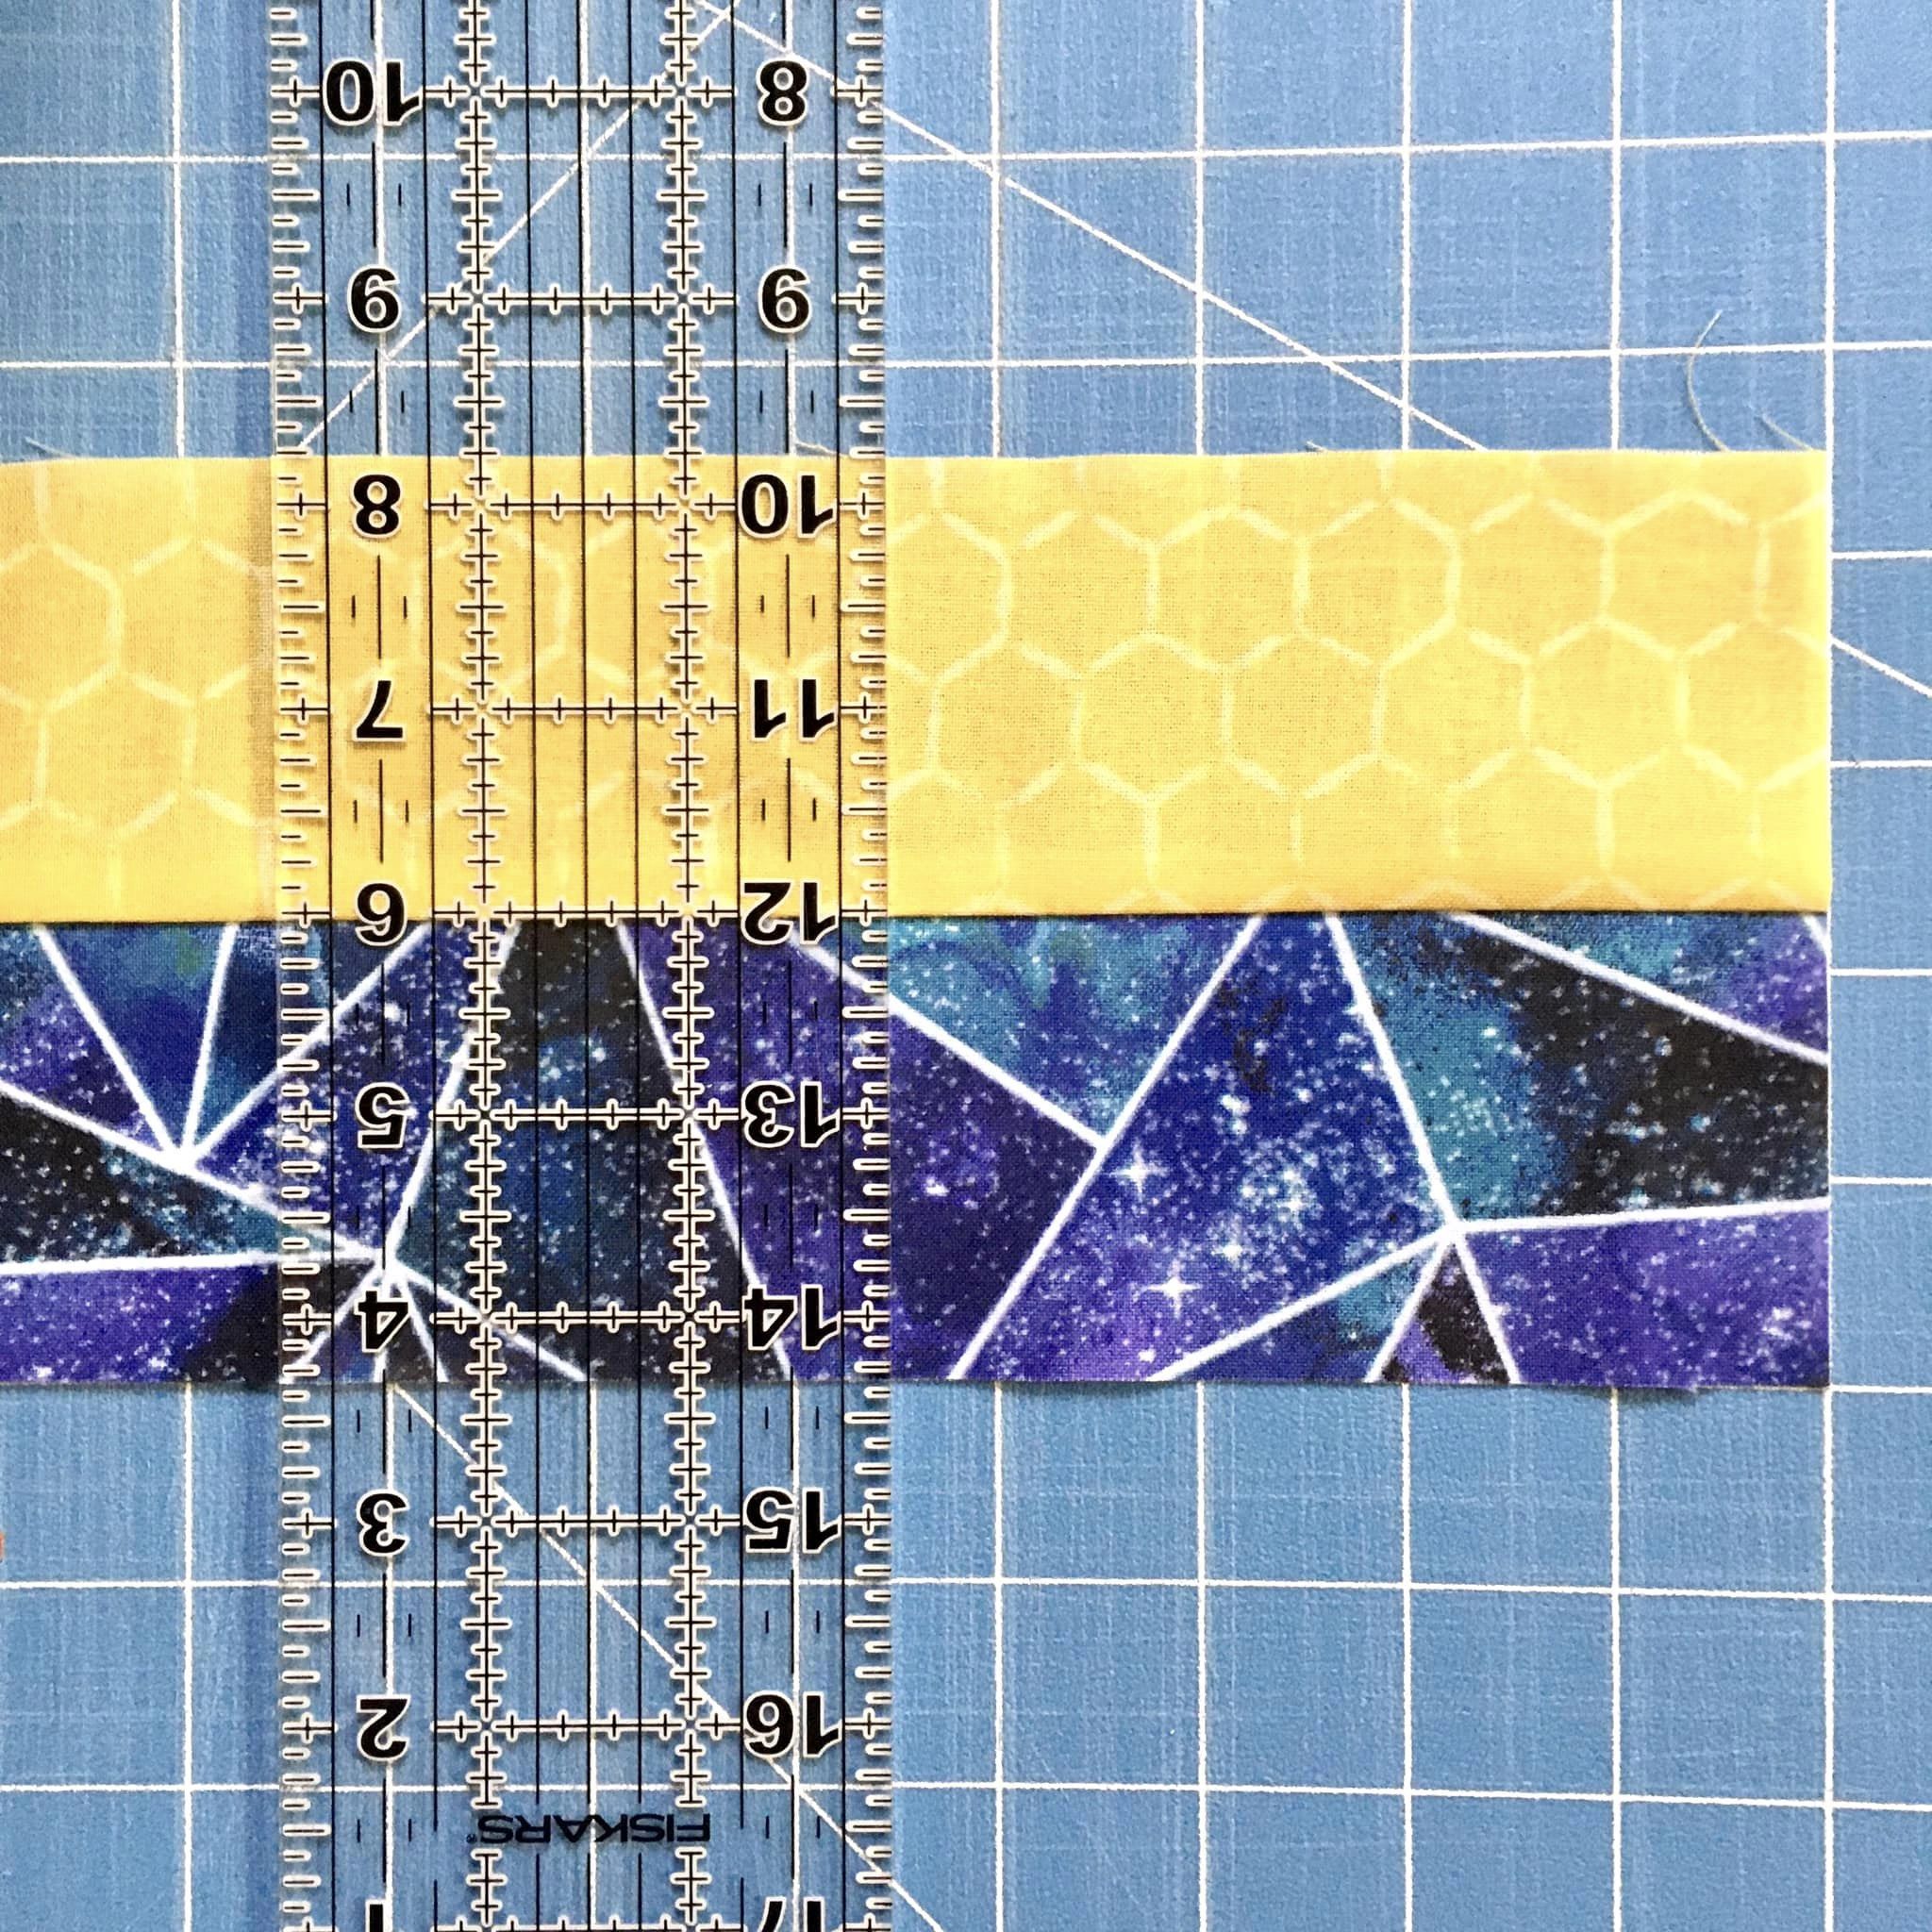
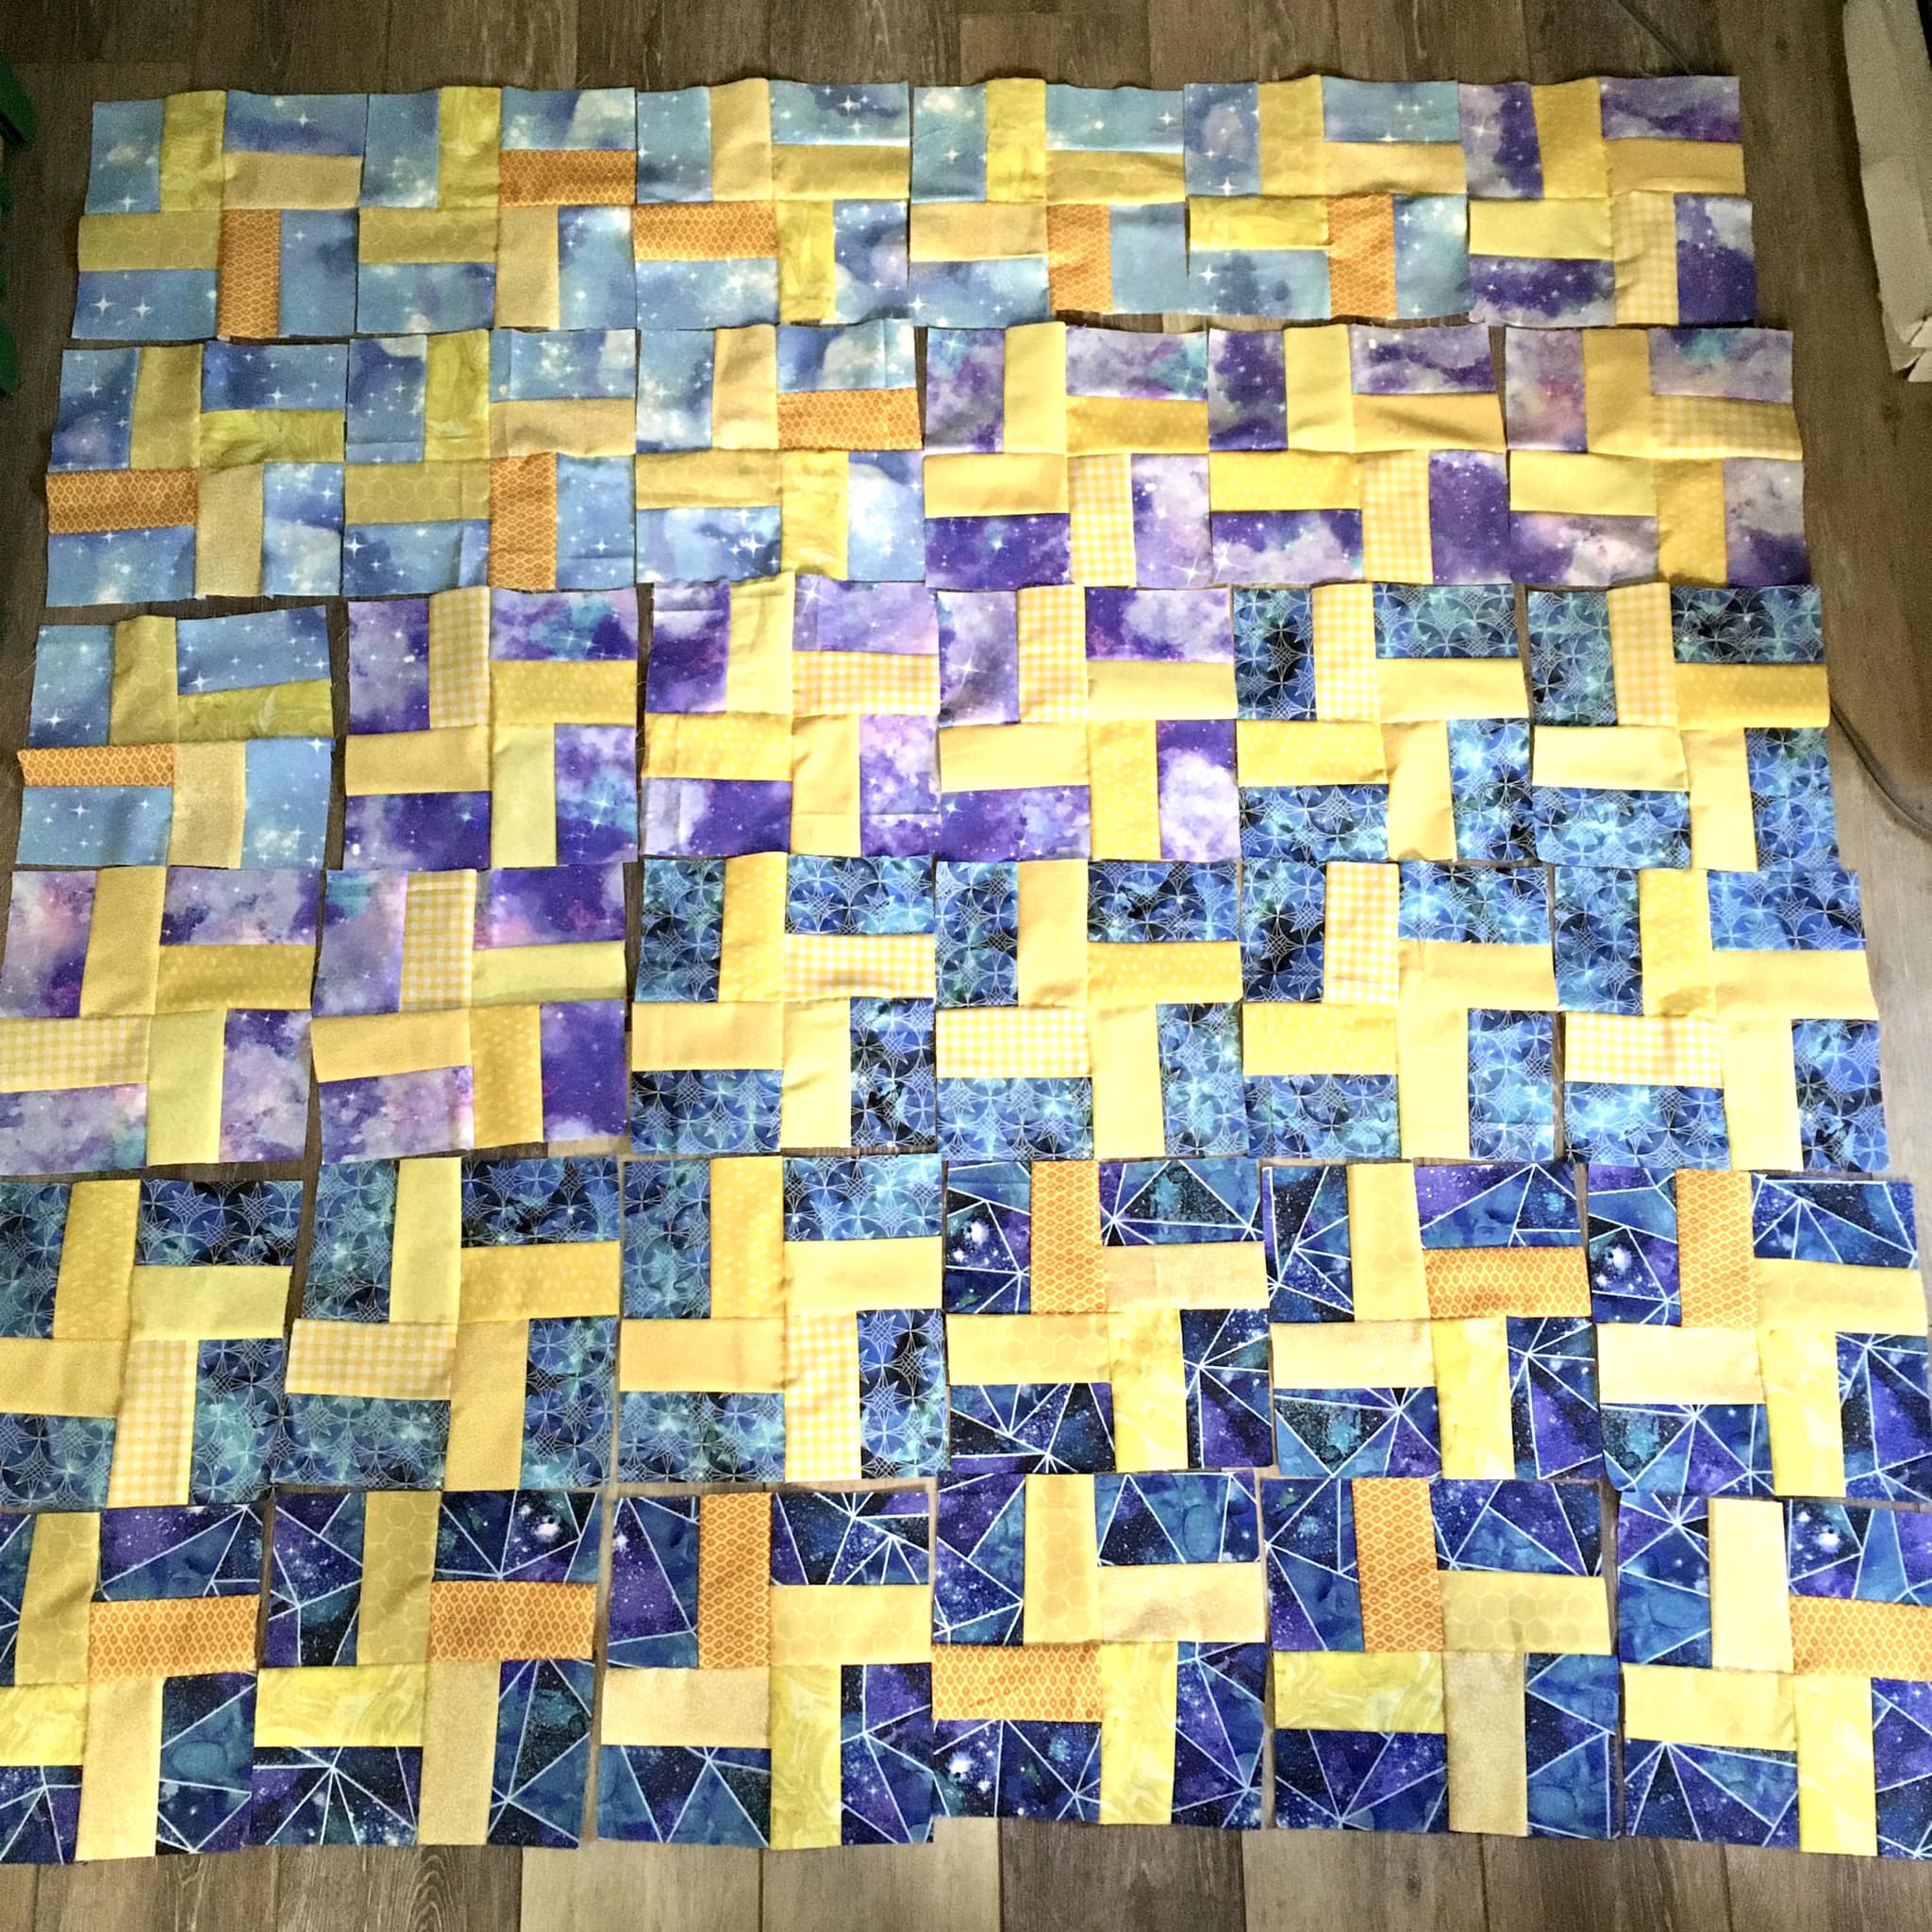
#51 Finished 6/18/25 Donated 7/1/25 Potato Chip blue/yellow. All fabric from Smart
#52 finished 6/29/25 Donated 7/1/25 Fabric from Smart

#53 finished 7/3/25 46×35 inches. “round” roses fabric from Smart 6″ and 12″ blocks
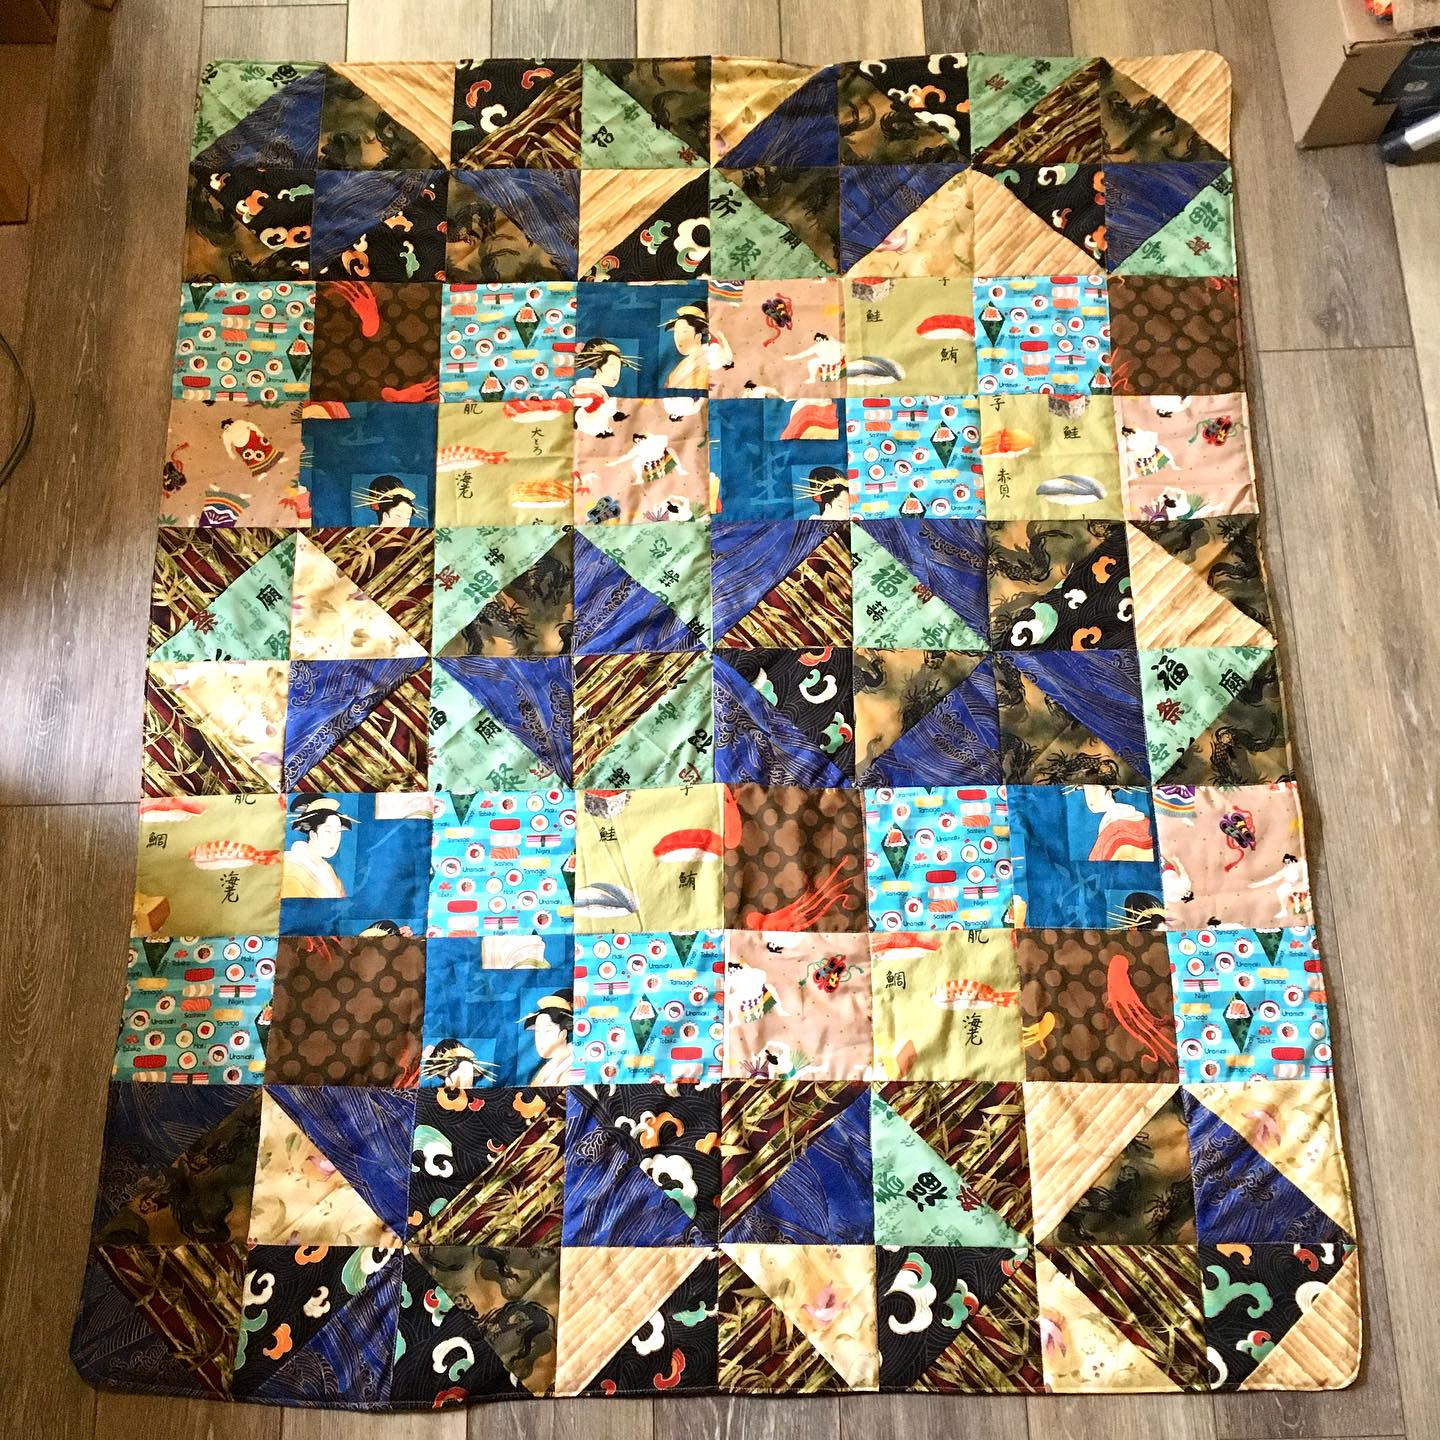
#54 finished 8/17/25 Sushi Roll All top fabric from Smart. Back is from JoAnns, as it was closing
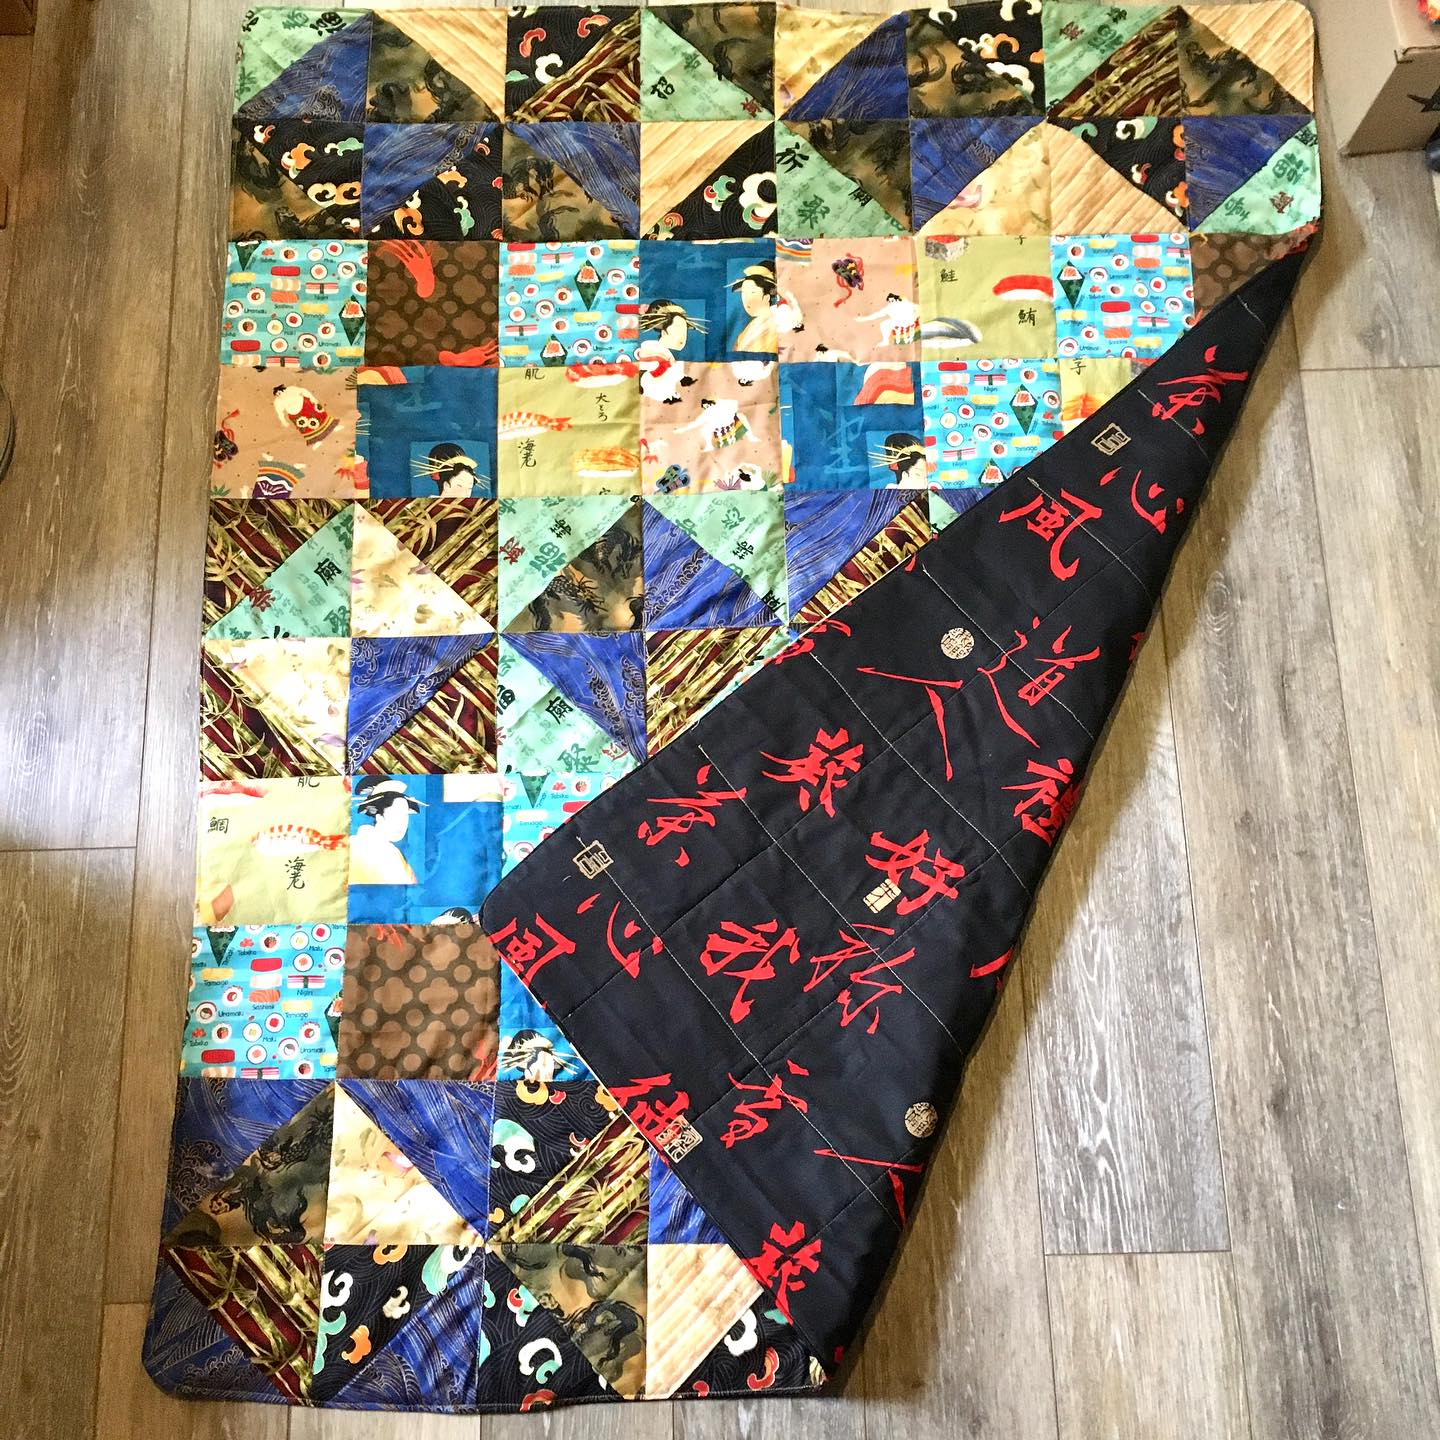
#55 finished 10/16/25 Sold. All Japanese fabric. From Smart
back is Chinese fabric
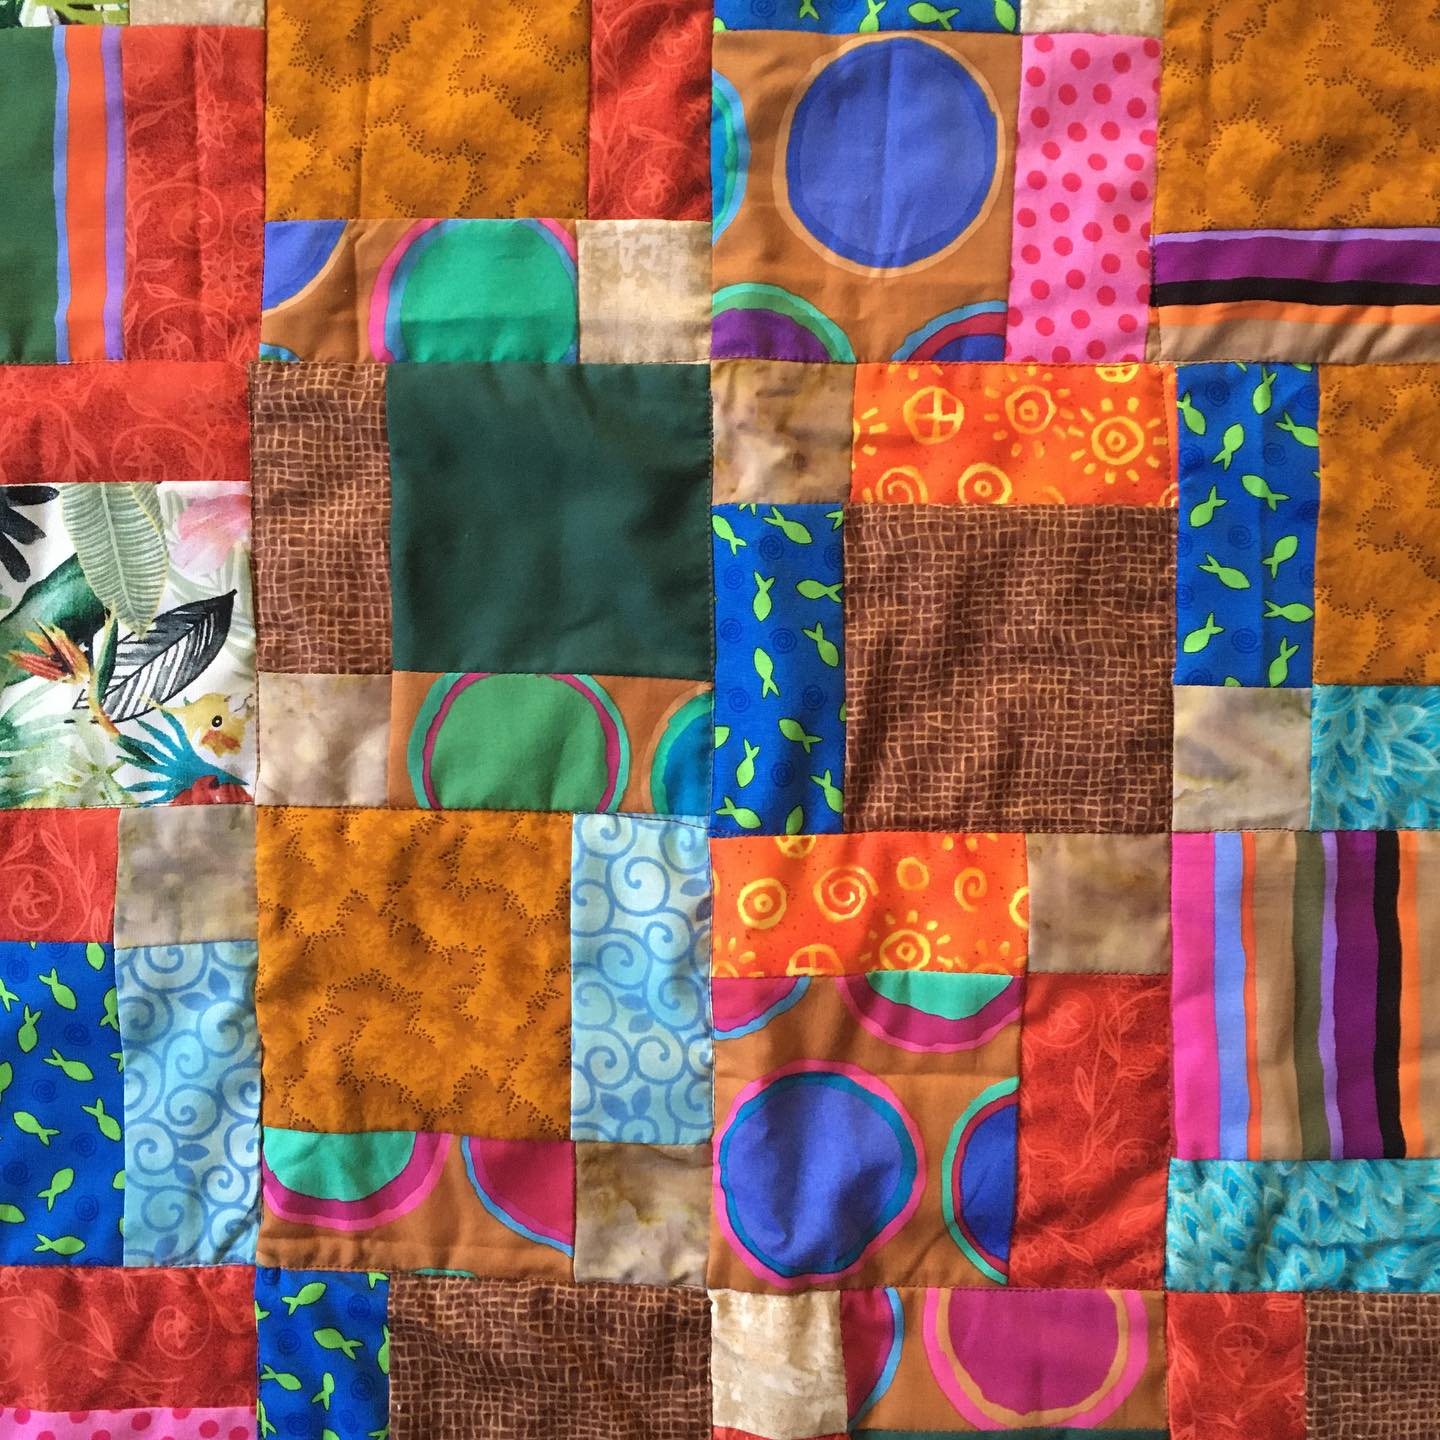
#56 finished 11/18/25 43 inches square. Donated 2/20/26 Parrot D9patch. All fabric from Smart
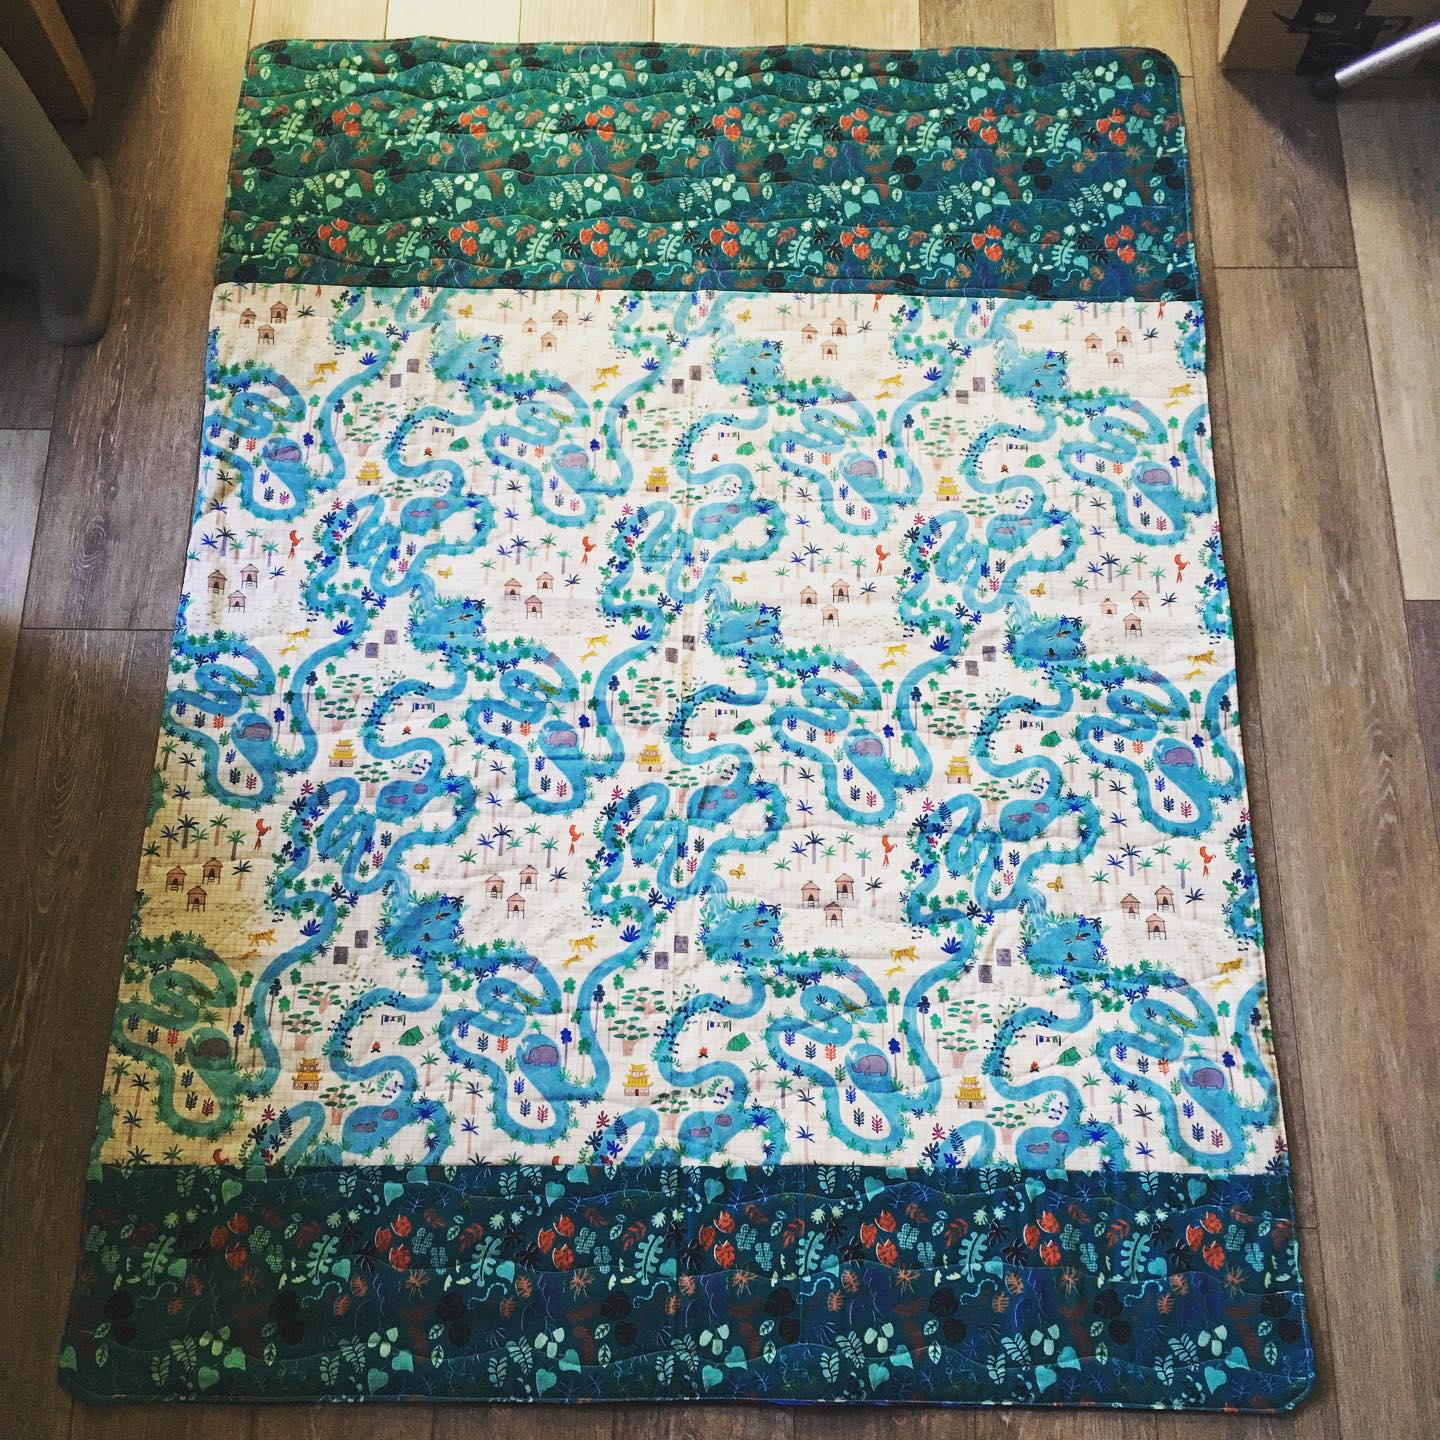
#57 finished 12/12/25 Science fiction landscape. All fabric from Smart
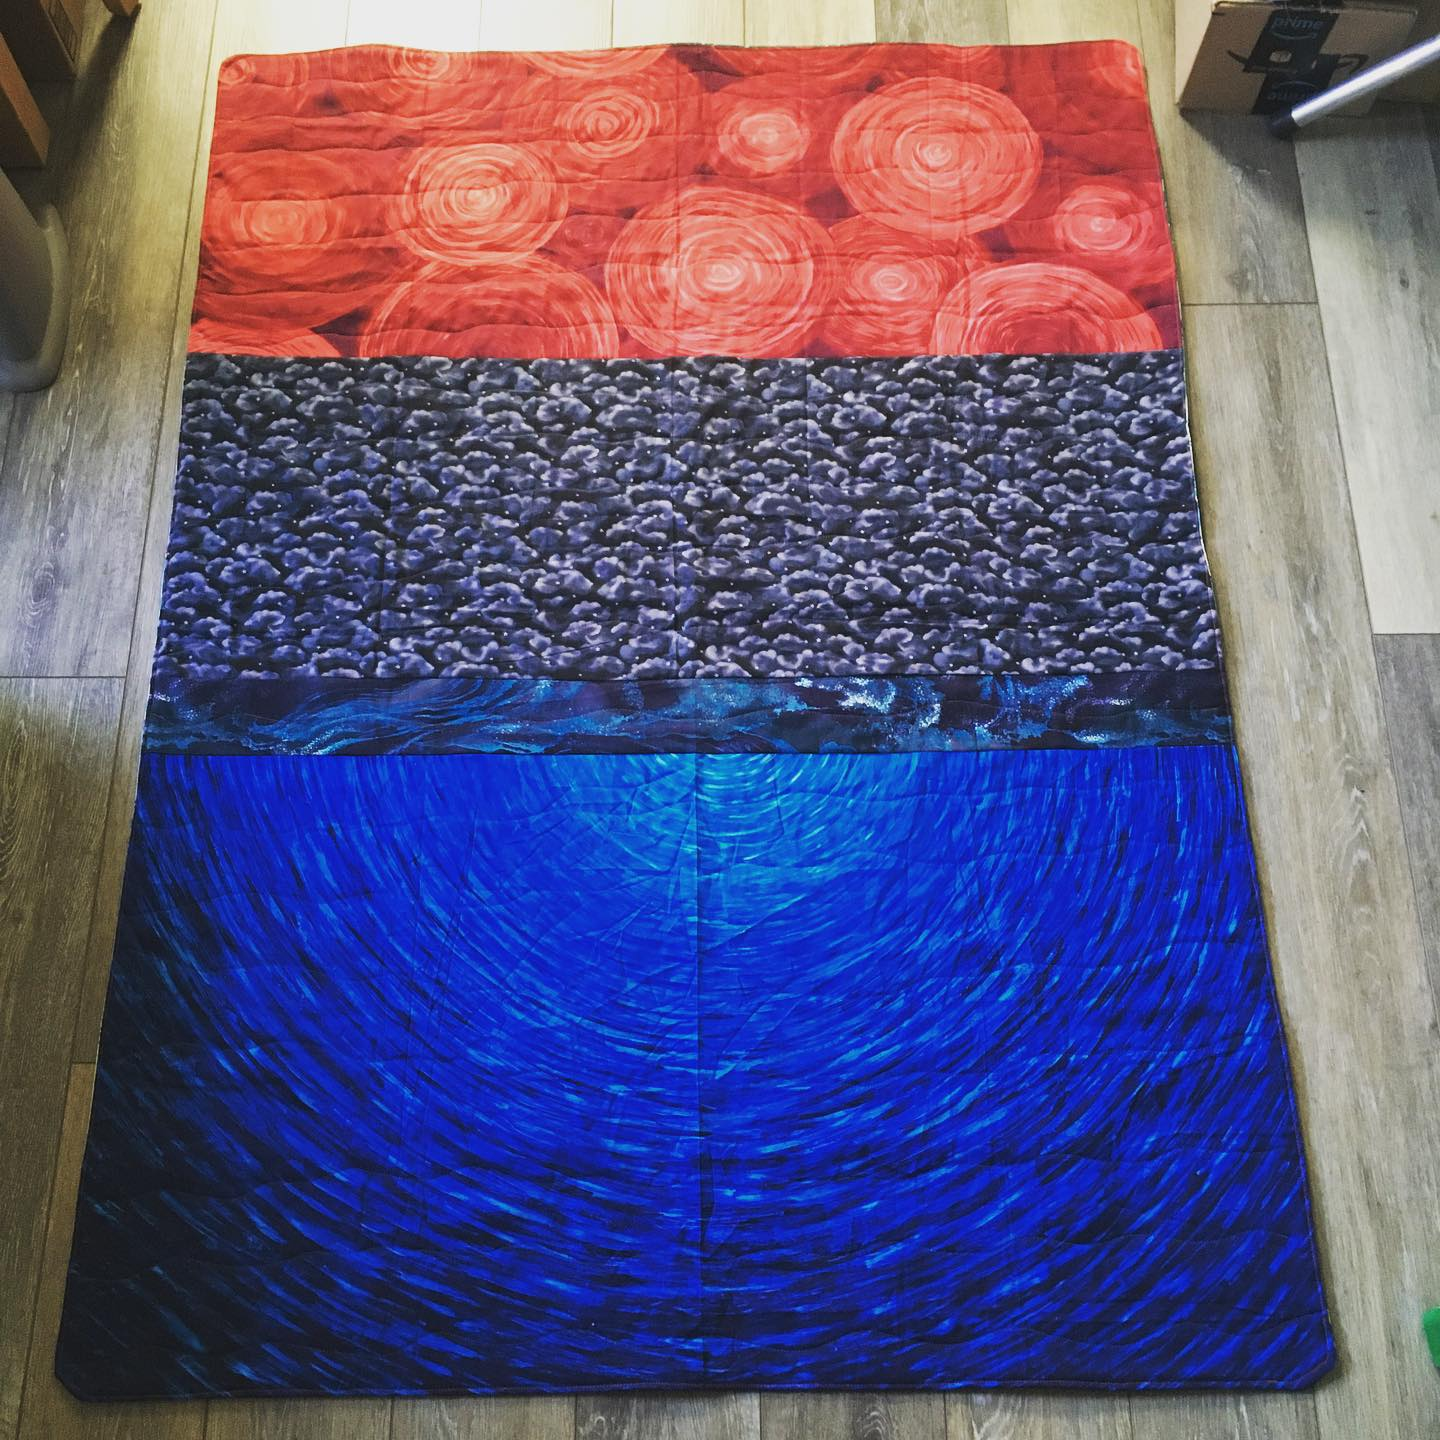
The back
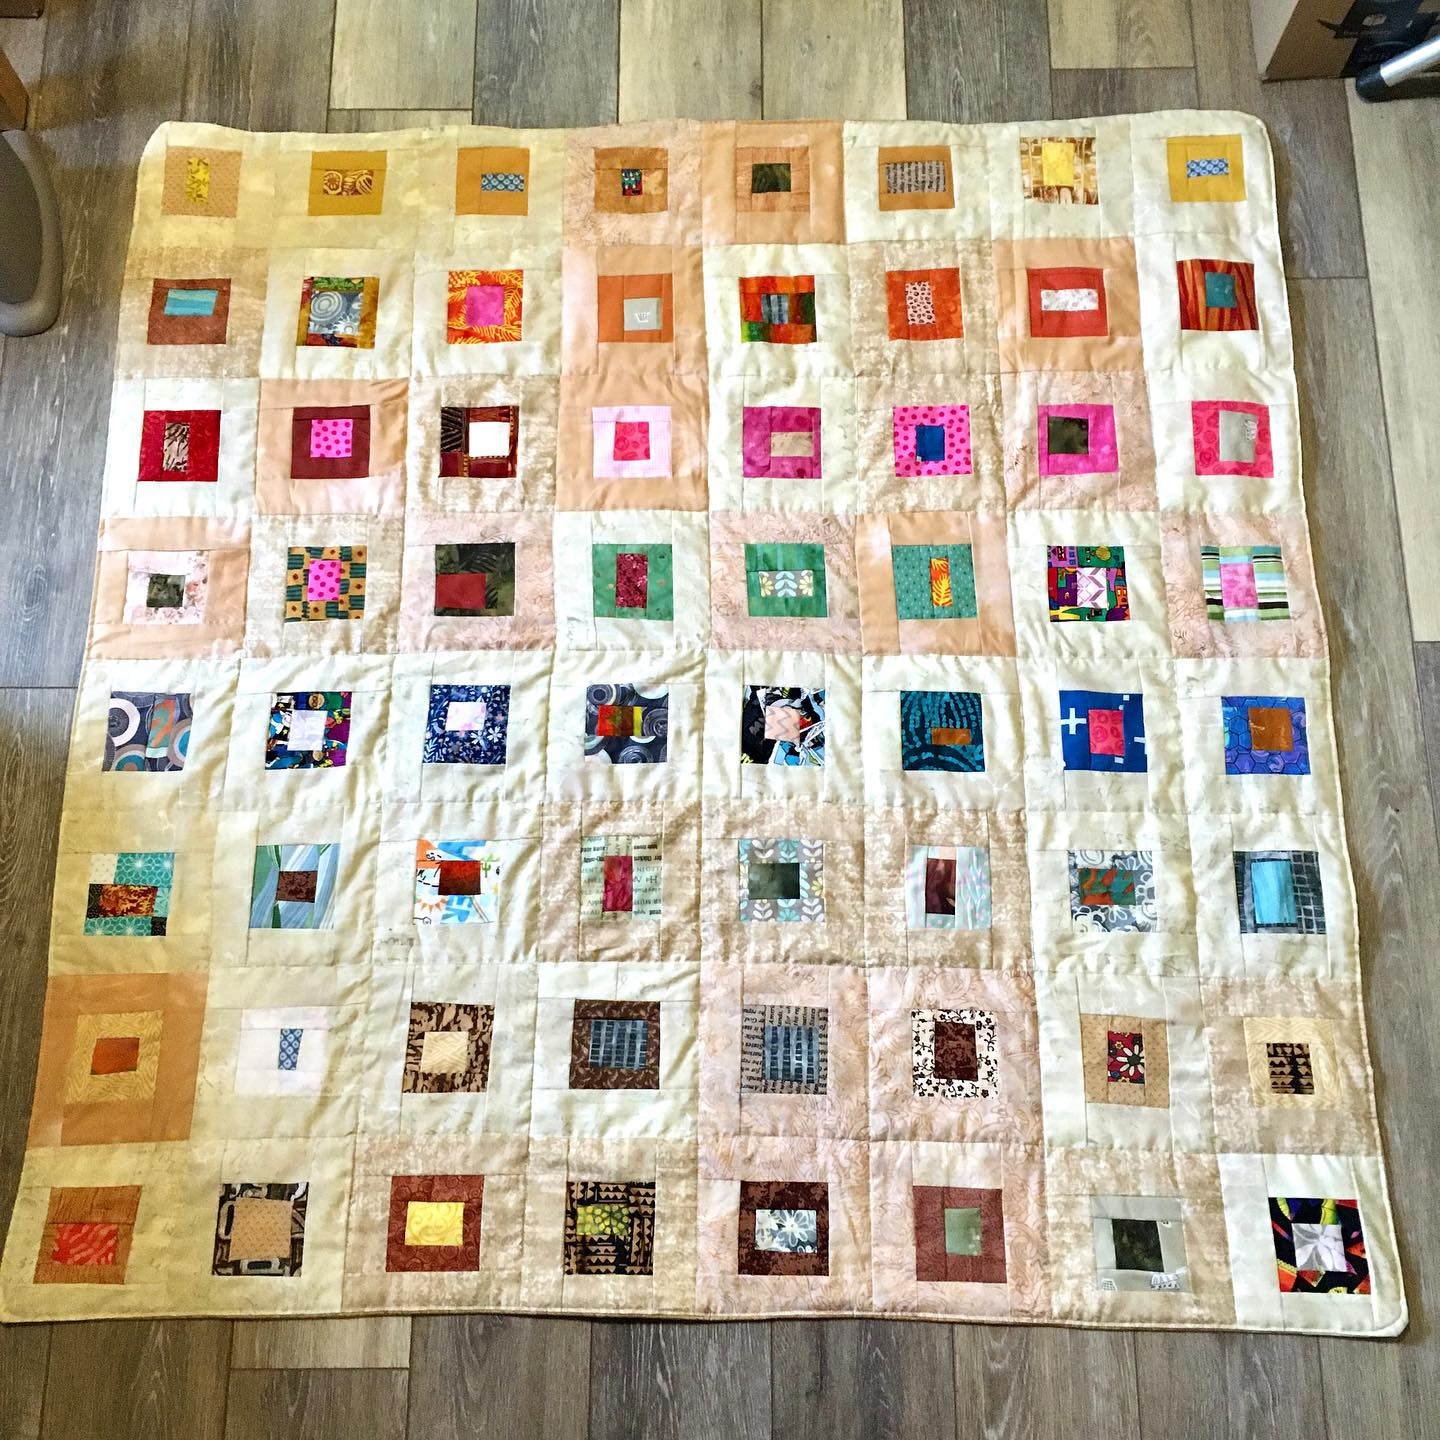
#58 Finished 12/18/25 Donated 2/20/26 Terry Rowland’s color wash, Polaroids
#59 finished 12/31/25 Tokyo nights. Marcia Derse fabrics, on Etsy
#60 finished 1/20/26 Tilda/Kaffe
Since September of 2021 I’ve made 60 quilts. Of those, I’ve given away 14 (of that, 4 were for babies), sold 3, and donated 13 to Hospice.


You must be logged in to post a comment.