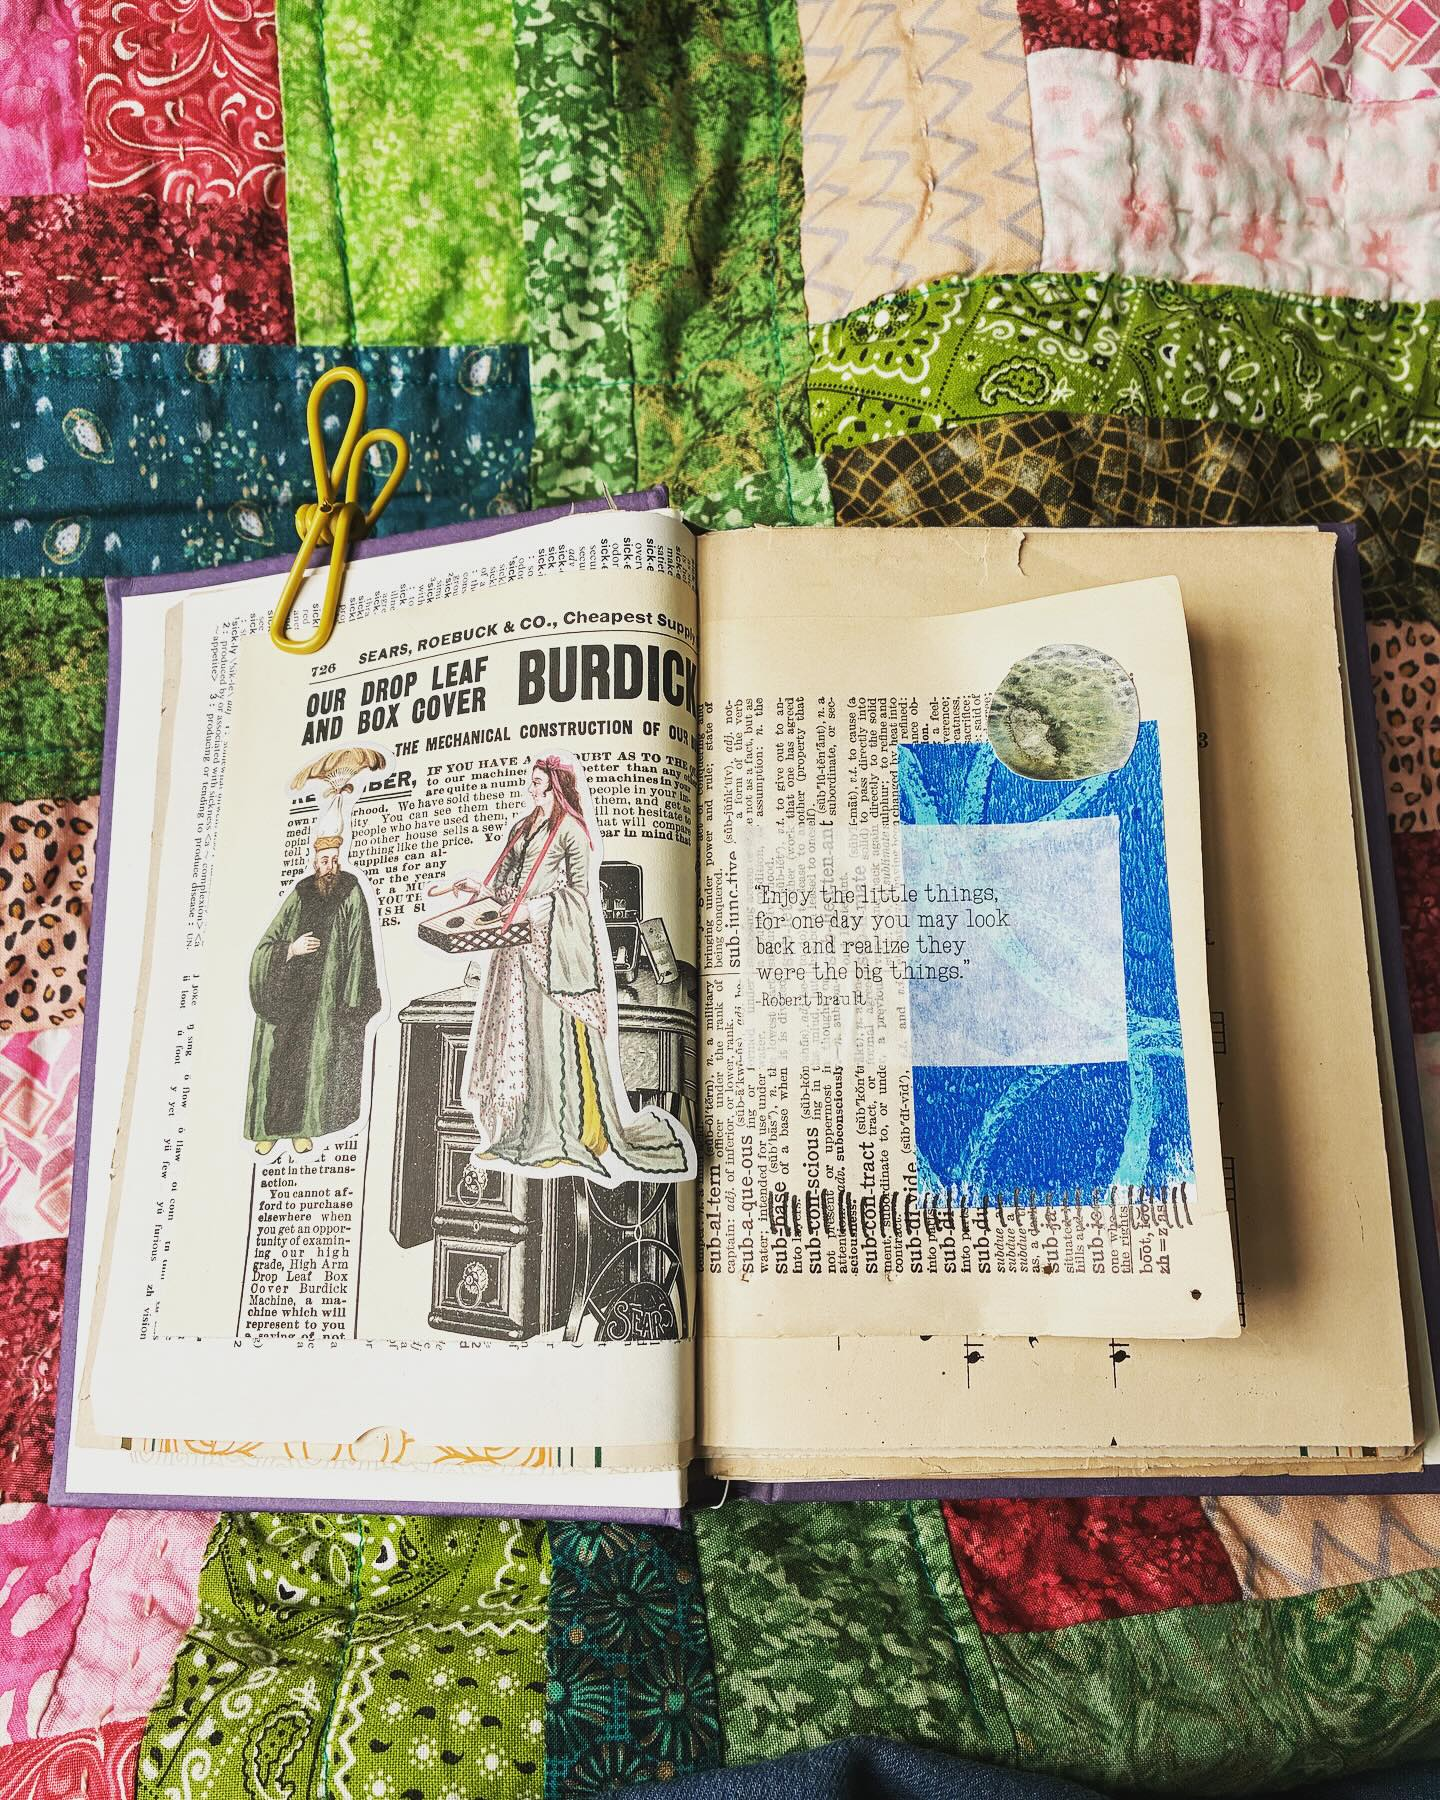
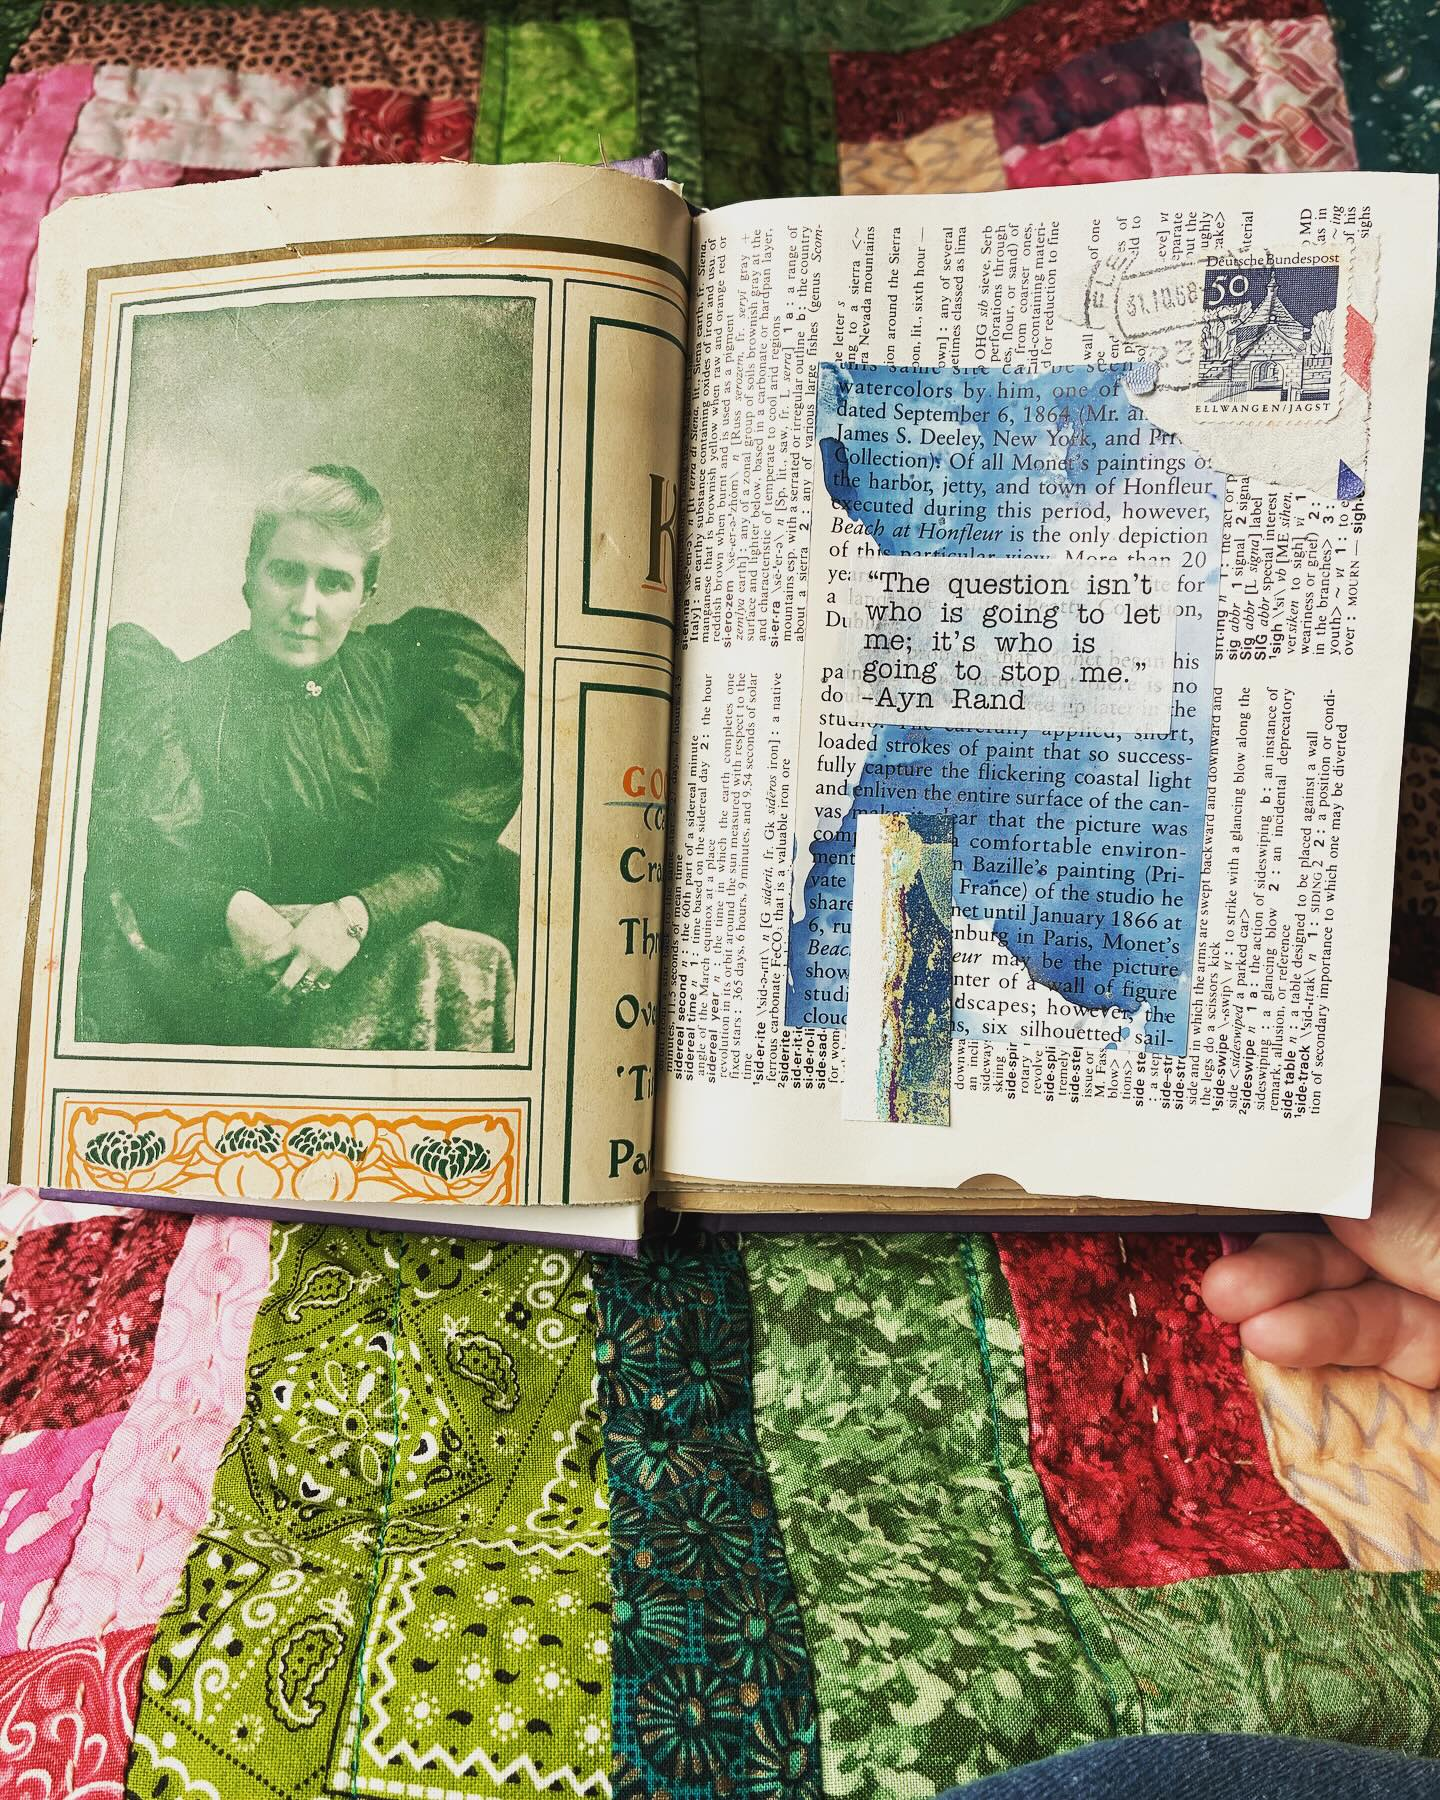
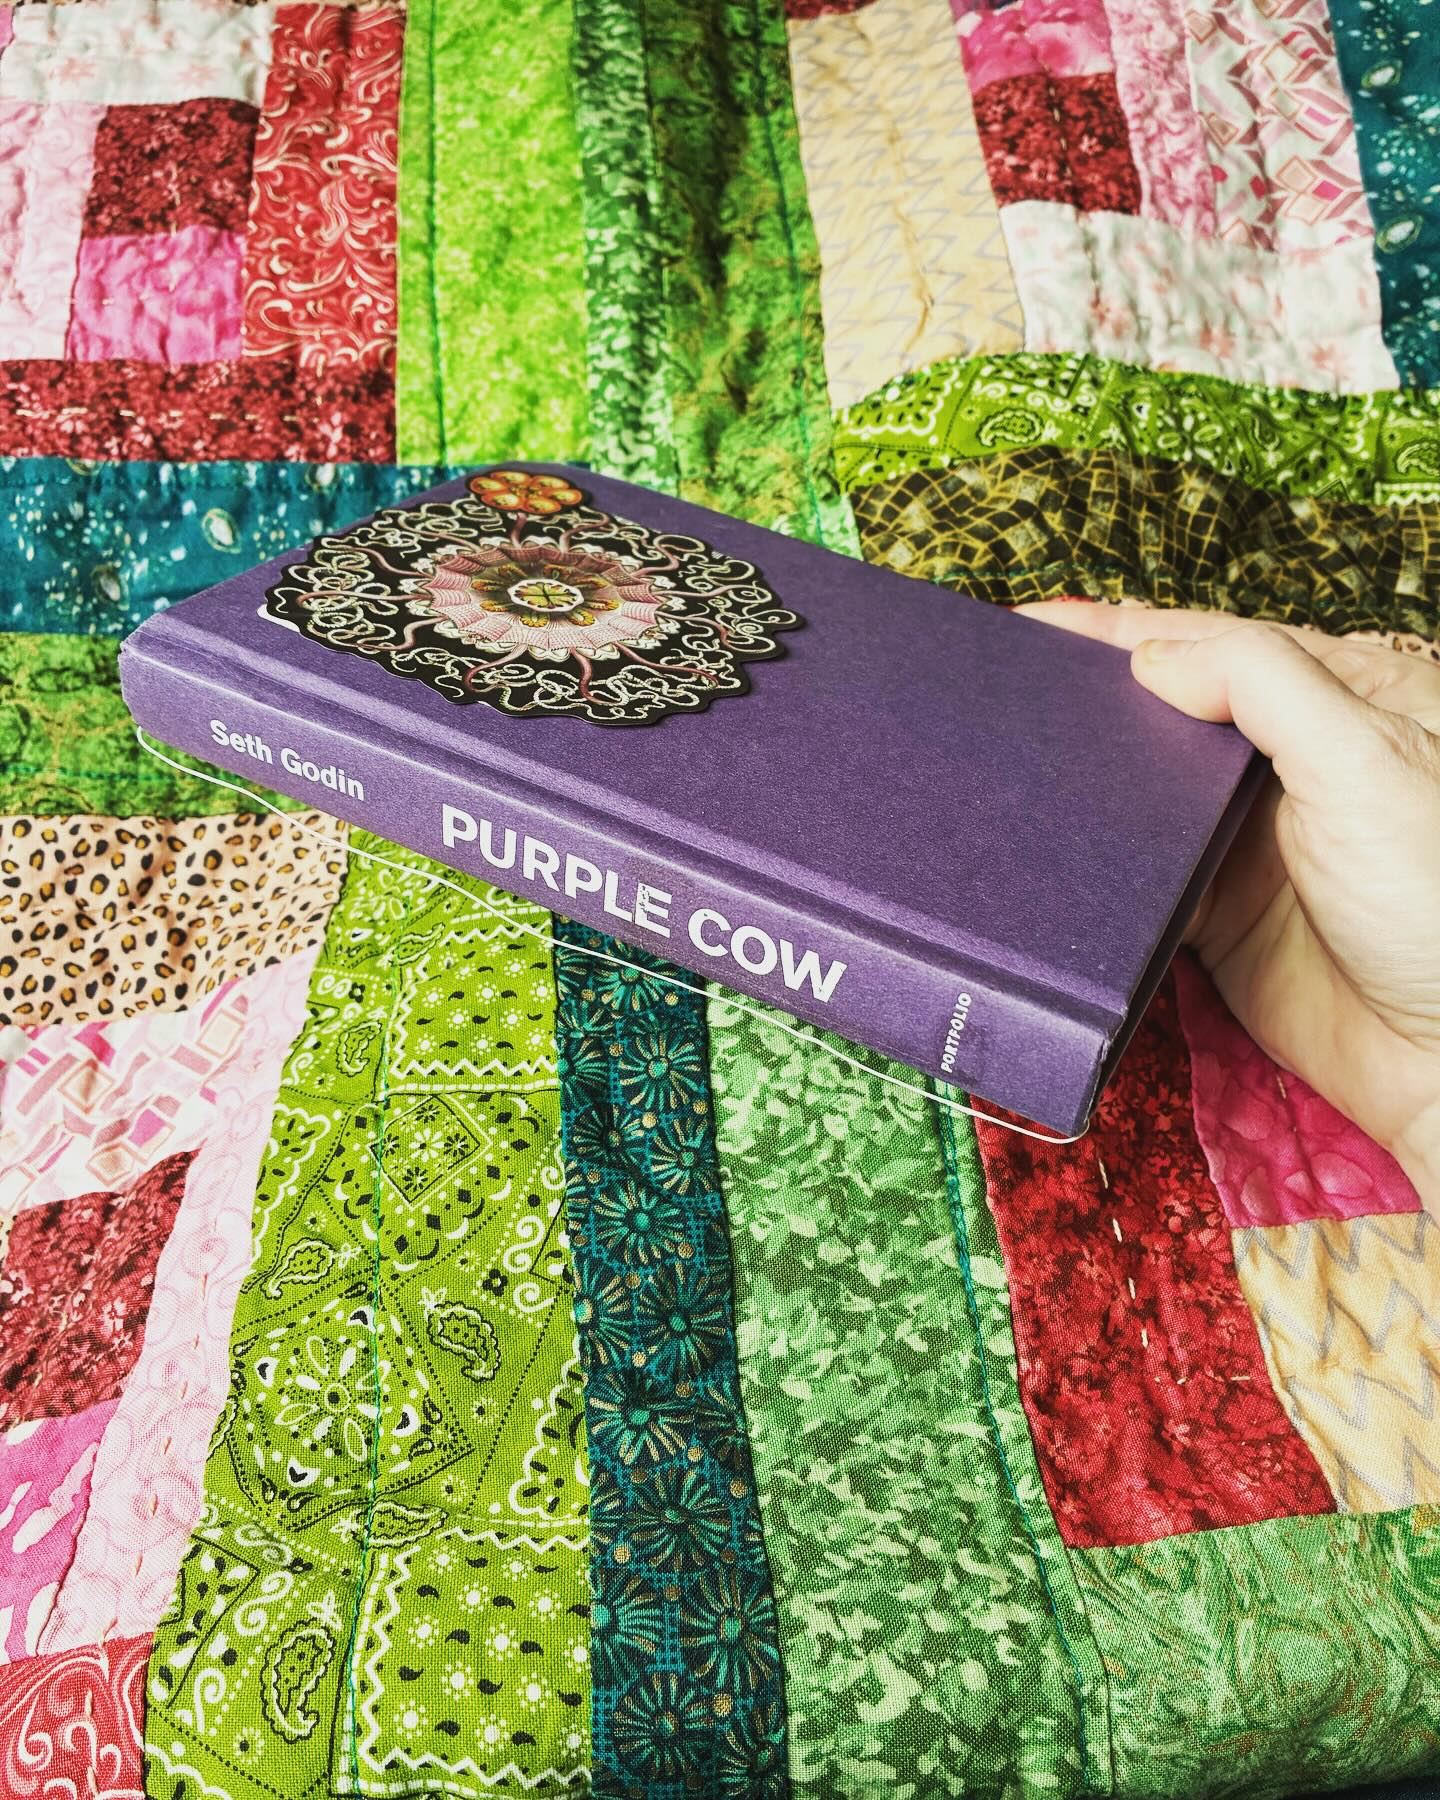
I gutted a hardback book from a thrift store and used my bookbinding skills to make a junk journal. I’m using ephemera from a shop on Etsy (name to be remembered later) and a botanical sticker book. I may add more to the left side, or try something else. I need to see how much I have of the printed papers. There are certainly many more pages to go, and I have a lot of other handmade journals to play in (this might be a way of saying I have a lot of works in progress.)
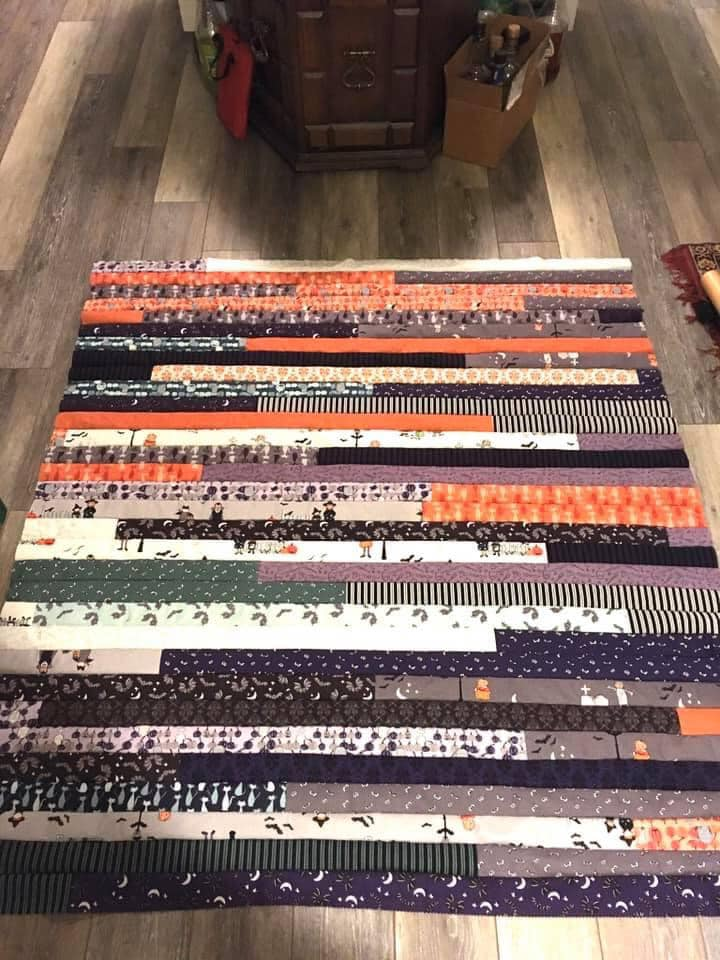
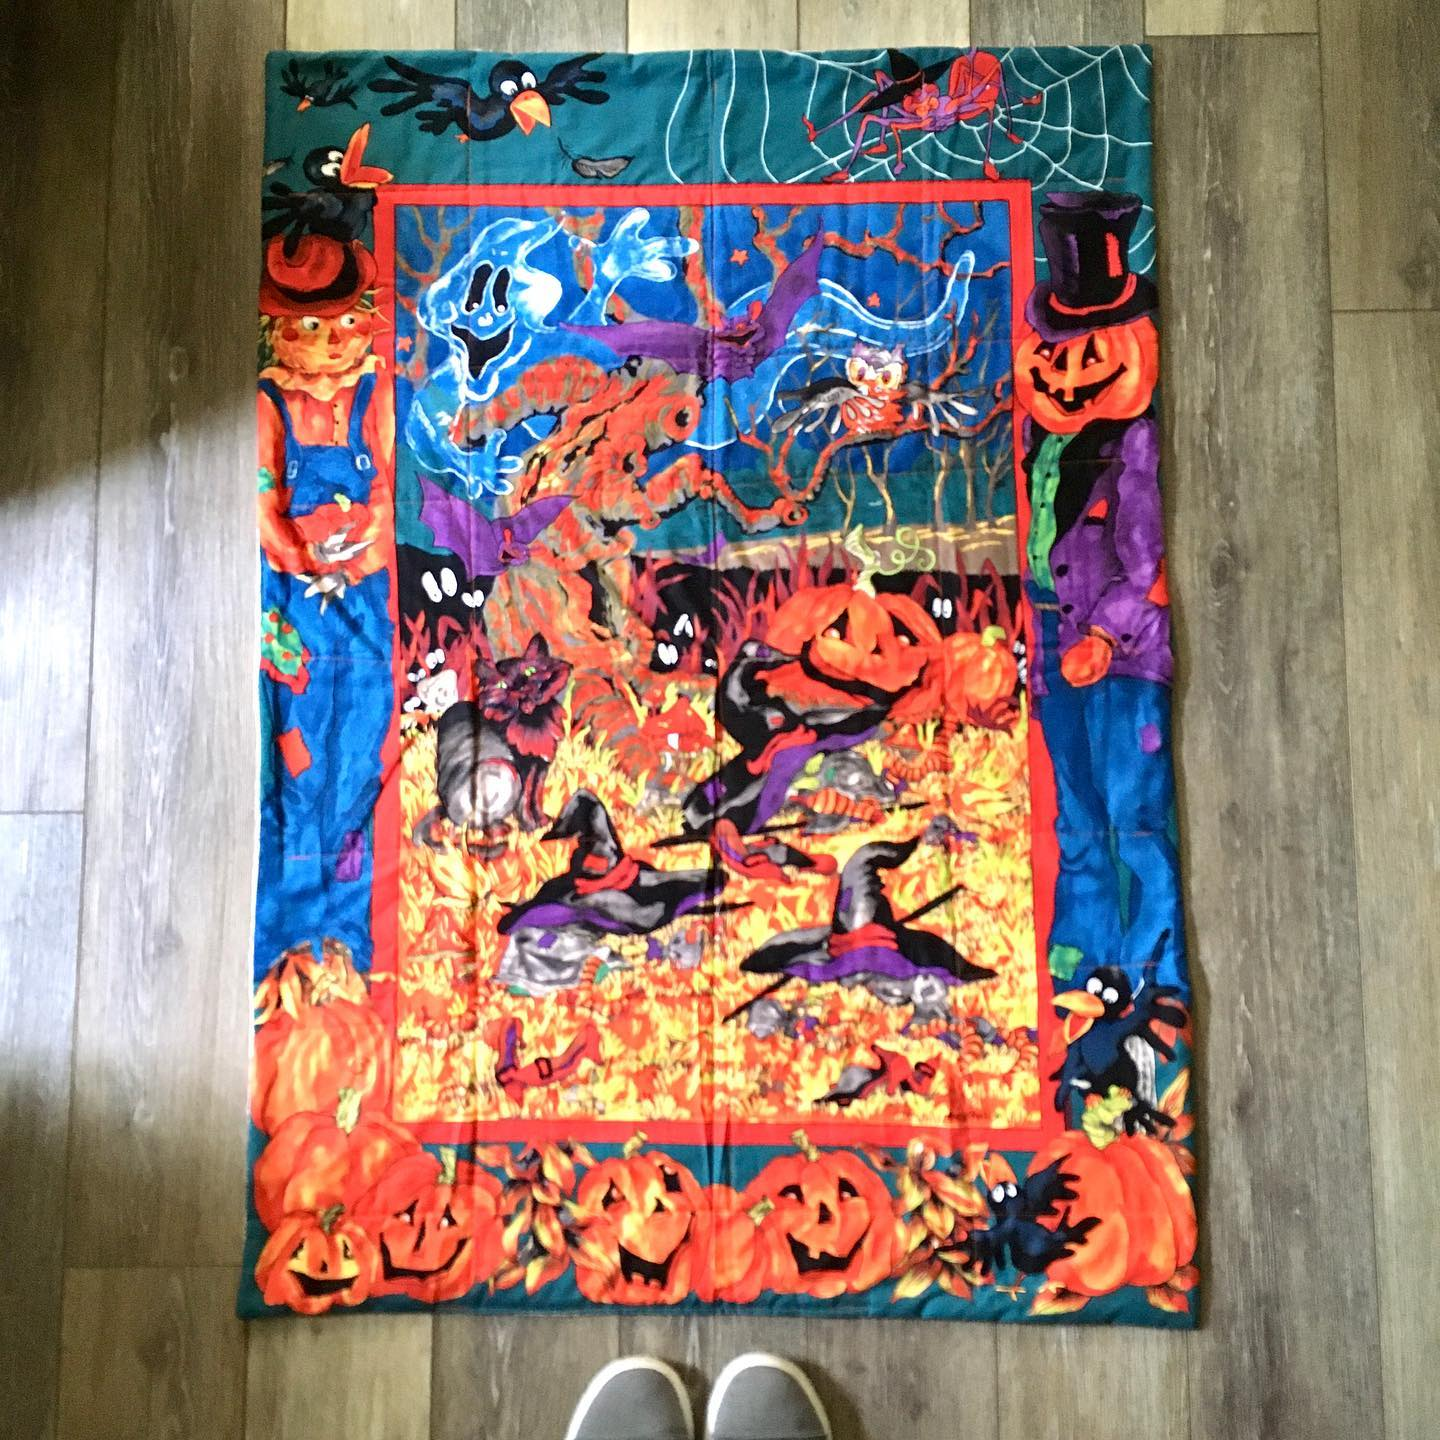
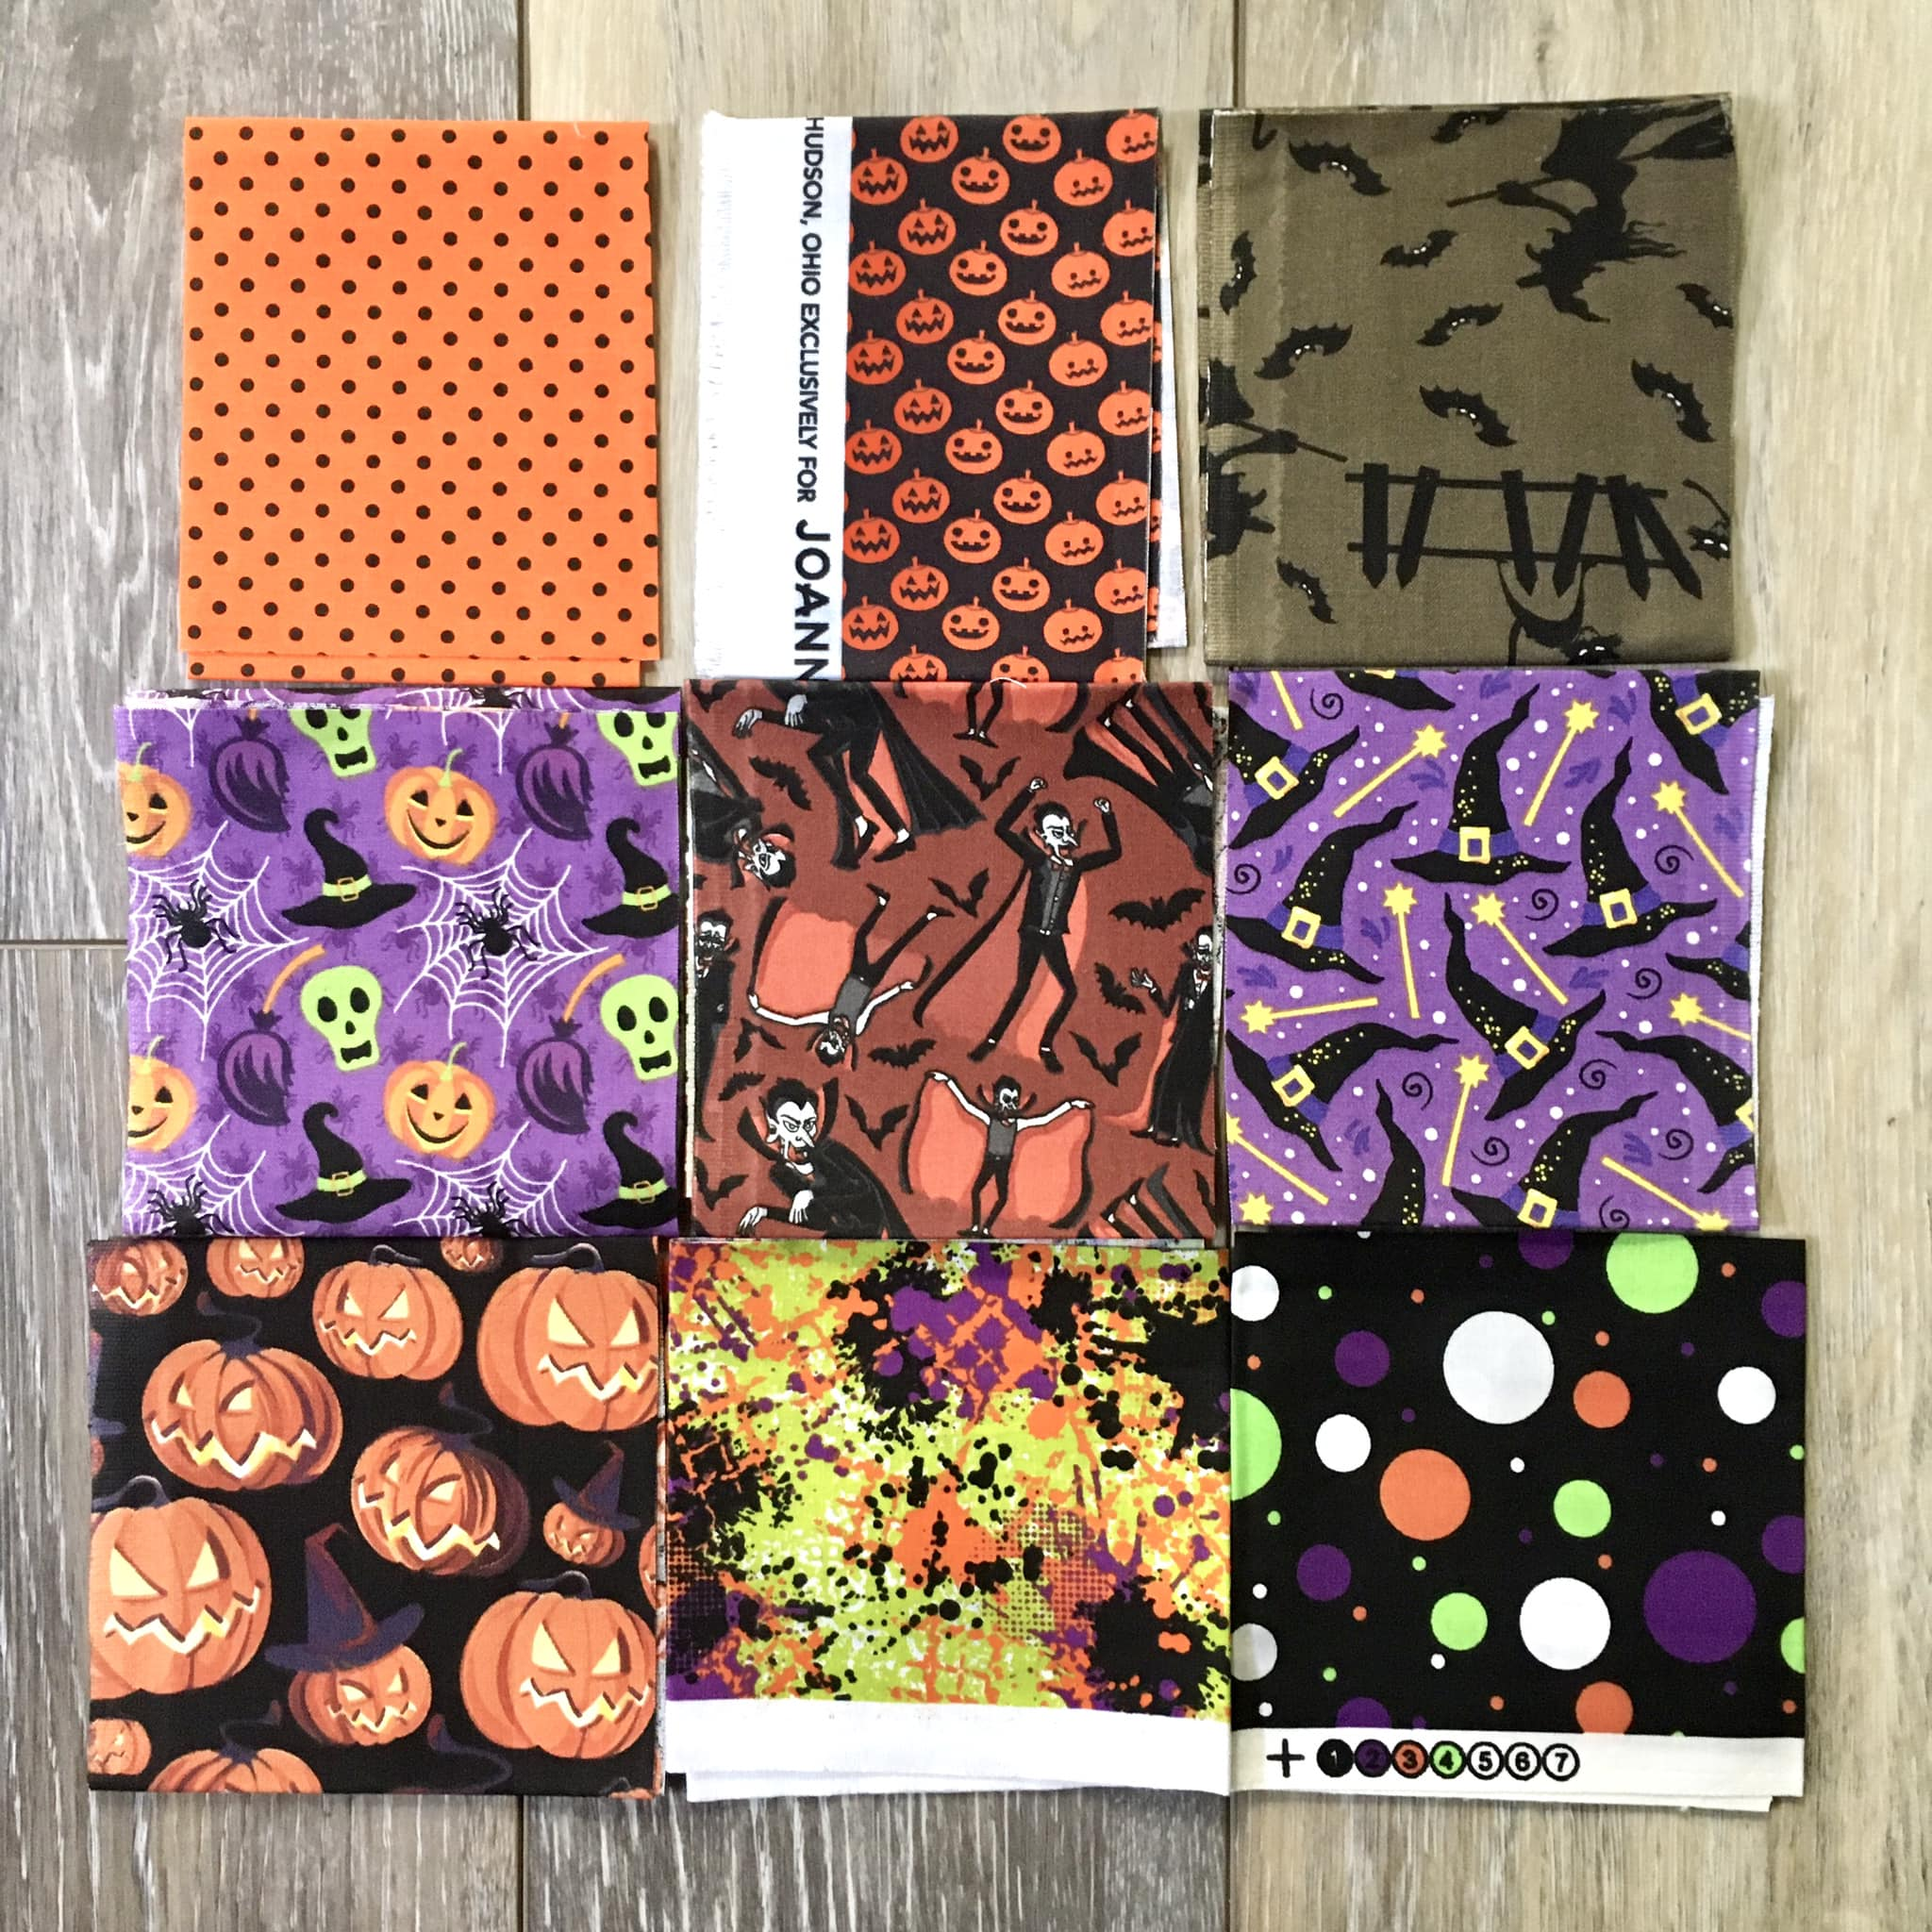
#3 finished 9-27-21 given away 6/8/23 A “jellyroll race” quilt with Halloween fabric
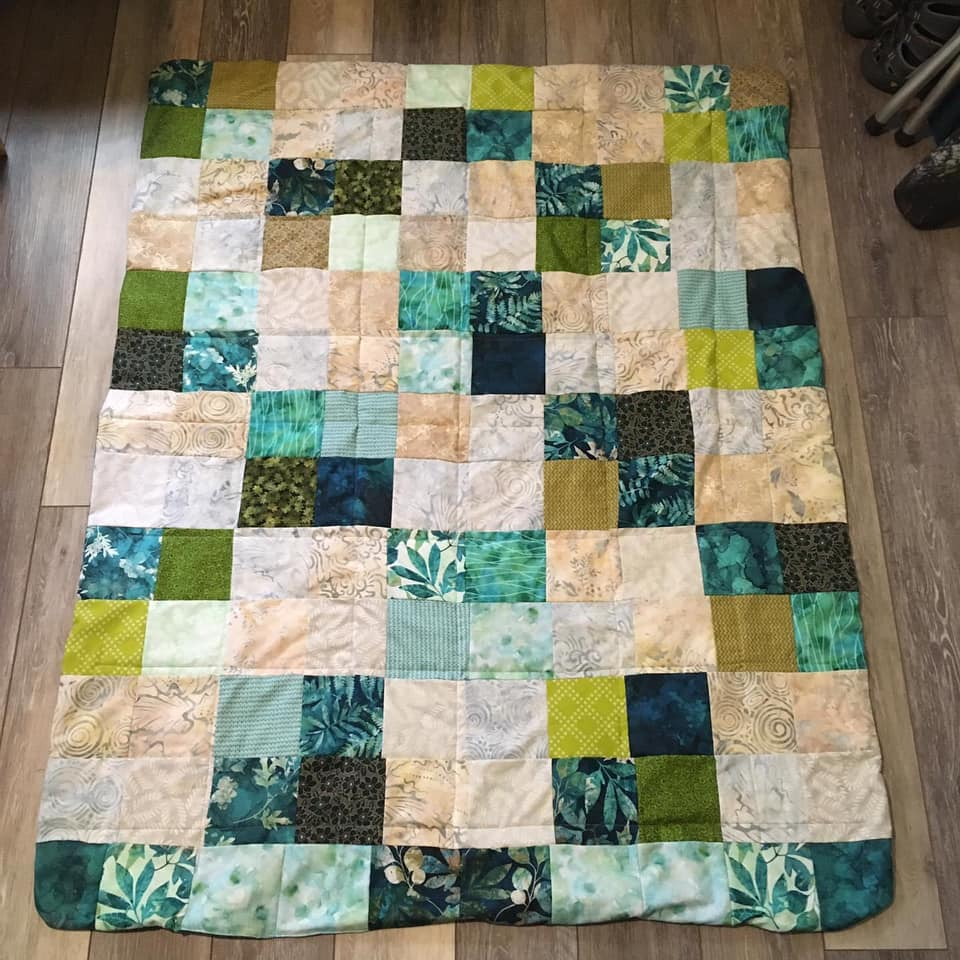
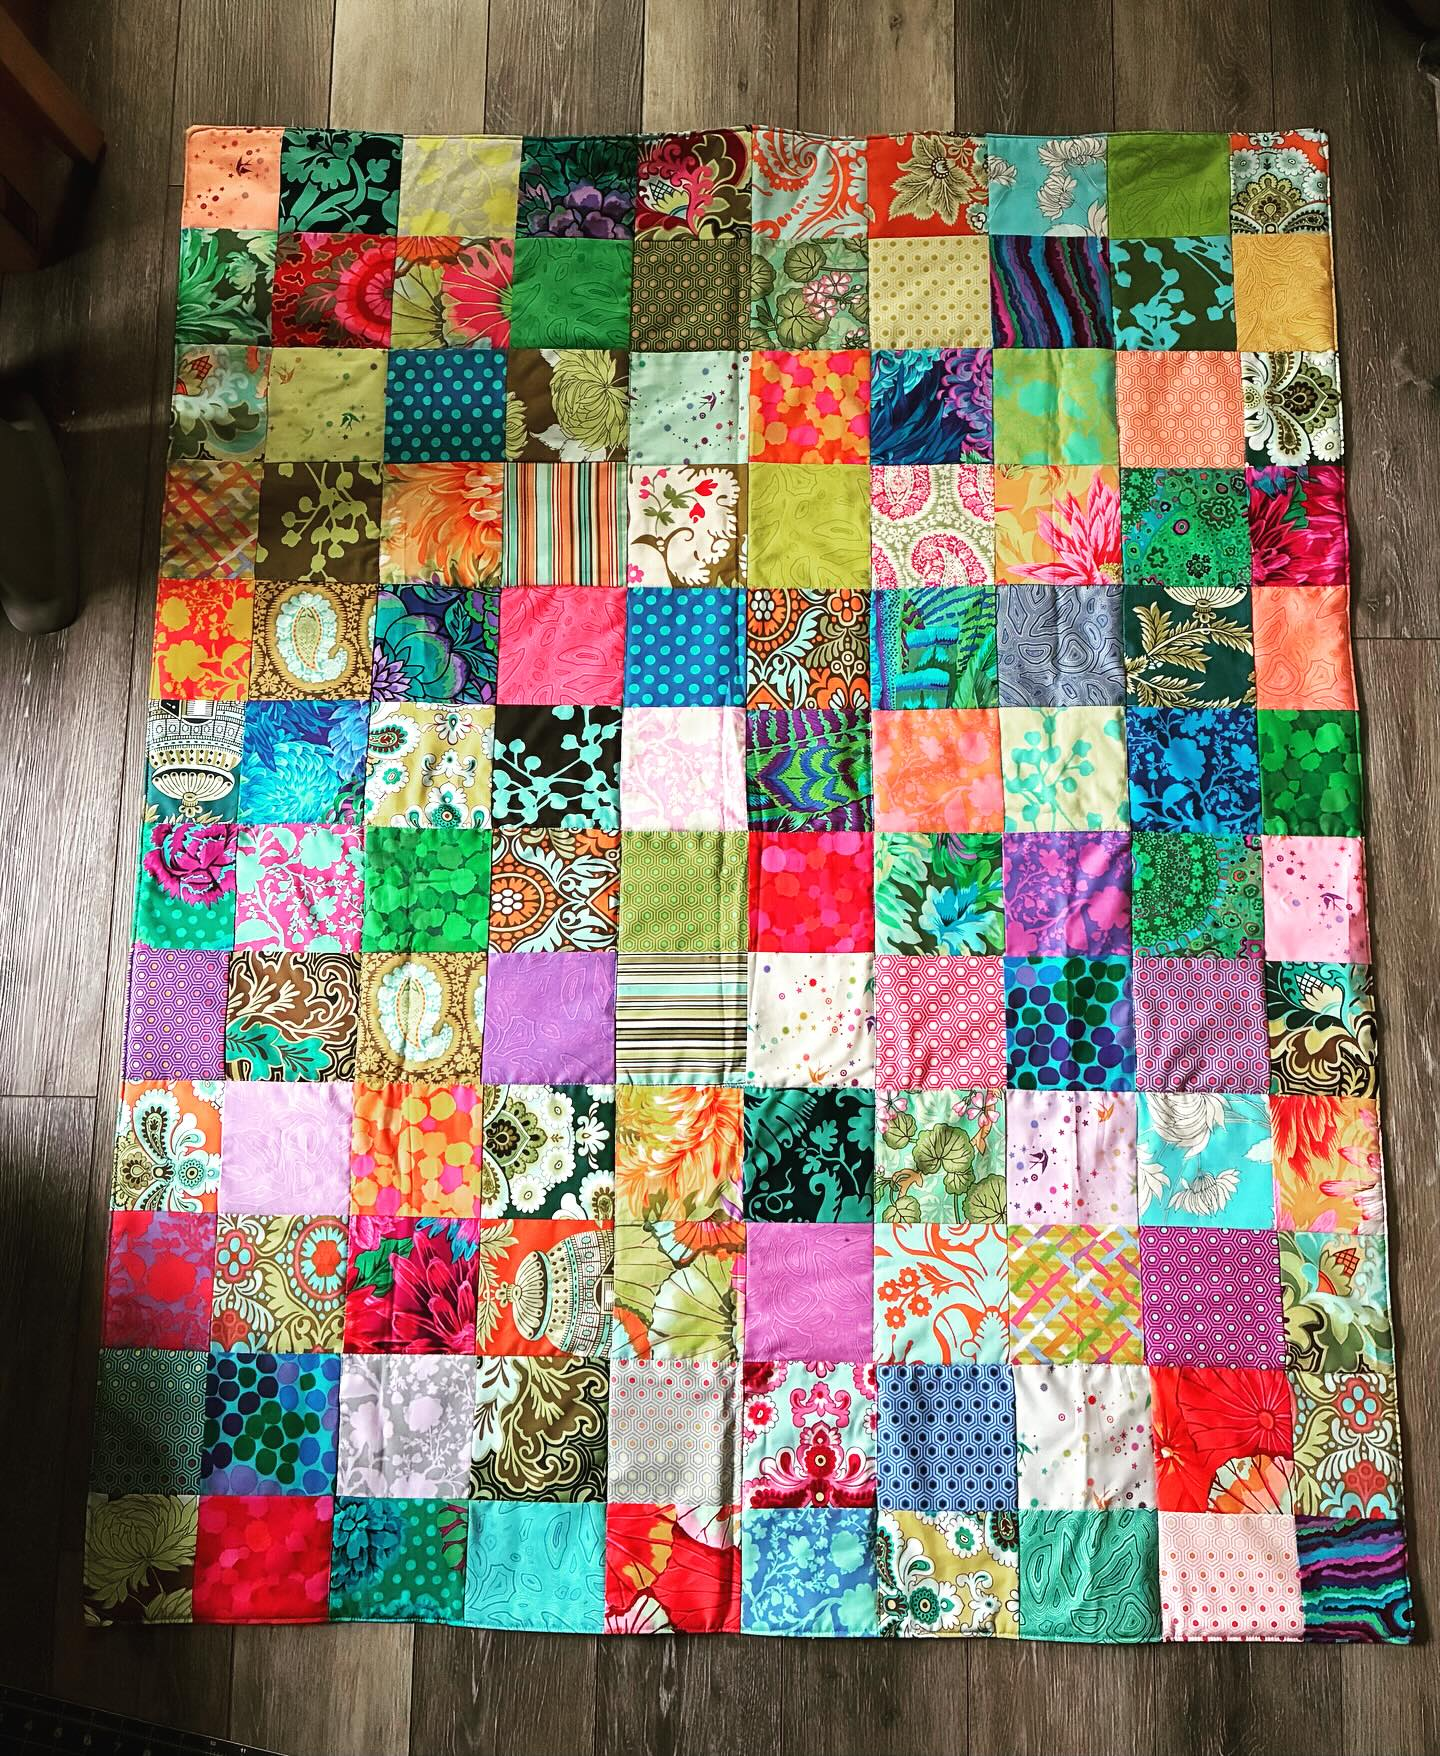
#4 Finished 10/11/21
Fabric for the top came from Jo-Anns and Etsy. Fabric for the back came from SmArt art and craft supplies. I bought the Jo-Ann’s fabric and the Smart fabric before I knew how to quilt, knowing that I wanted to learn. This was made for sitting on the grass.
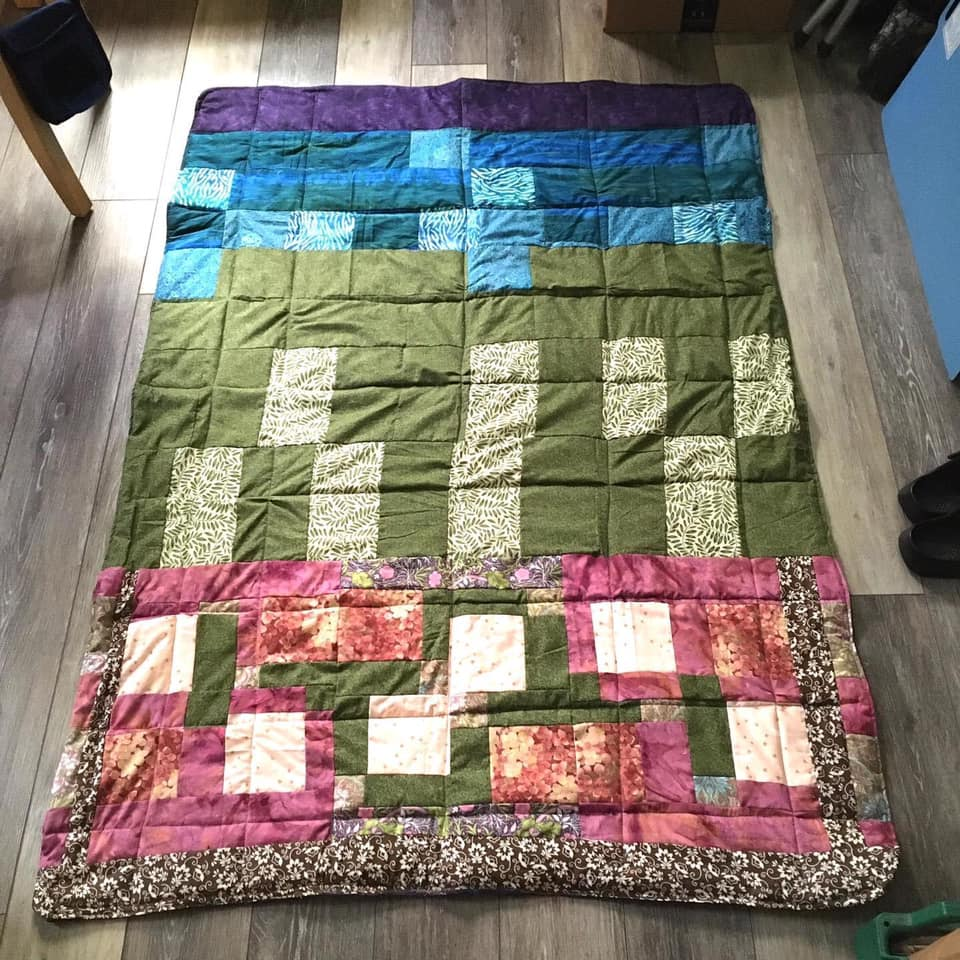
#5 finished 12/9/21 Blue-brown disappearing 9 patch. Fabrics from a fat quarter bundle from JoAnn’s in Rivergate (before I knew how to quilt) and Make & Mend. Sold 9/10/23
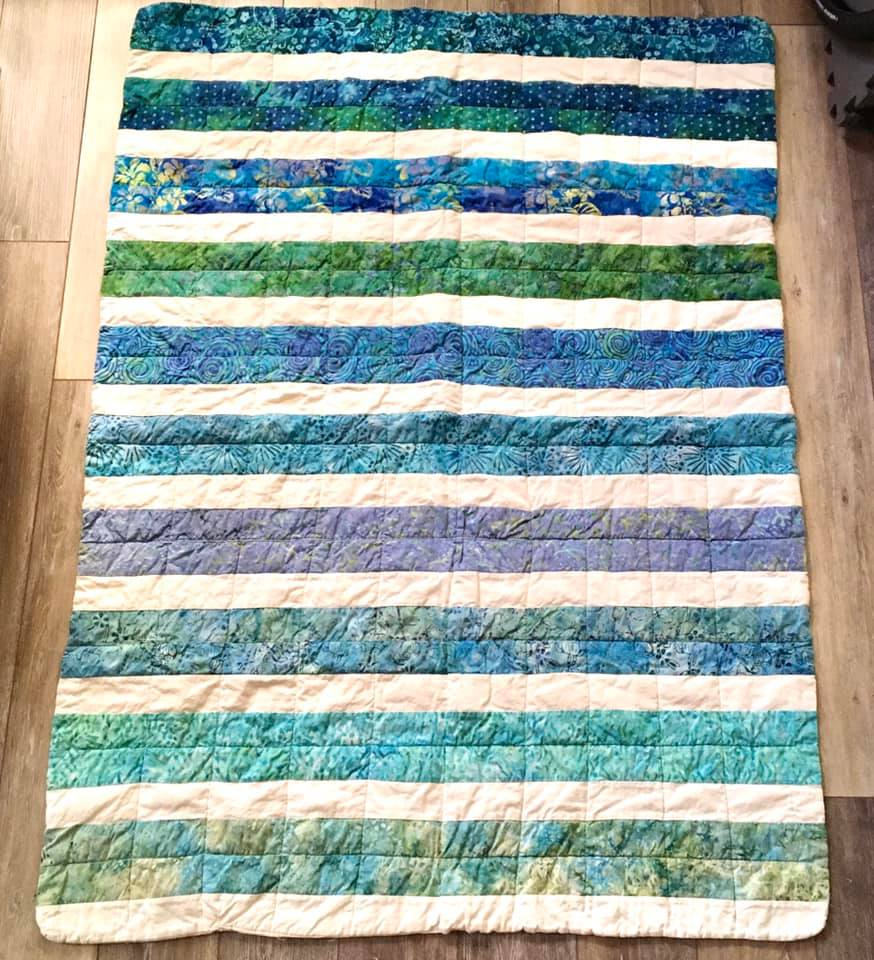
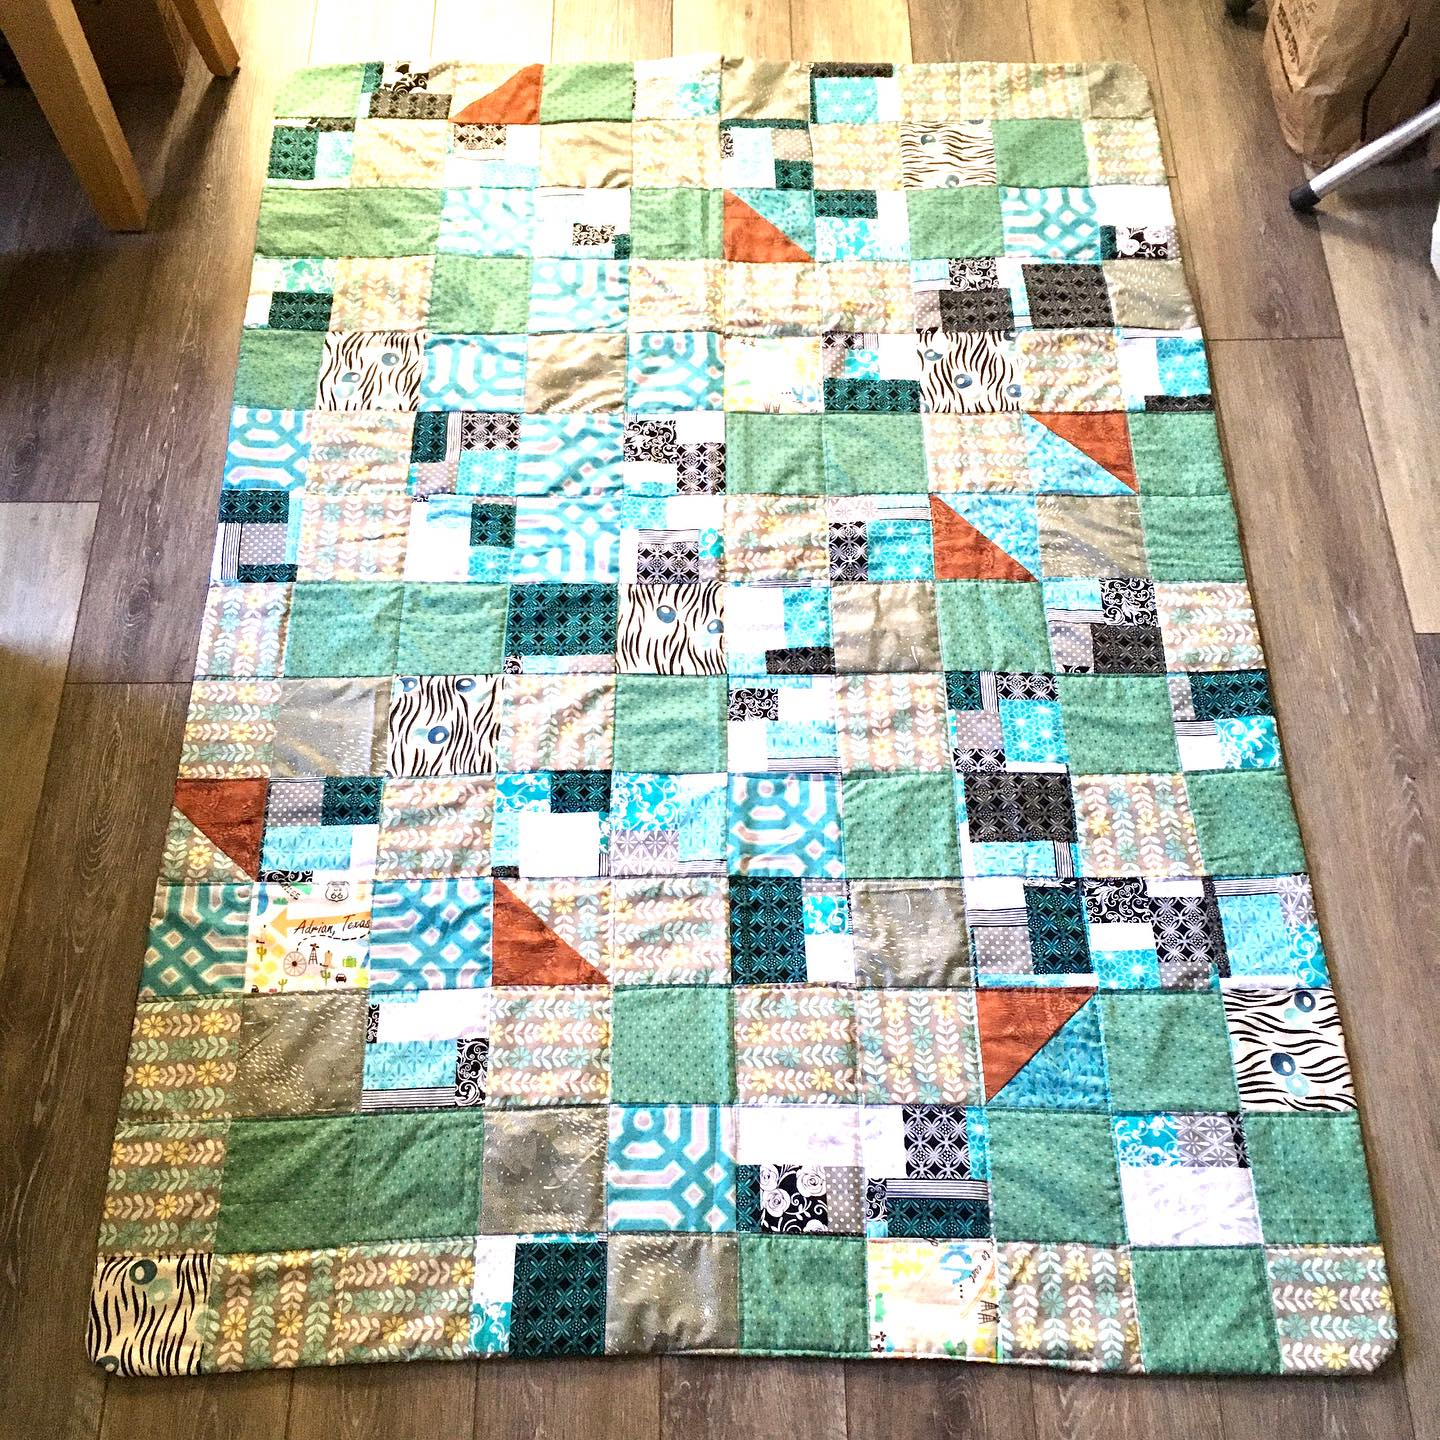
#6 finished 1/11/22 Donated to Caris Hospice 7/23/23 54×40″
#7 Grandfather Mountain view in the fall finished 3/23/22 All fabric bought in Boone, NC
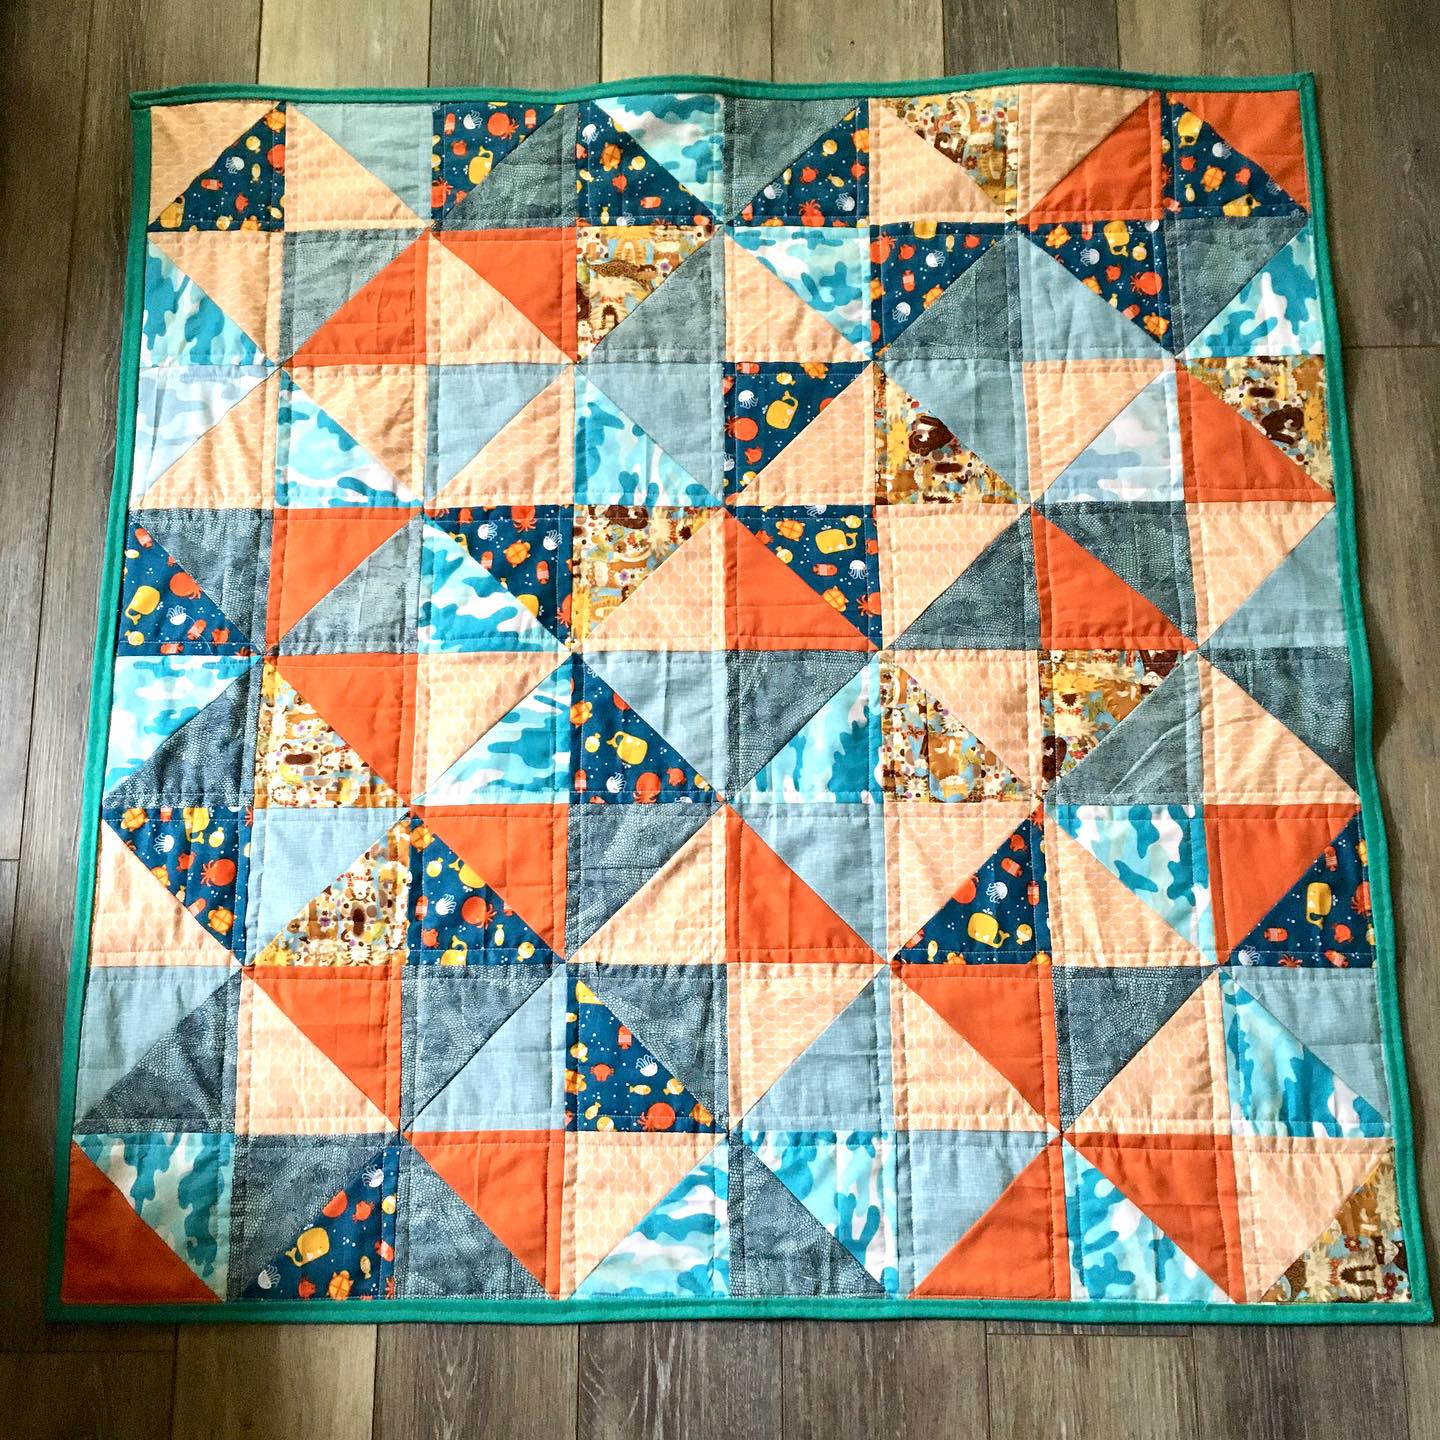
#8 Finished June 7, 2022, given as a baby blanket for my chiropractor. I learned how to do half-square triangles
#9 Finished June 14, 2022 Given as a baby blanket for a clerk at the pharmacy I use.
#10 finished 7/12/22 Disappearing Chattanooga. Disappearing 9 patch made with fabrics bought in Chattanooga TN.
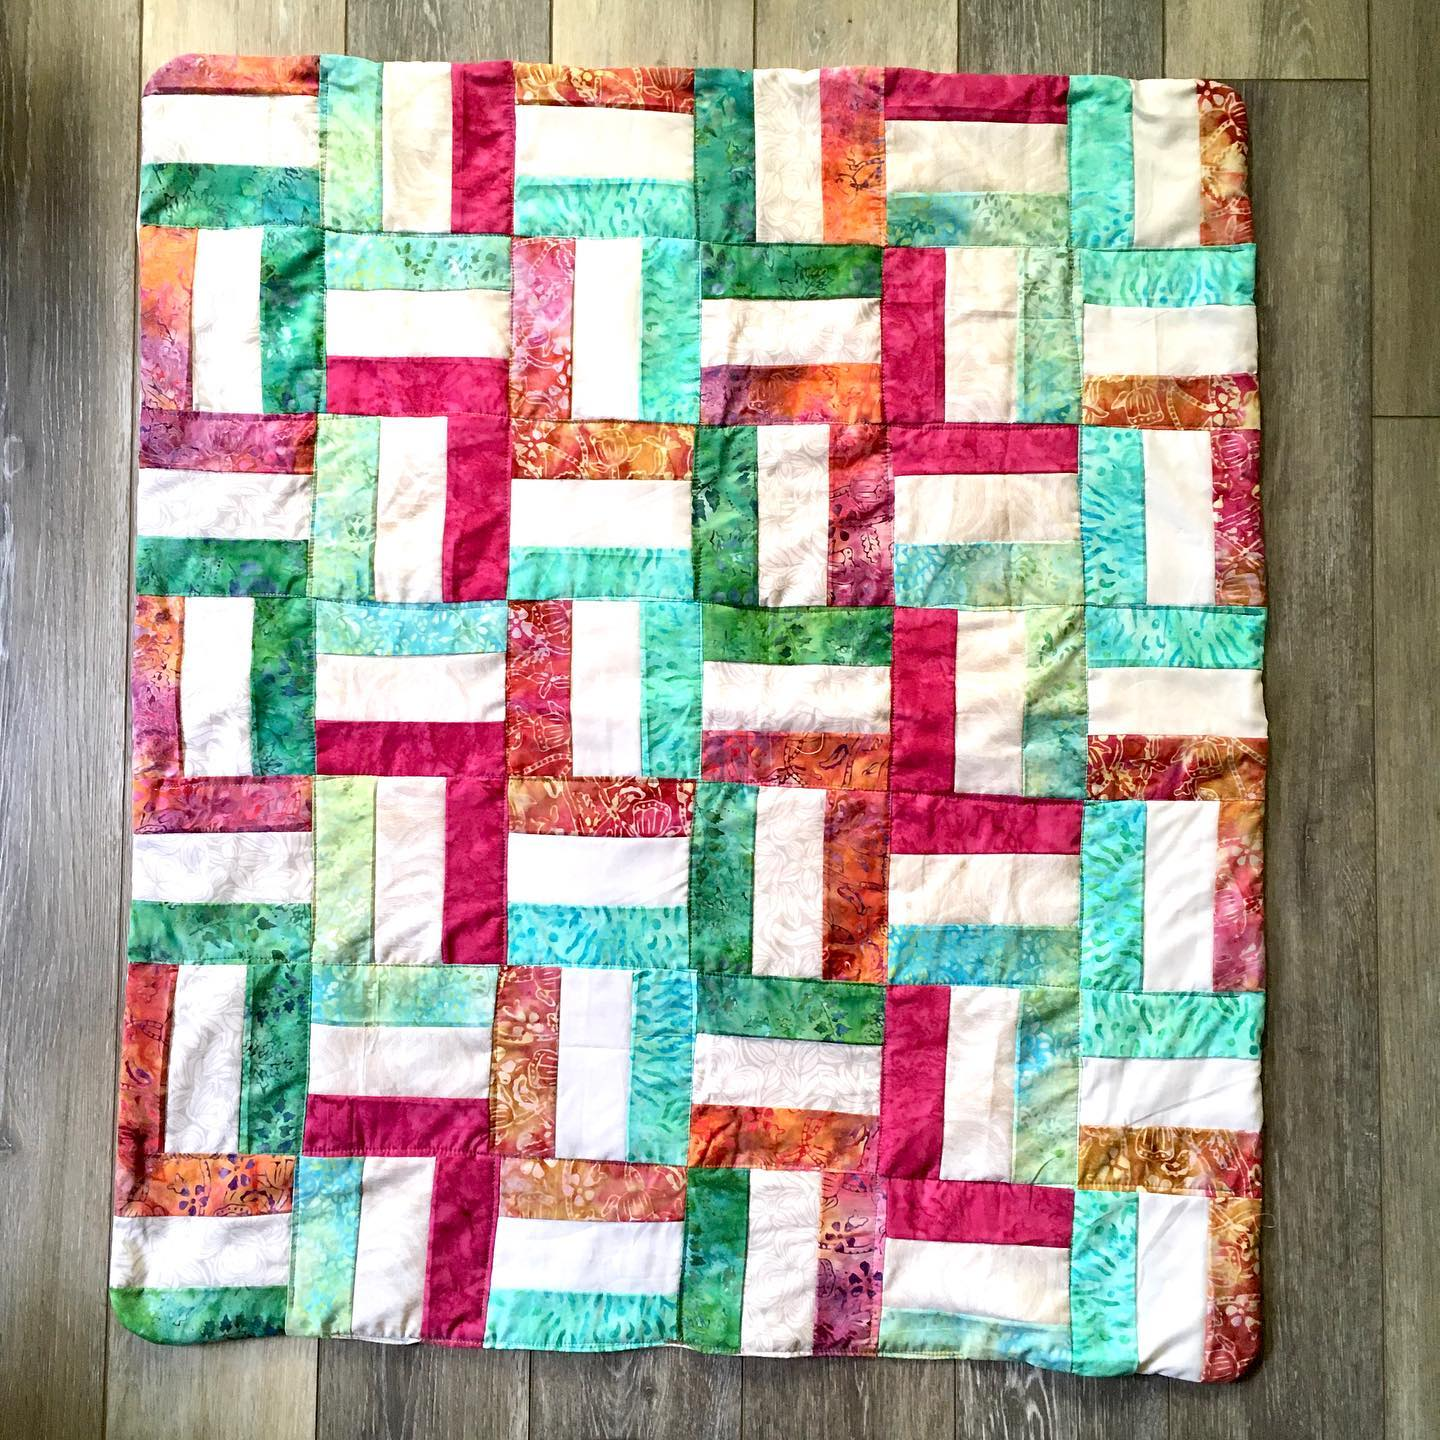
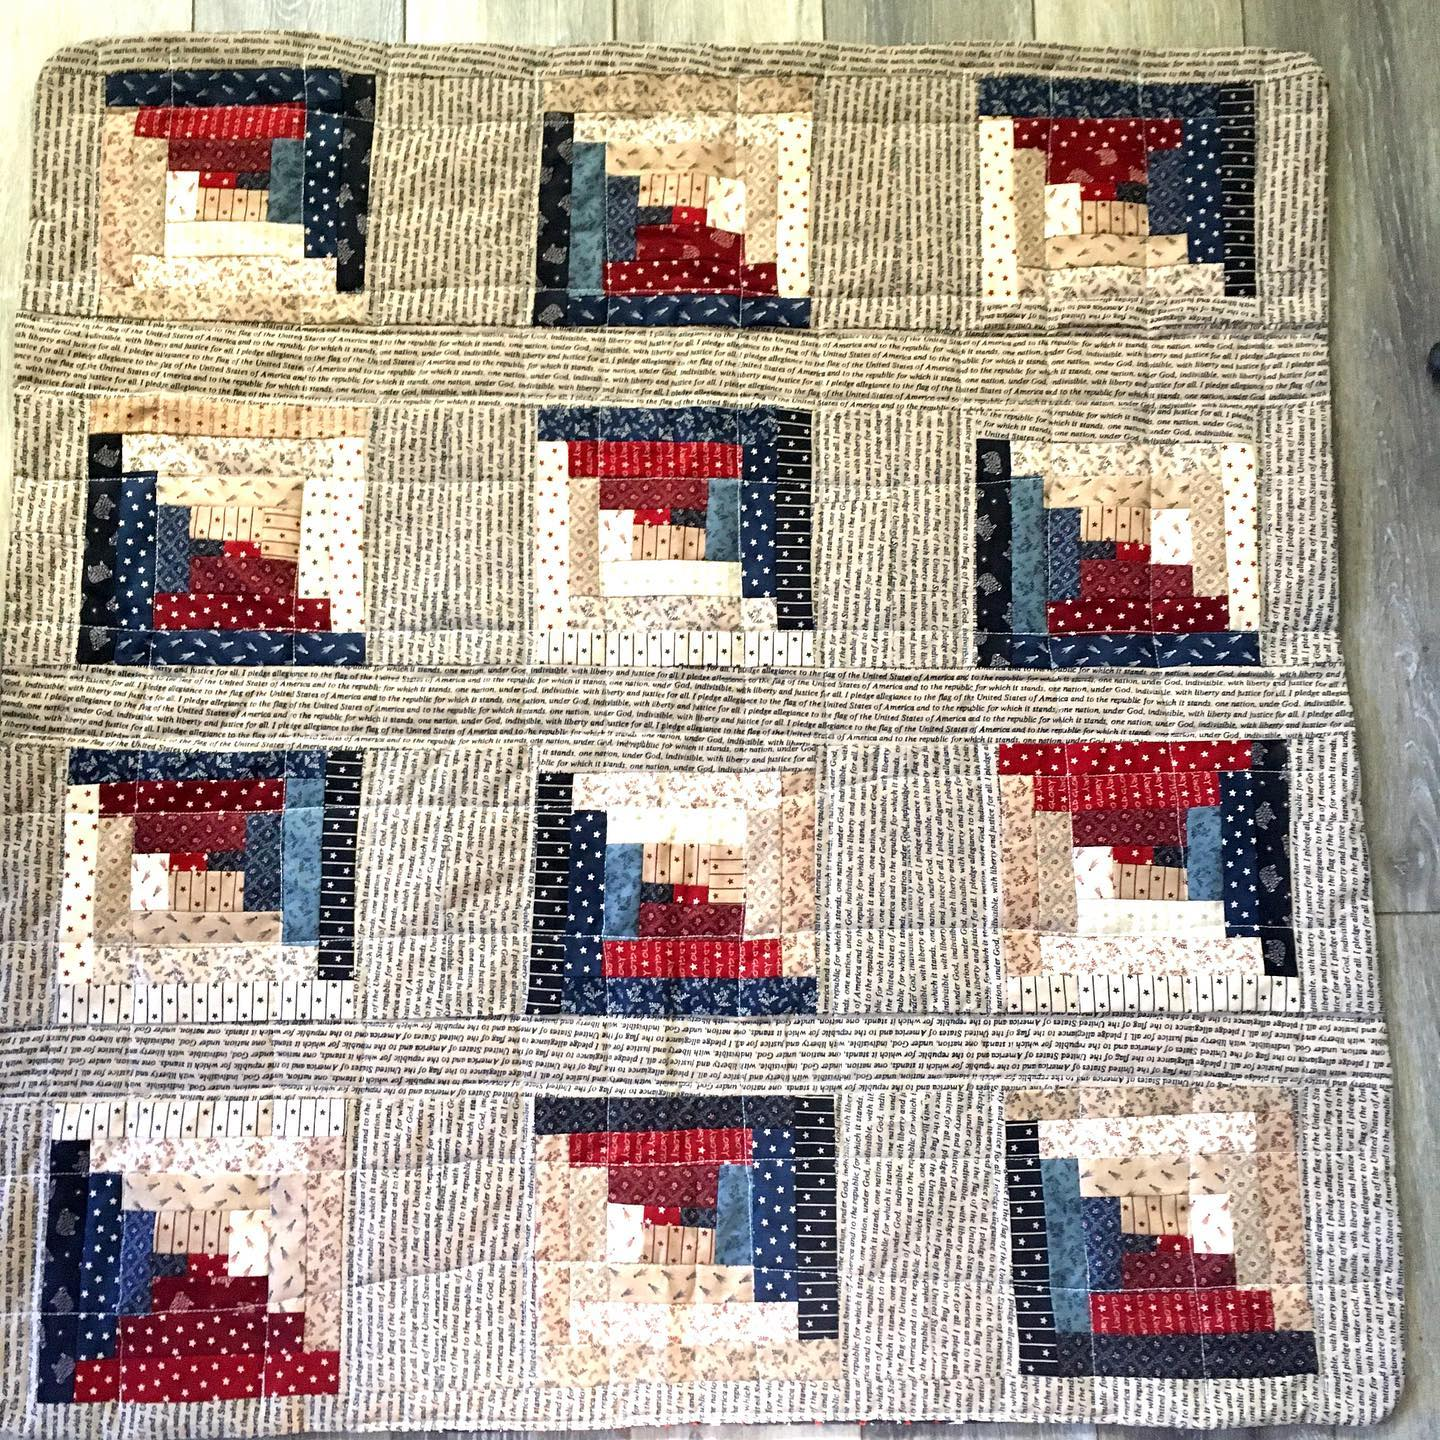
#11 finished 11/9/22 Sold to a neighbor. First log cabin quilt. All fabric from SmArt.
#12 Scrappy X finished 11/10/22 I learned how to do this from a YouTube channel called “My Sewing Room”. Fabric from “My Fabric Addiction” and “Farfalla Originals” on Etsy
#13 Finished 12/16, 2022 6 disappearing 9 patch panels, made from 9 inch squares. Used 14 fat quarters. Given as a gift to my husband. It is flannel.
#14 finished Jan 6, 2023 I didn’t cut or sew the HSTs. They were in a bag from Make and Mend. I assembled them into this pattern, to resemble fish in a pond. 61×37 inches
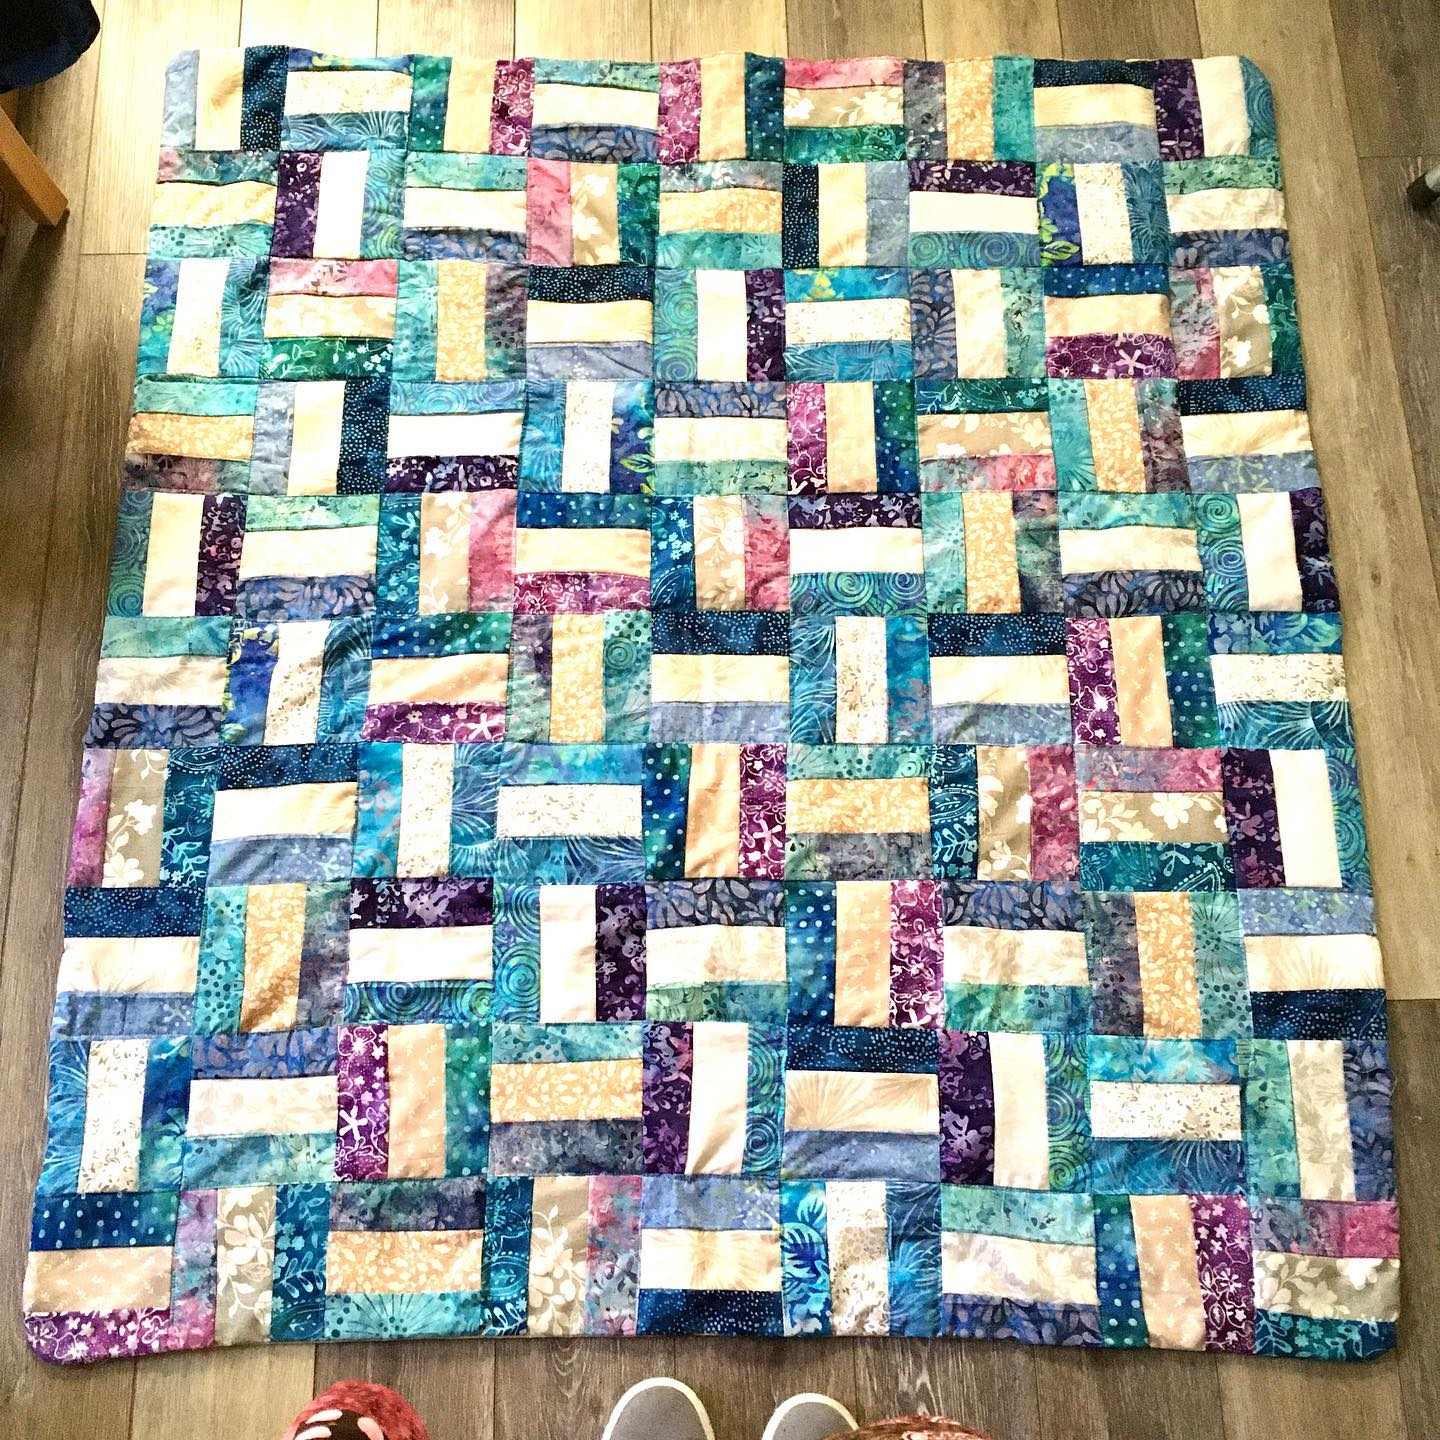
#15 finished 3/4/23 Kantha, technique by Terry Rowland. Fabric by Smart. Now I know why to sew coming from alternate sides
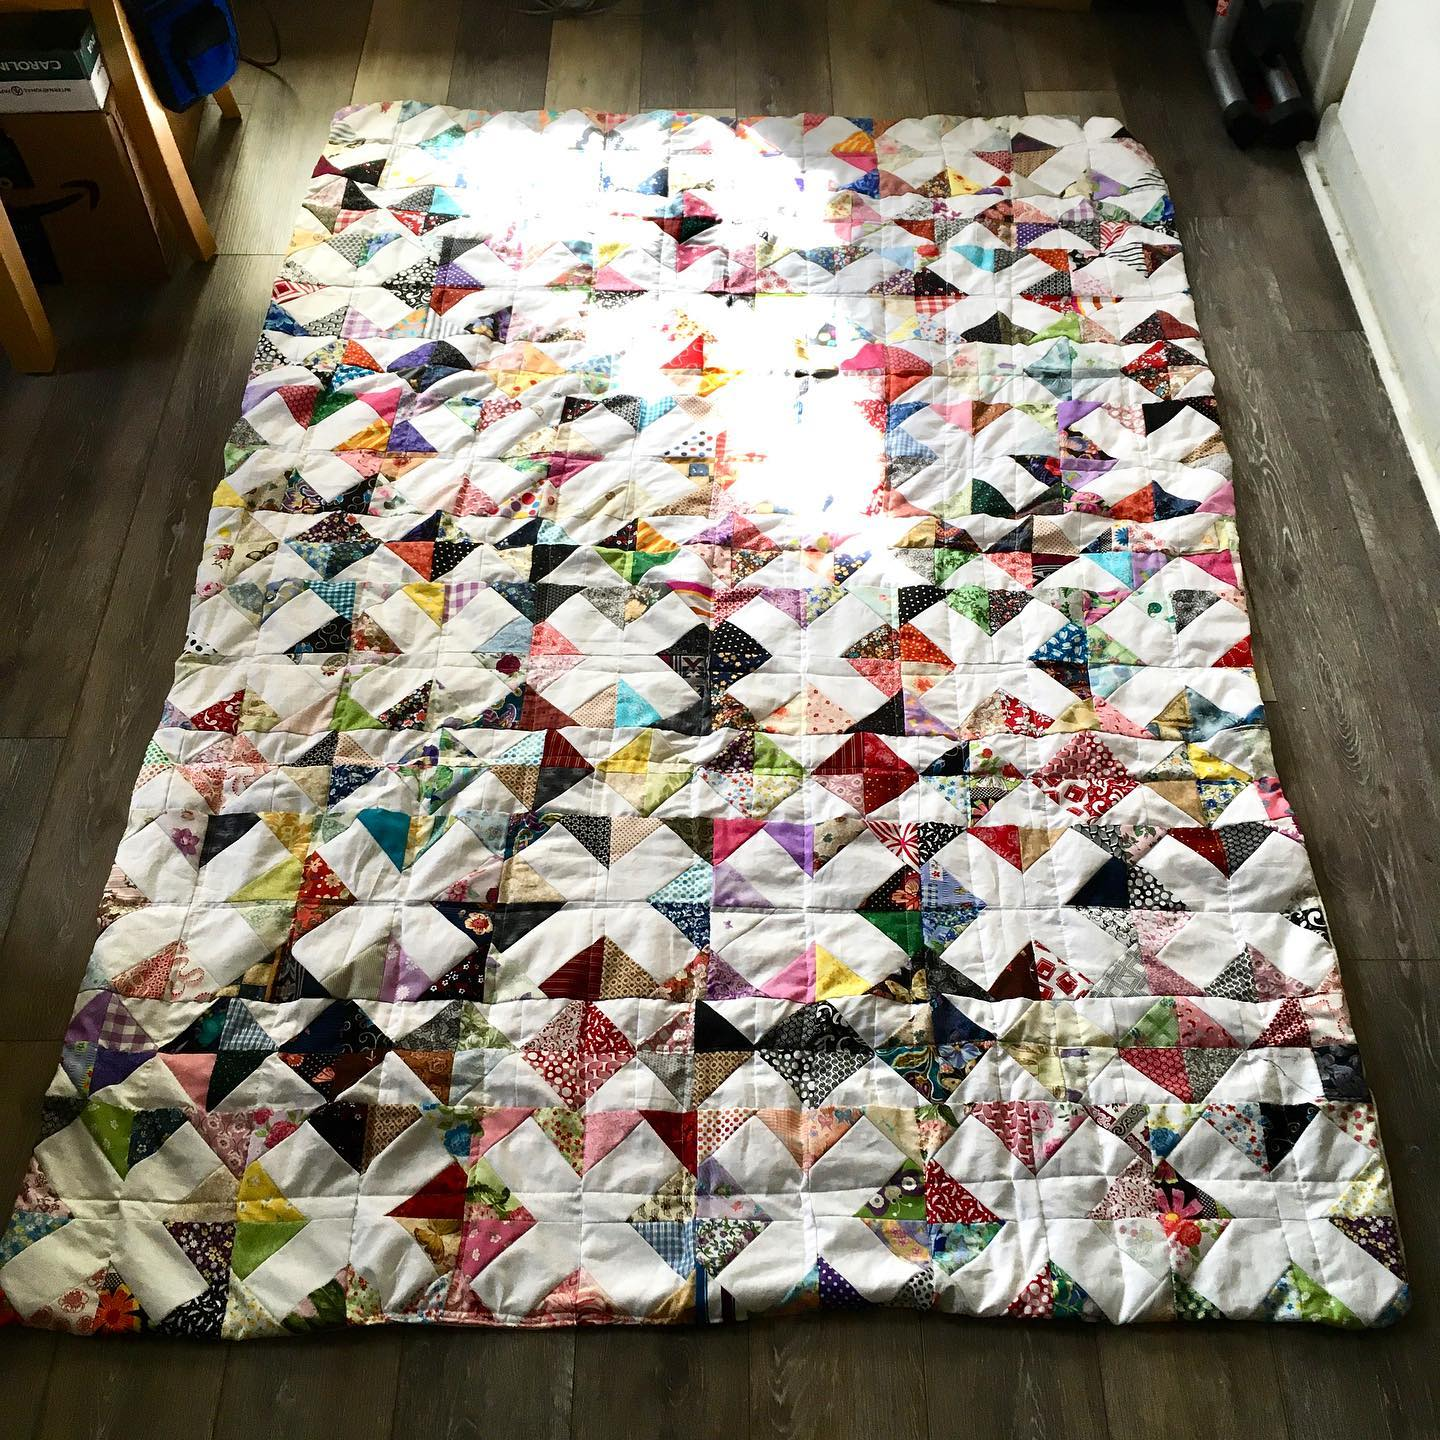
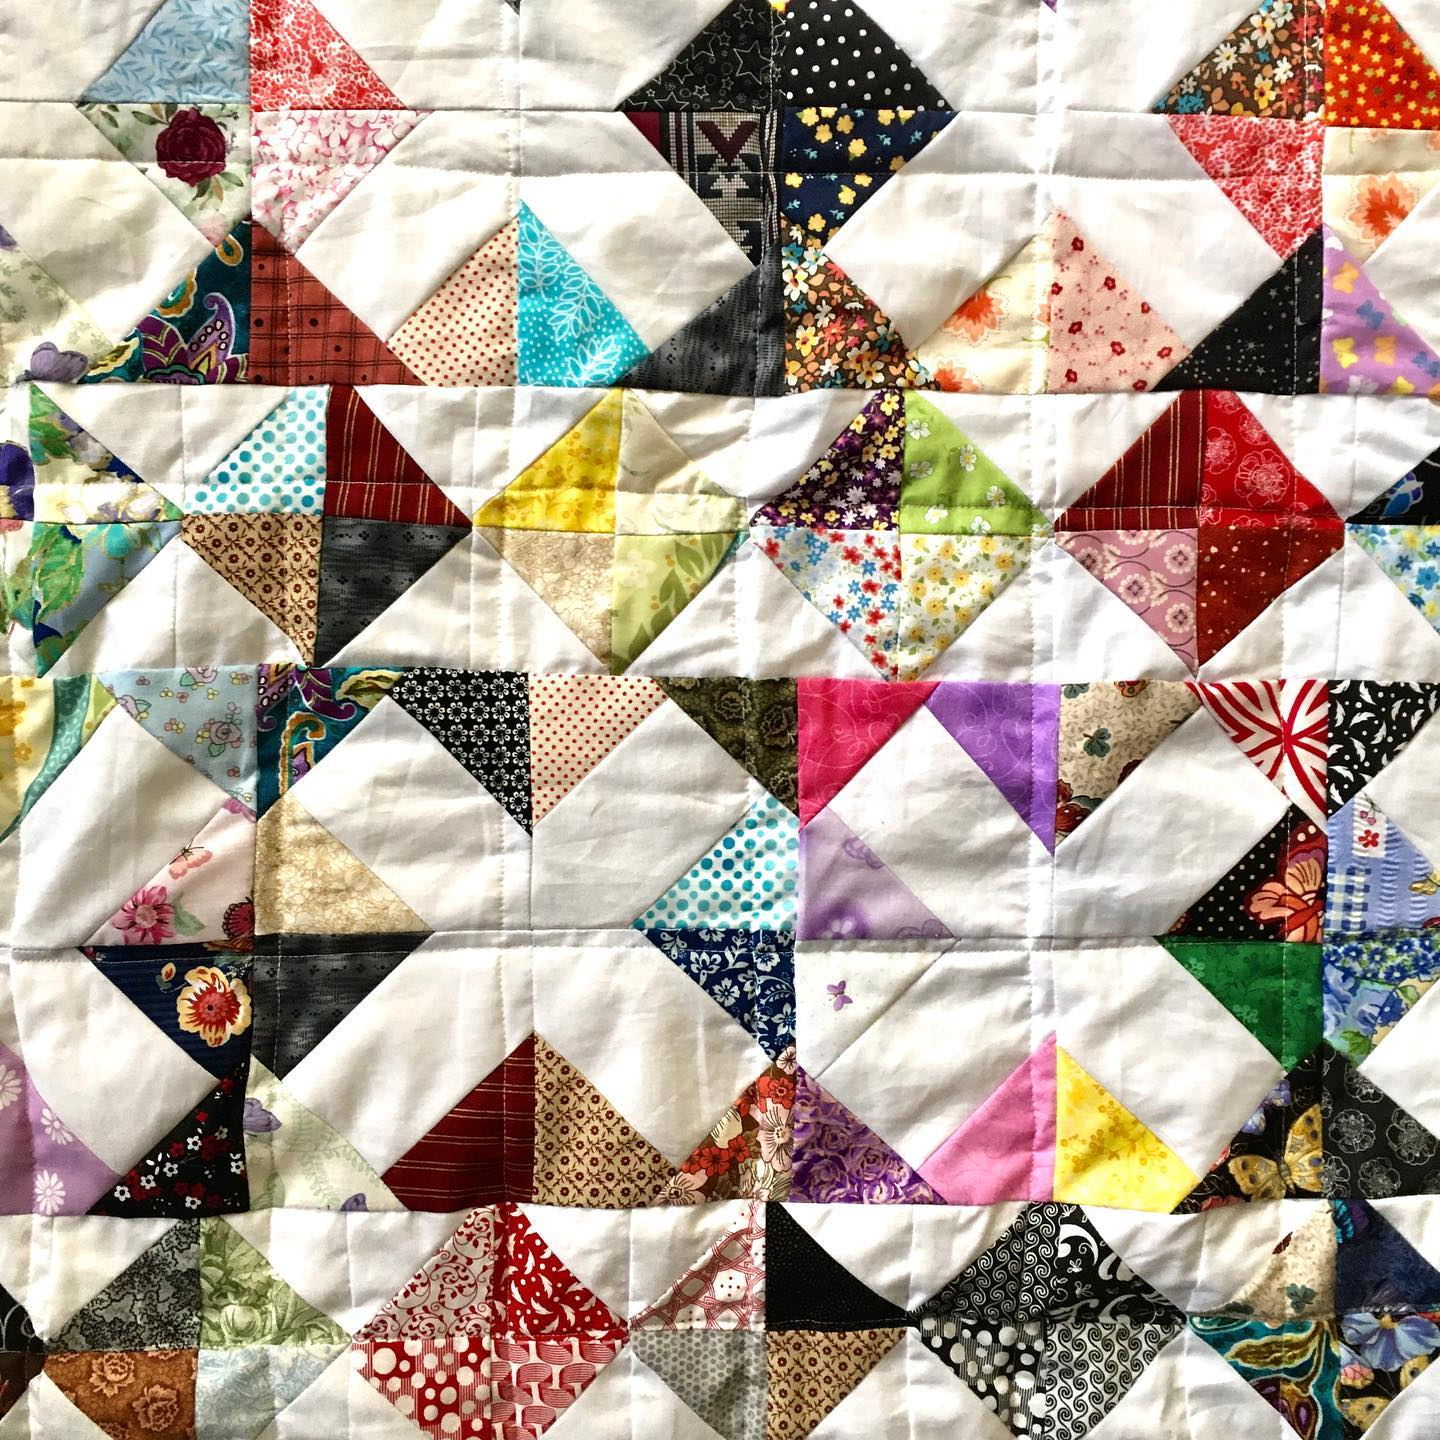
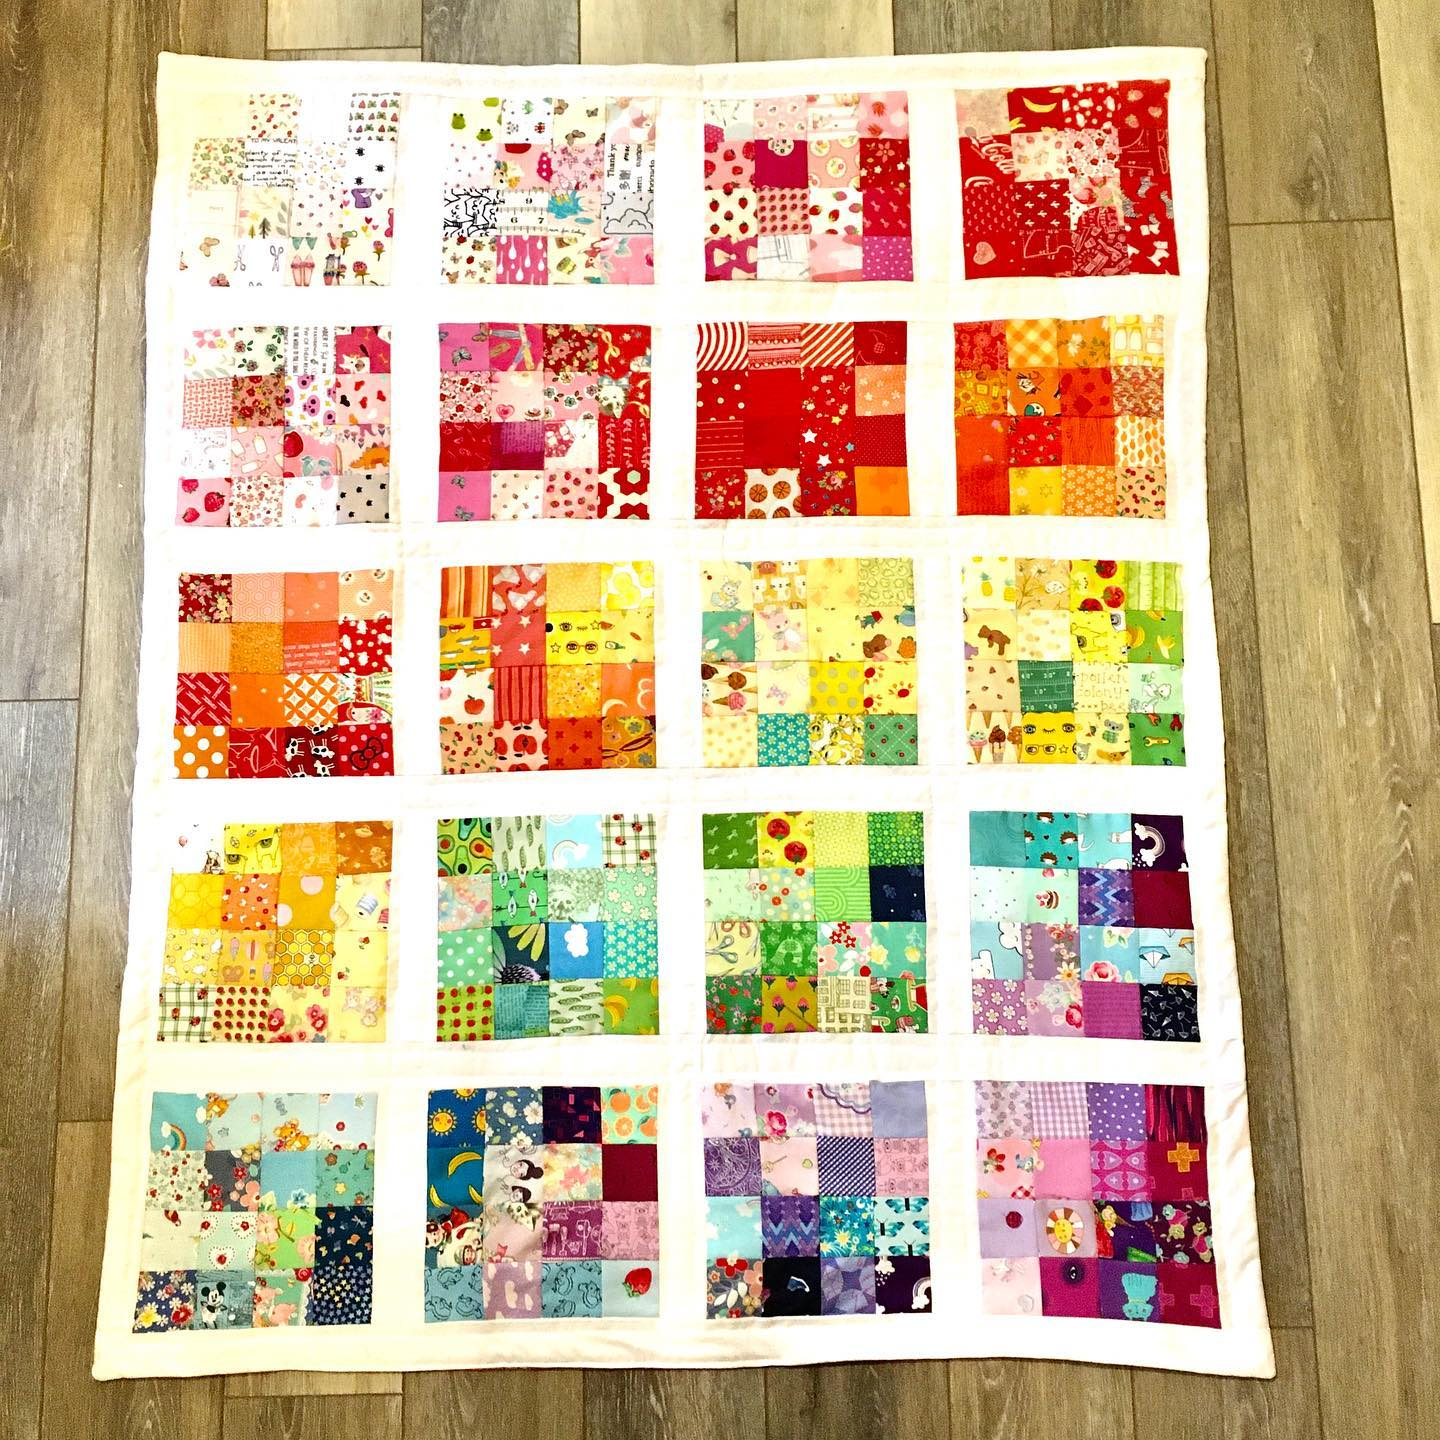
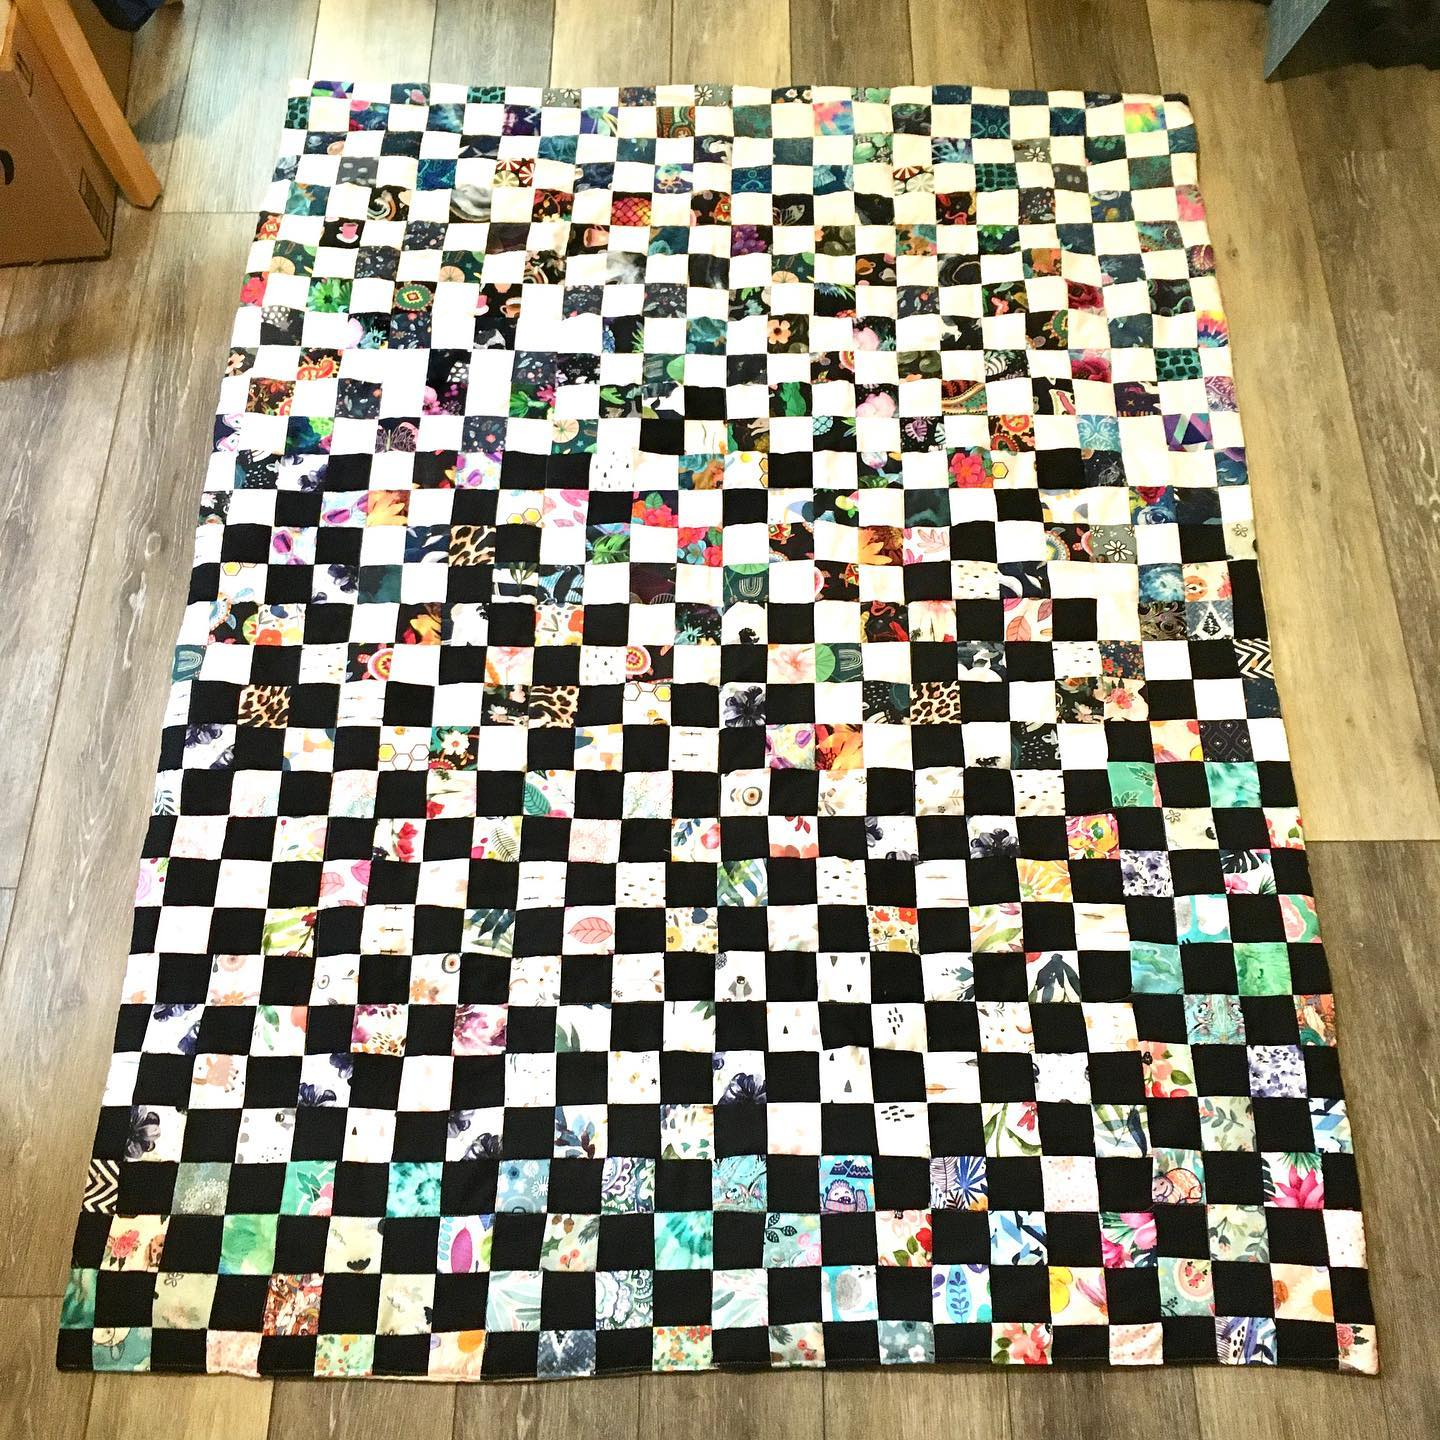
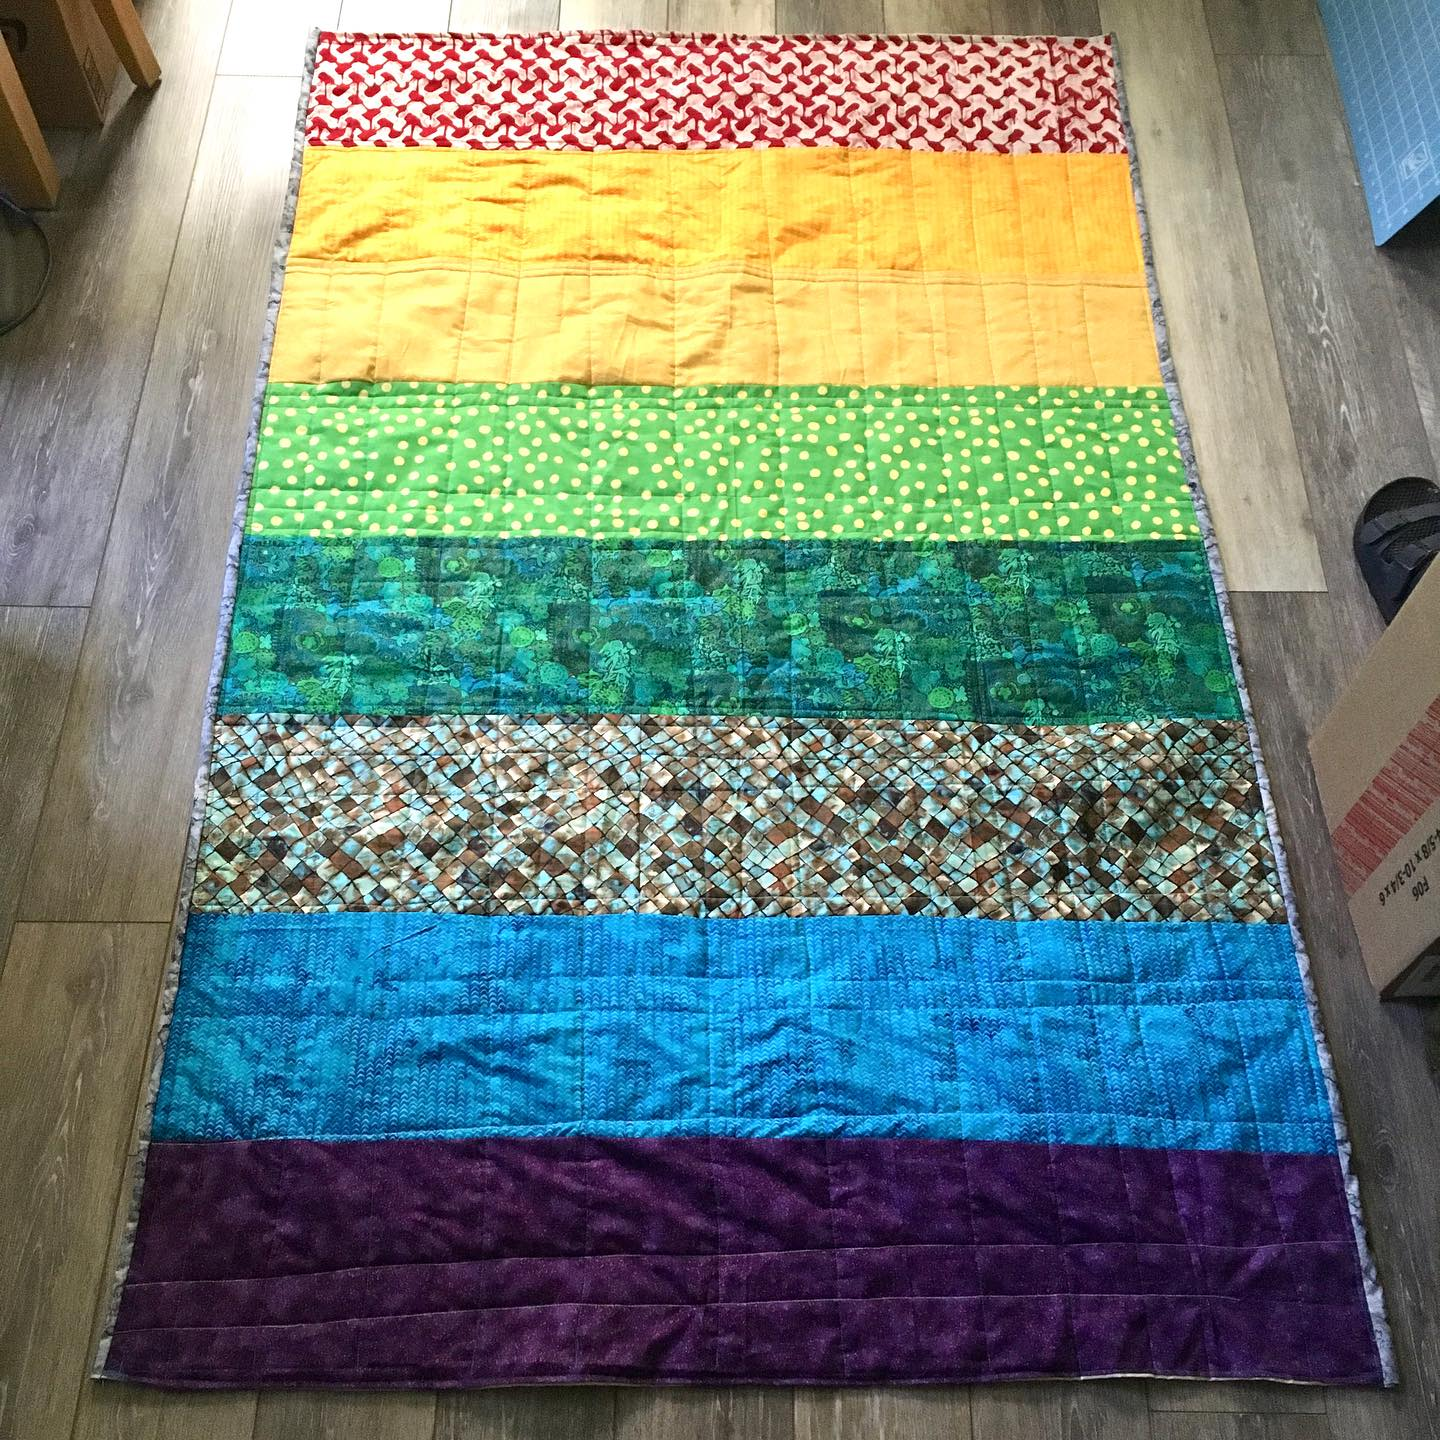
#18 finished 4/27/23 Rainbow postage stamp. Colorful fabric from “Shanzay’s Sewing Co” on Etsy
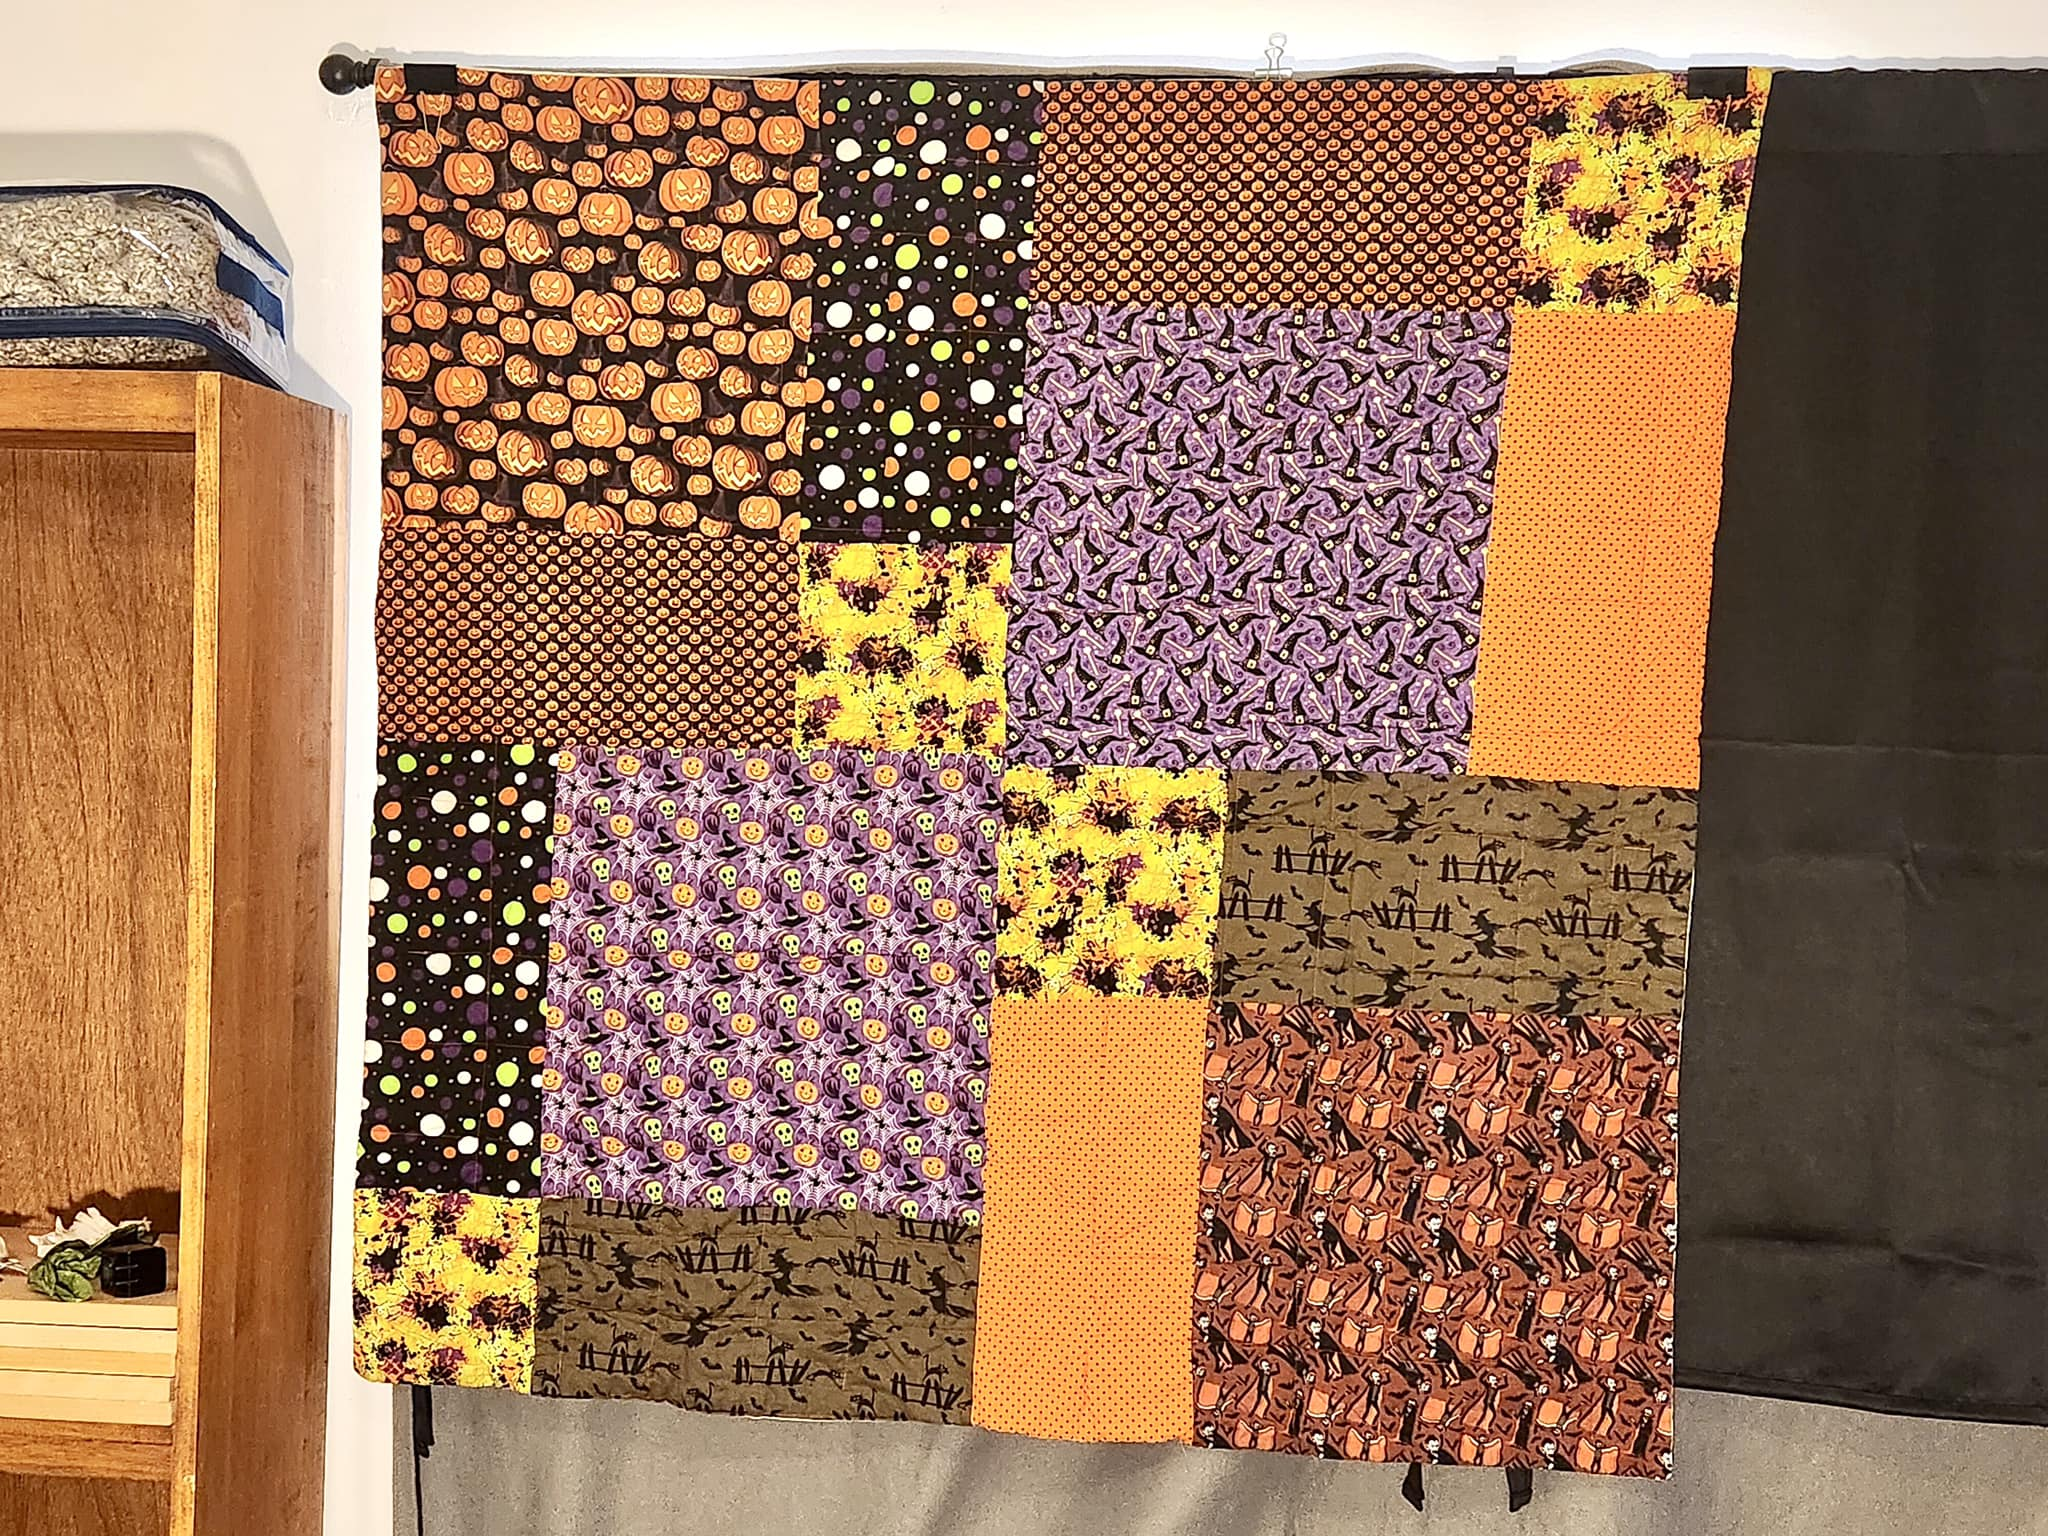
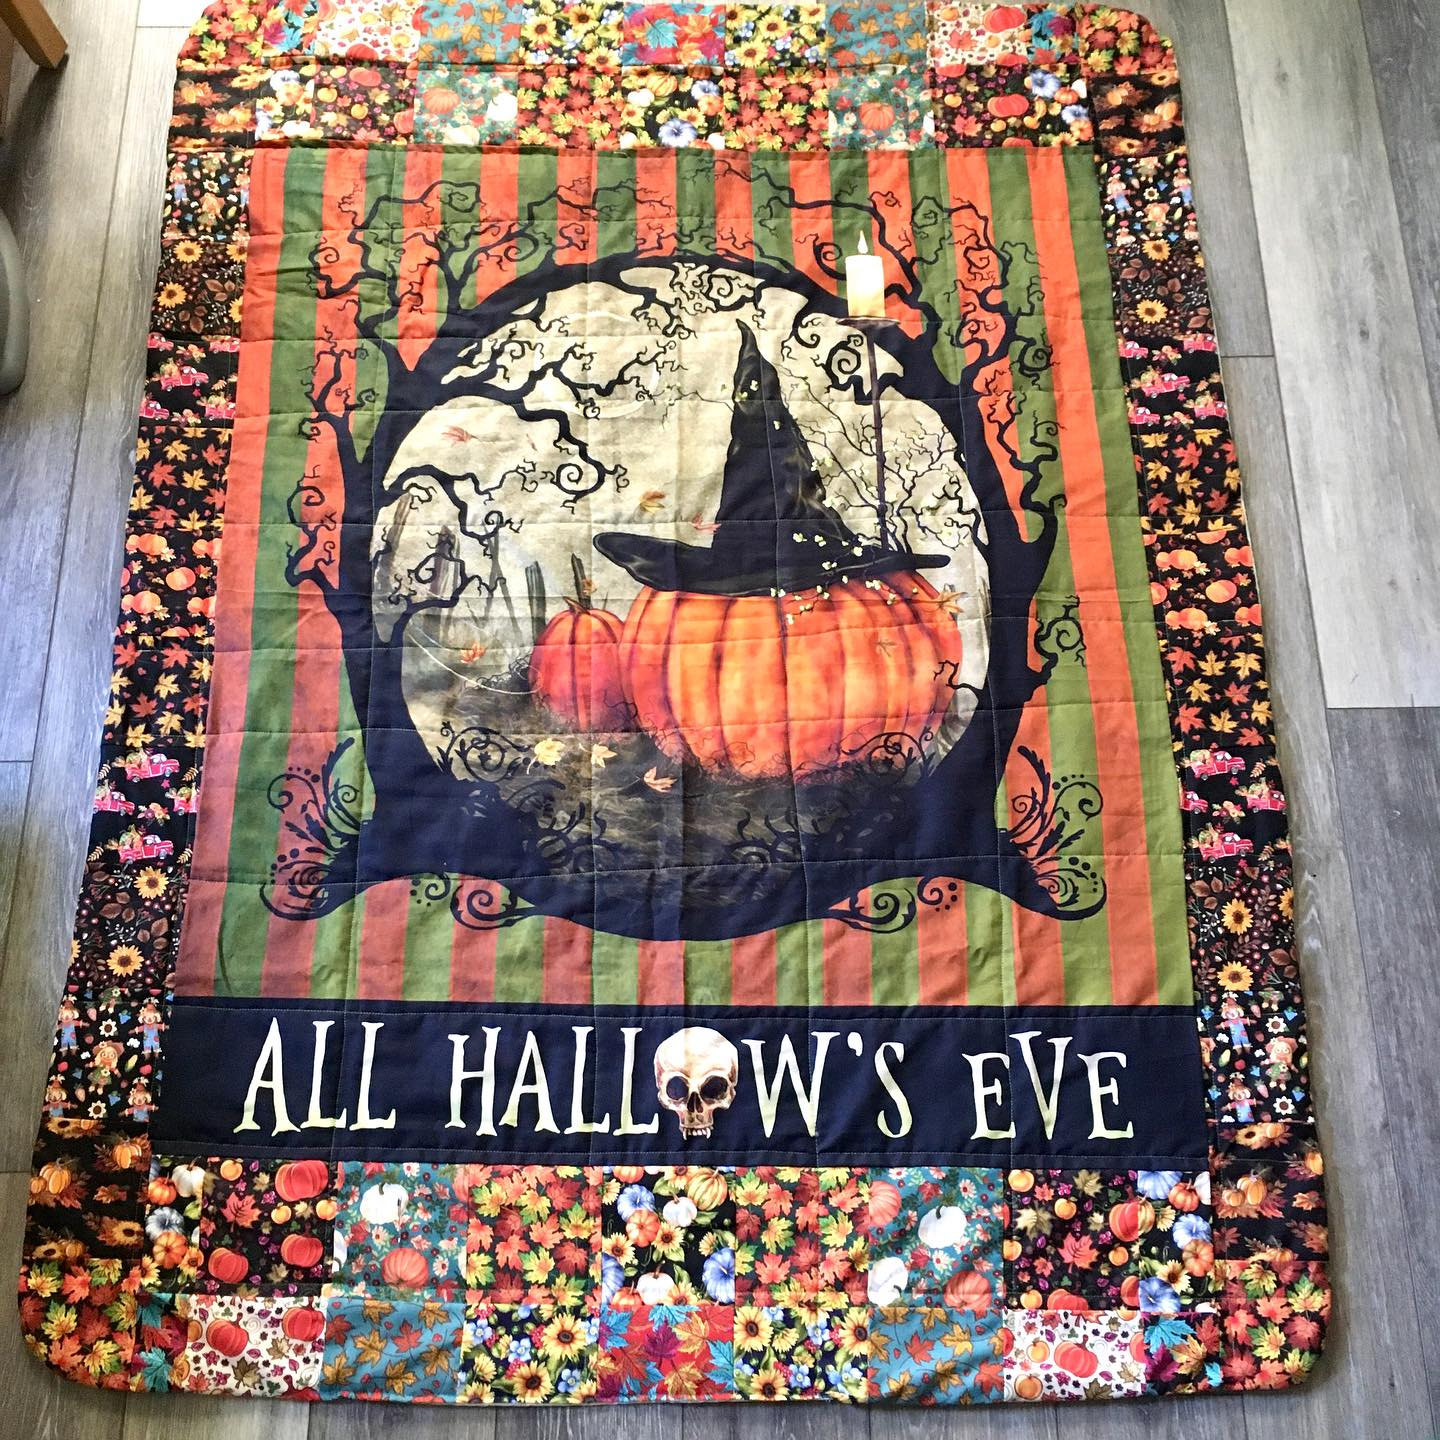
#19 finished 5/24/23 Halloween nap blanket for my husband
#20 finished 6/20/23 Donated to Caris Hospice 7/27/23
#21 finished June 22, 2023 Fabric from “My fabric addiction” on Etsy
#22 finished 3/25/23 gifted 4/8/23 (forgot to take a photo of it so it got lost in the numbering) The recipient uses it as sound baffling because he is a musician. All Halloween fabrics. First picture is from him, second is the fabric before I sewed it (better light)
#23 finished 6/24/23 given 1/1/24 ‘L7″ quilt, fireflies at twilight. Fabric from JoAnn’s
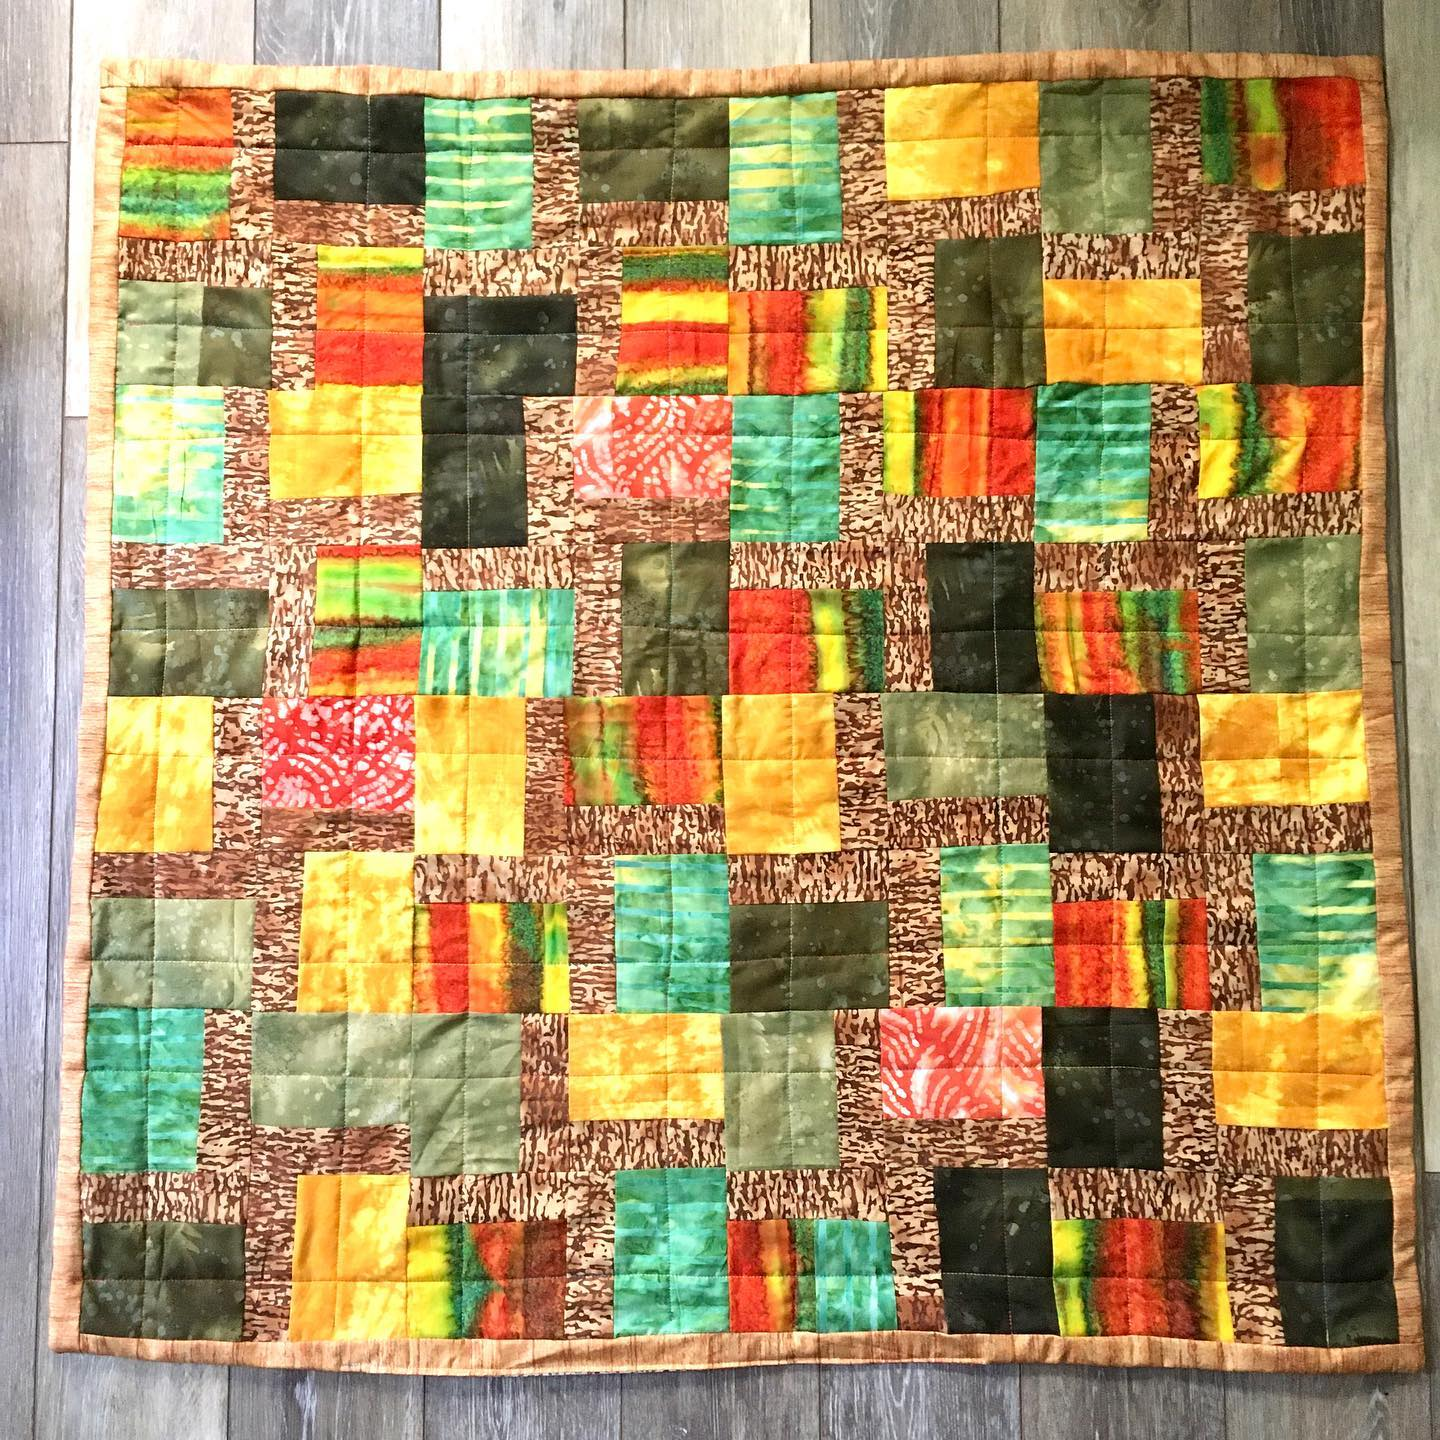
#24 finished 7/7/23. Donated 7/27/23 All fabric from Smart. Autumn Leaves and Twigs
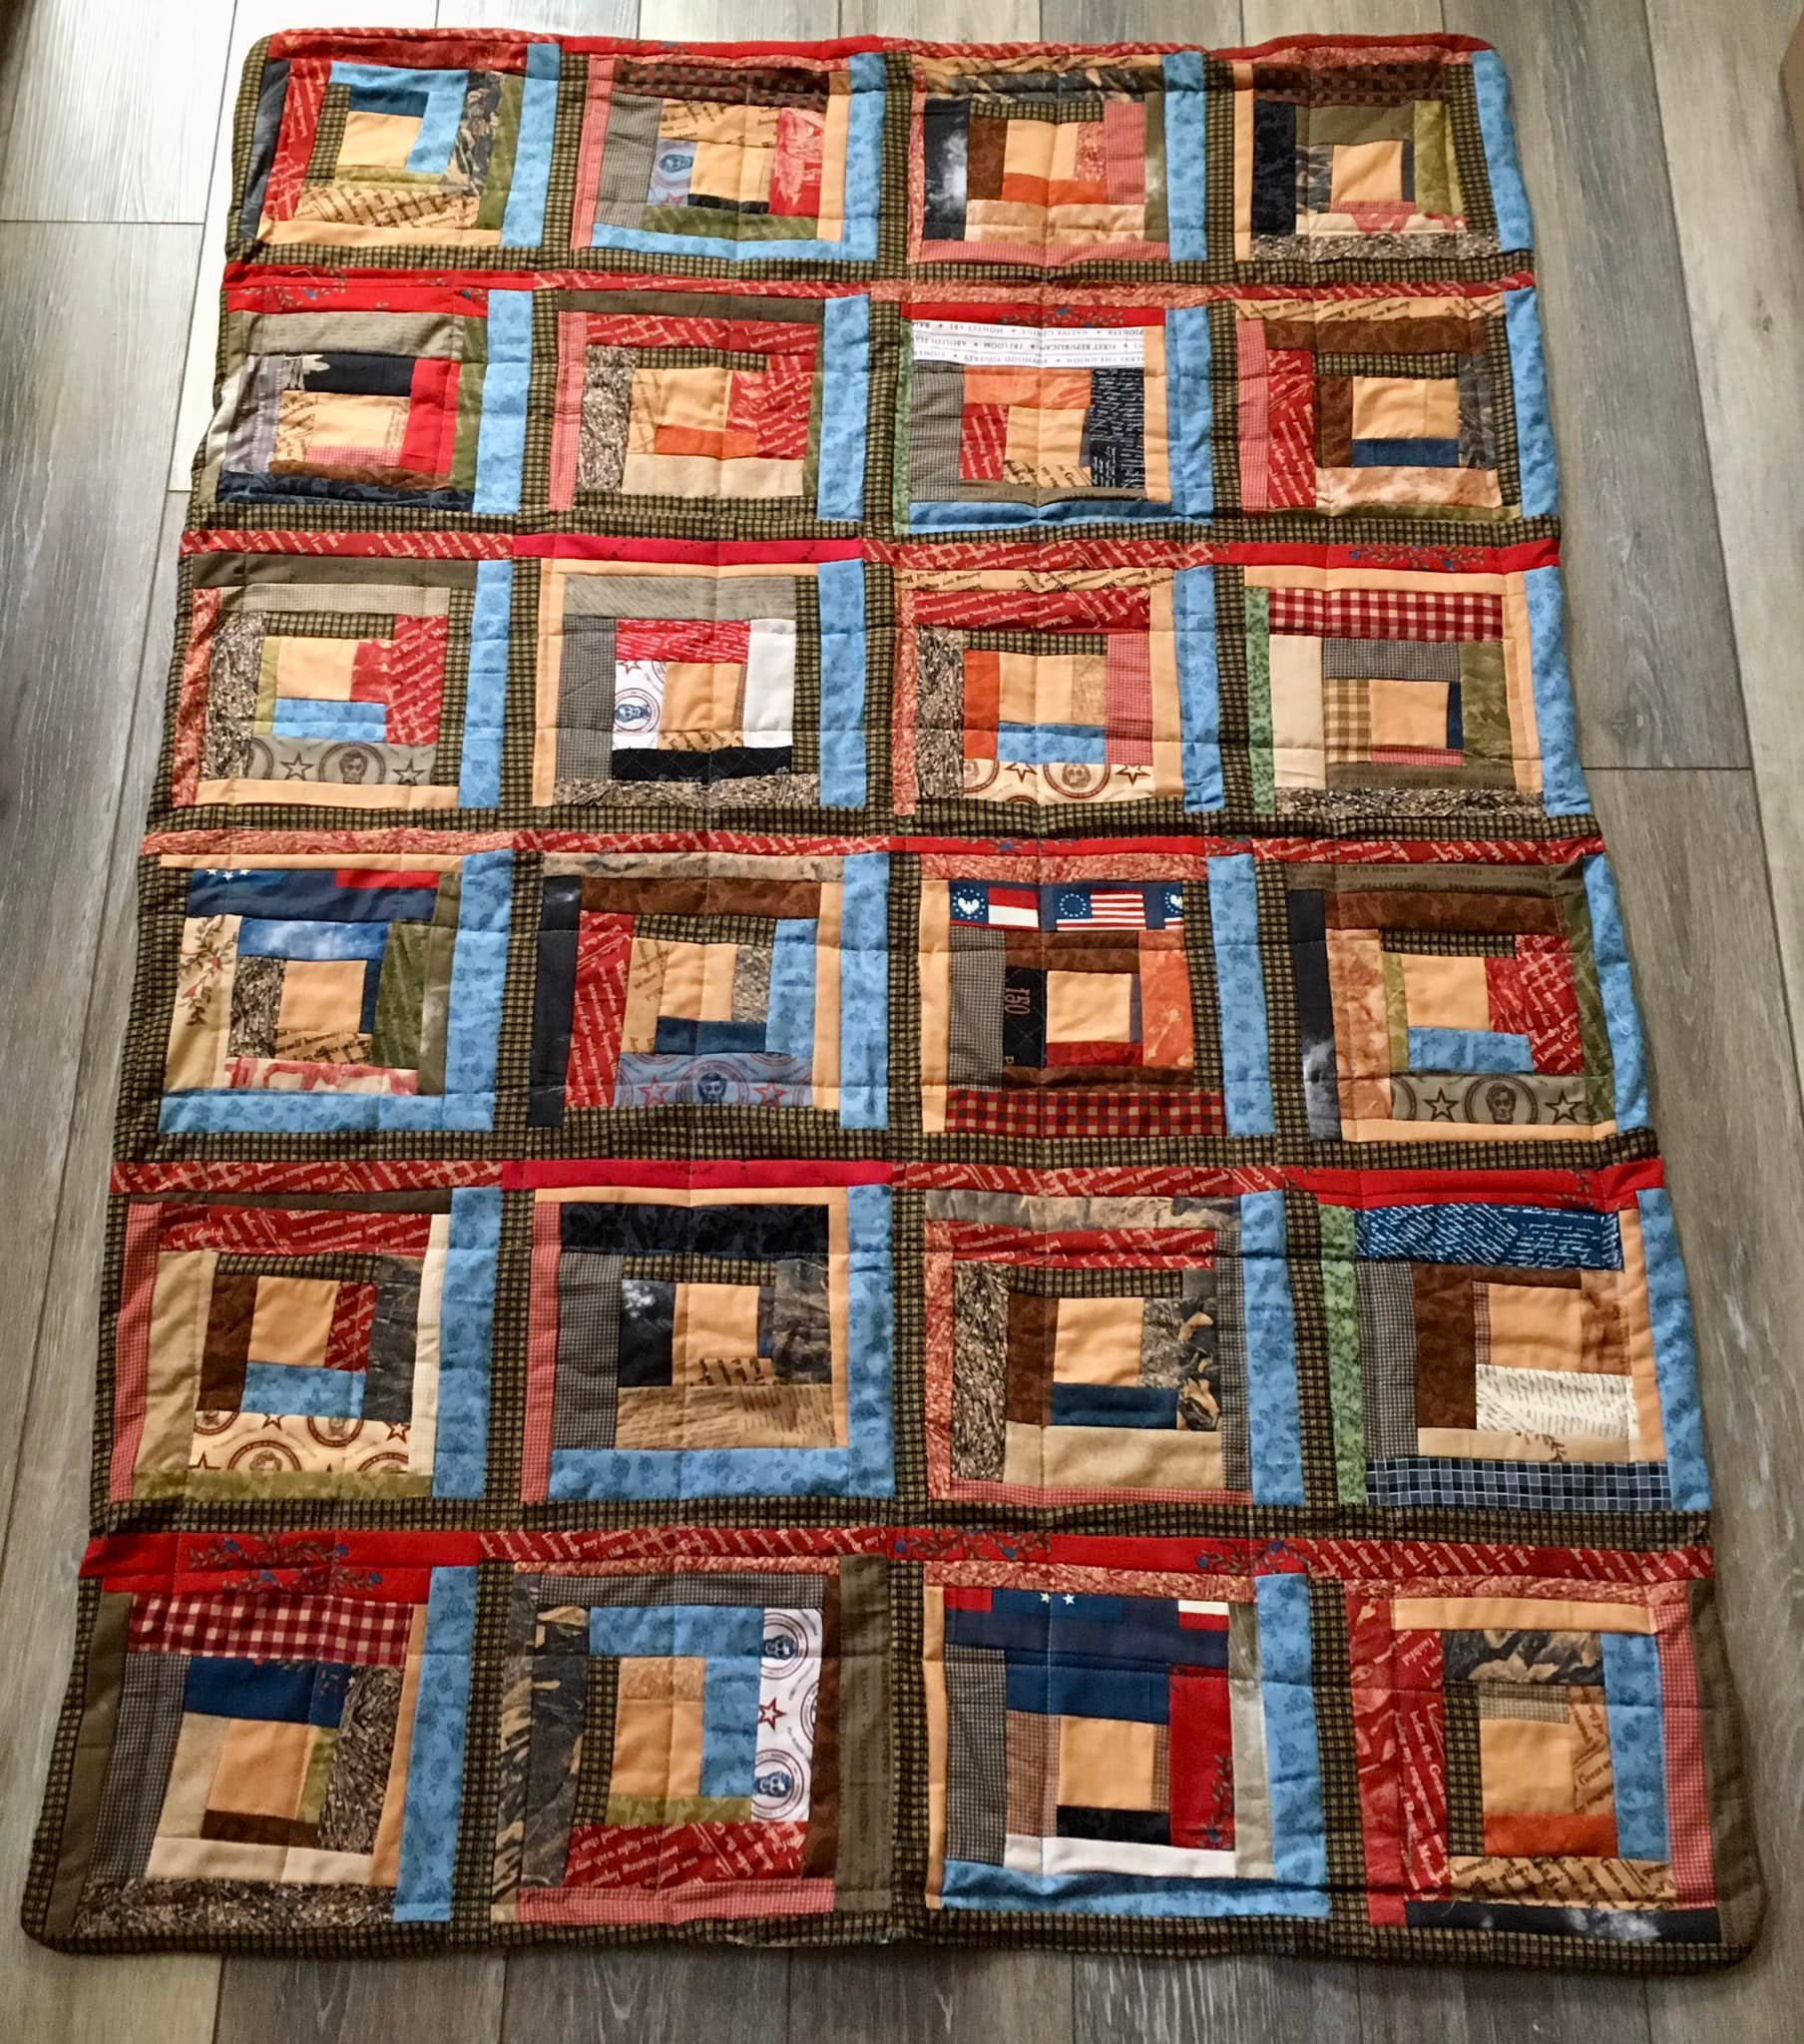
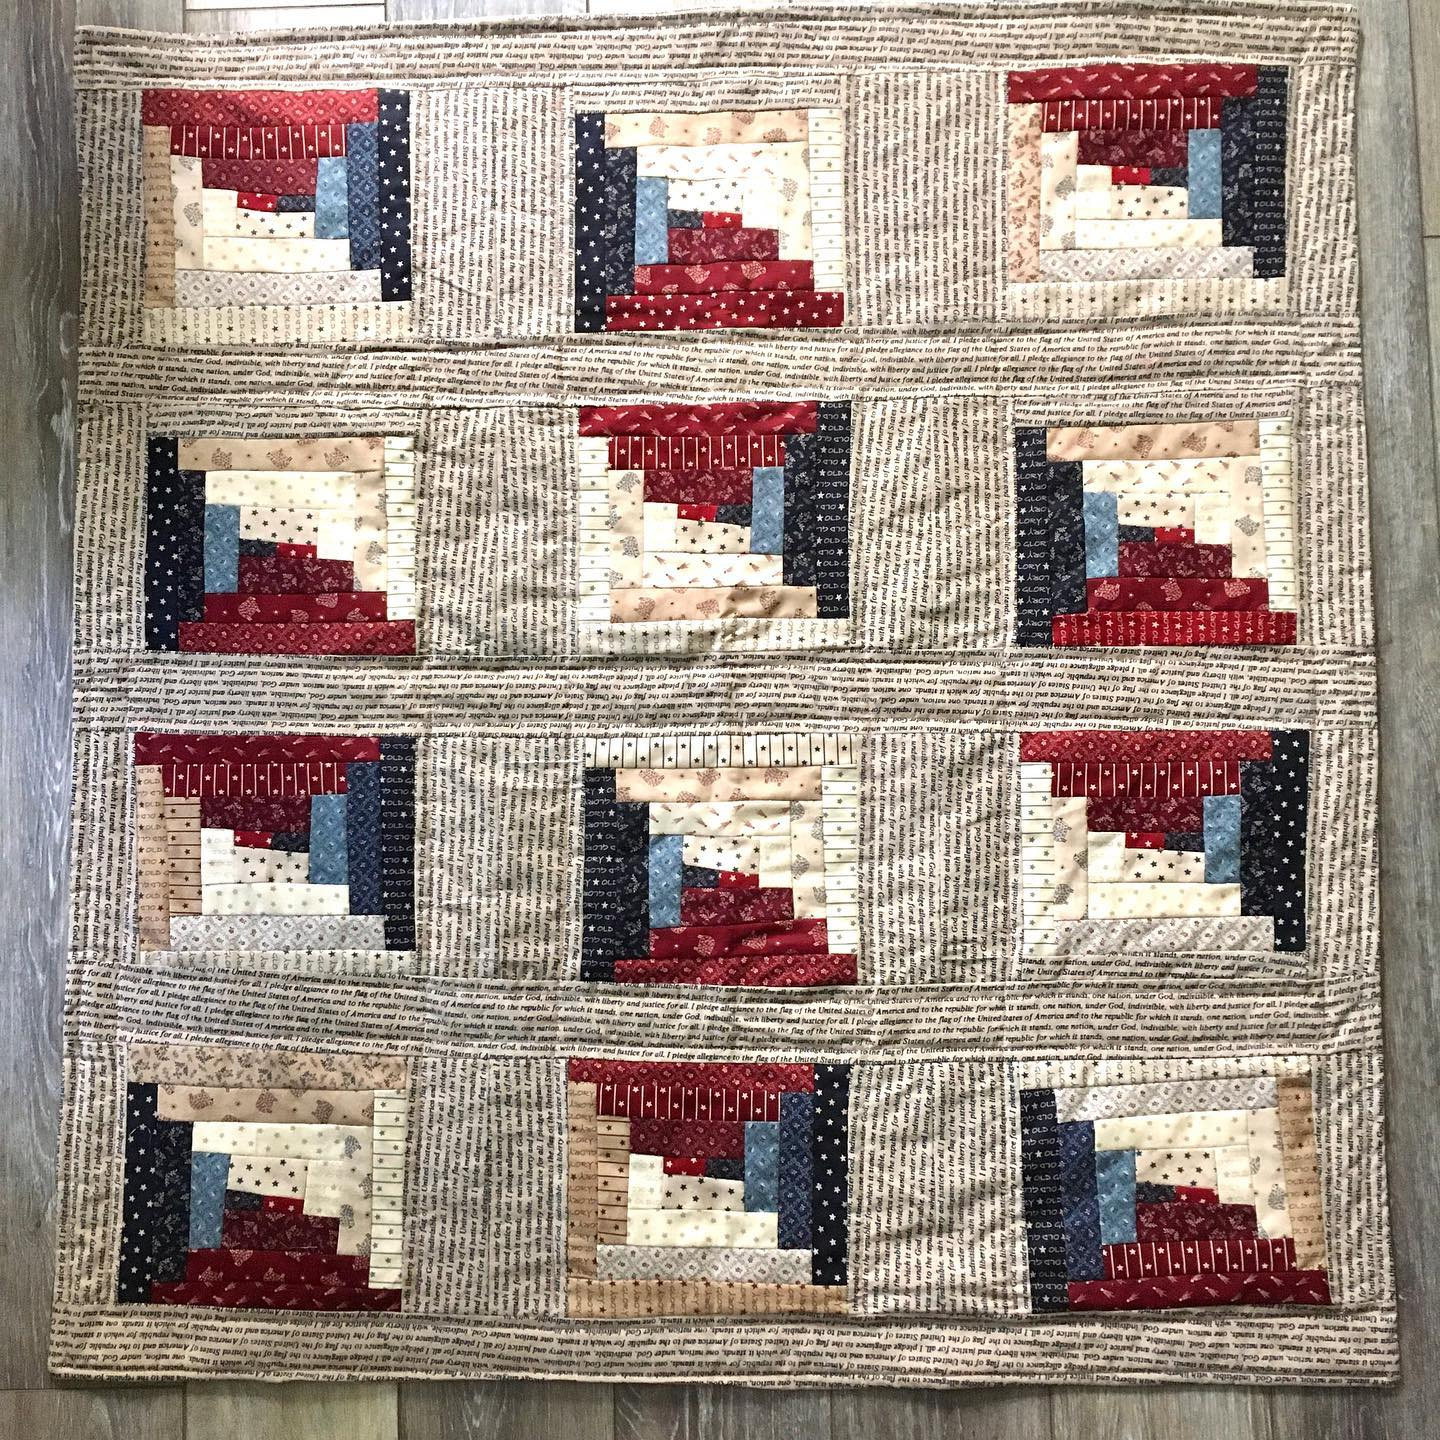
#25 finished 7/7/23 Patriotic Log Cabin. all fabric from Smart. Donated 10/18/24
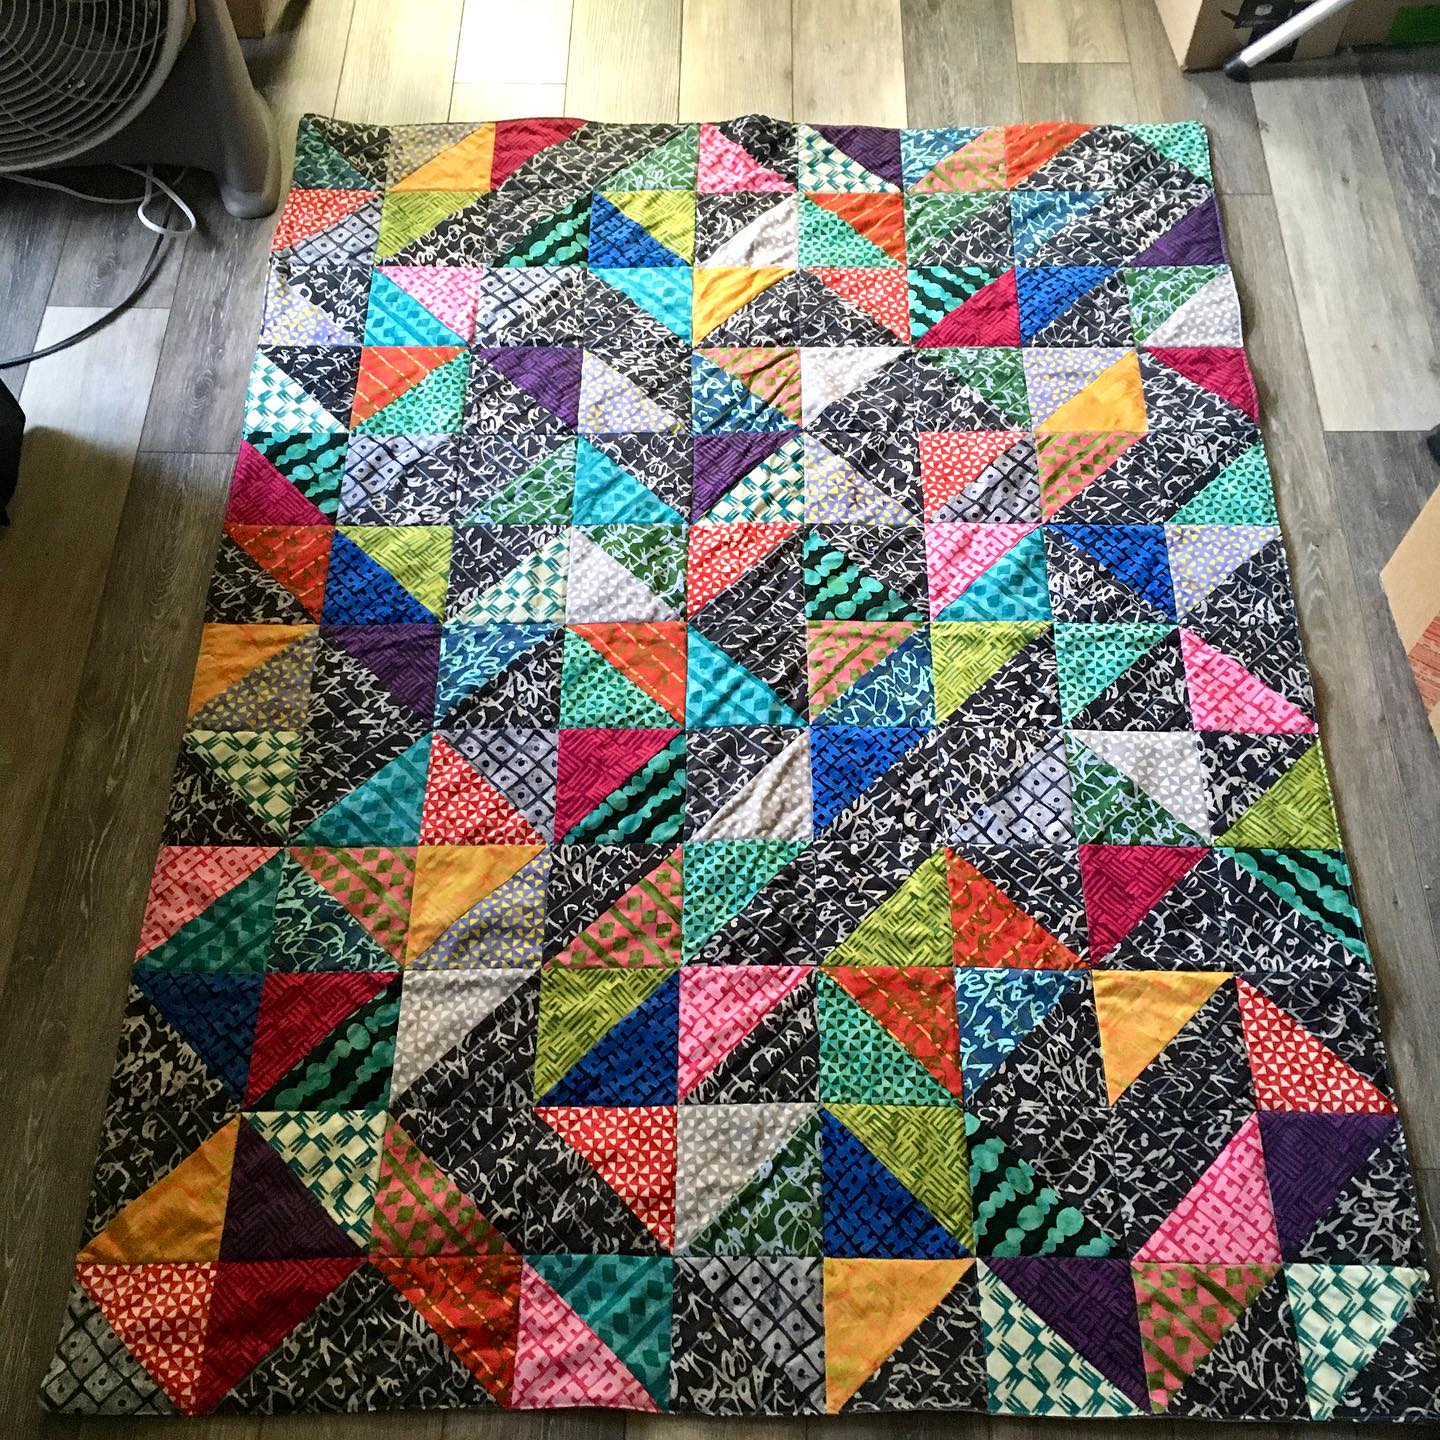
#26 finished 7/14/23. Some hand quilting with perle cotton. Fabrics from Smart and Etsy
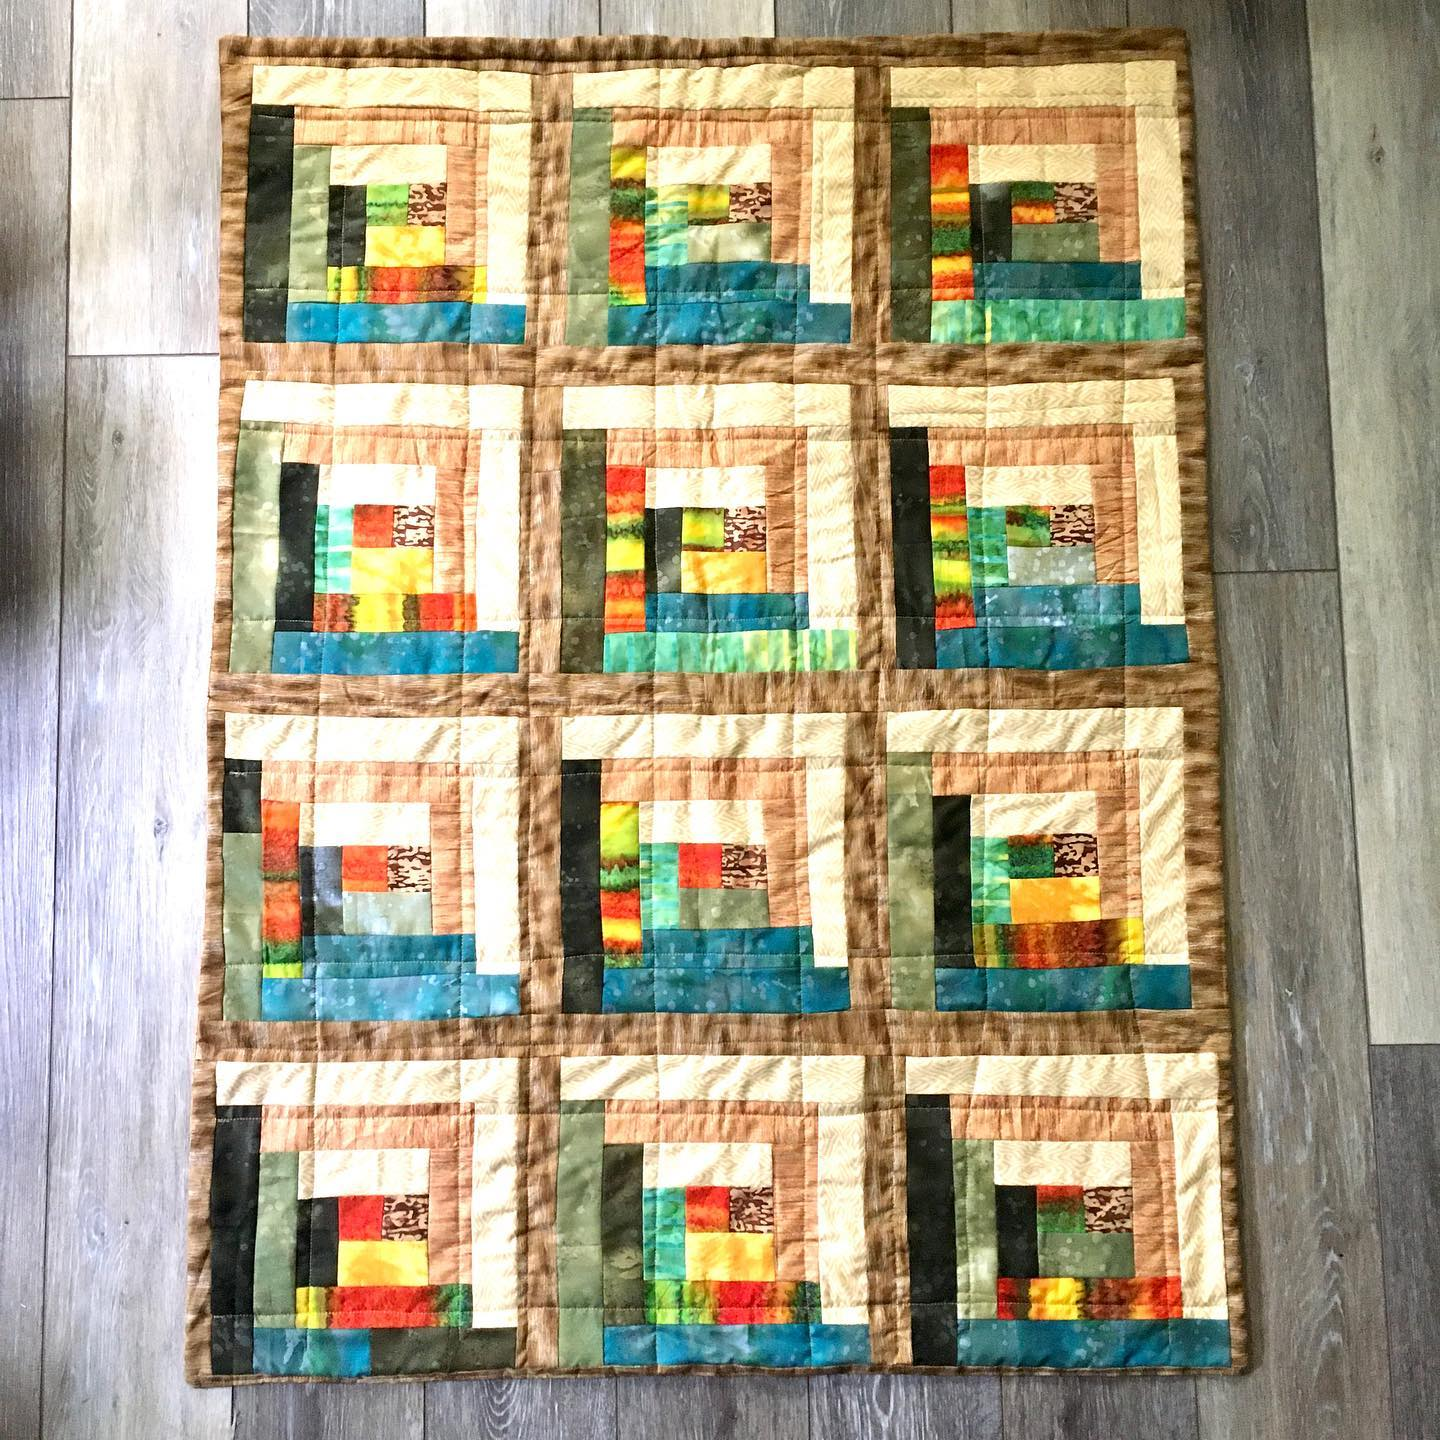
#27 finished 7/12/23 Autumn log cabin. Fabric from Smart
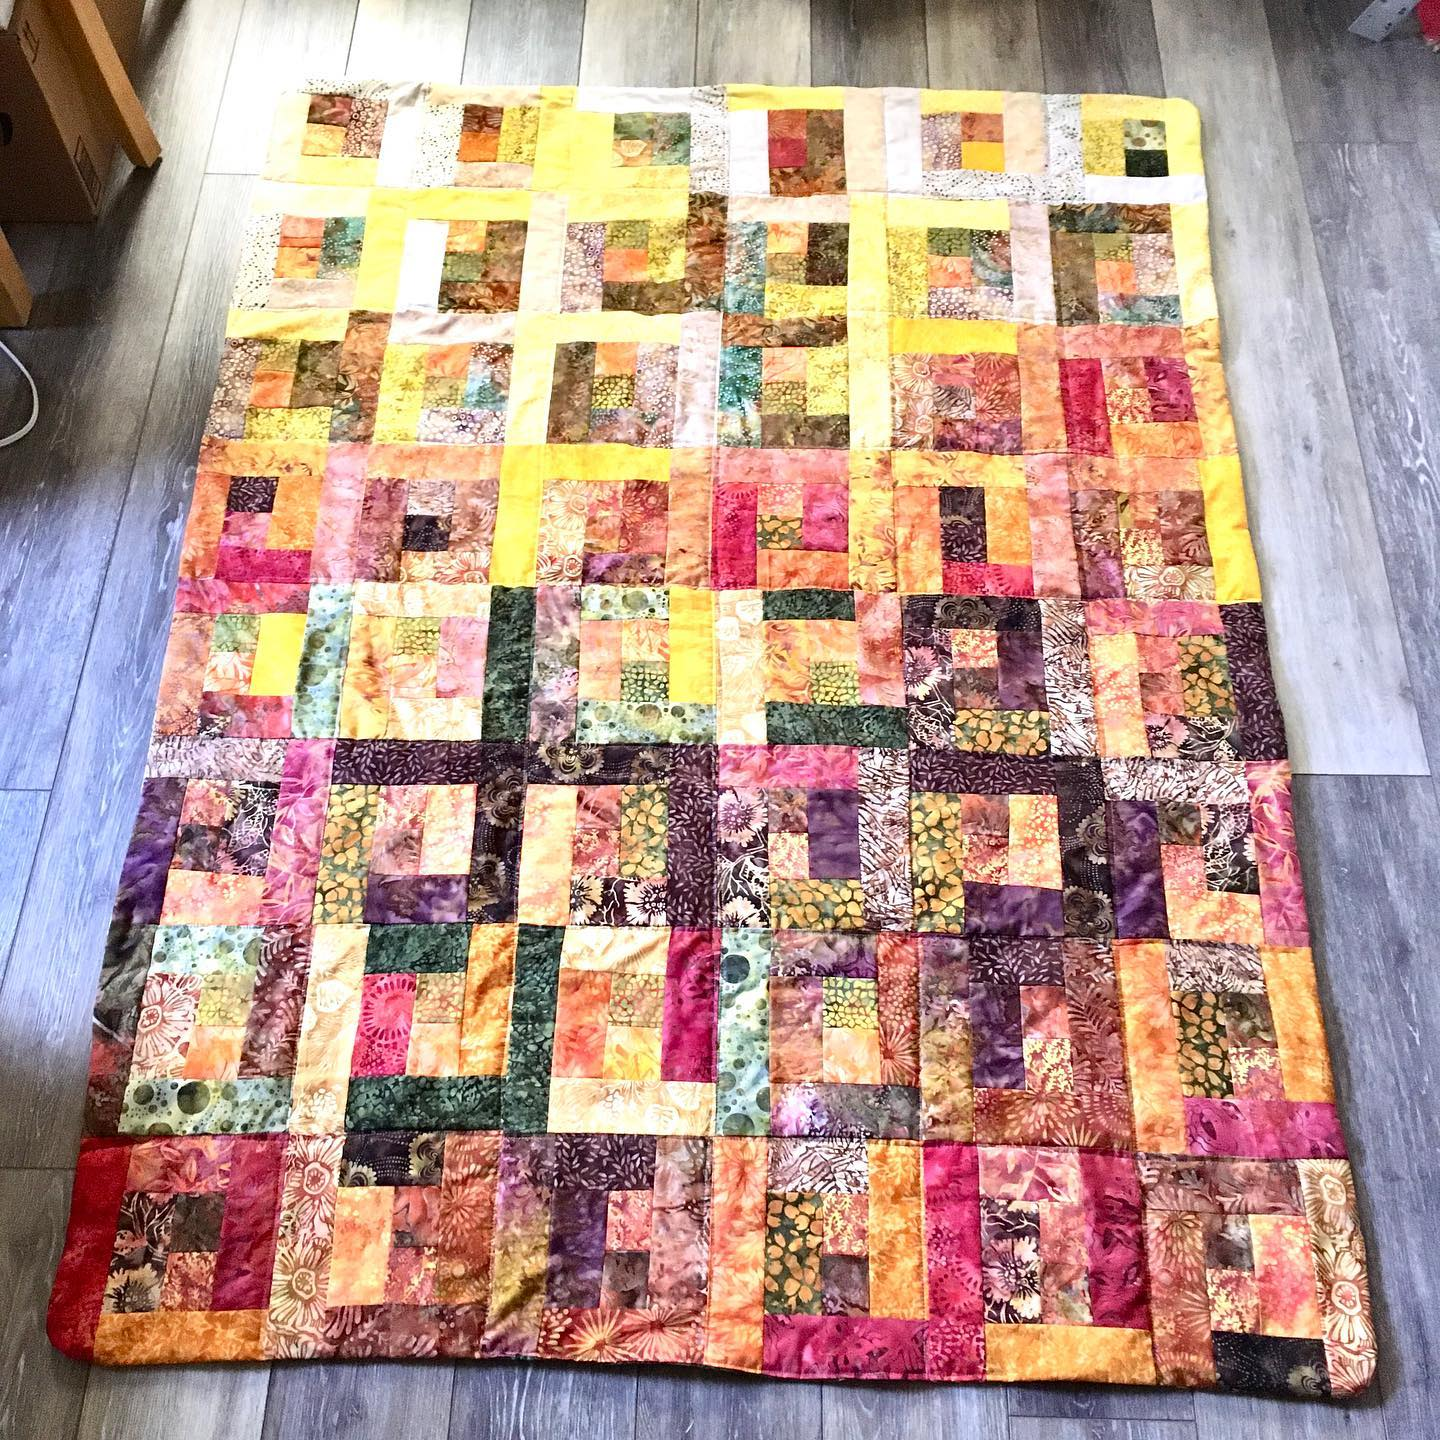
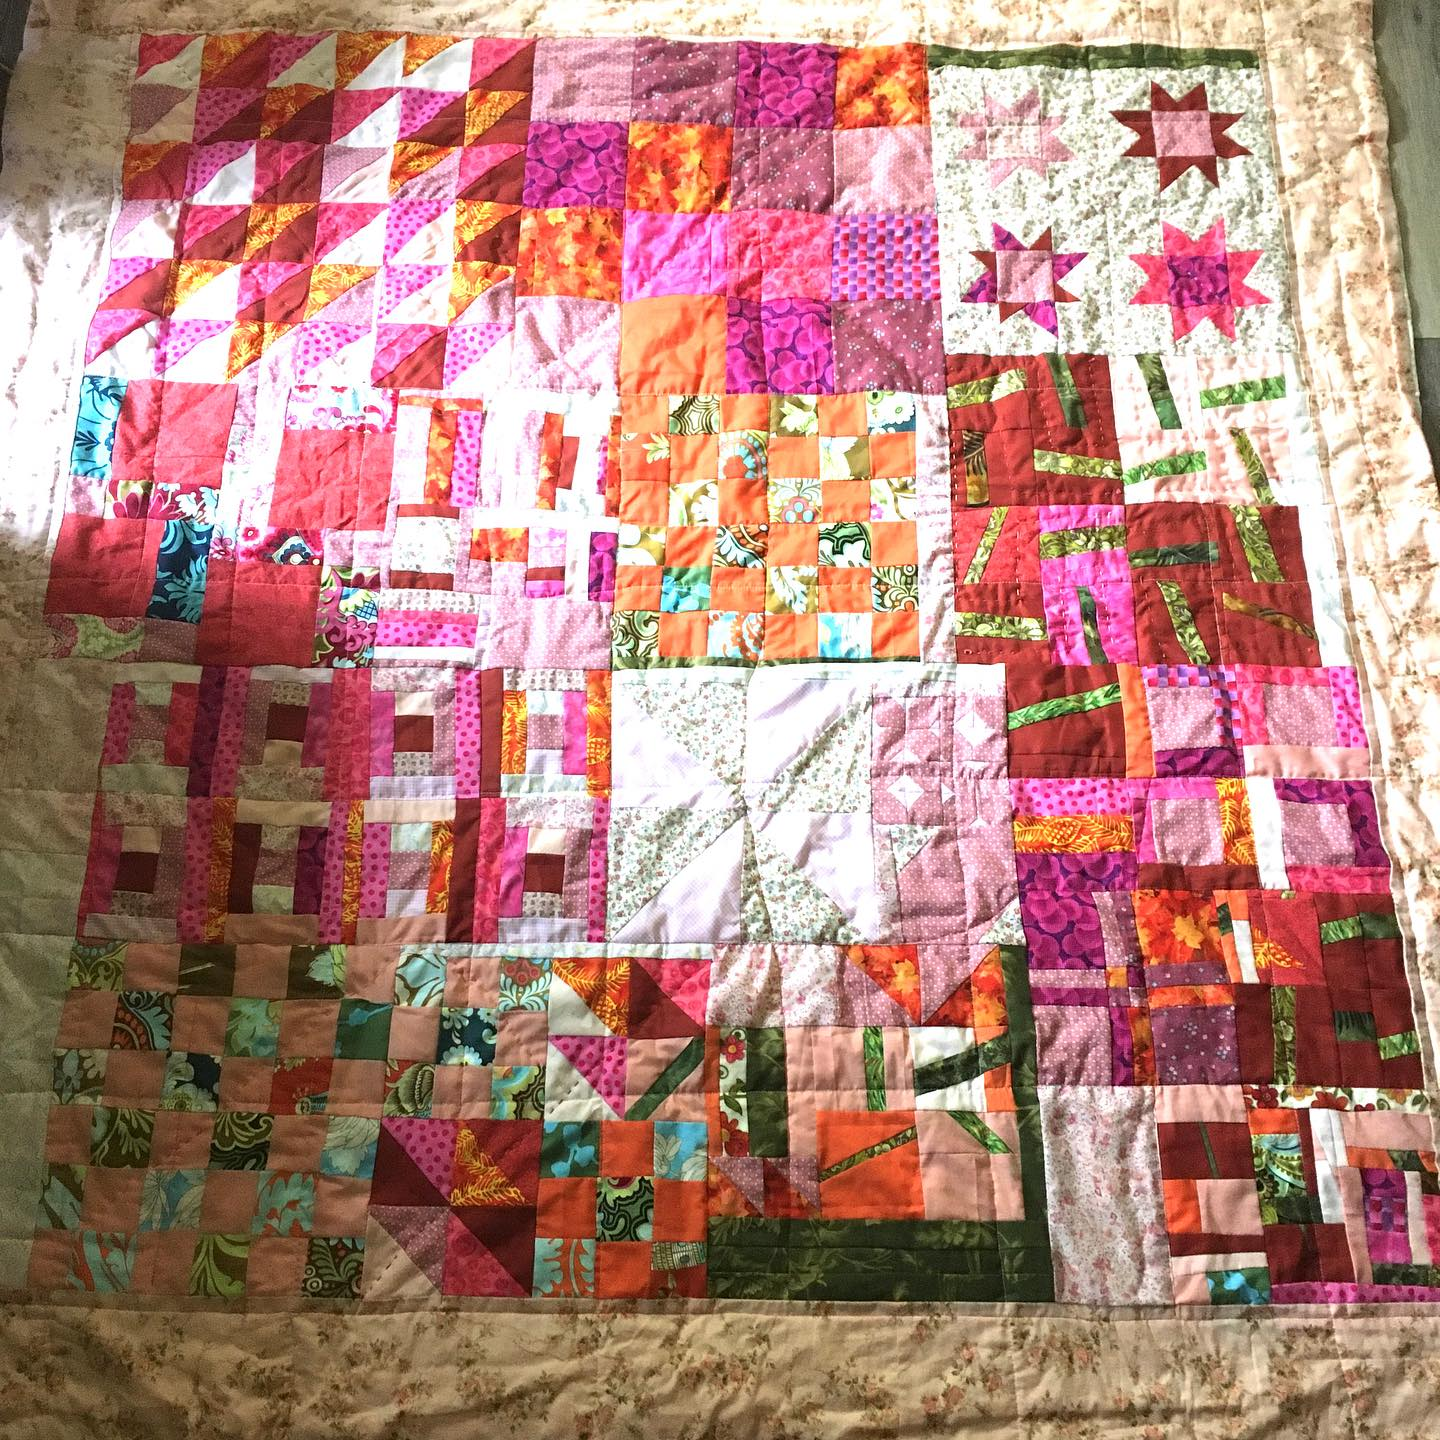
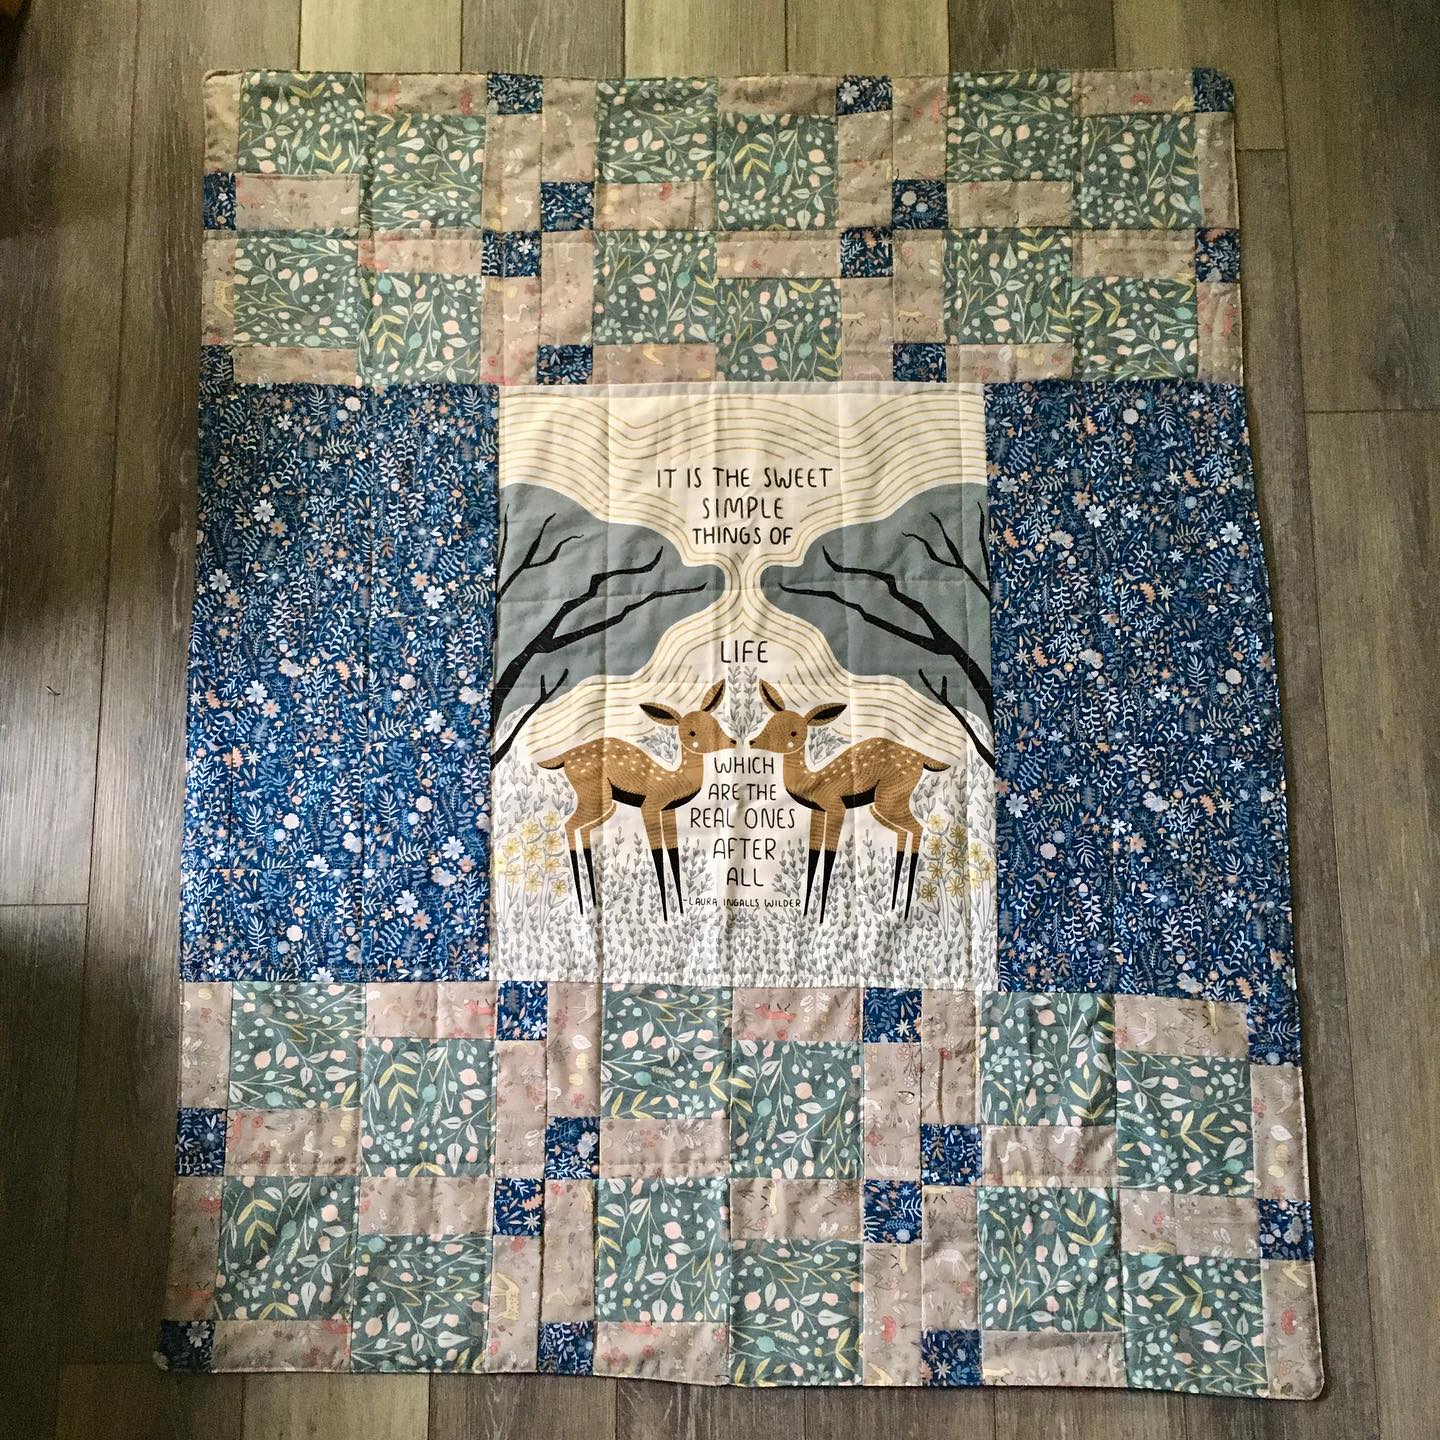
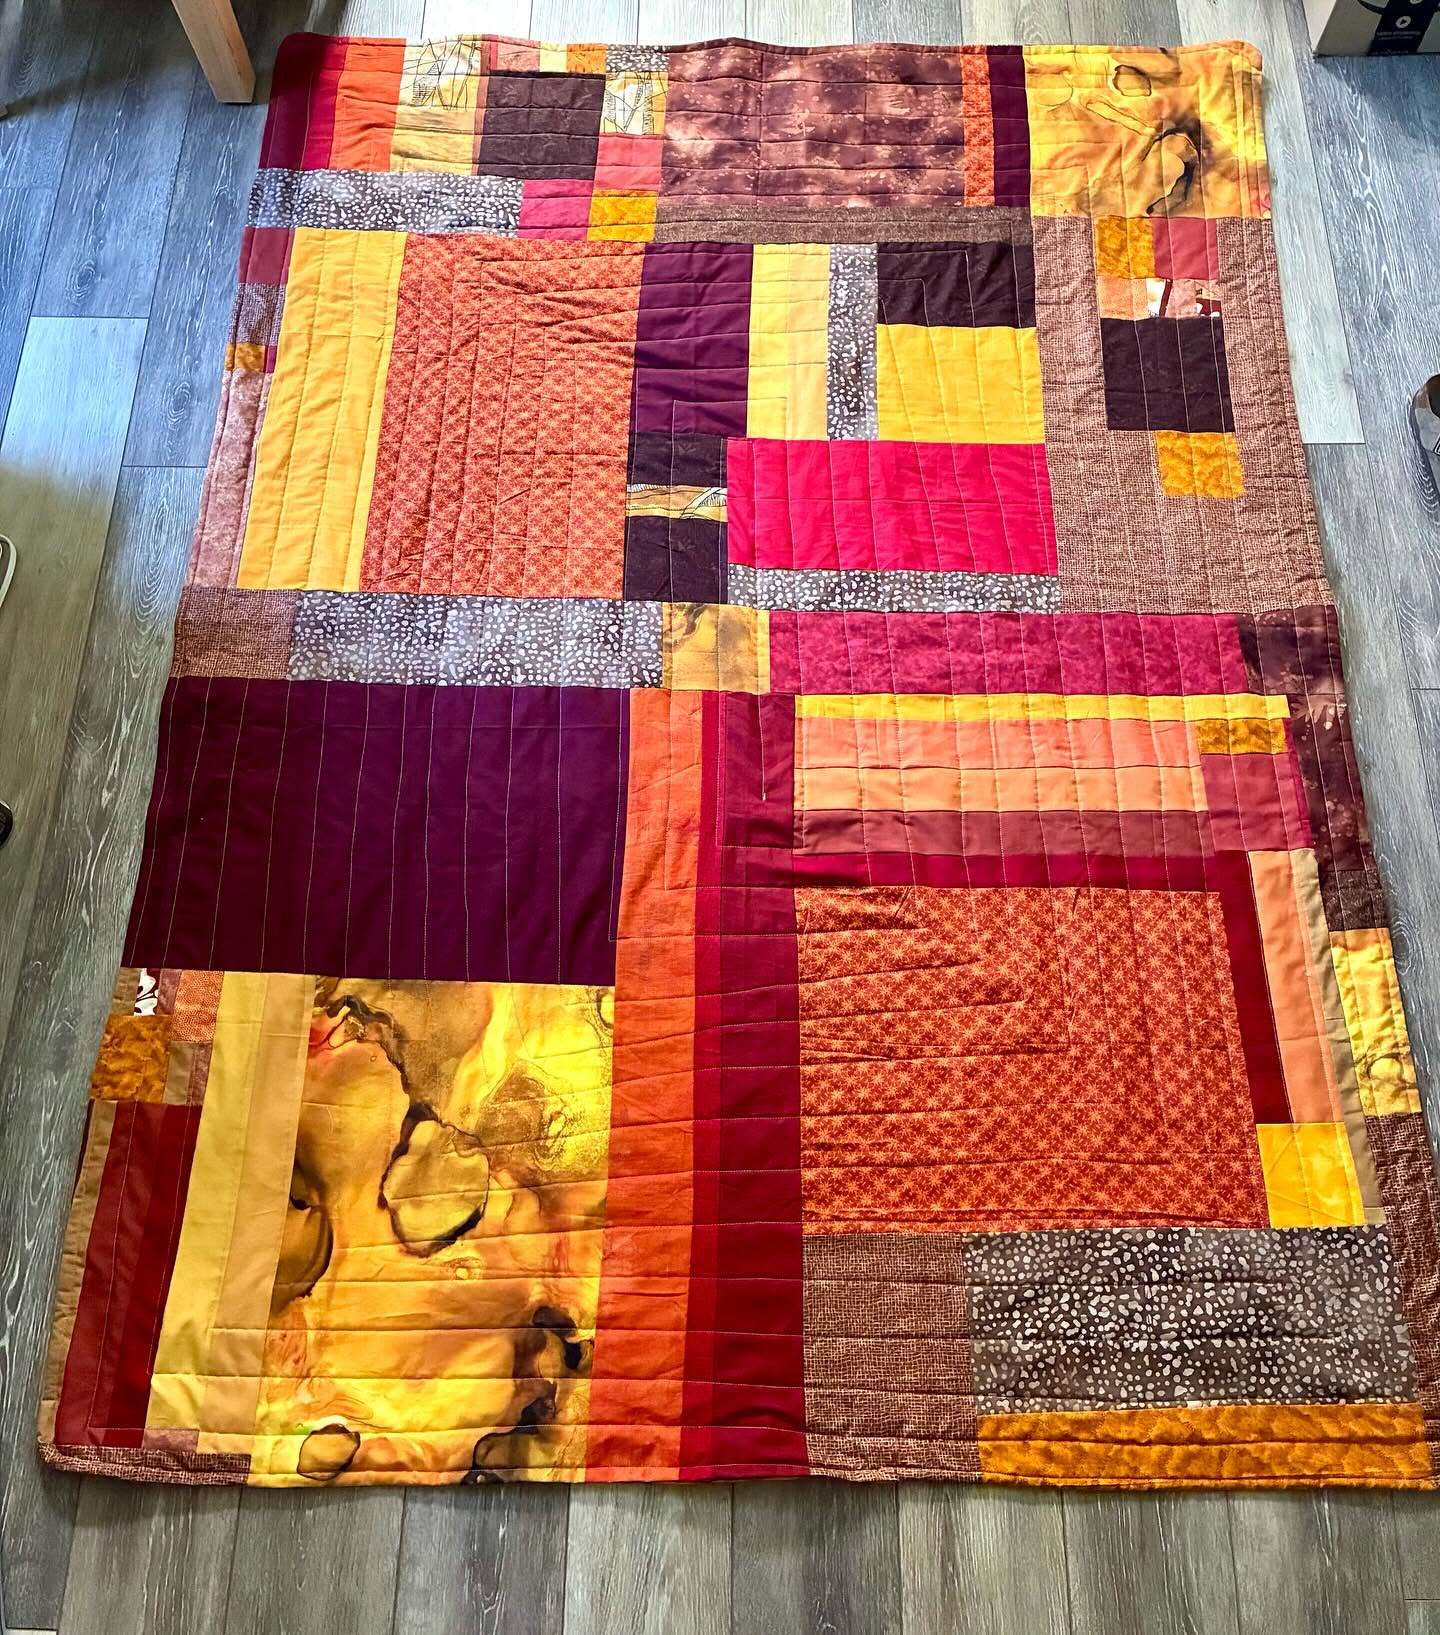
#28 finished 7/14/23 58 x 43 inches. A meditation on the “new normal” after Covid
#29 finished 12/6/23 Also made the back. Top- JoAnn, back, Smart
#30 finished 12/12/23 Gifted. Batman comic strip. Fabric from Hobby Lobby
#32 finished 12/13/23. Donated 10/18/24 (yes, I made the same quilt twice)
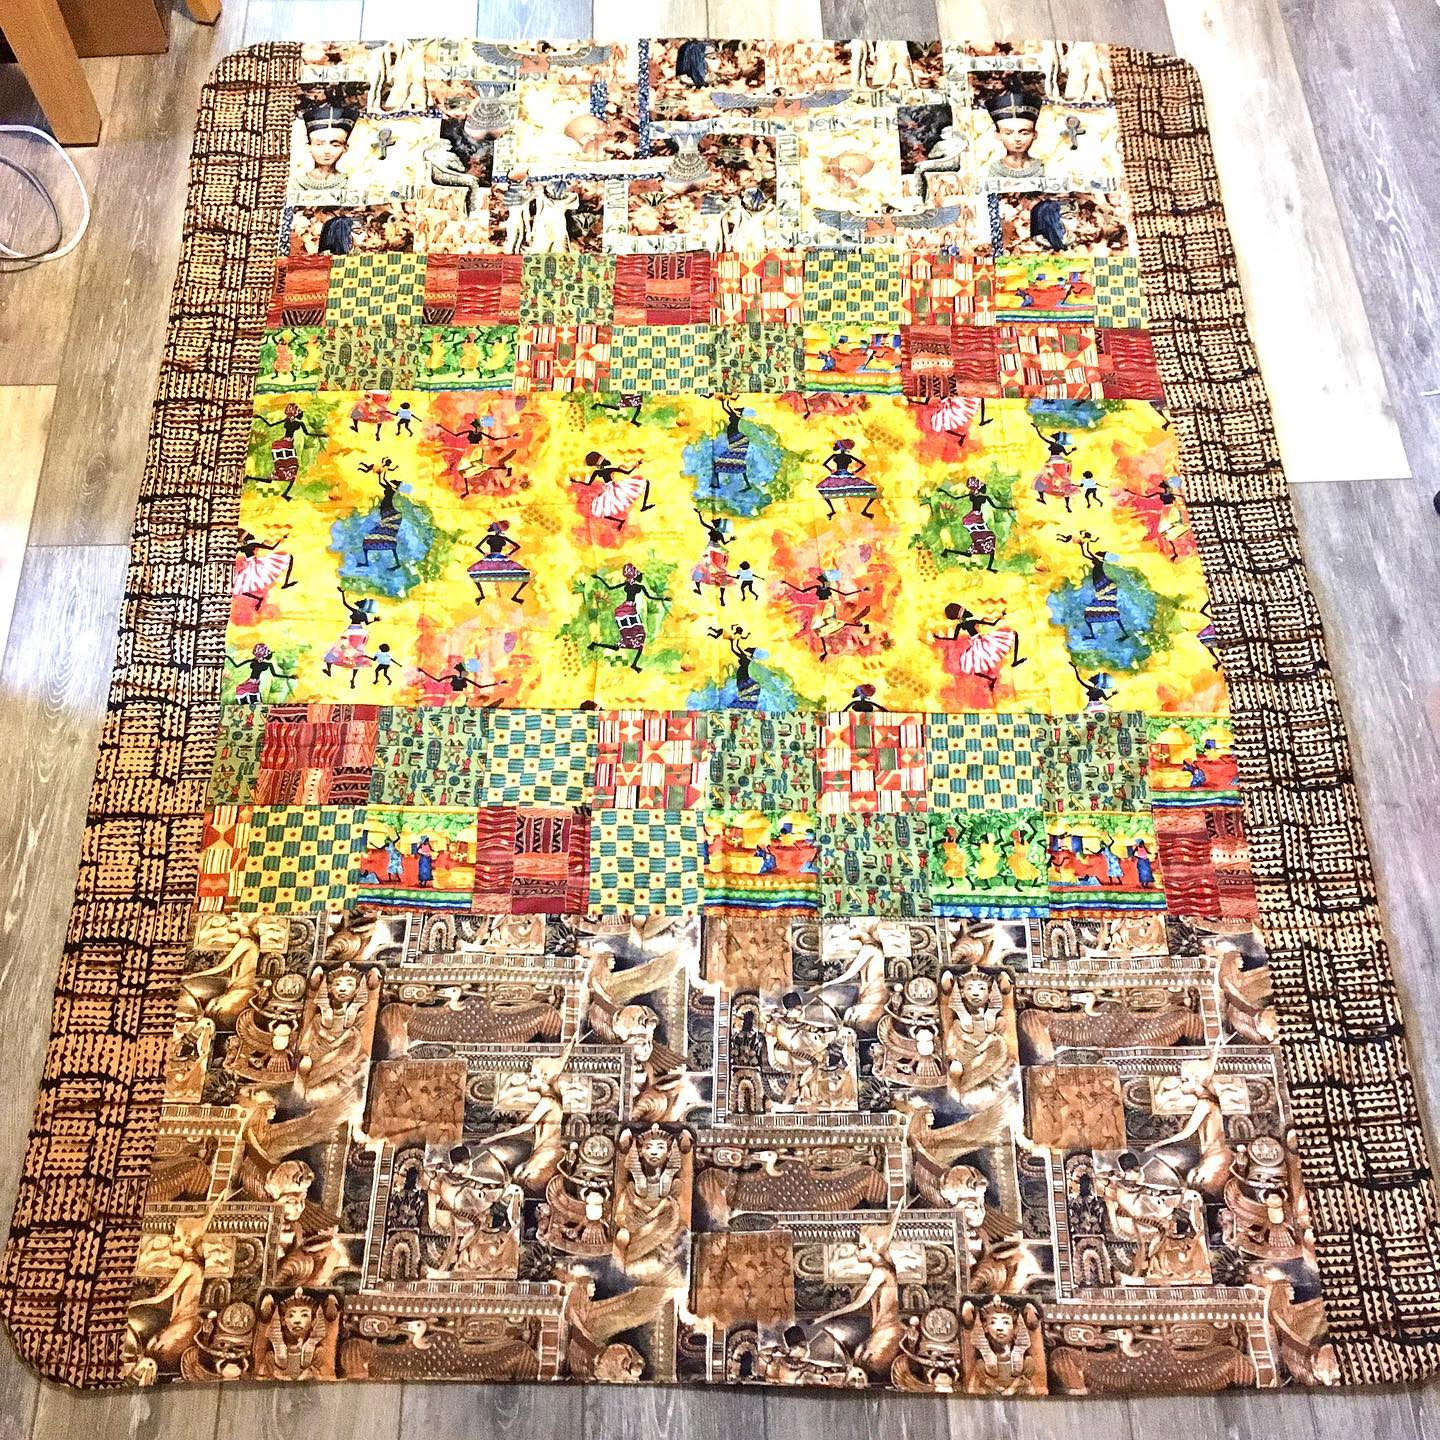
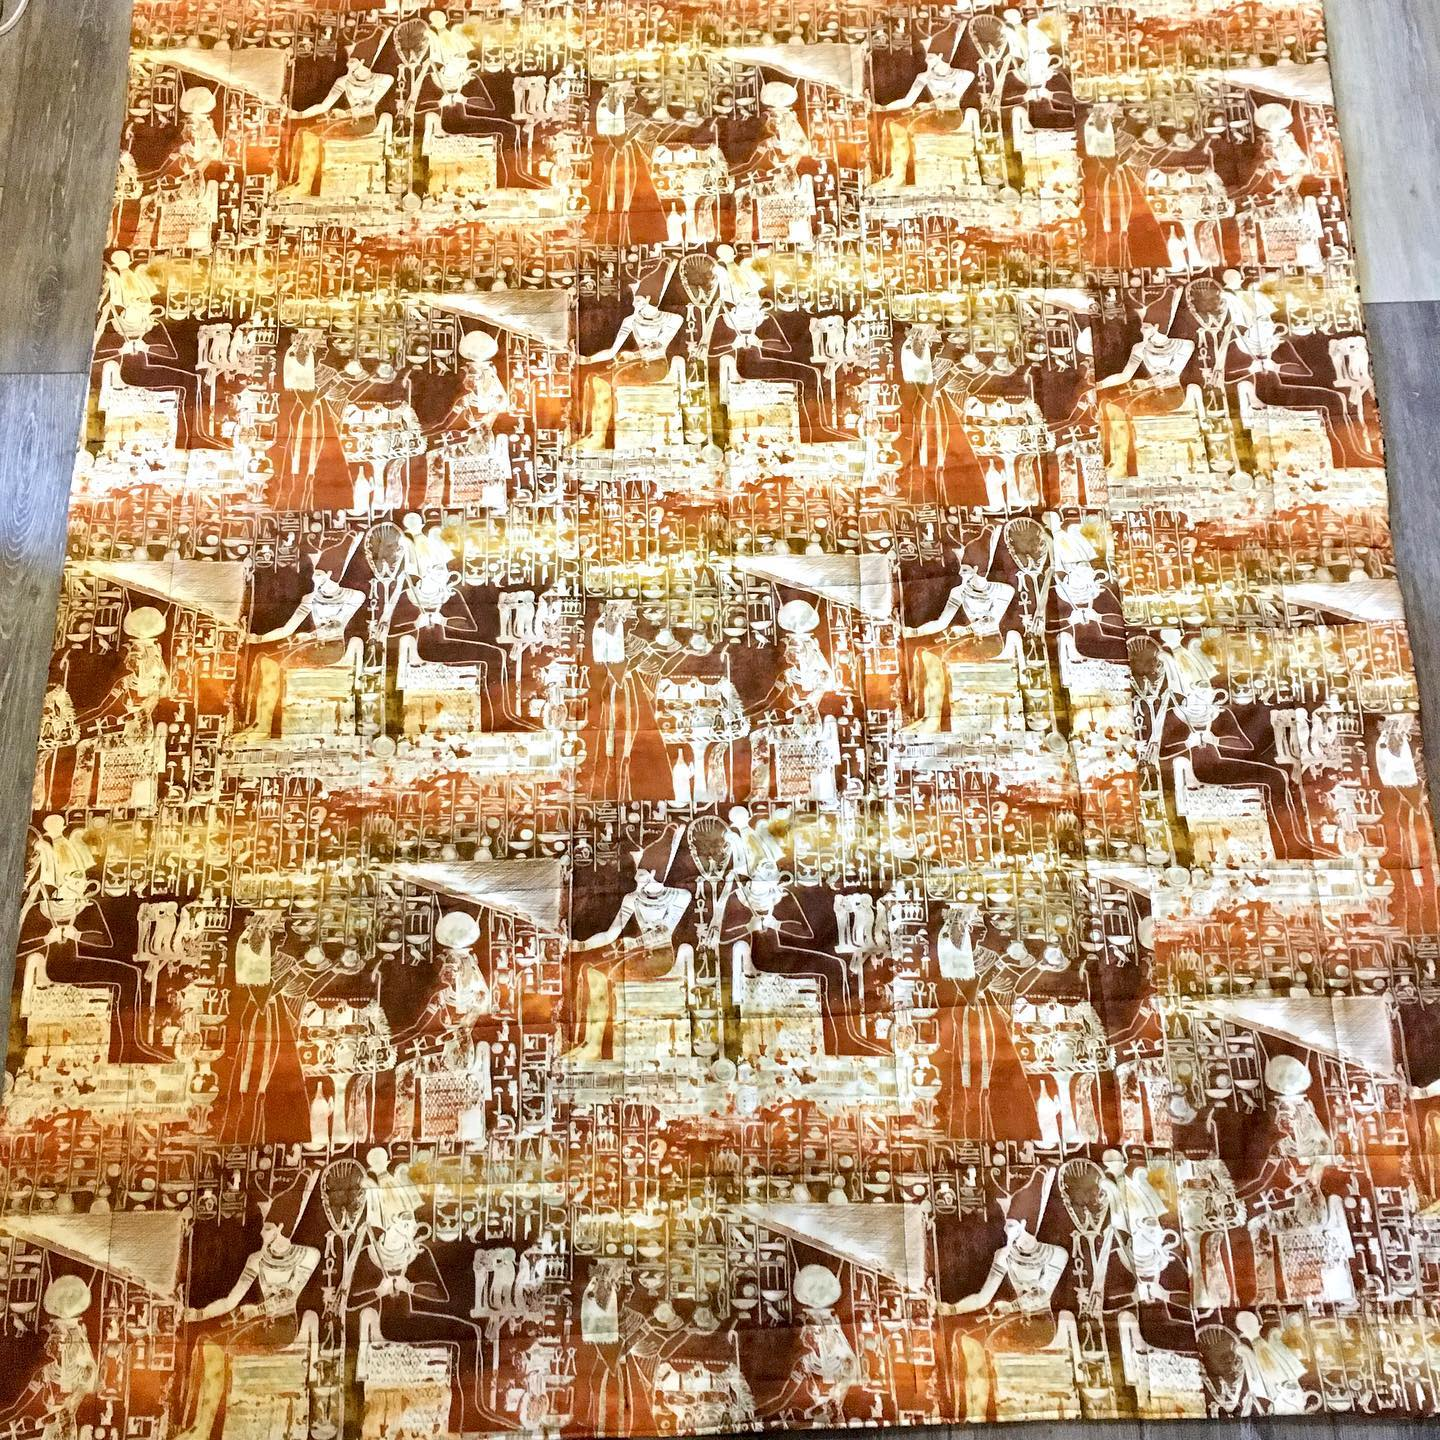
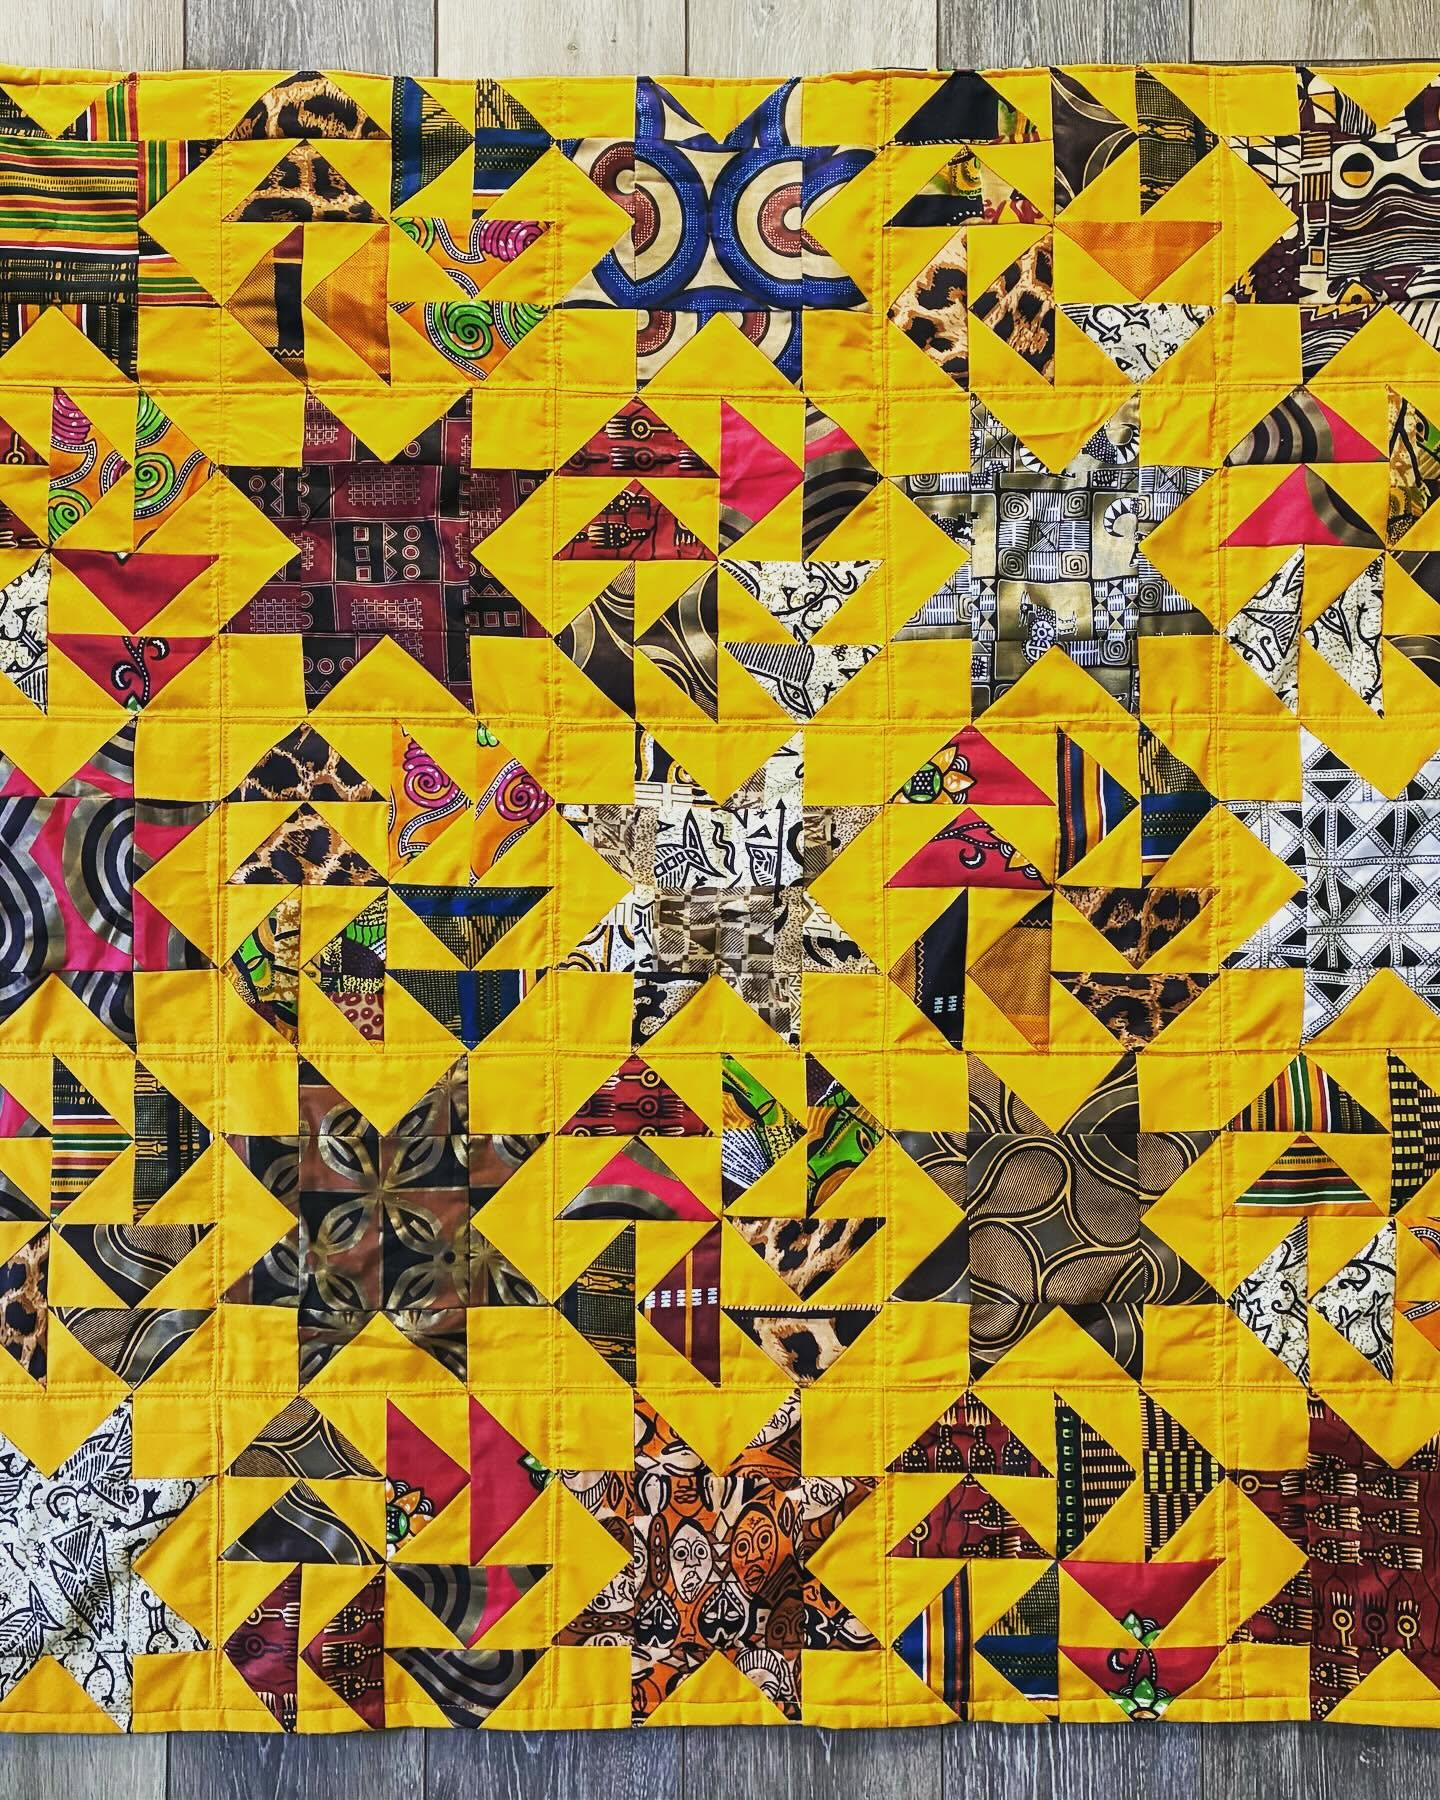
#33 finished 12/29/23 63×48 inches. All Egyptian and African fabrics from Smart
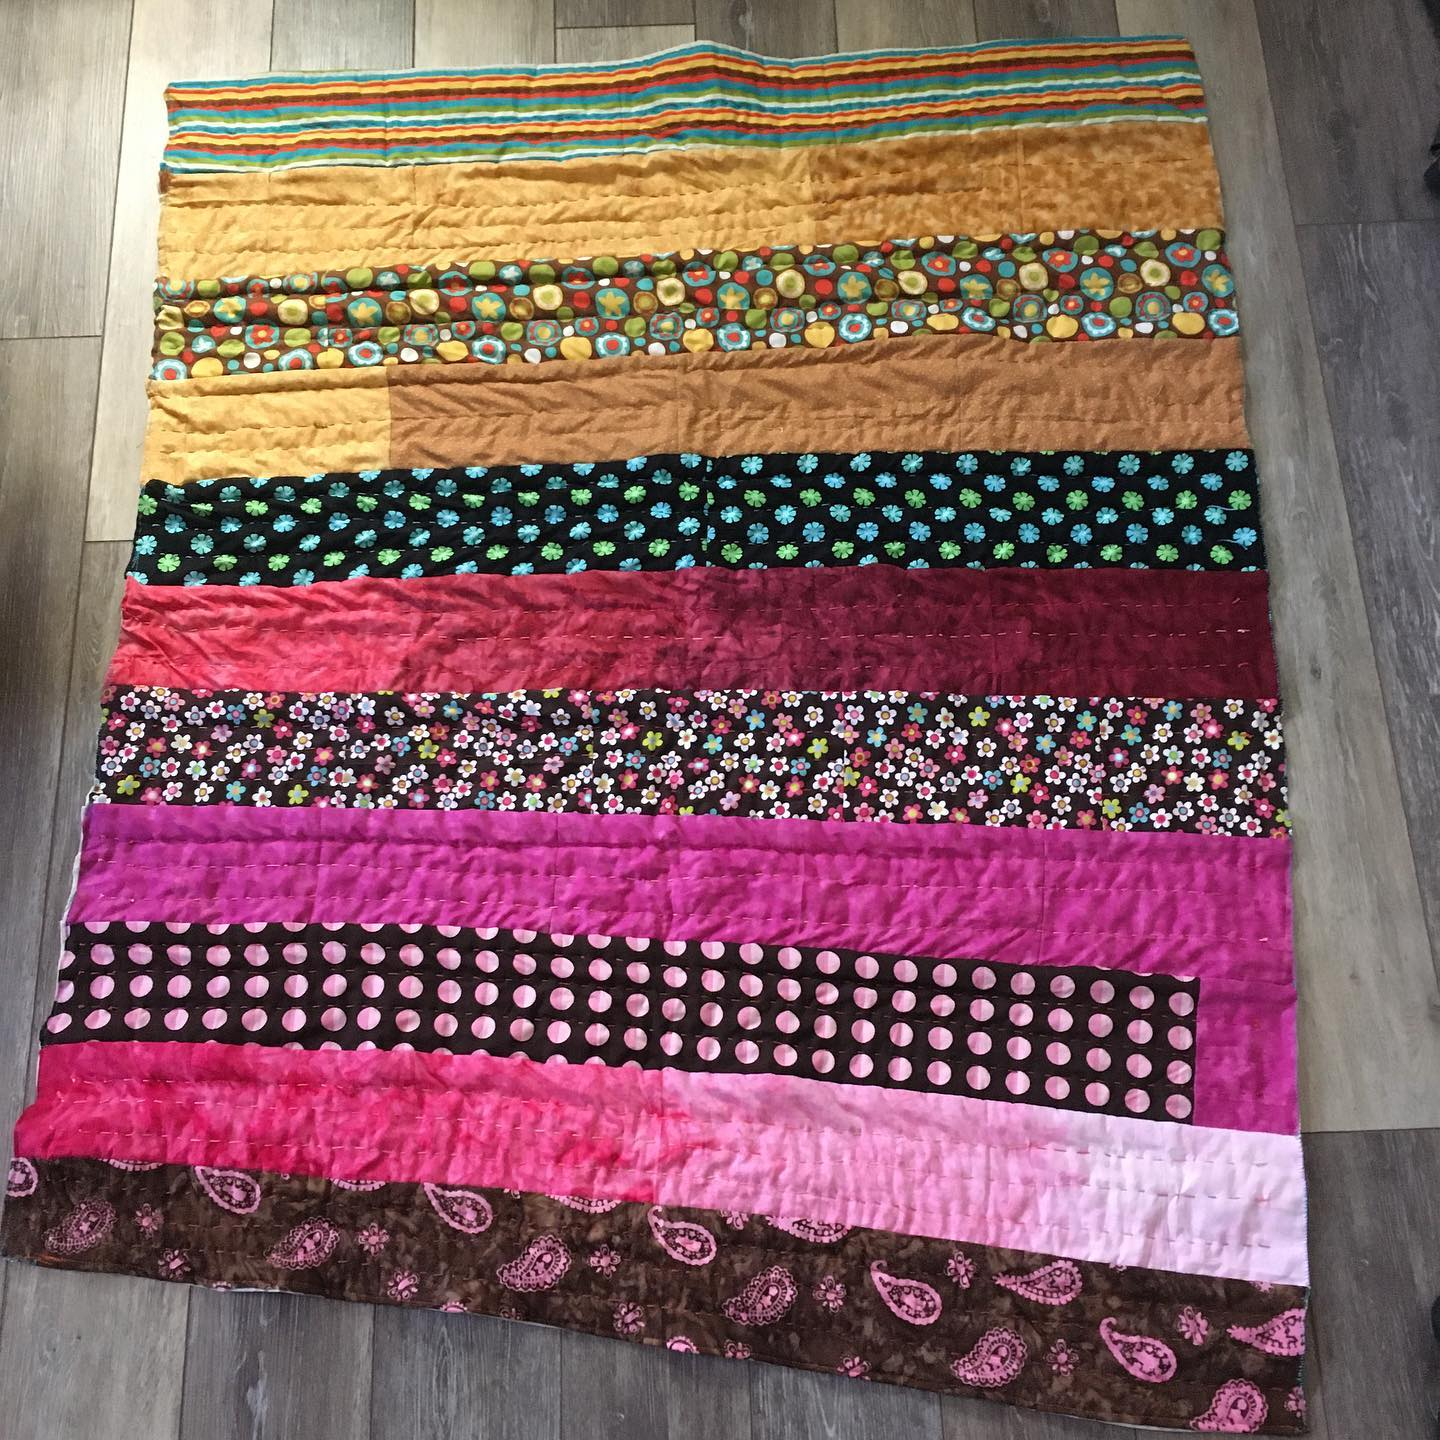
the back
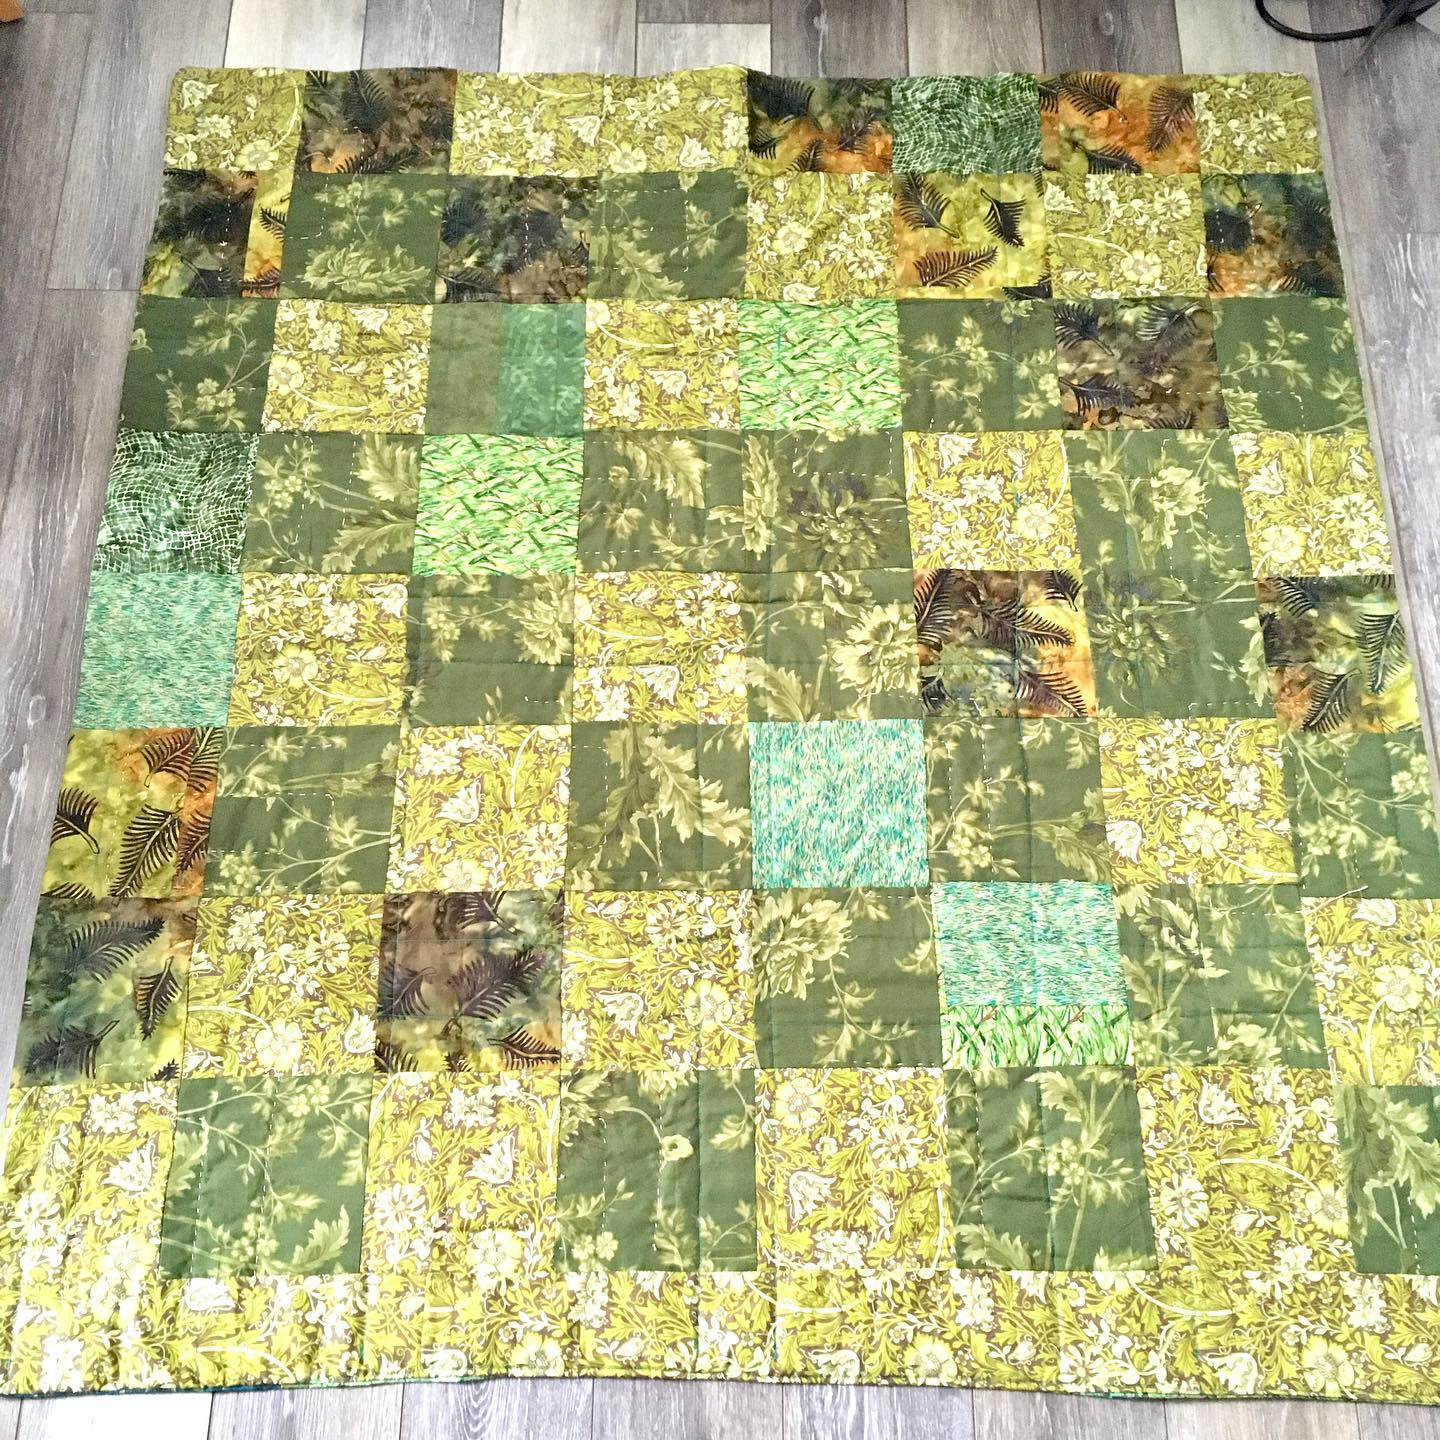
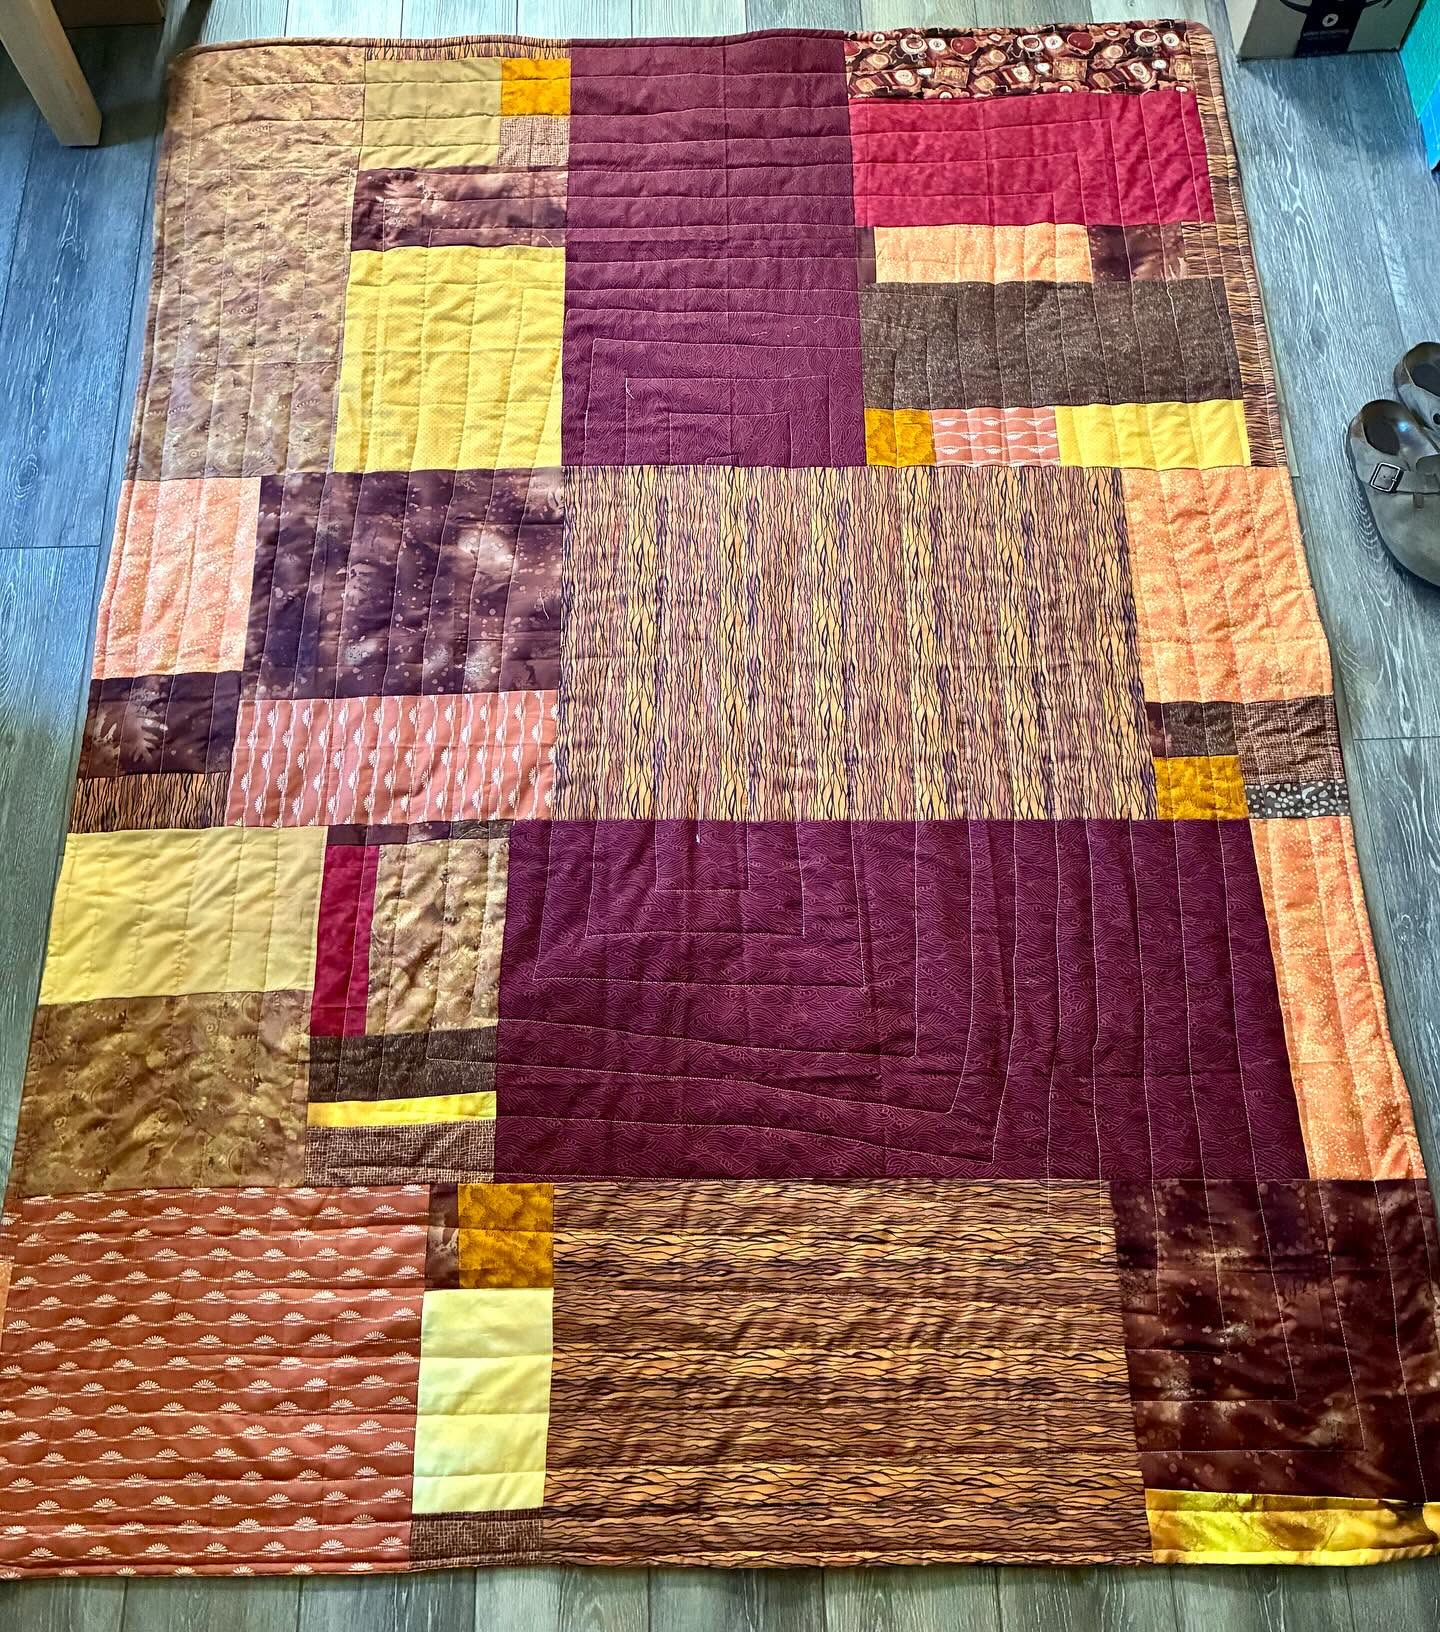
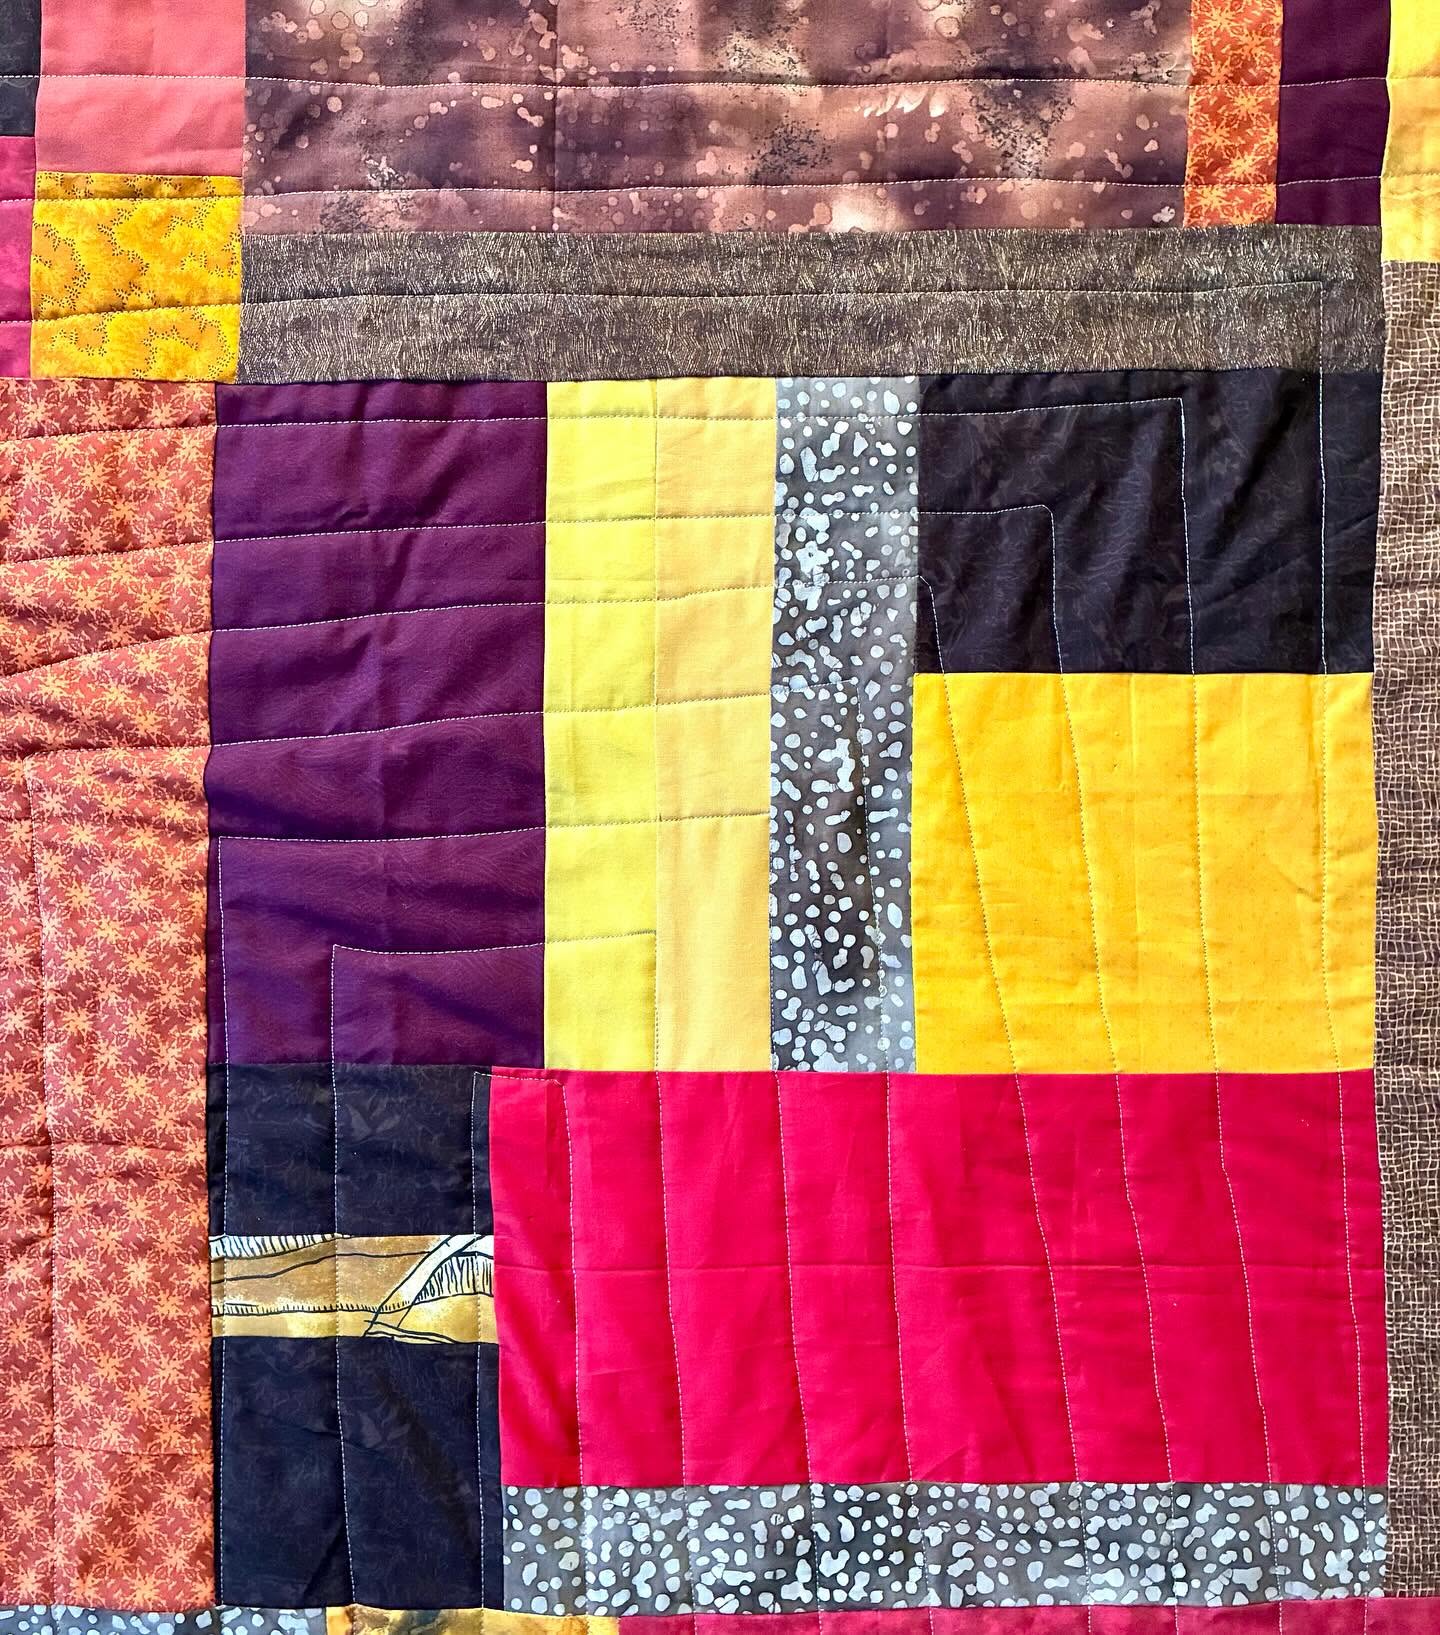
#34 finished 1/17/24 48×51
the back
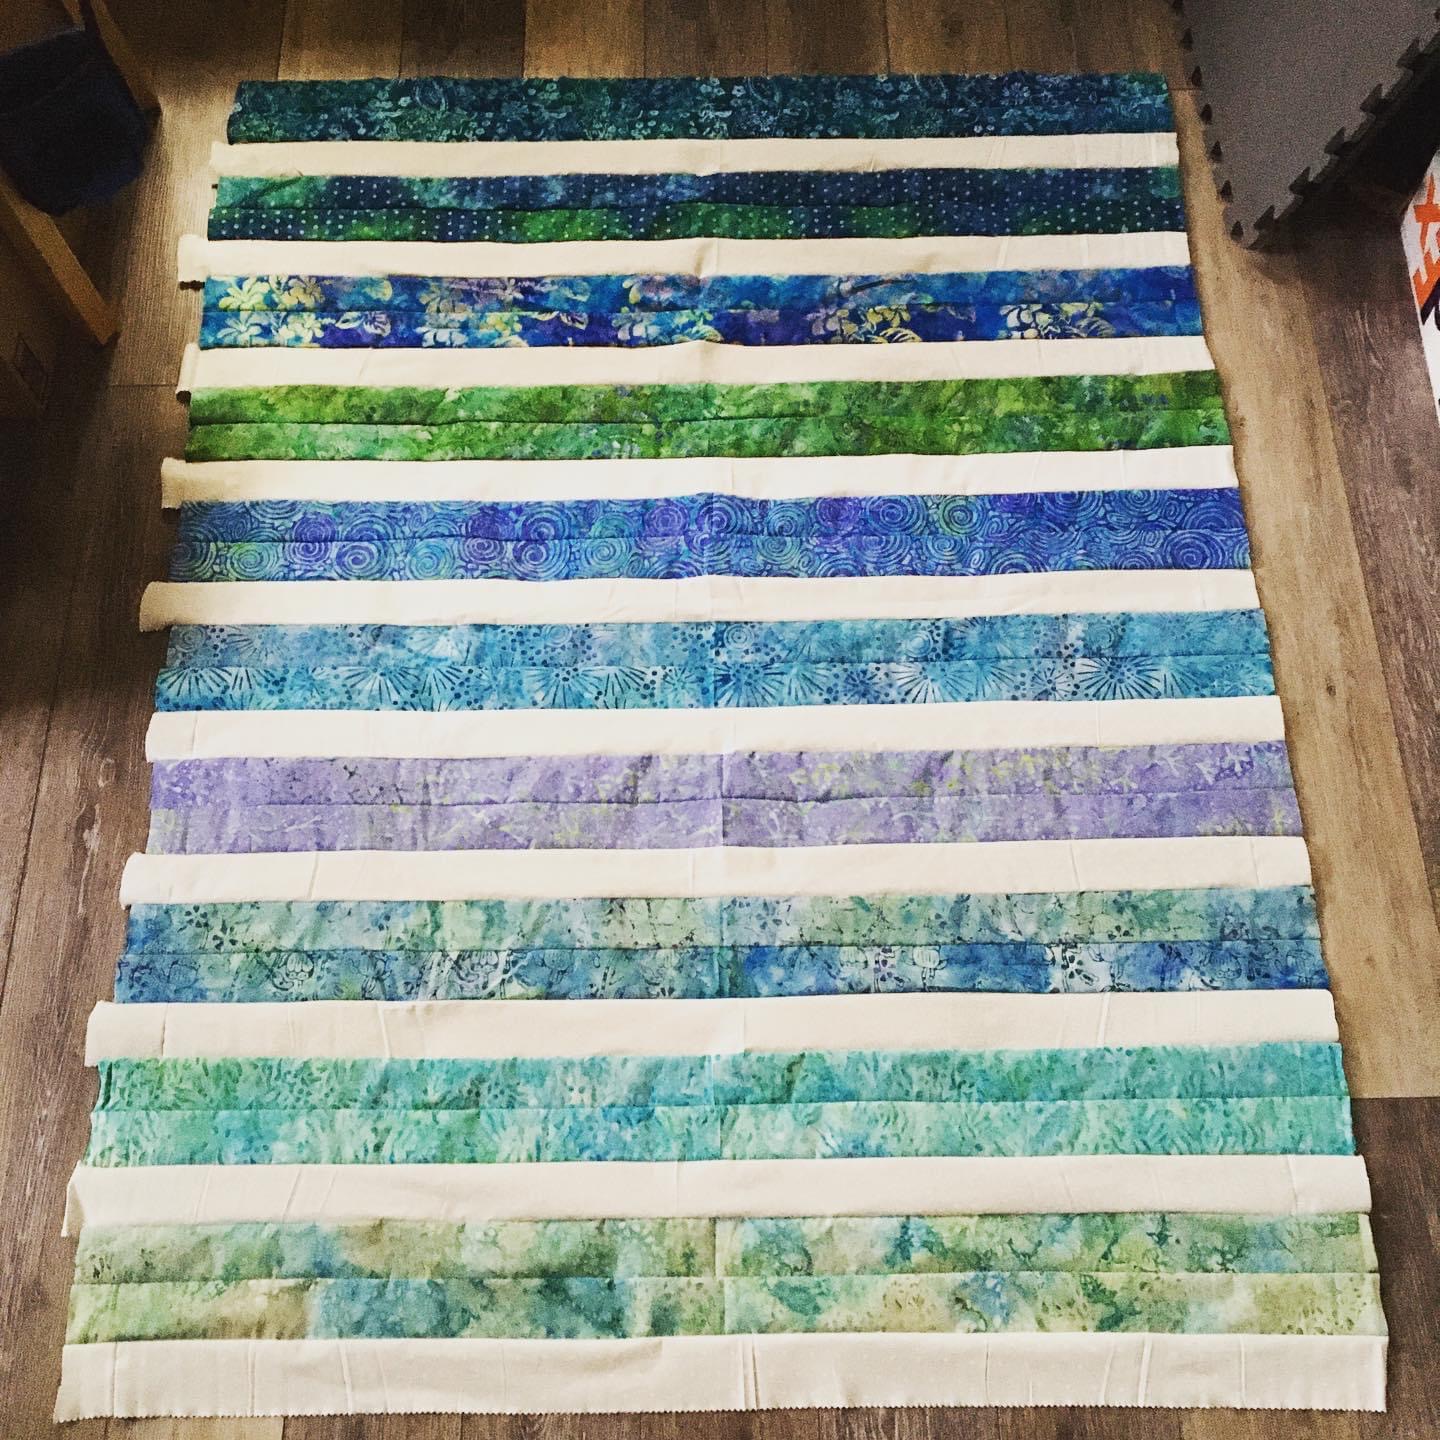
#35 finished July 27, 2024 Mystic panels. Fabric from Smart
close up
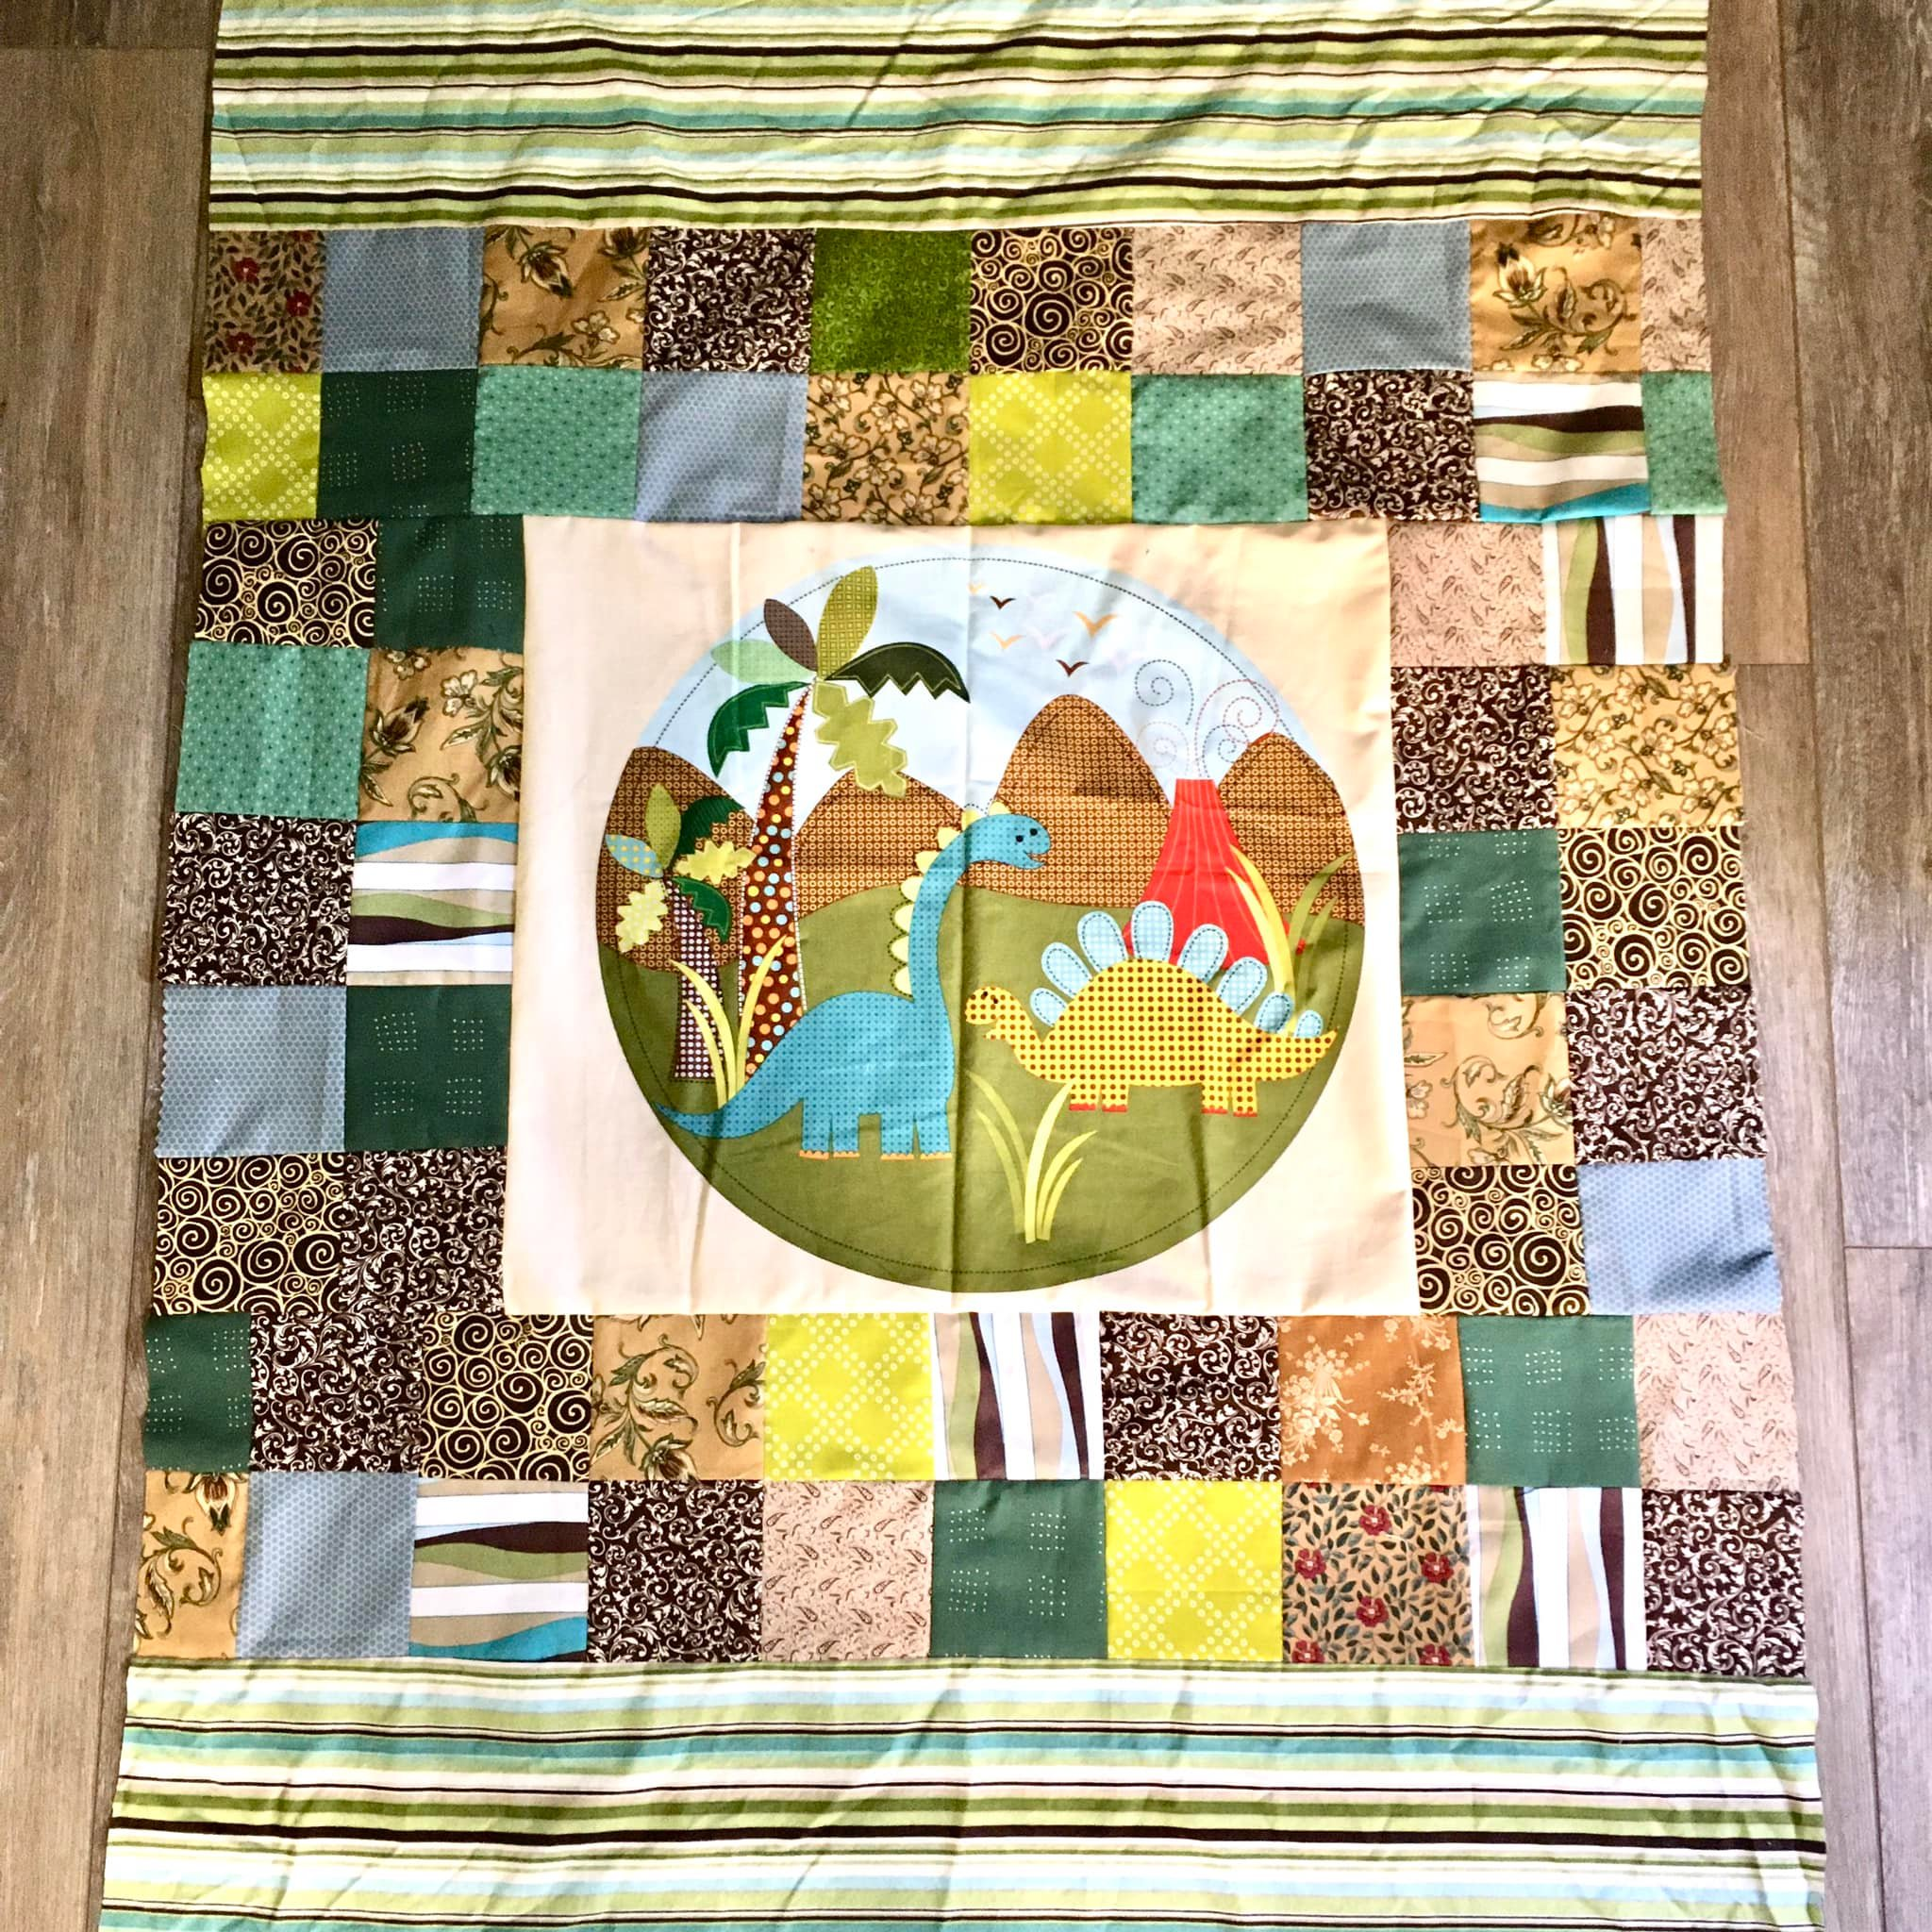
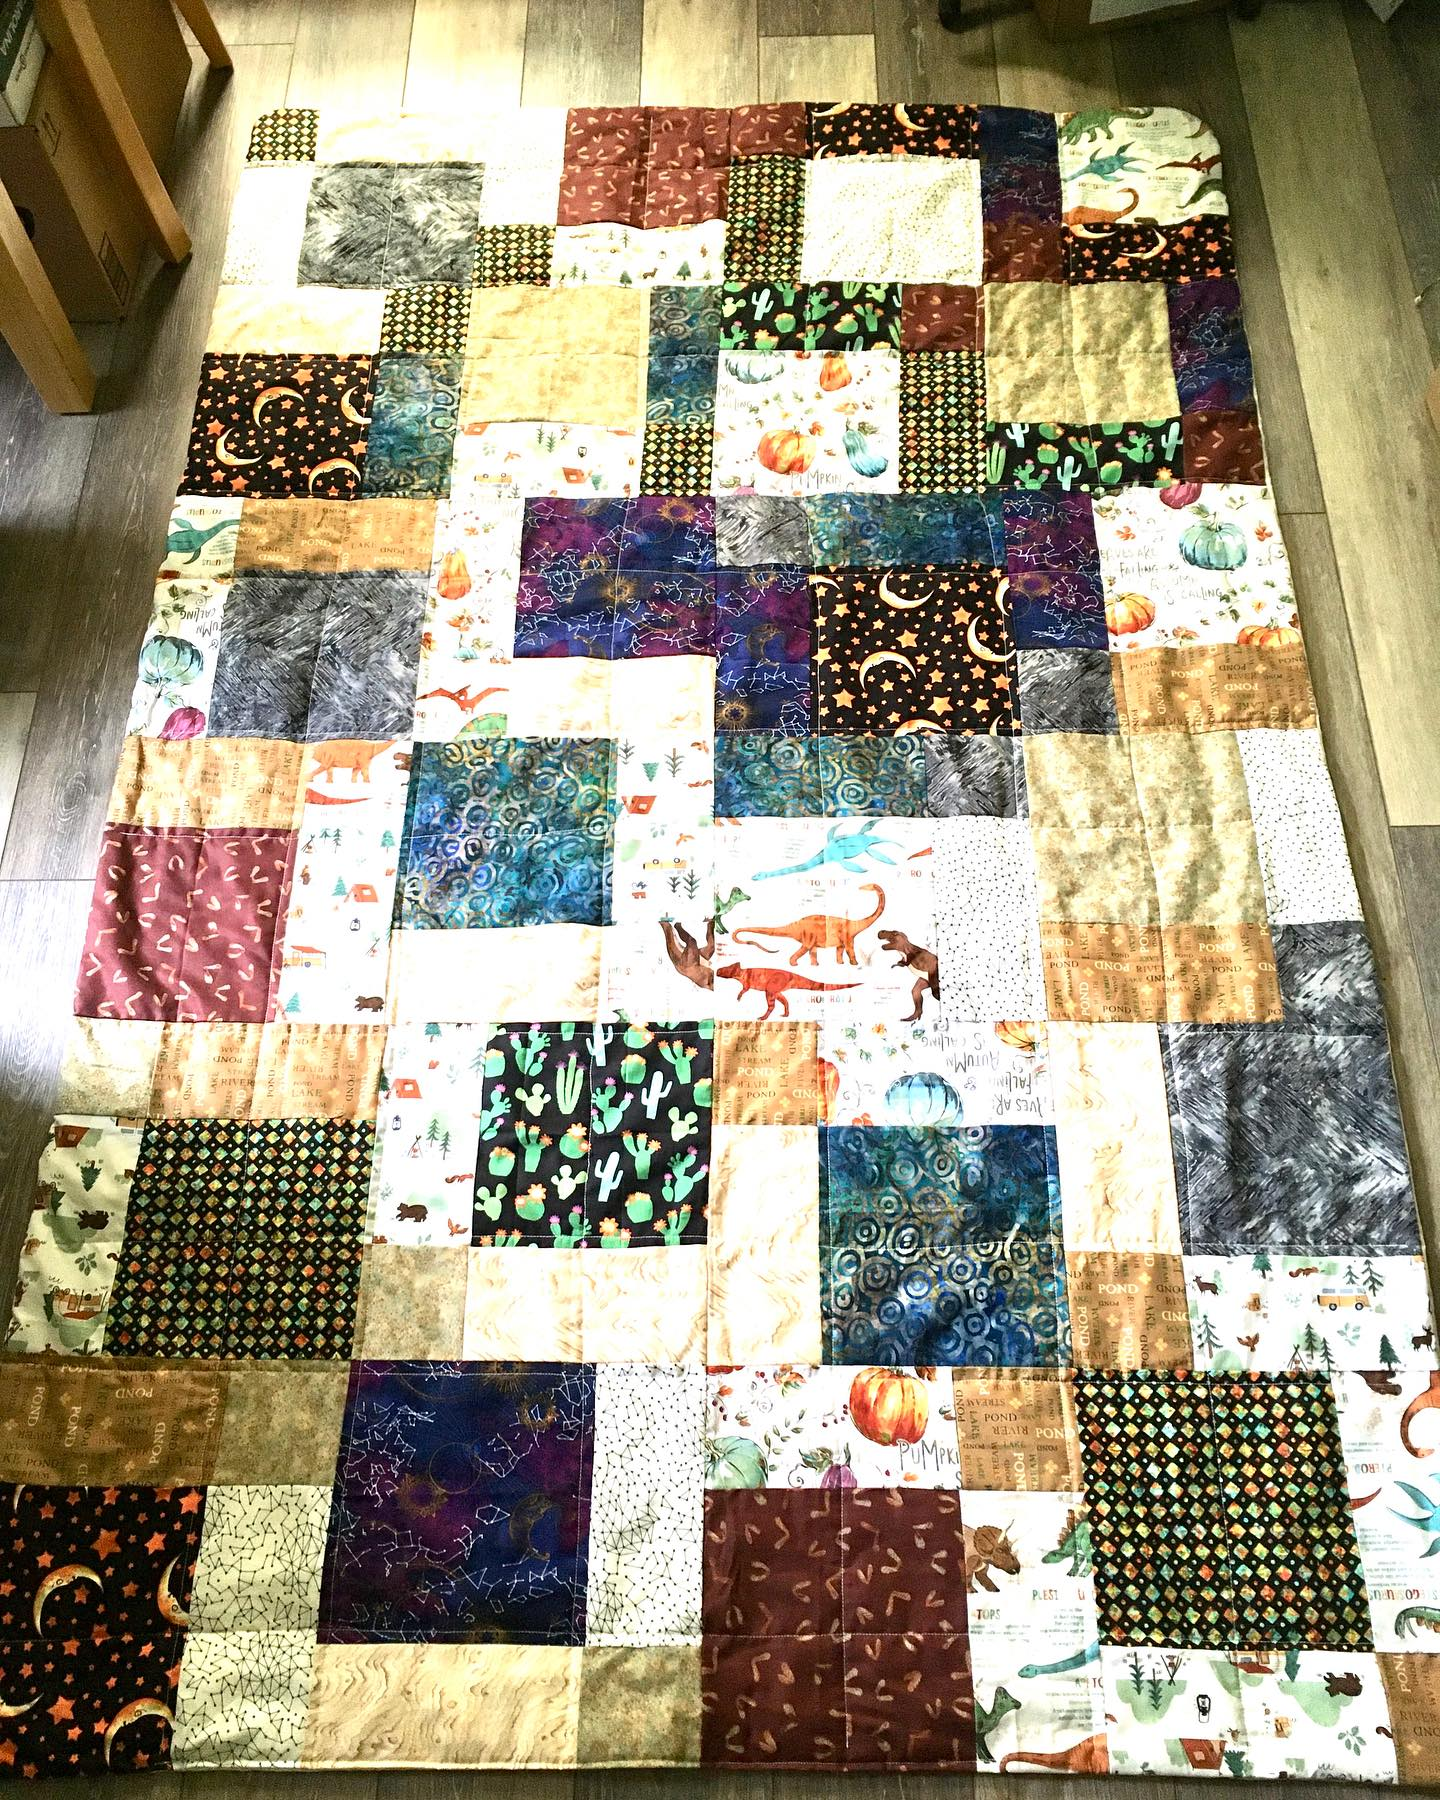
#36 finished 7/27/23 fat quarter favorites. Dinosaur fabric from Hobby Lobby. Some from a fabric shop in Chattanooga
#37 finished 9/11/24 Orange/Pink orphan – created during a week when there was an ice/snow storm (Jan 2024) Learned Courthouse Steps, Wonky Star, Disappearing 4 patch, and practiced different sizes of make 4 at once HSTs for an upcoming project. Listening to “Otherland”
#38 finished 10/16/24 Blade Runner quilt as you go.
#39 finished 10/29/24 Panel from “Ready Set Sew” in Chattanooga, in 2022. Charm pack from “My Fabric Addiction” on Etsy
#40 finished 11/6/24 (after Election day). Scrap bundle from Smart. Given as a baby blanket to a local baker/ coffee shop owner. Good HST practice. Also, first time to bind it like normal quilters do.
#41 finished 11/9/24 Tilda X and O. Colorful fabrics from a fat eighth bundle from Smart. Given to my aunt who was in a nursing home.
#42 finished 11/21/24 Irish Chain
#43 finished 12/28/24 Lime/Liberty Liberty of London quilting fat quarters from “The Last Homely House” youtube channel. Lime Green fabric from JoAnn’s
Quilted using Aurifil thread that came with the Christmas packet
#44 finished 1/1/25 Fish in a pond. Given to my husband. Fabric from SmArt
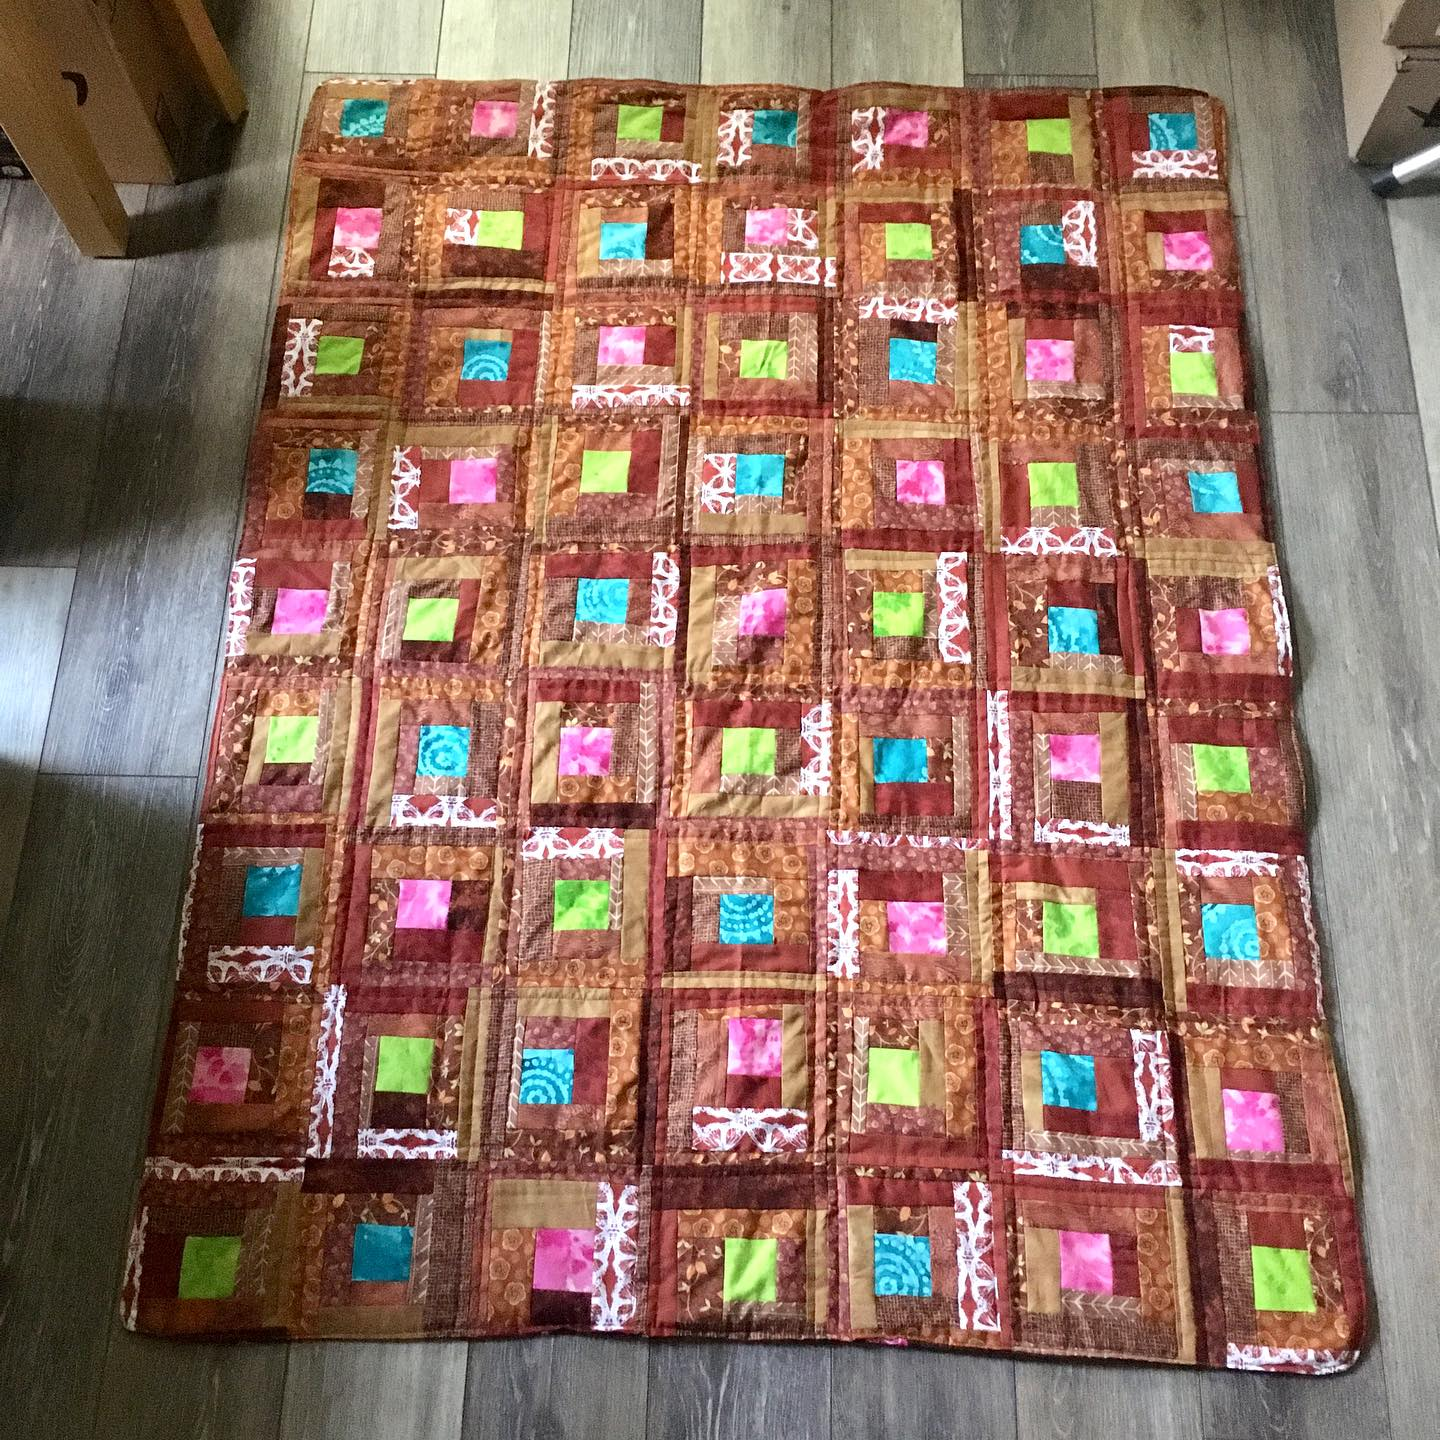
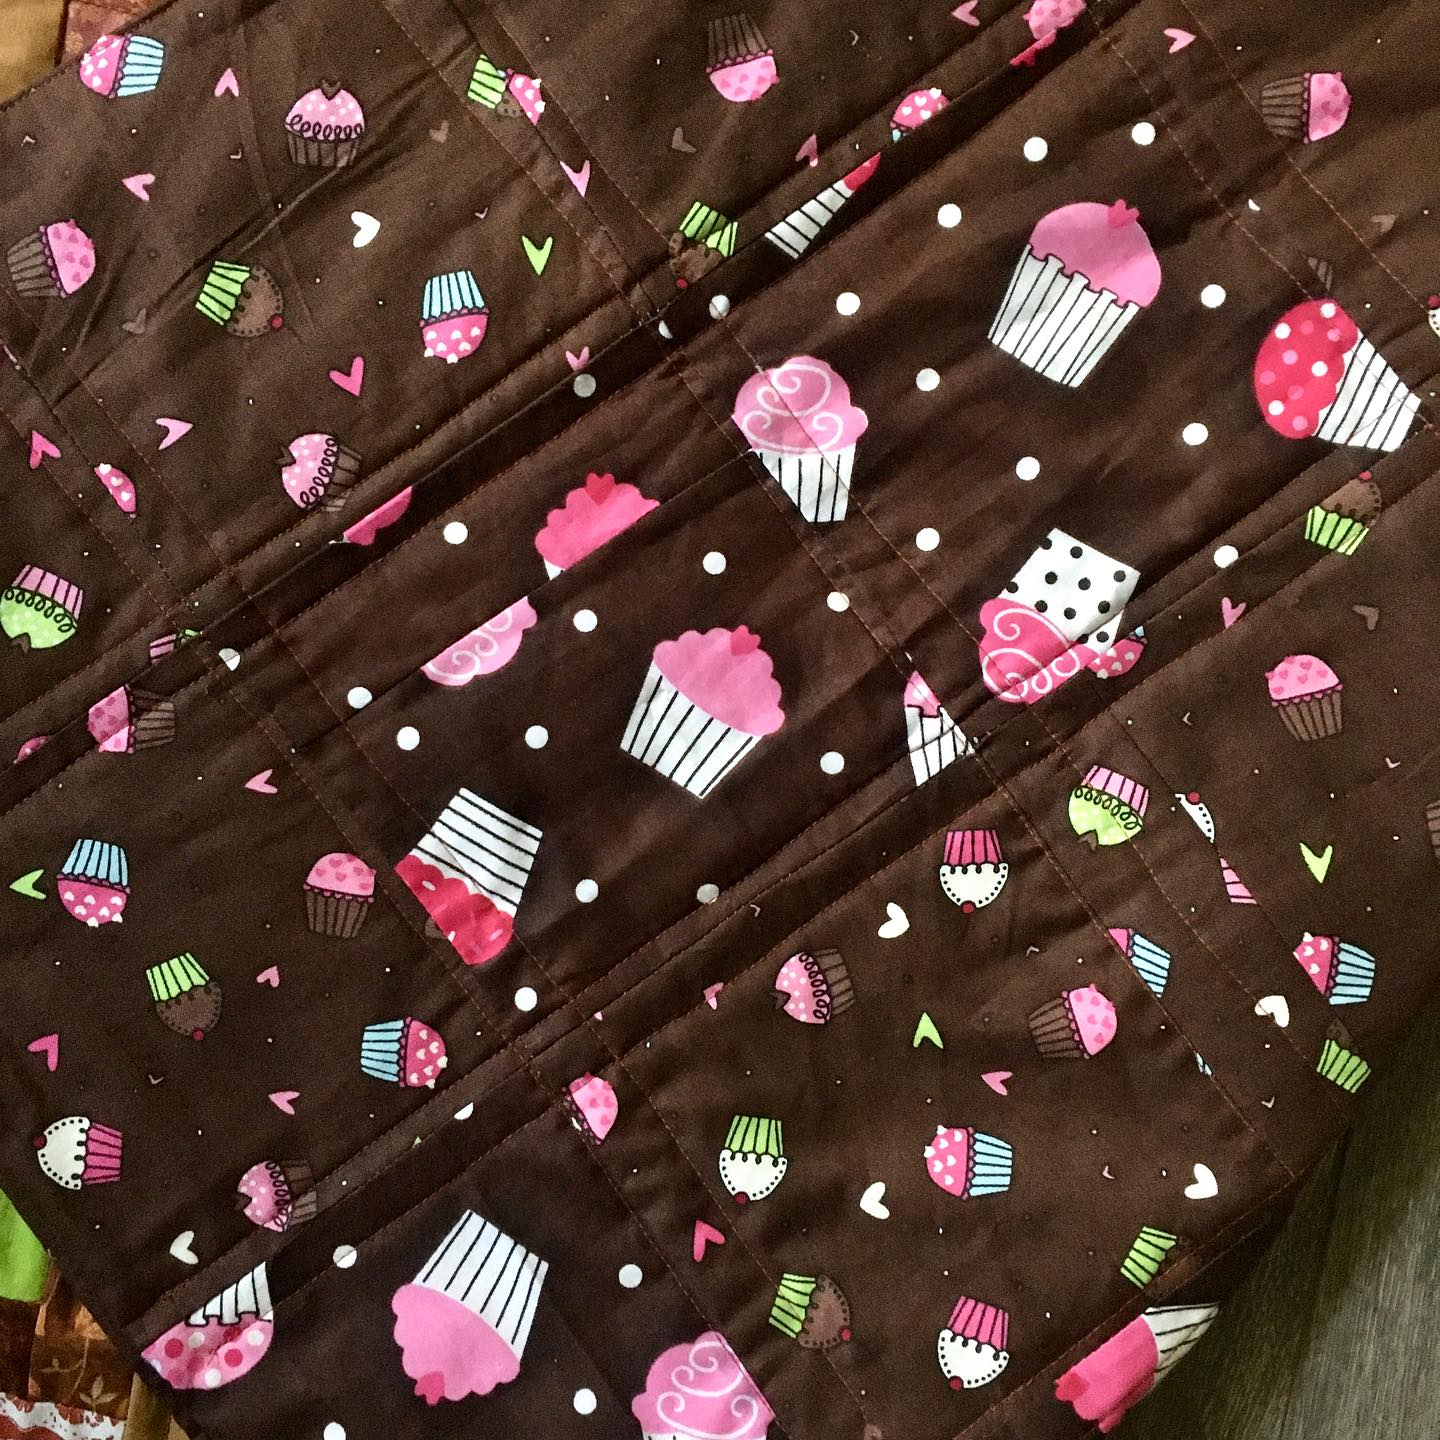
#45 finished 4/2/25 browns from Smart, pink/blue/green centers from JoAnn’s Log cabin – but a Chocolate Cupcake with Sprinkles. Backing fabrics were a fortuitous find.
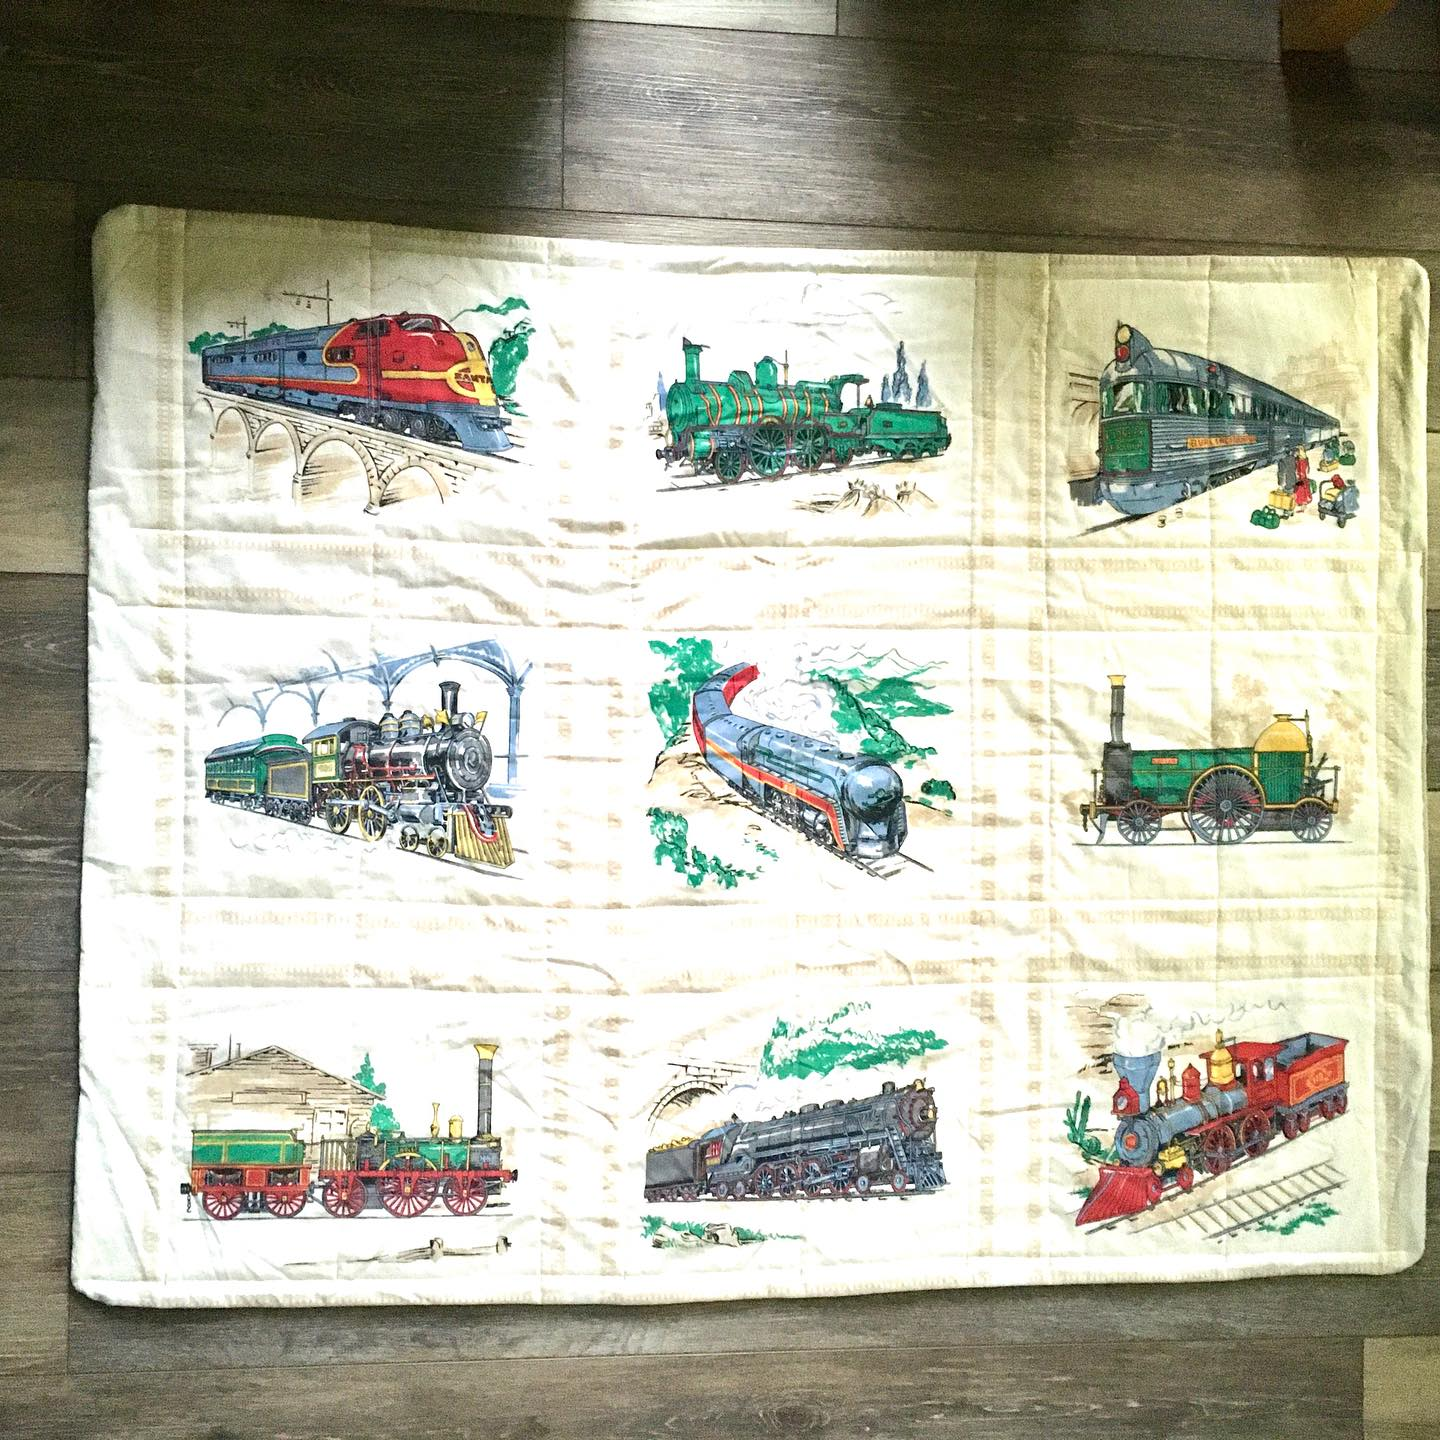
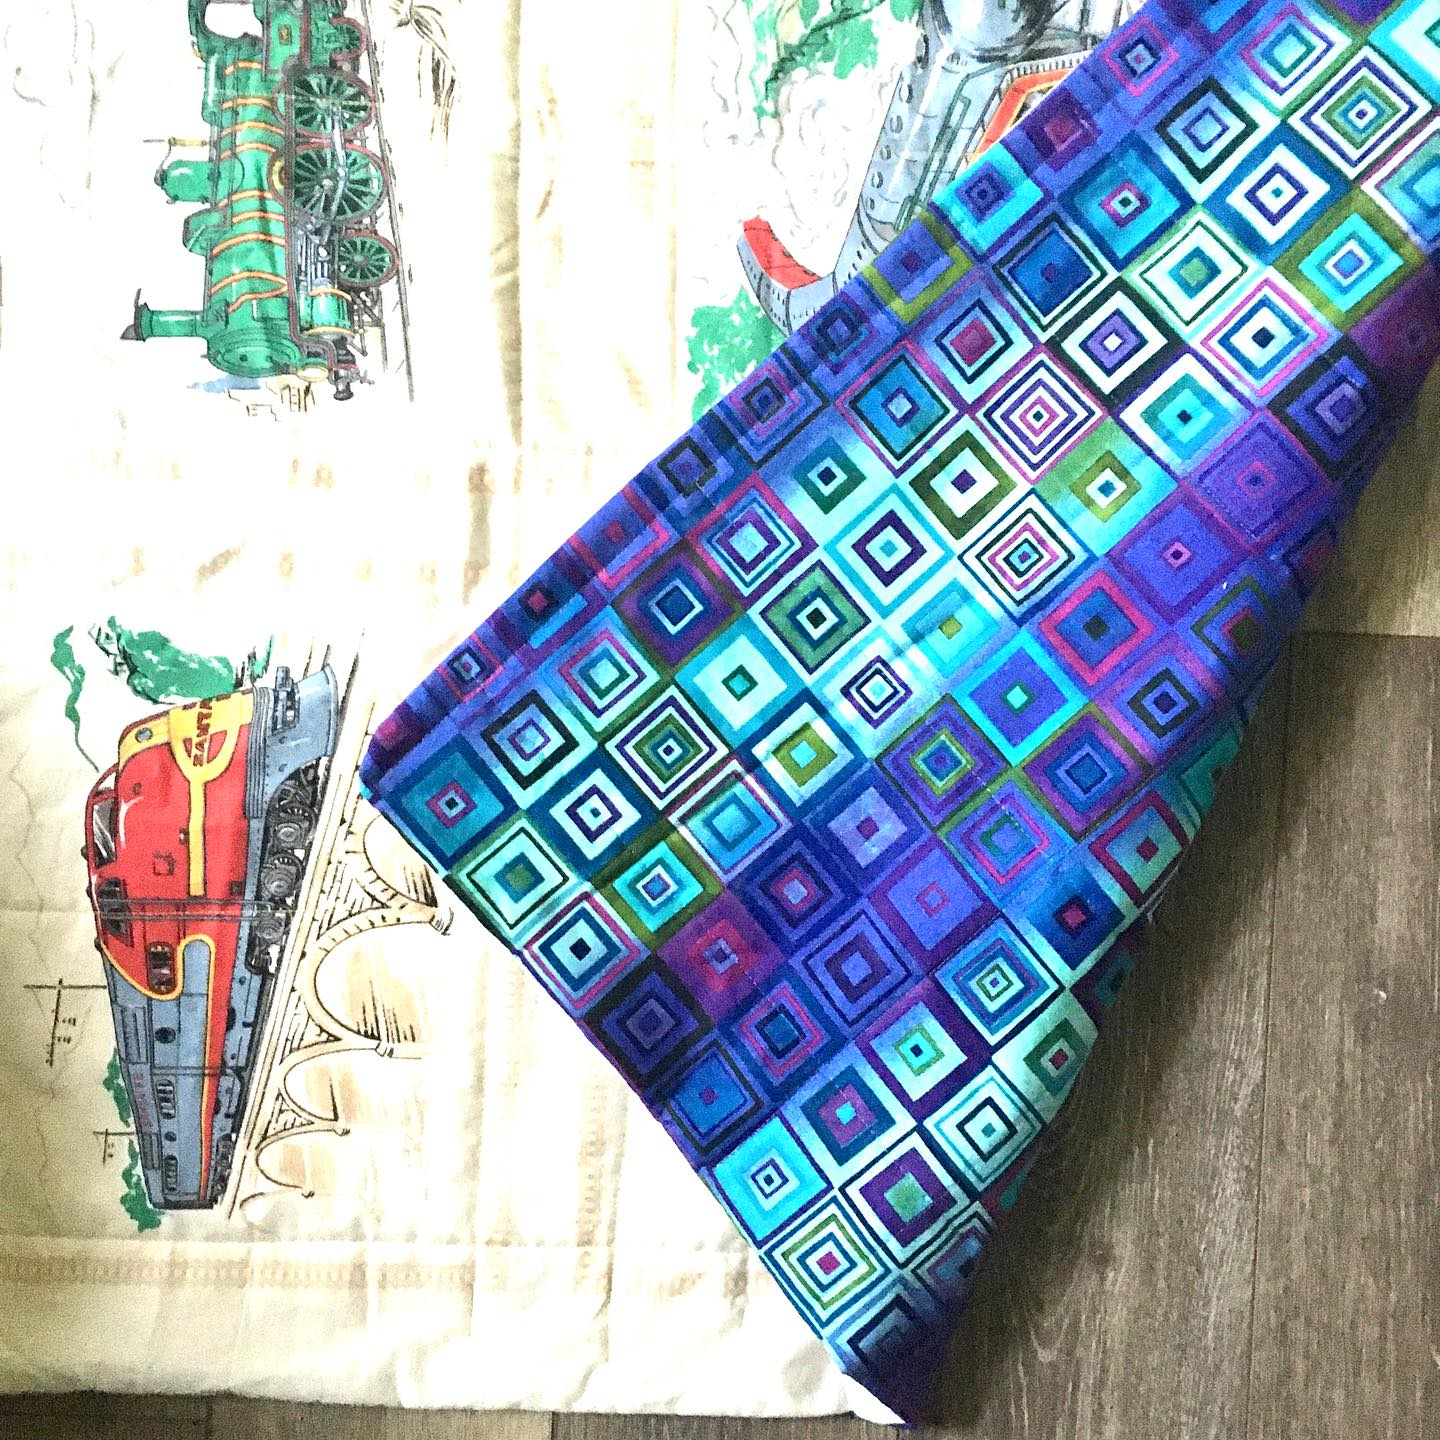
#46 finished 4/3/25 Train nap blanket. Fabric from Smart
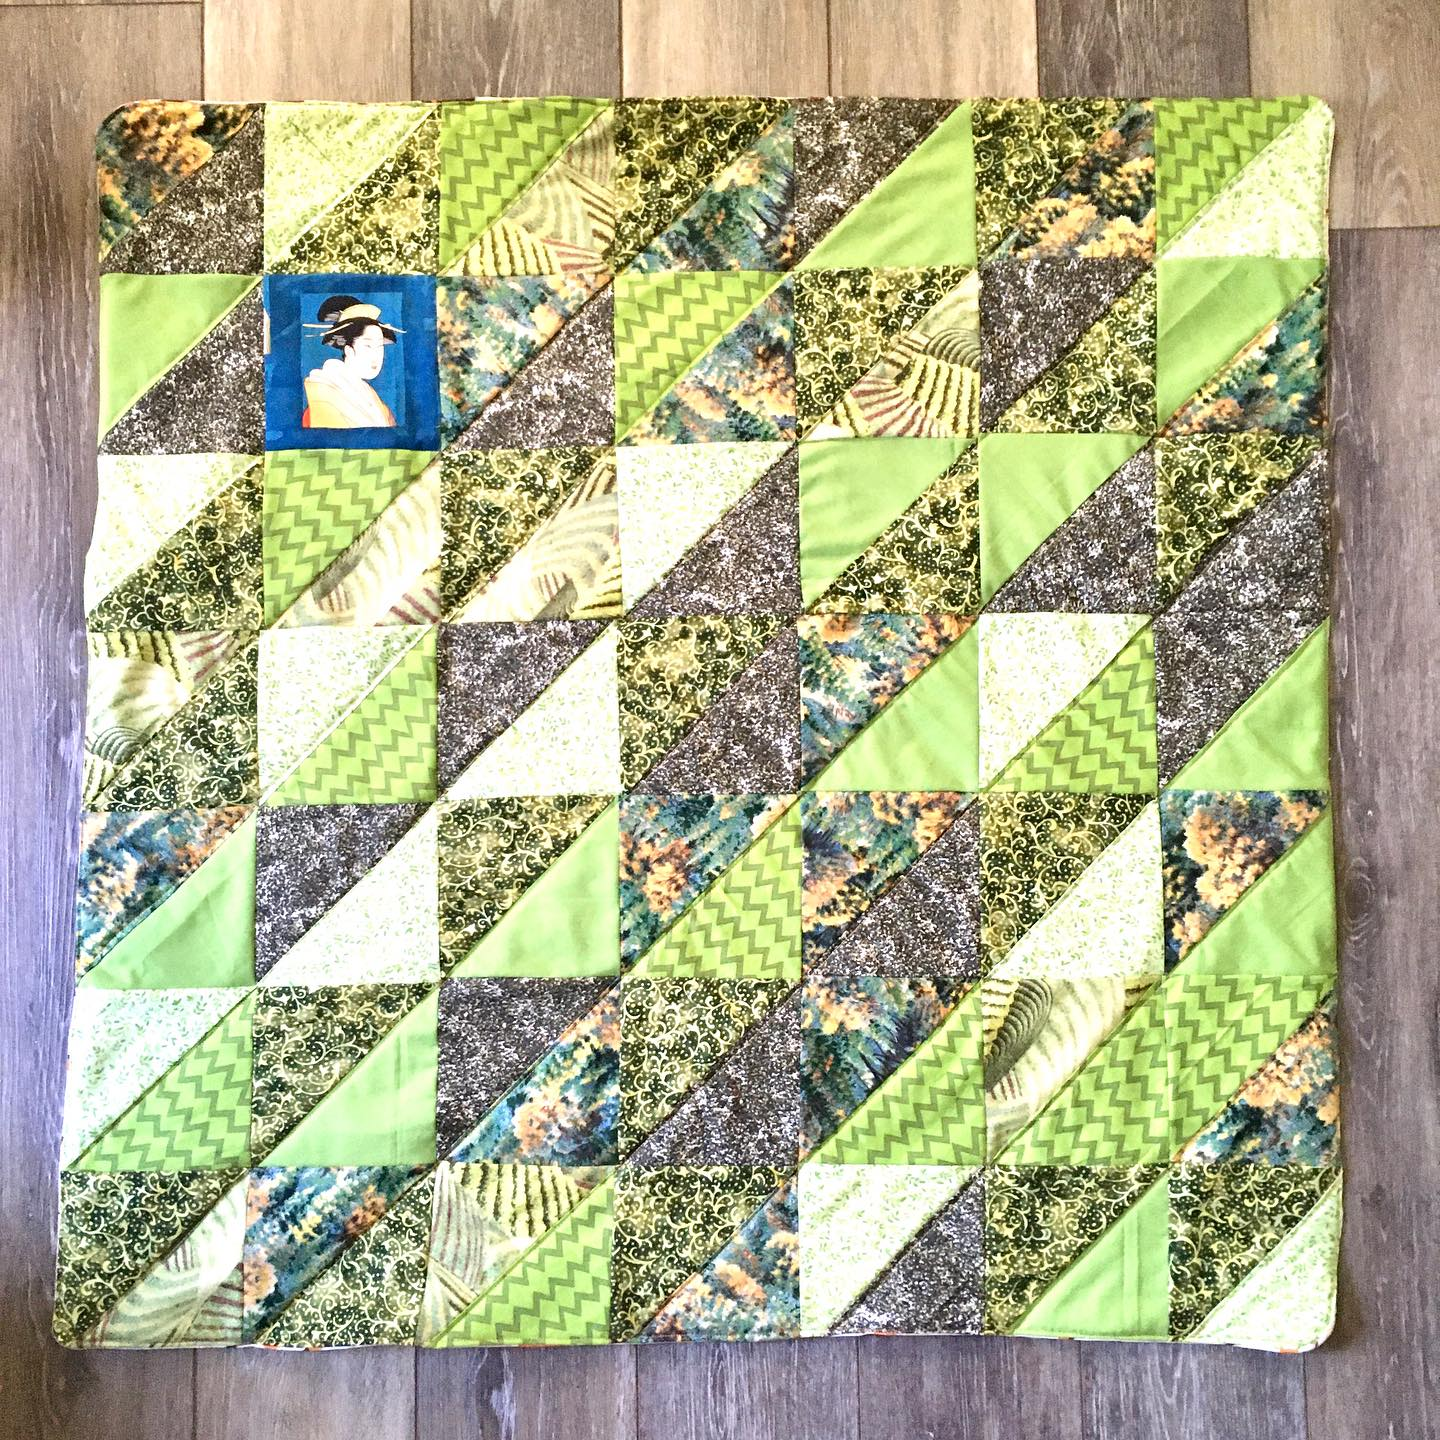
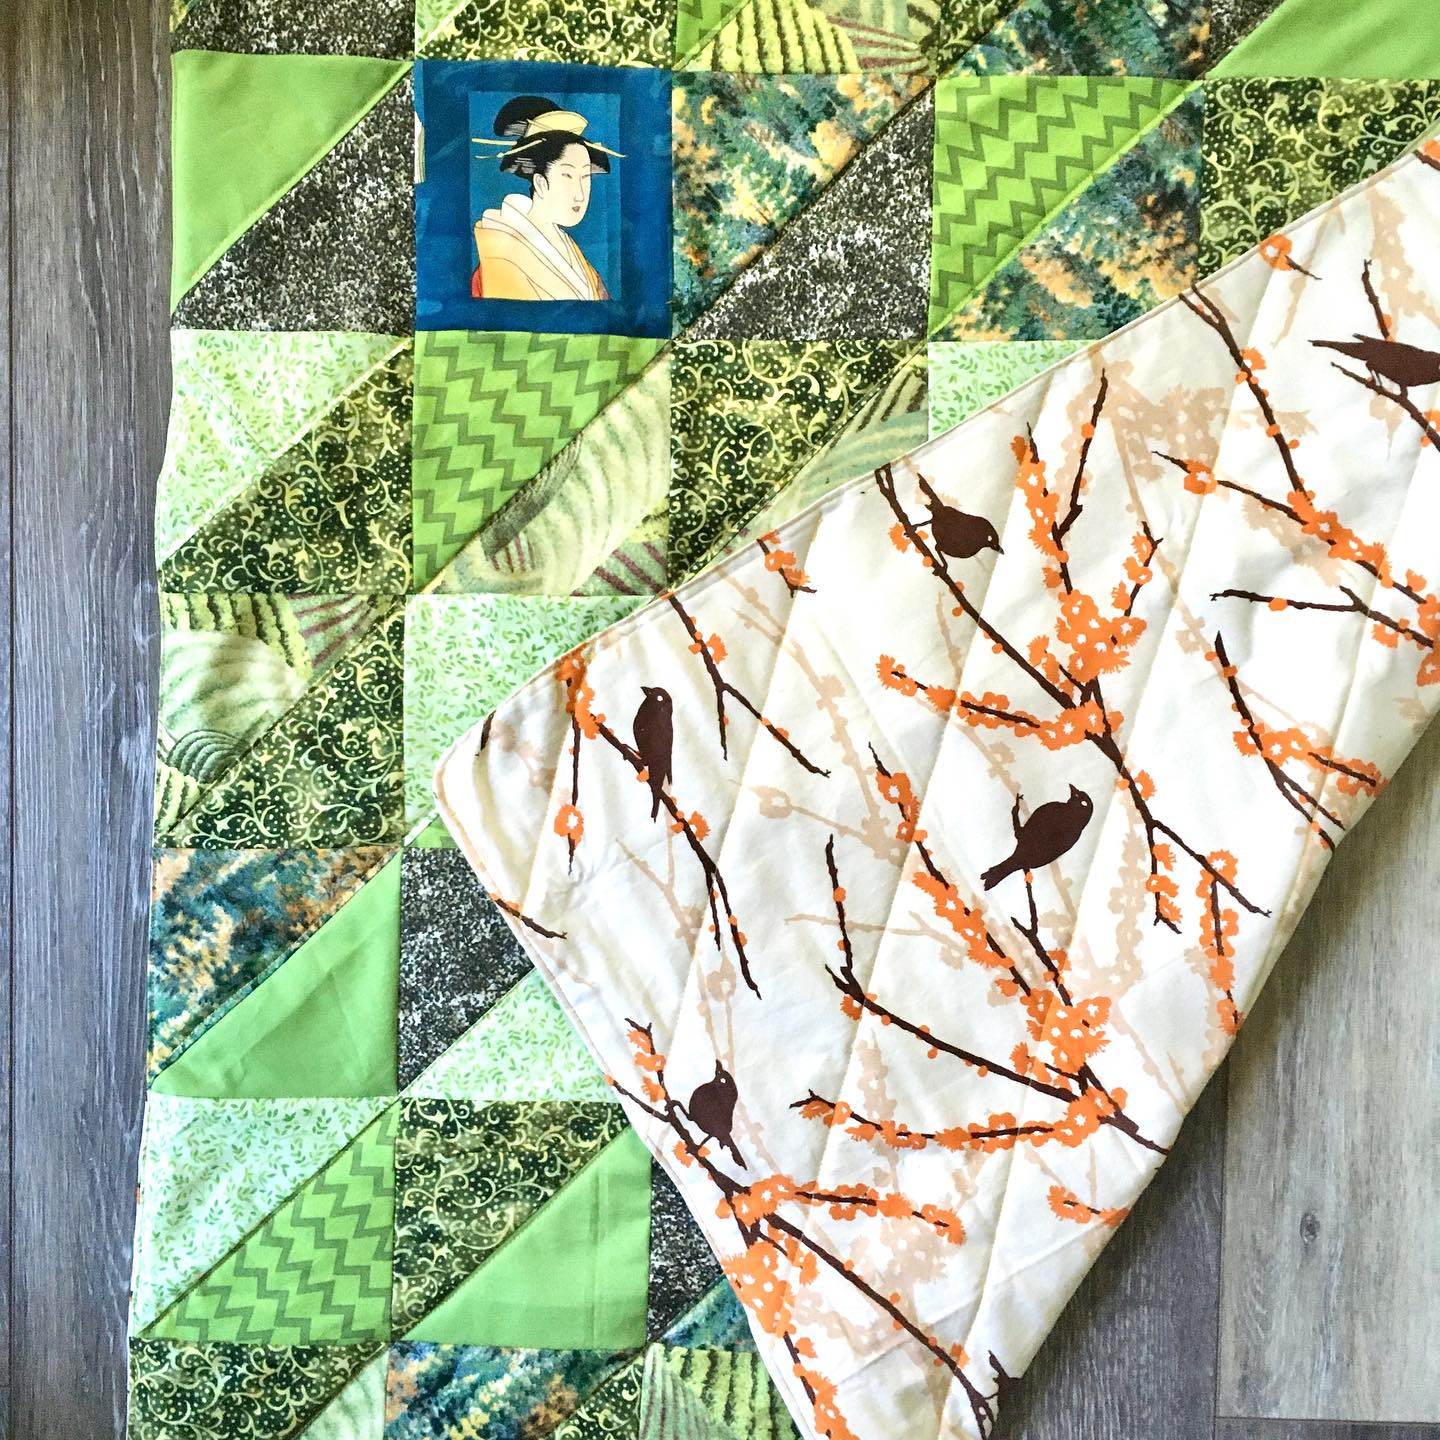
#47 finished 4/9/25 Given to my chiropractor for his second baby. 4/30/25 Geisha in a tea garden. Fabric from Smart
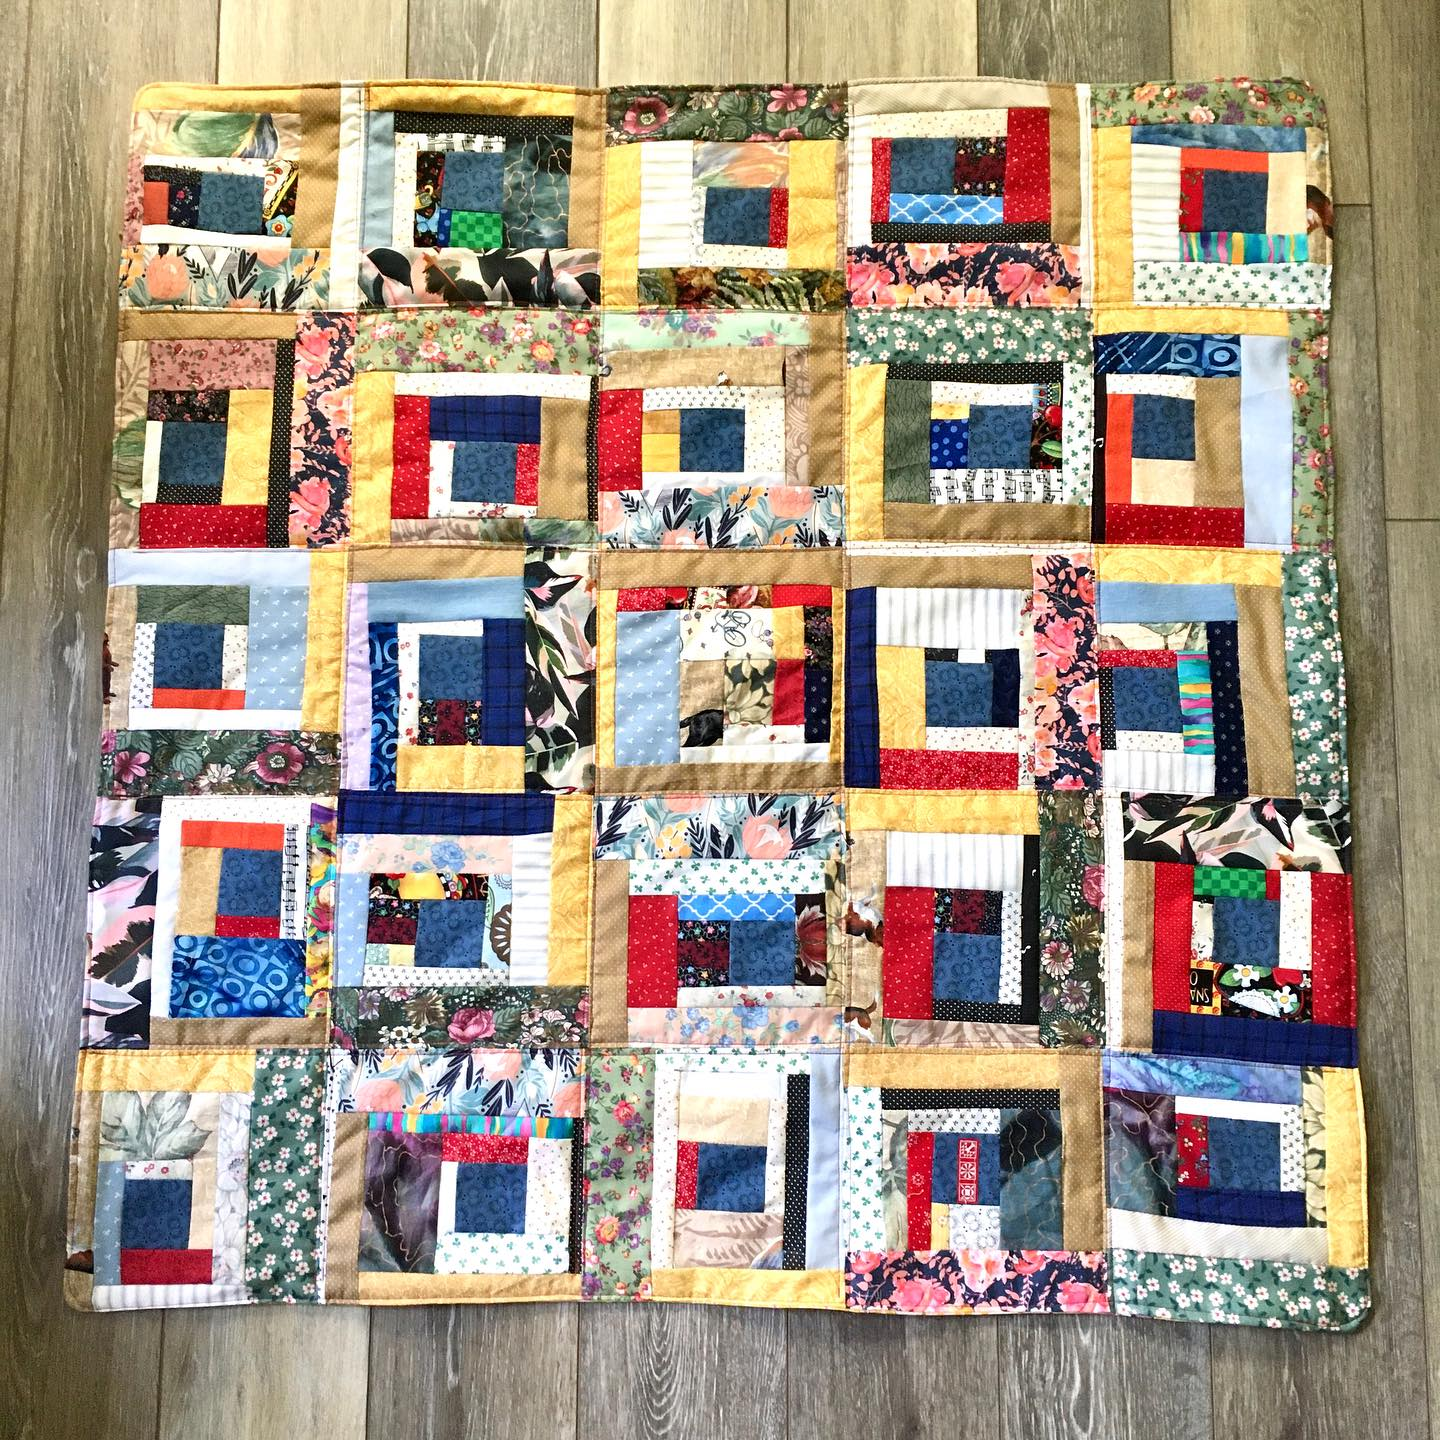
#49 finished 4/22/25 Dpmated 5/1/25 Panel from Ready Set Sew, rest from Smart
#50. finished 6/16/25 Donated 7/1/25 Fabric from Smart, by way of Stitcher’s Garden
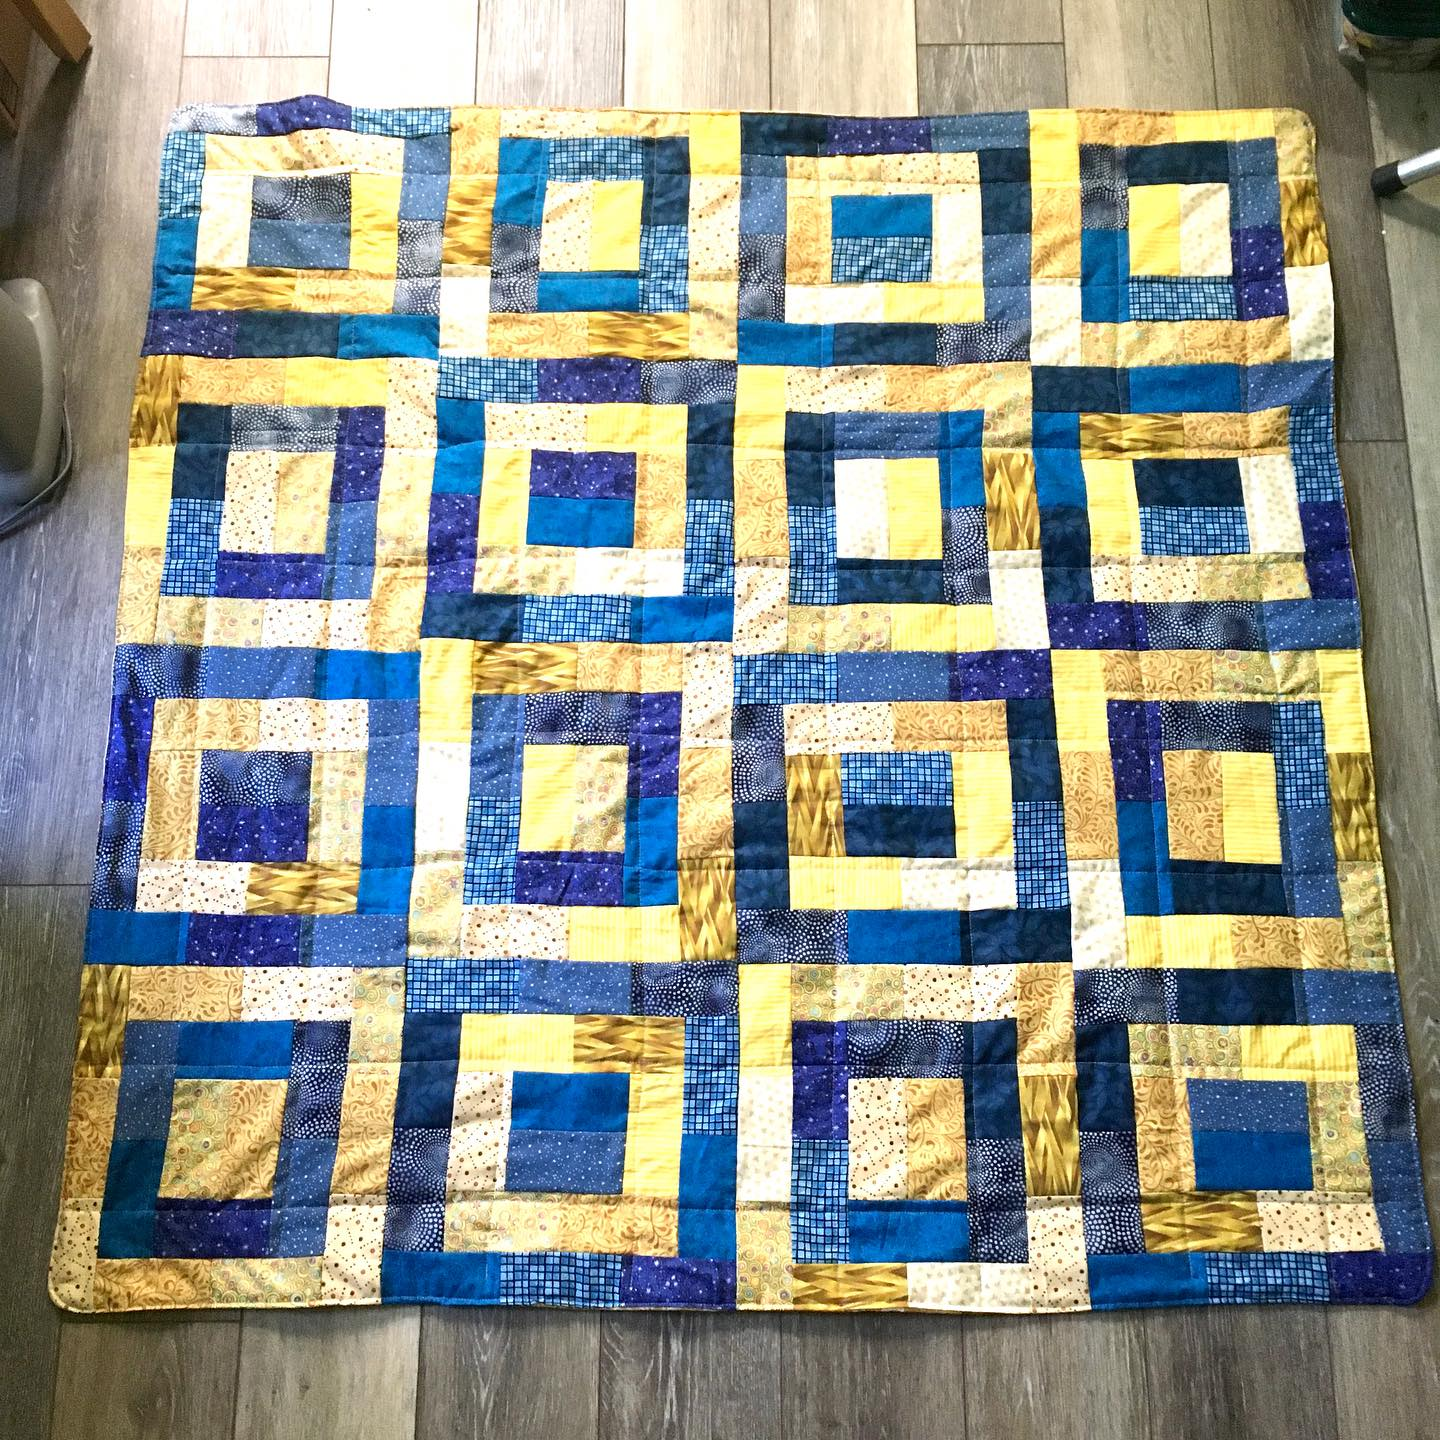
#51 Finished 6/18/25 Donated 7/1/25 Potato Chip blue/yellow. All fabric from Smart
#52 finished 6/29/25 Donated 7/1/25 Fabric from Smart
#53 finished 7/3/25 46×35 inches. “round” roses fabric from Smart 6″ and 12″ blocks
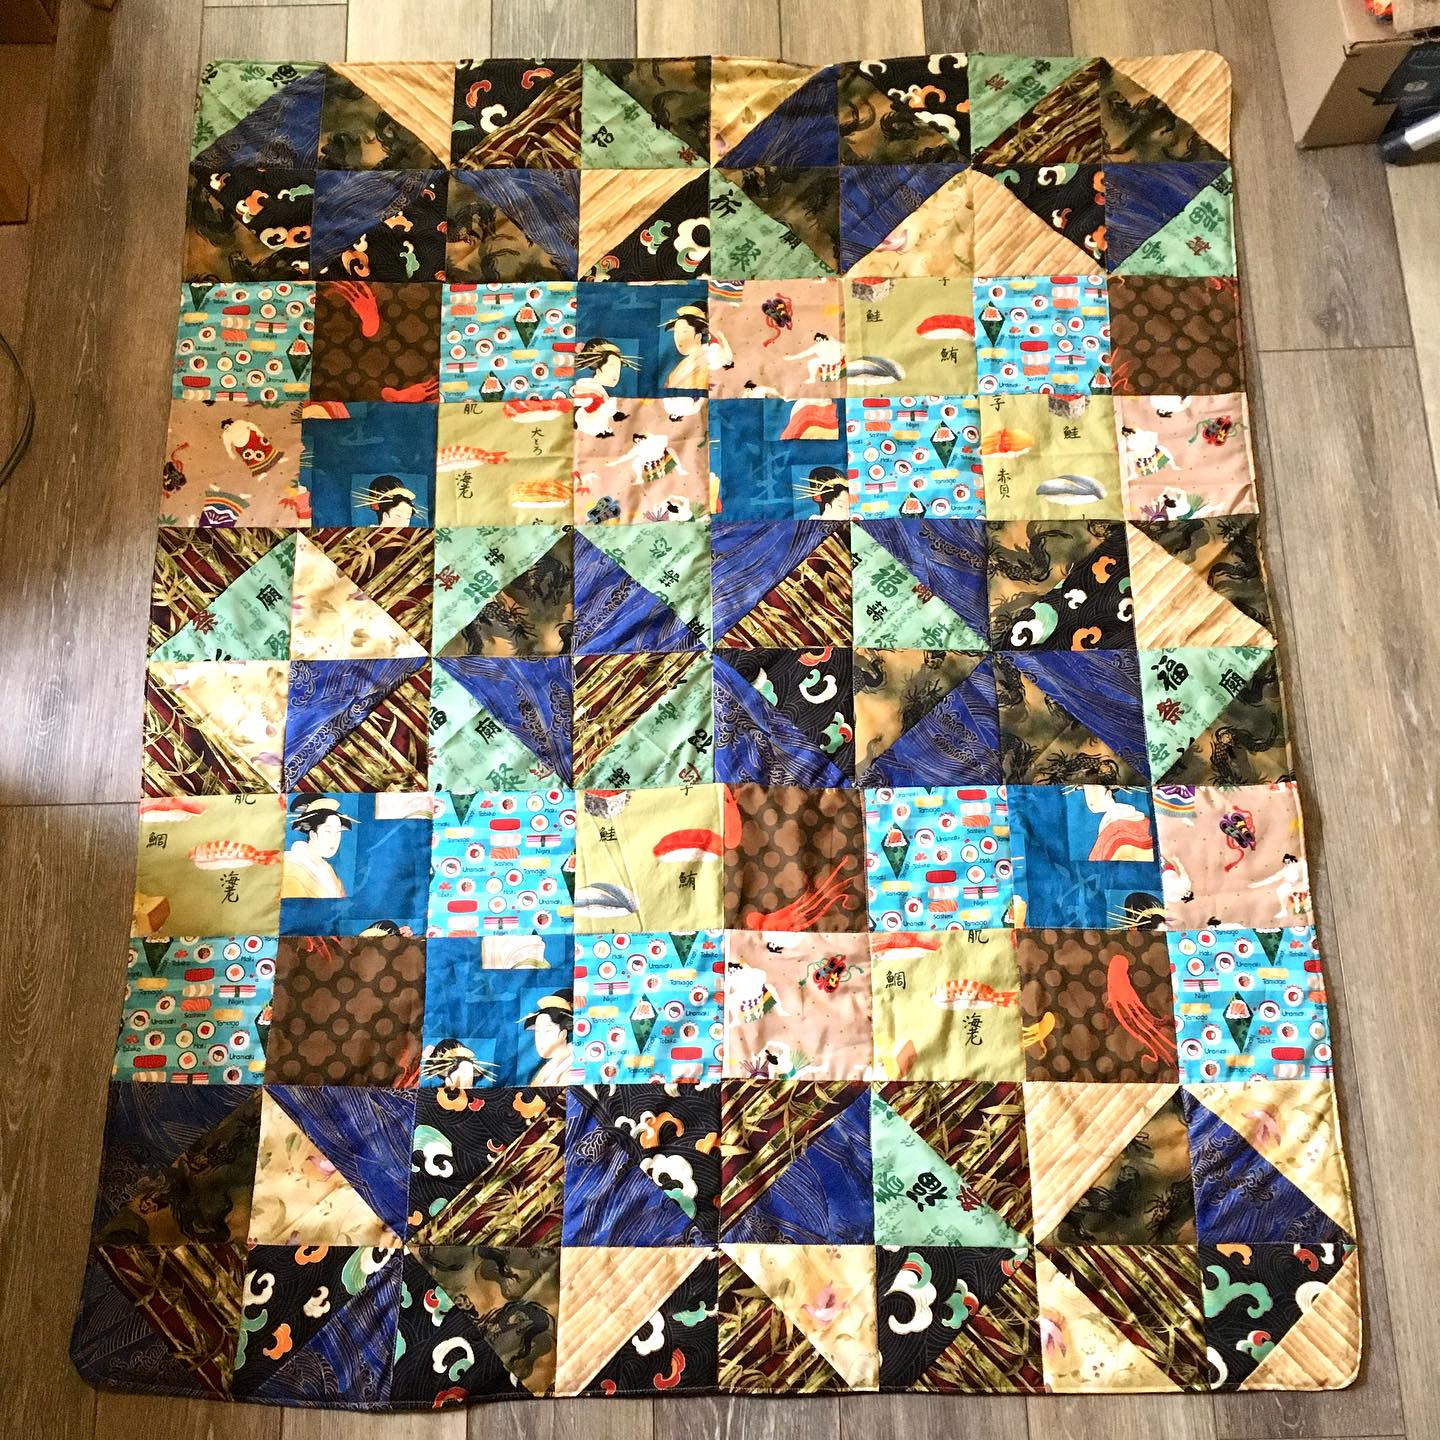
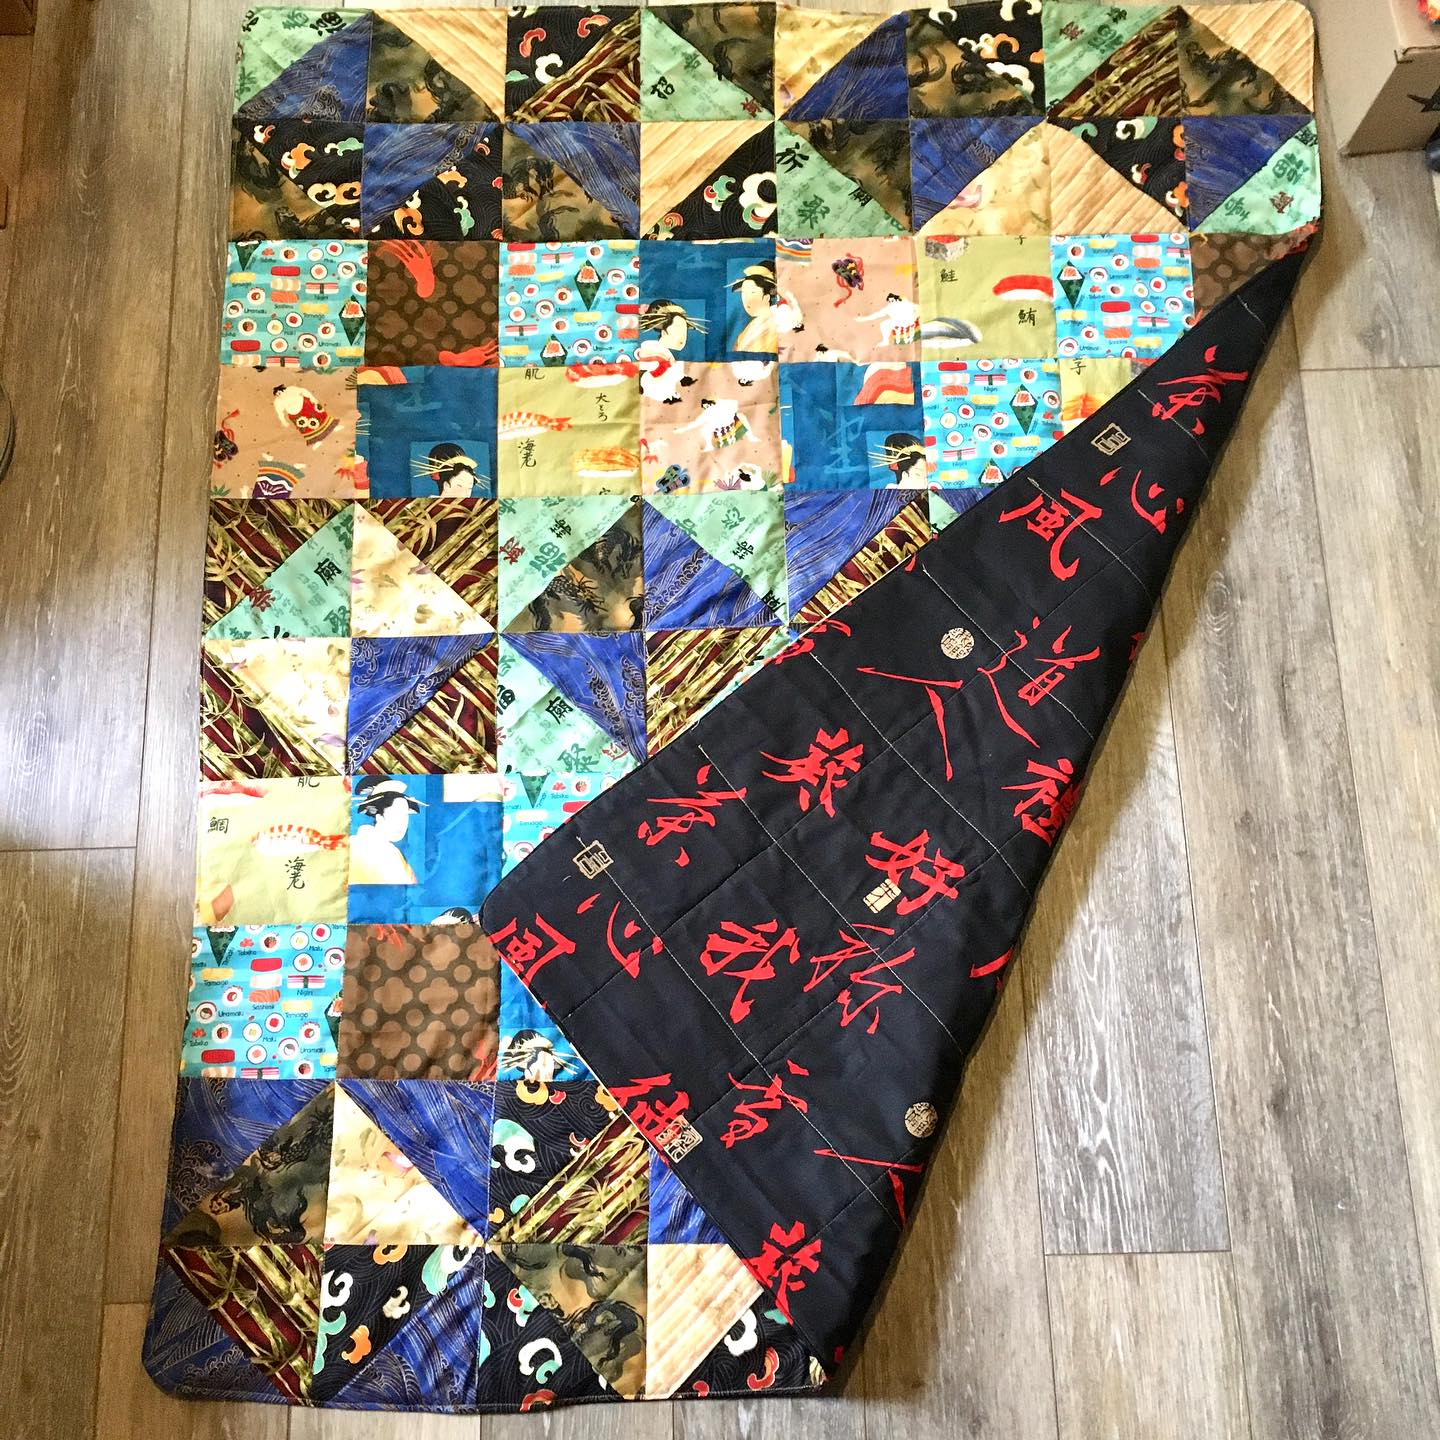
#54 finished 8/17/25 Sushi Roll All top fabric from Smart. Back is from JoAnns, as it was closing
#55 finished 10/16/25 Sold. All Japanese fabric. From Smart
back is Chinese fabric
#56 finished 11/18/25 43 inches square. Donated 2/20/26 Parrot D9patch. All fabric from Smart
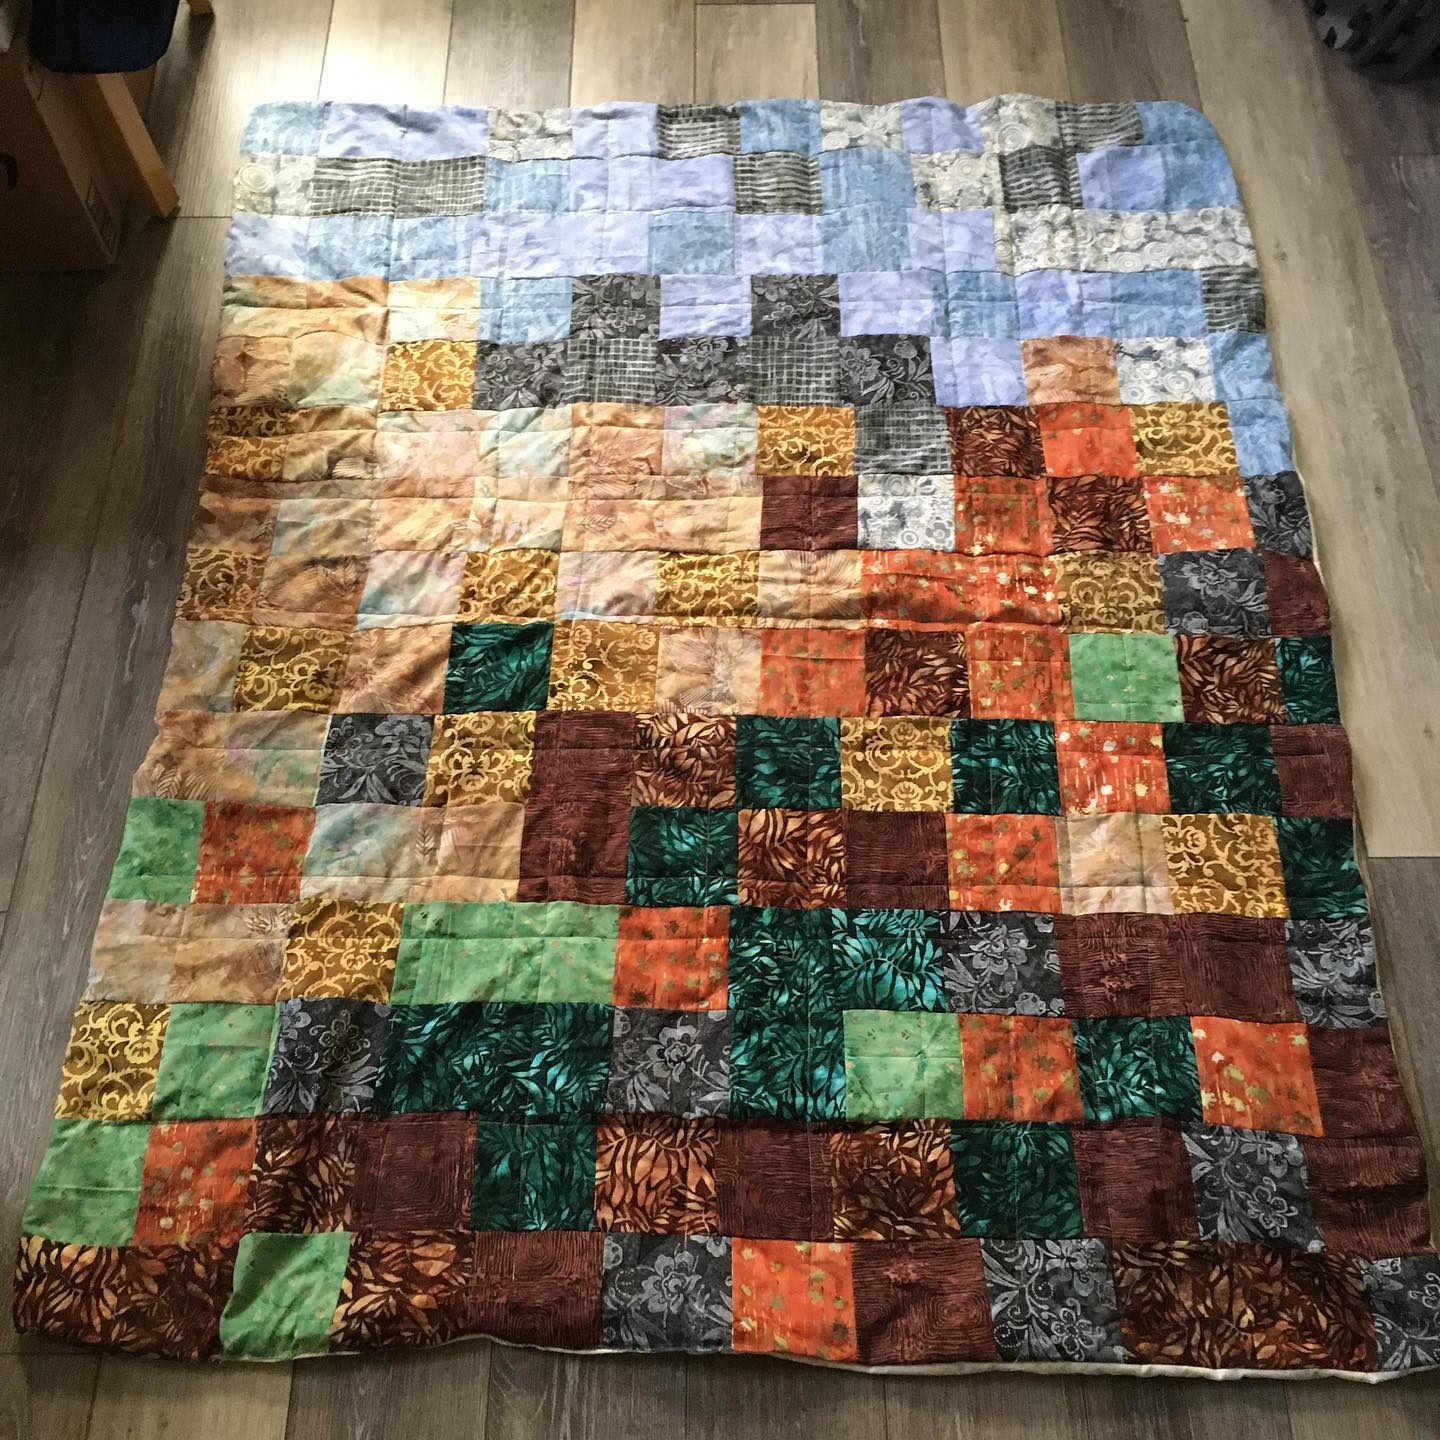
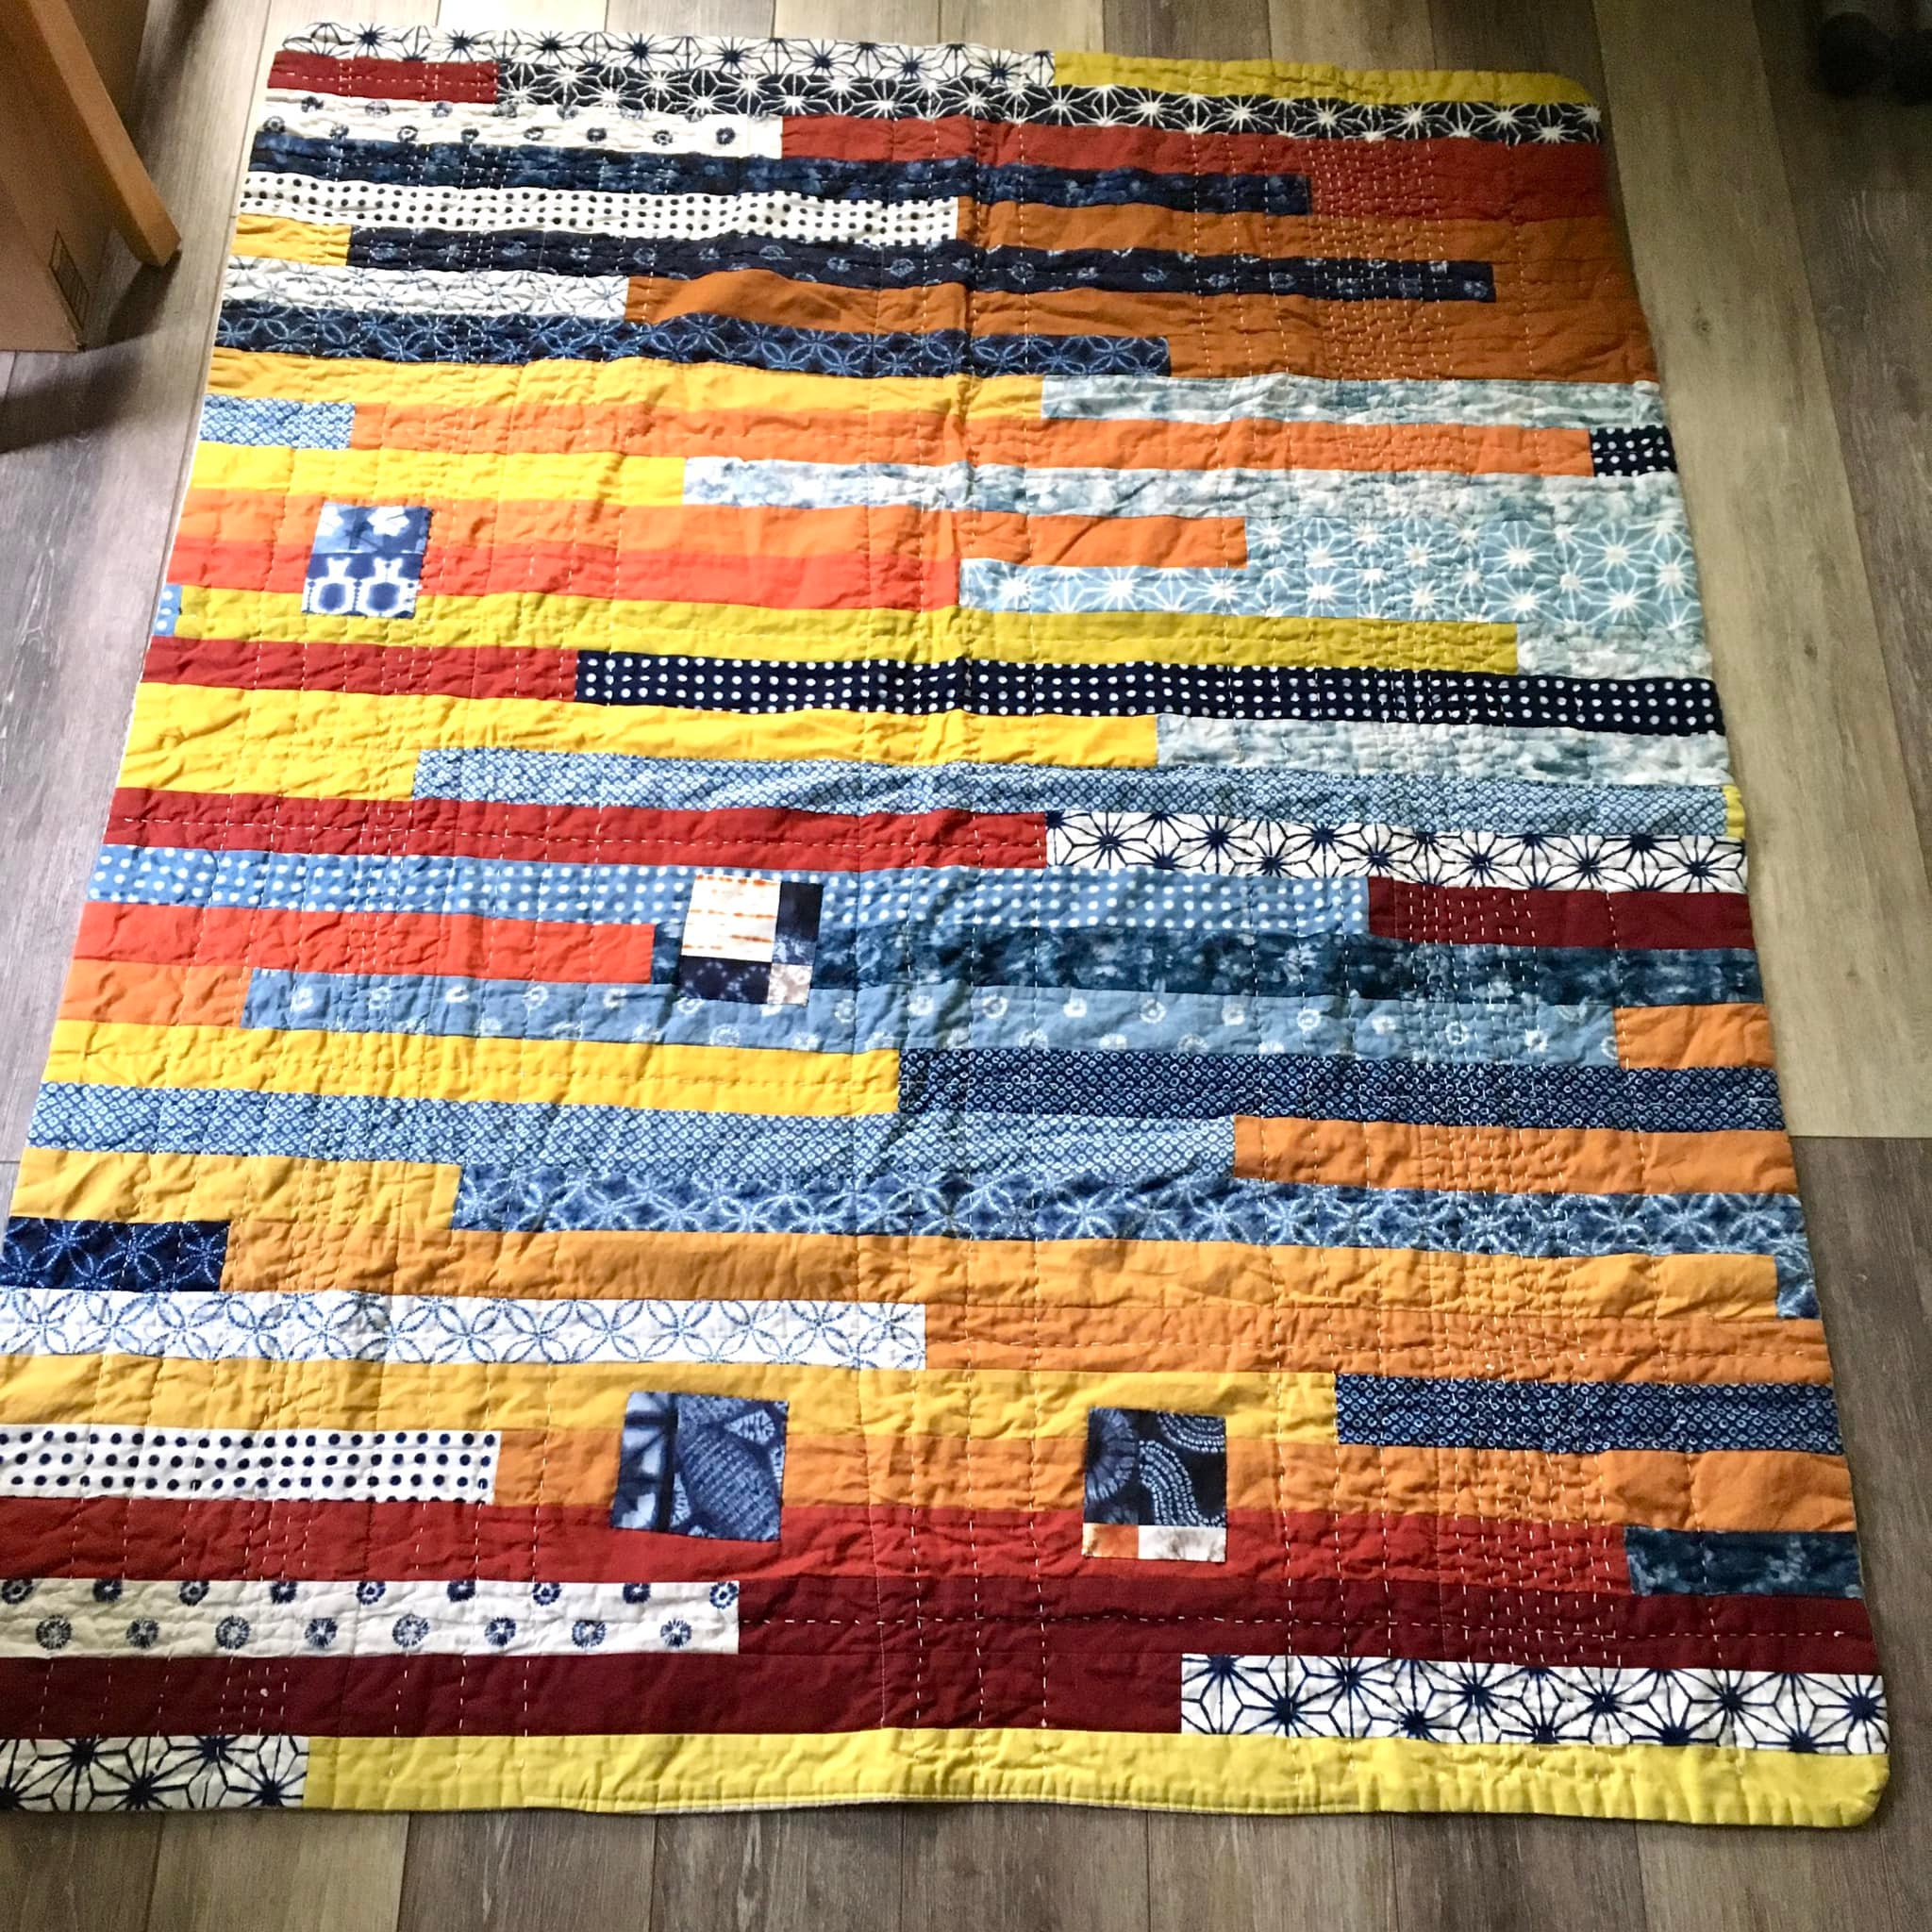
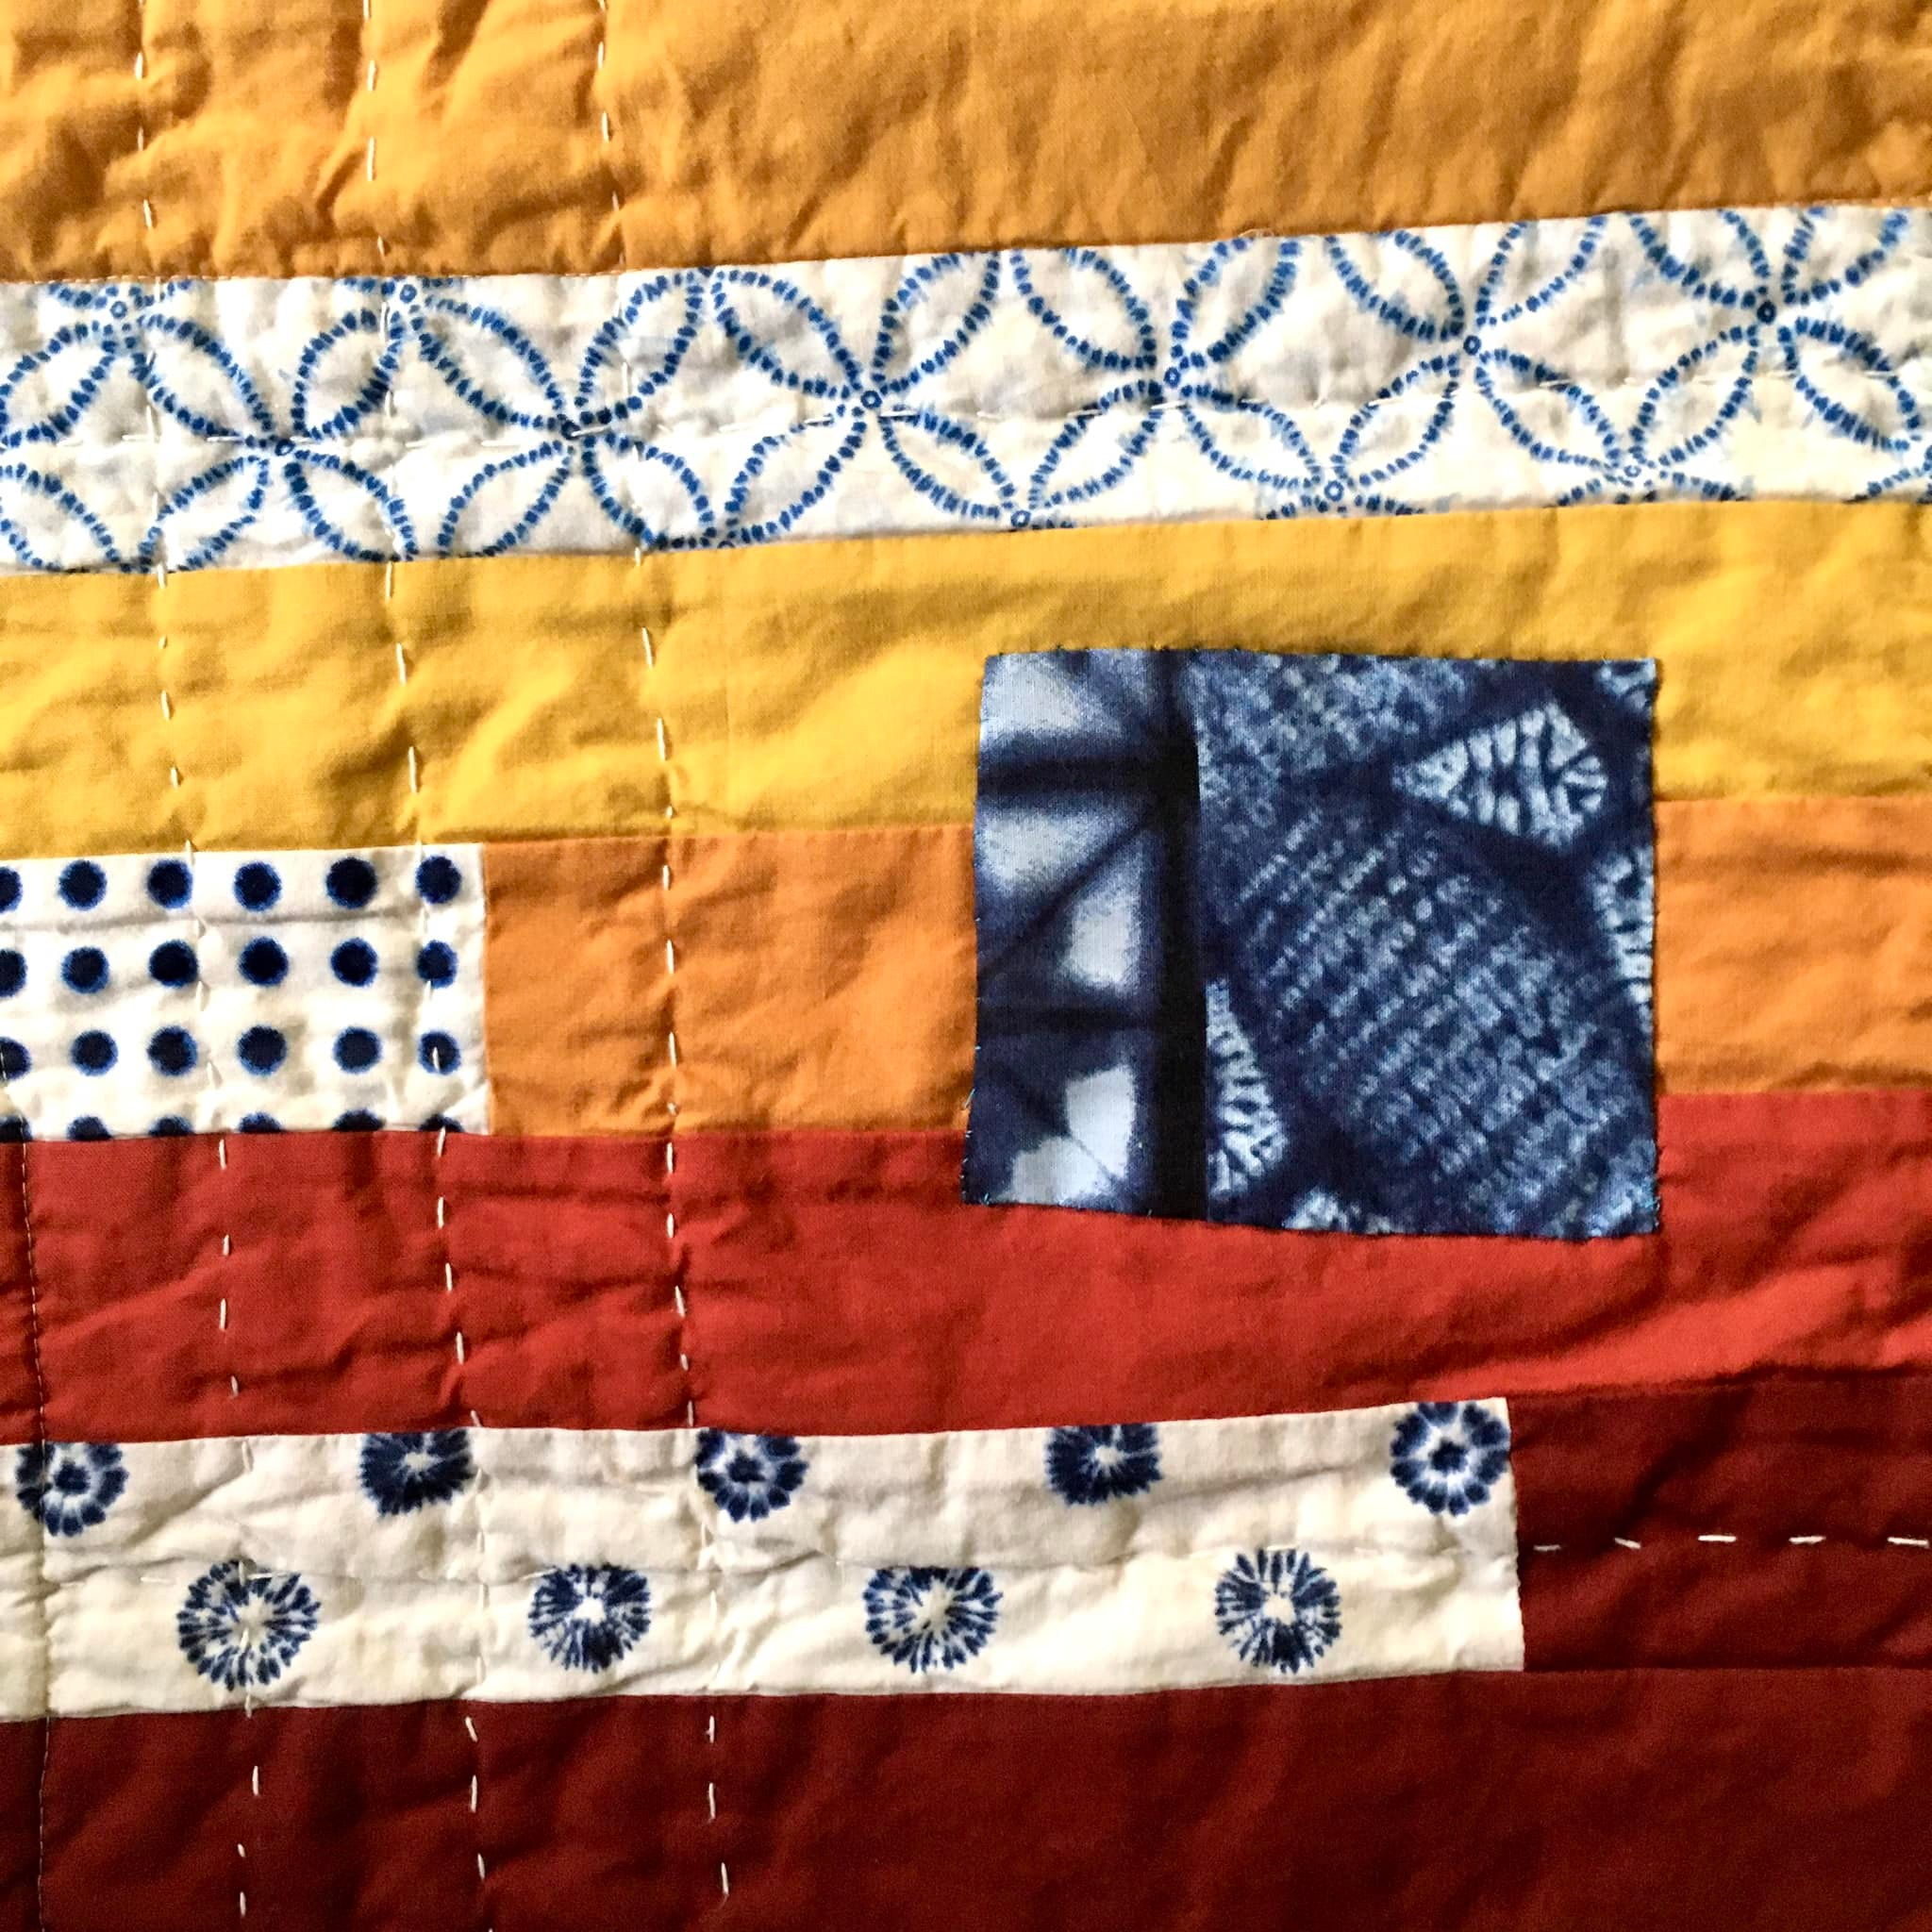
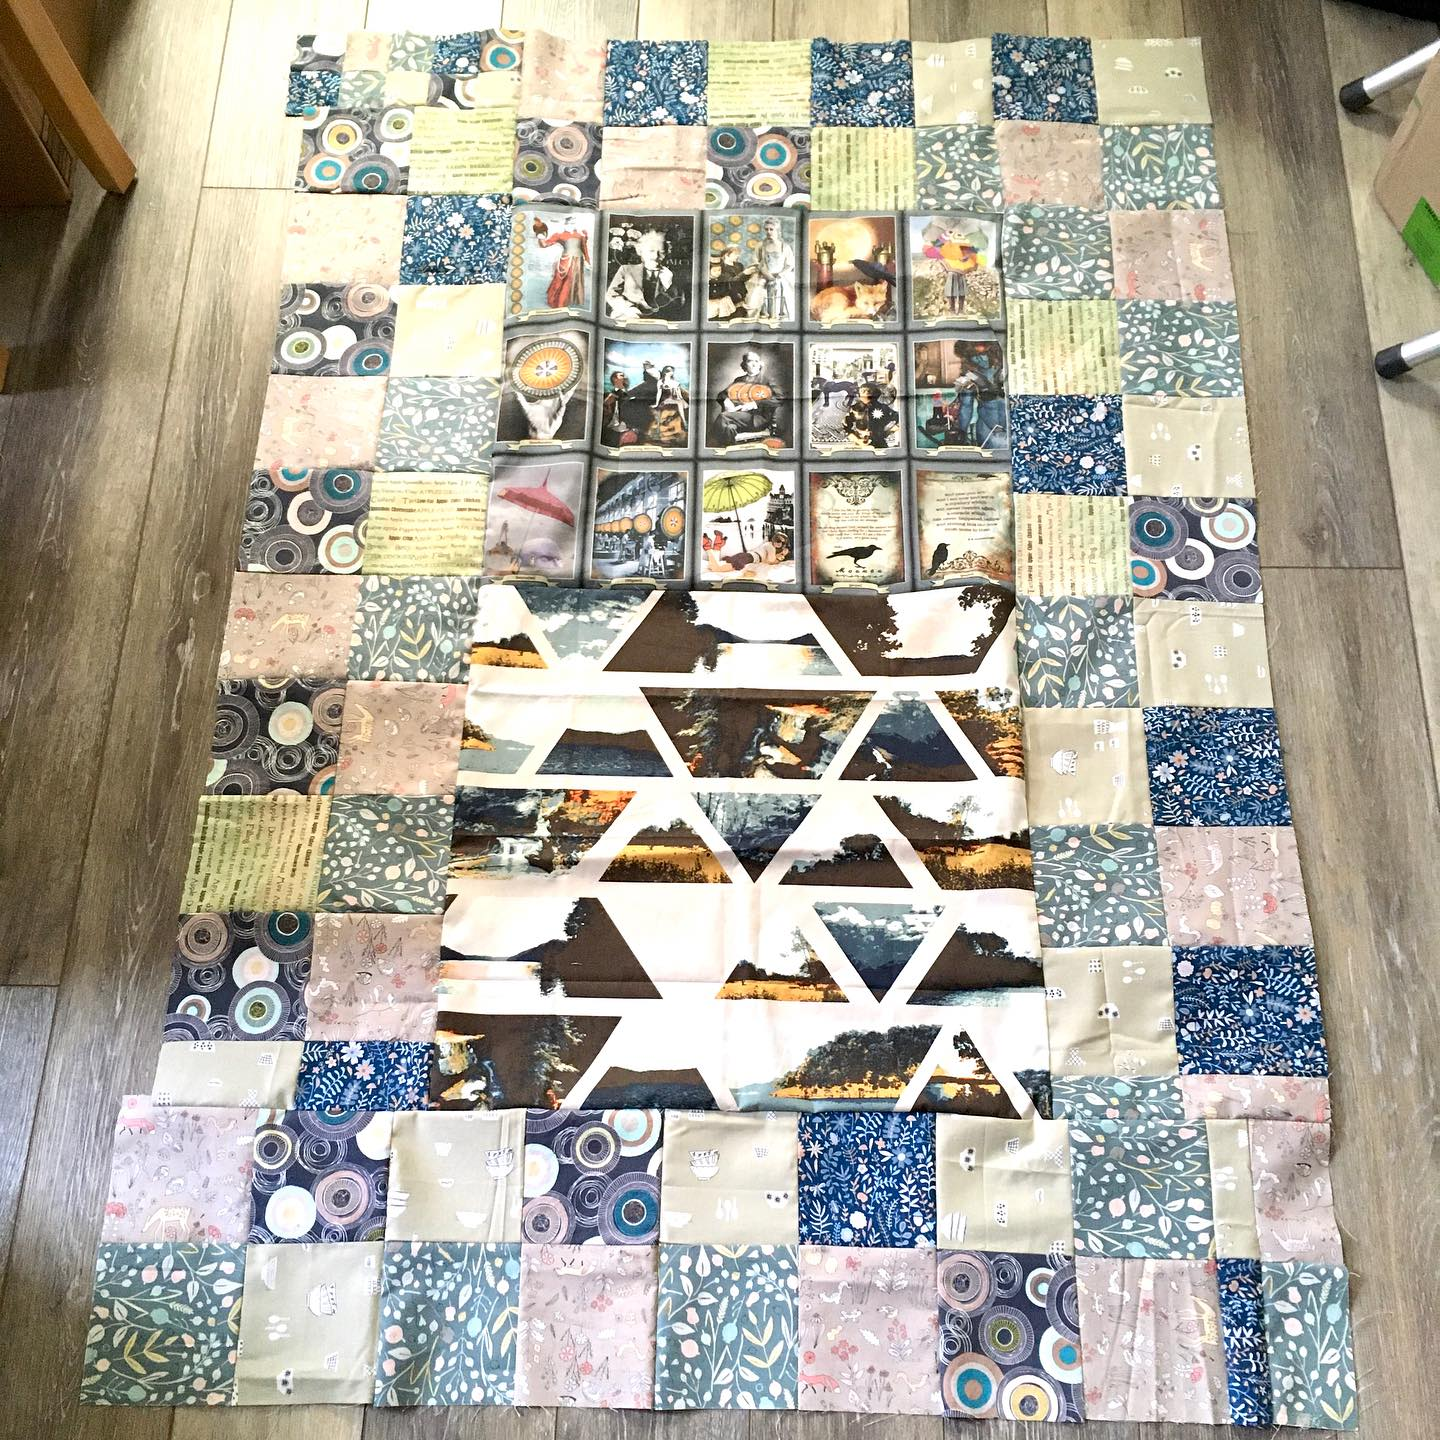
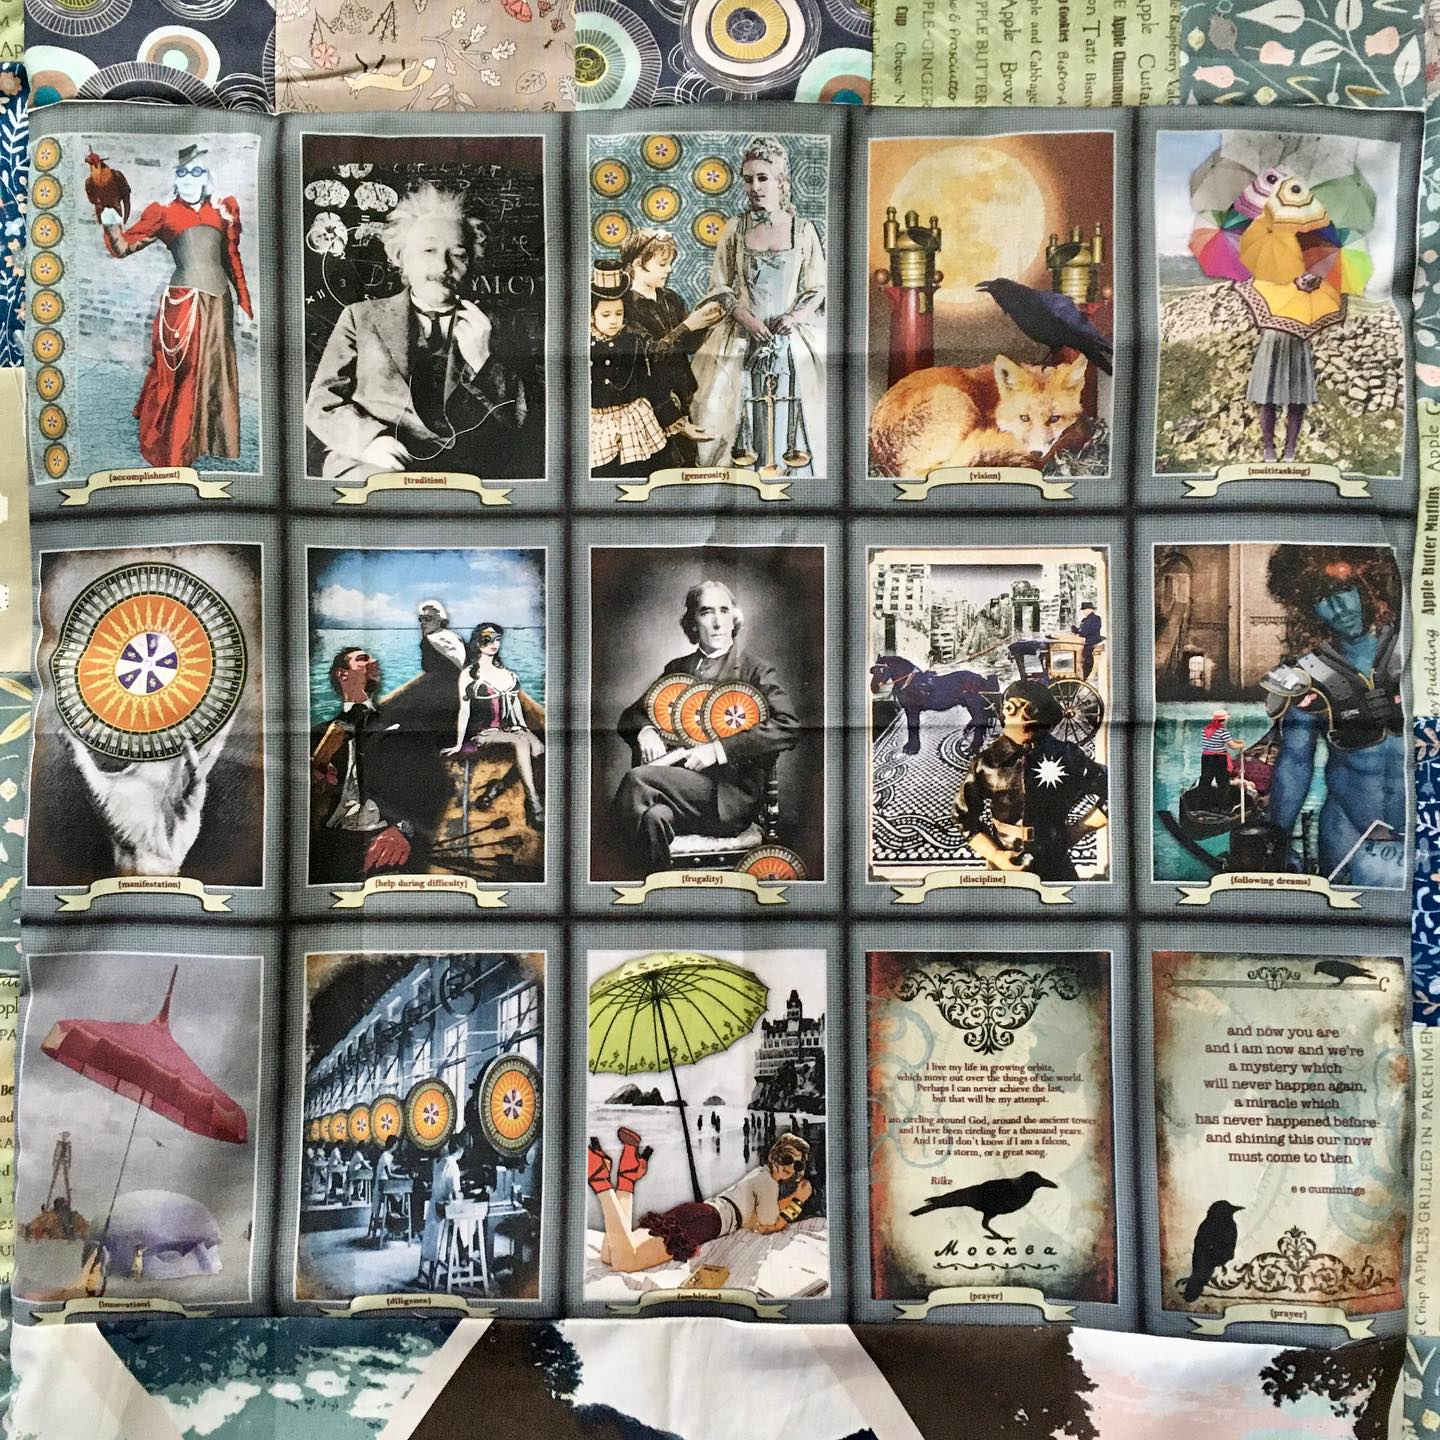
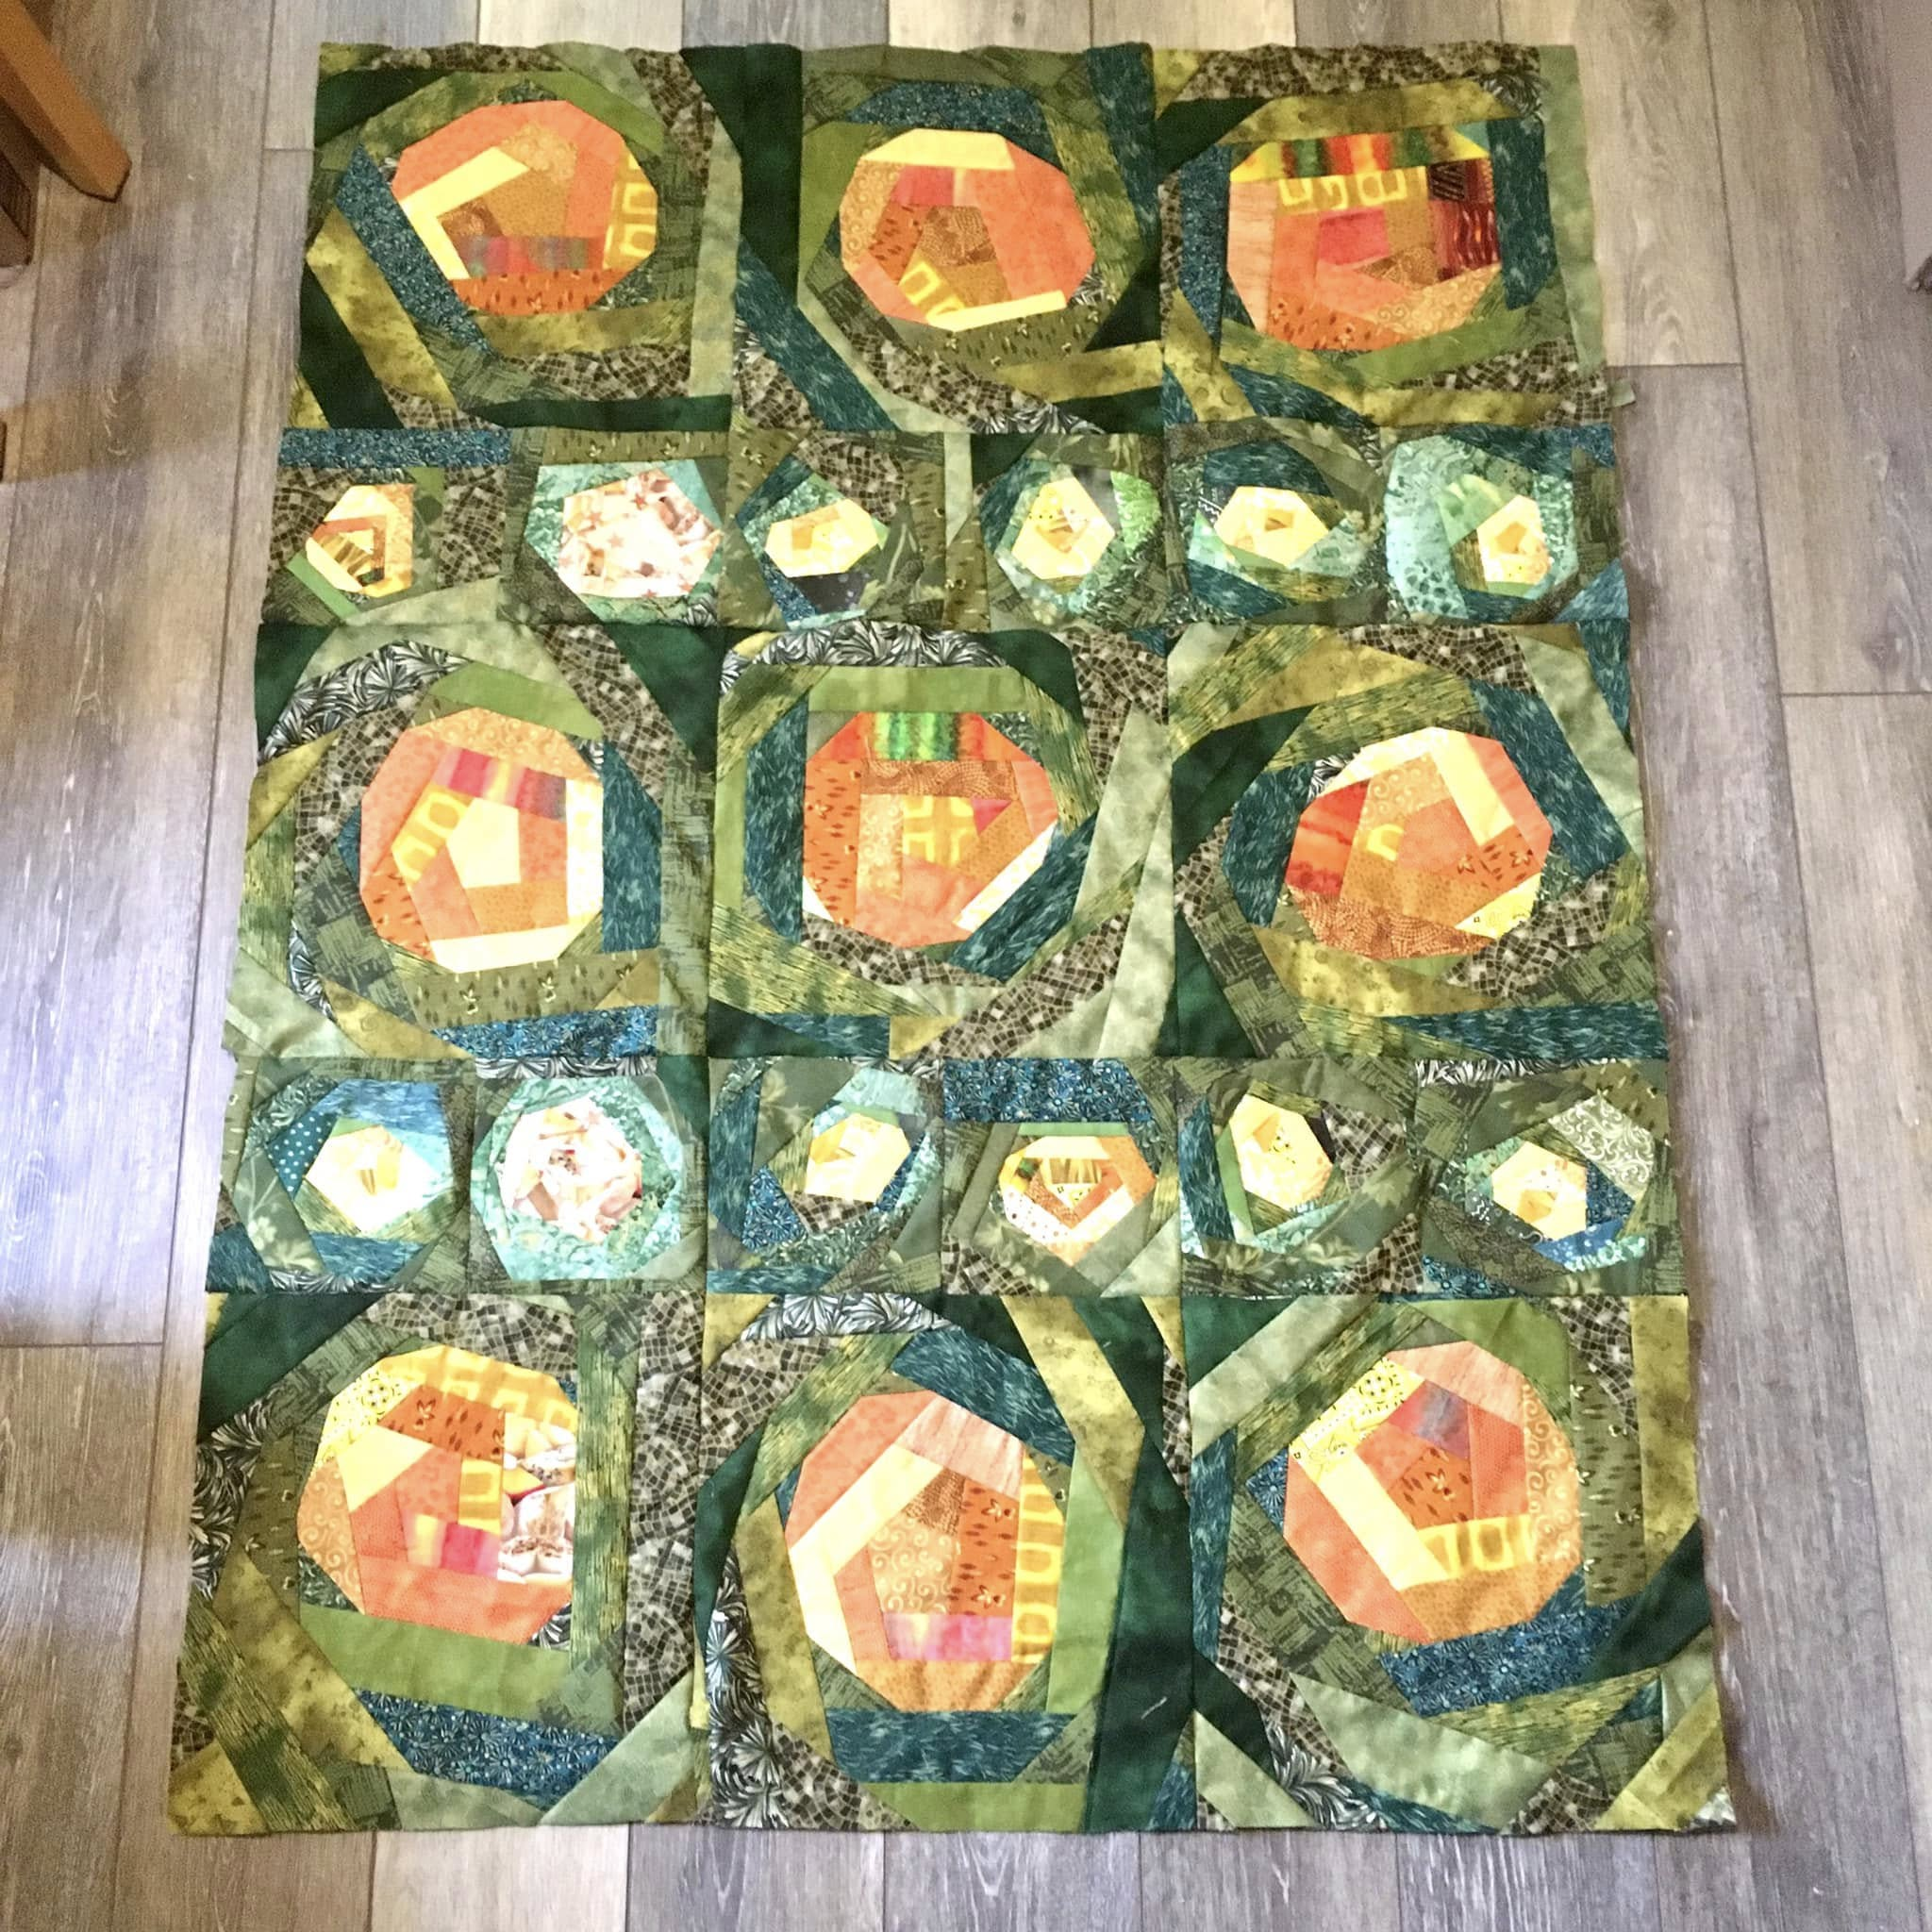
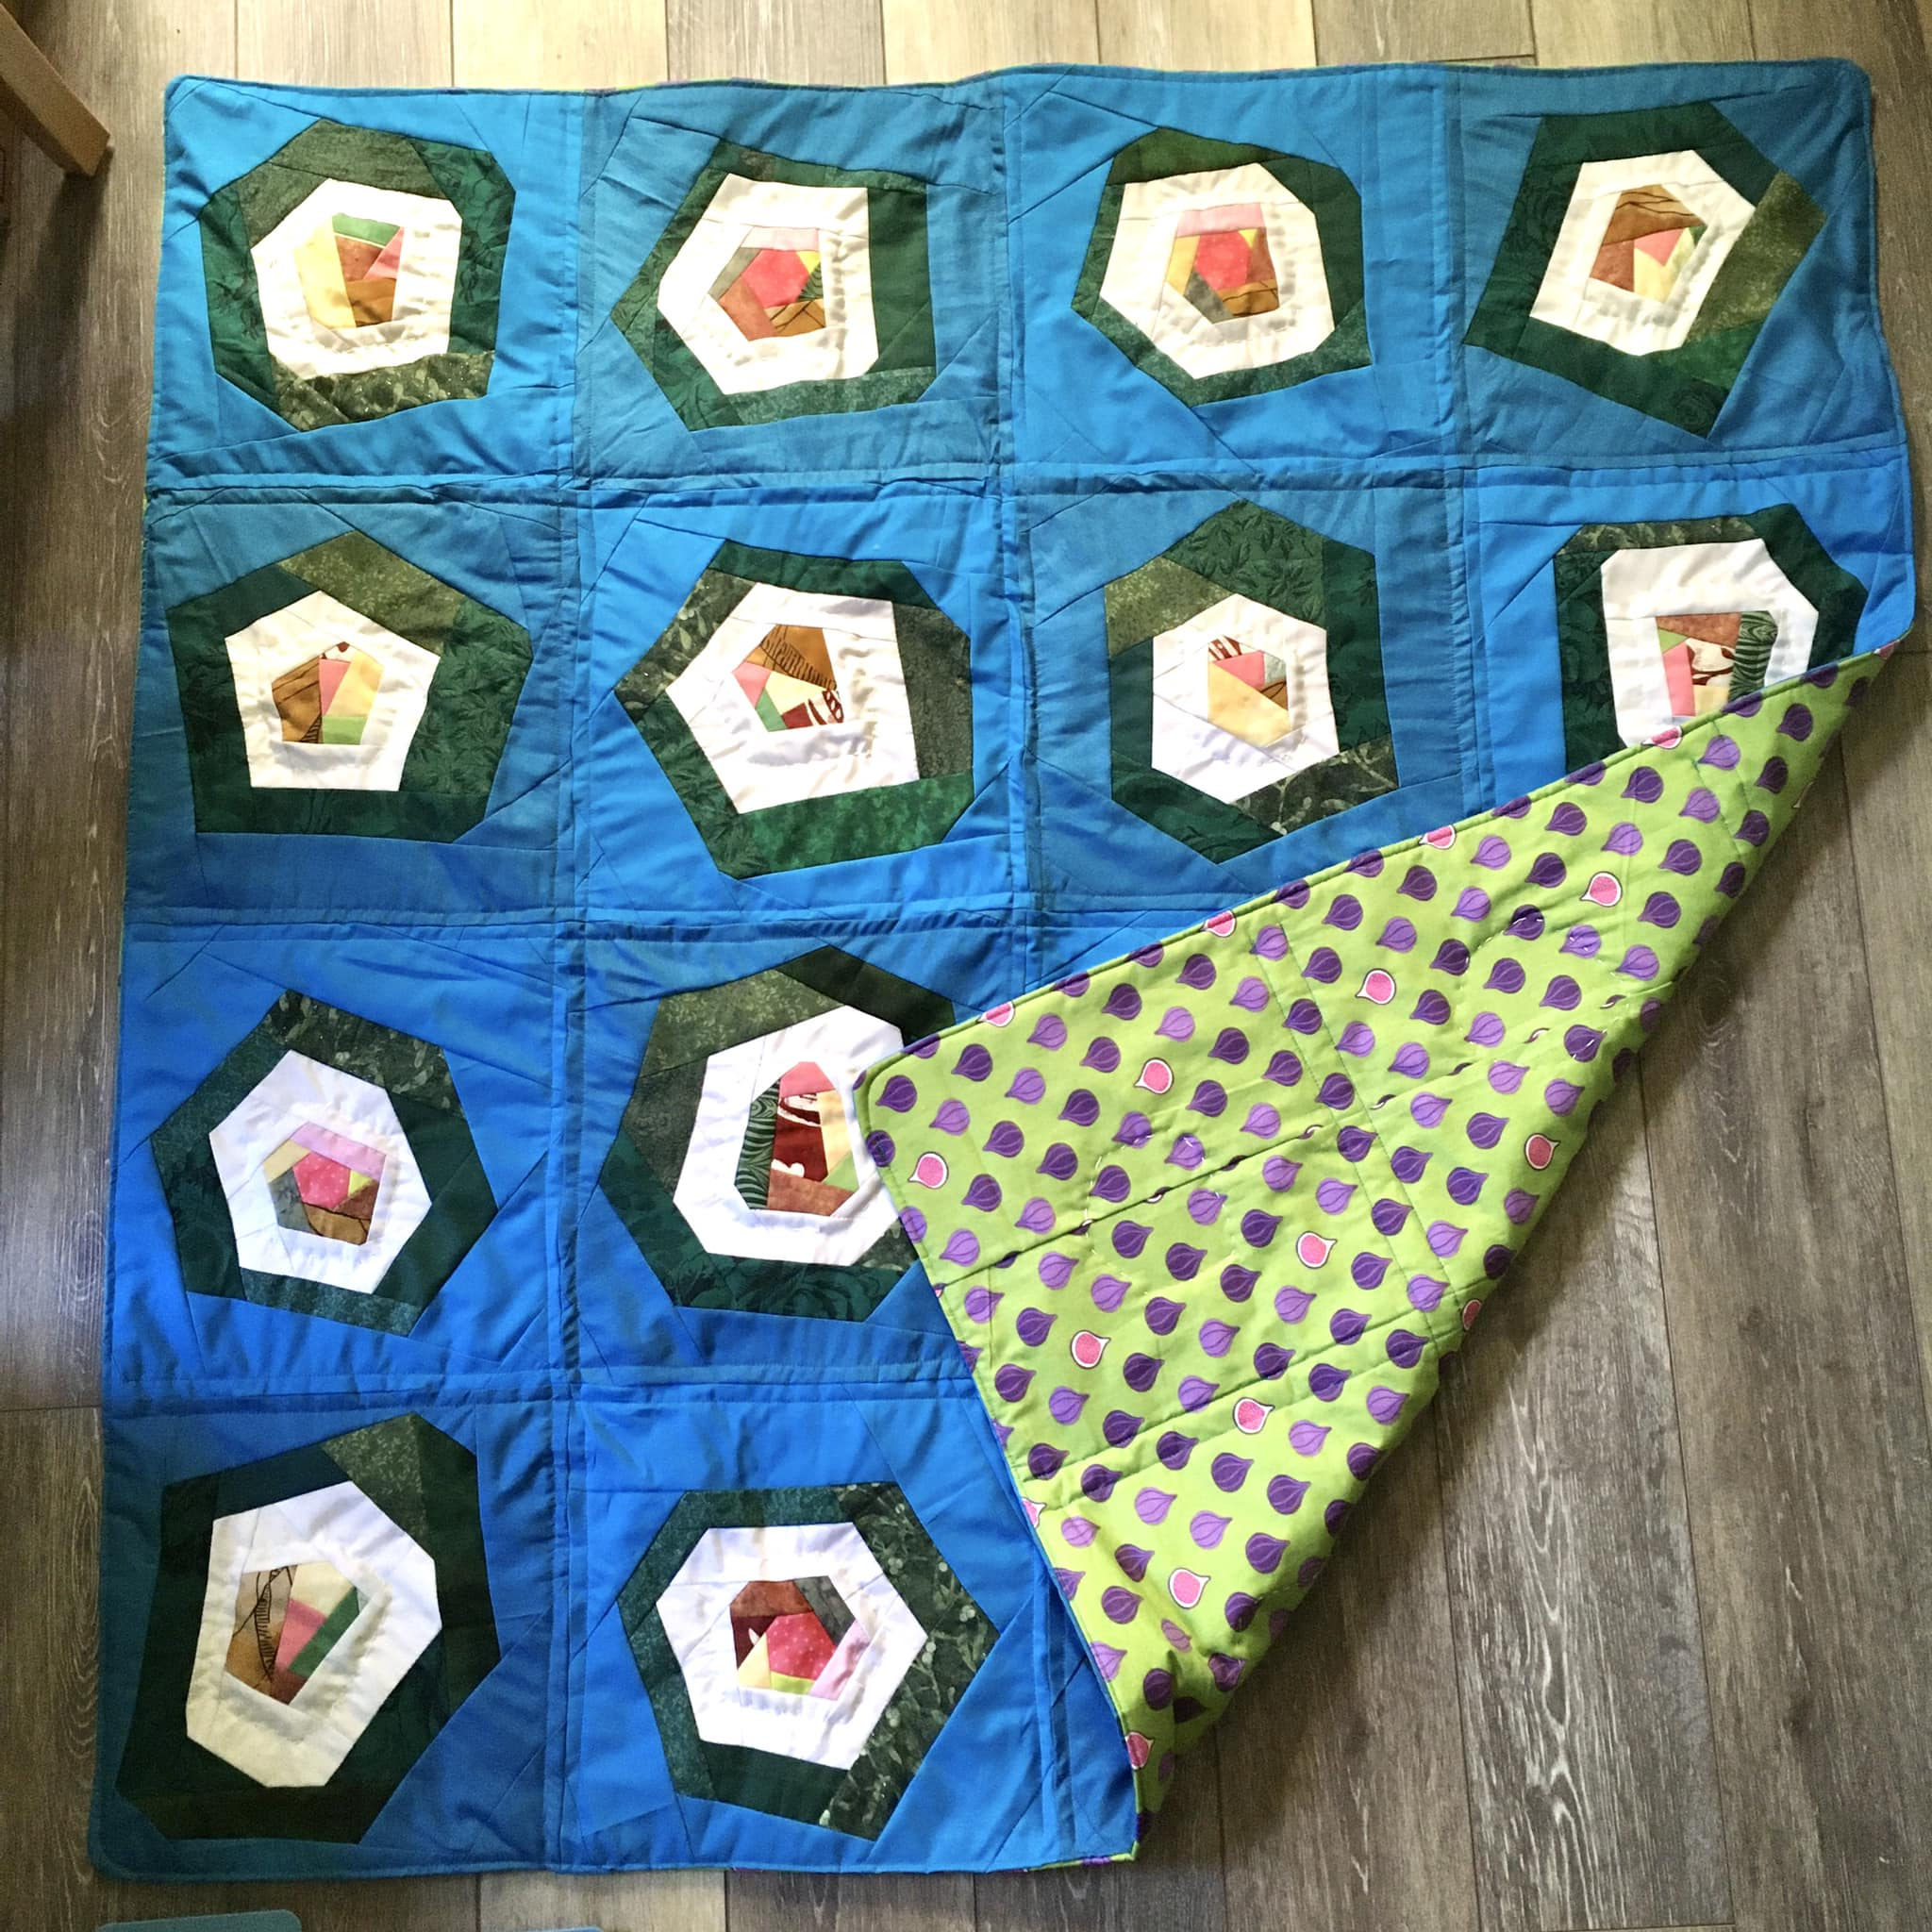
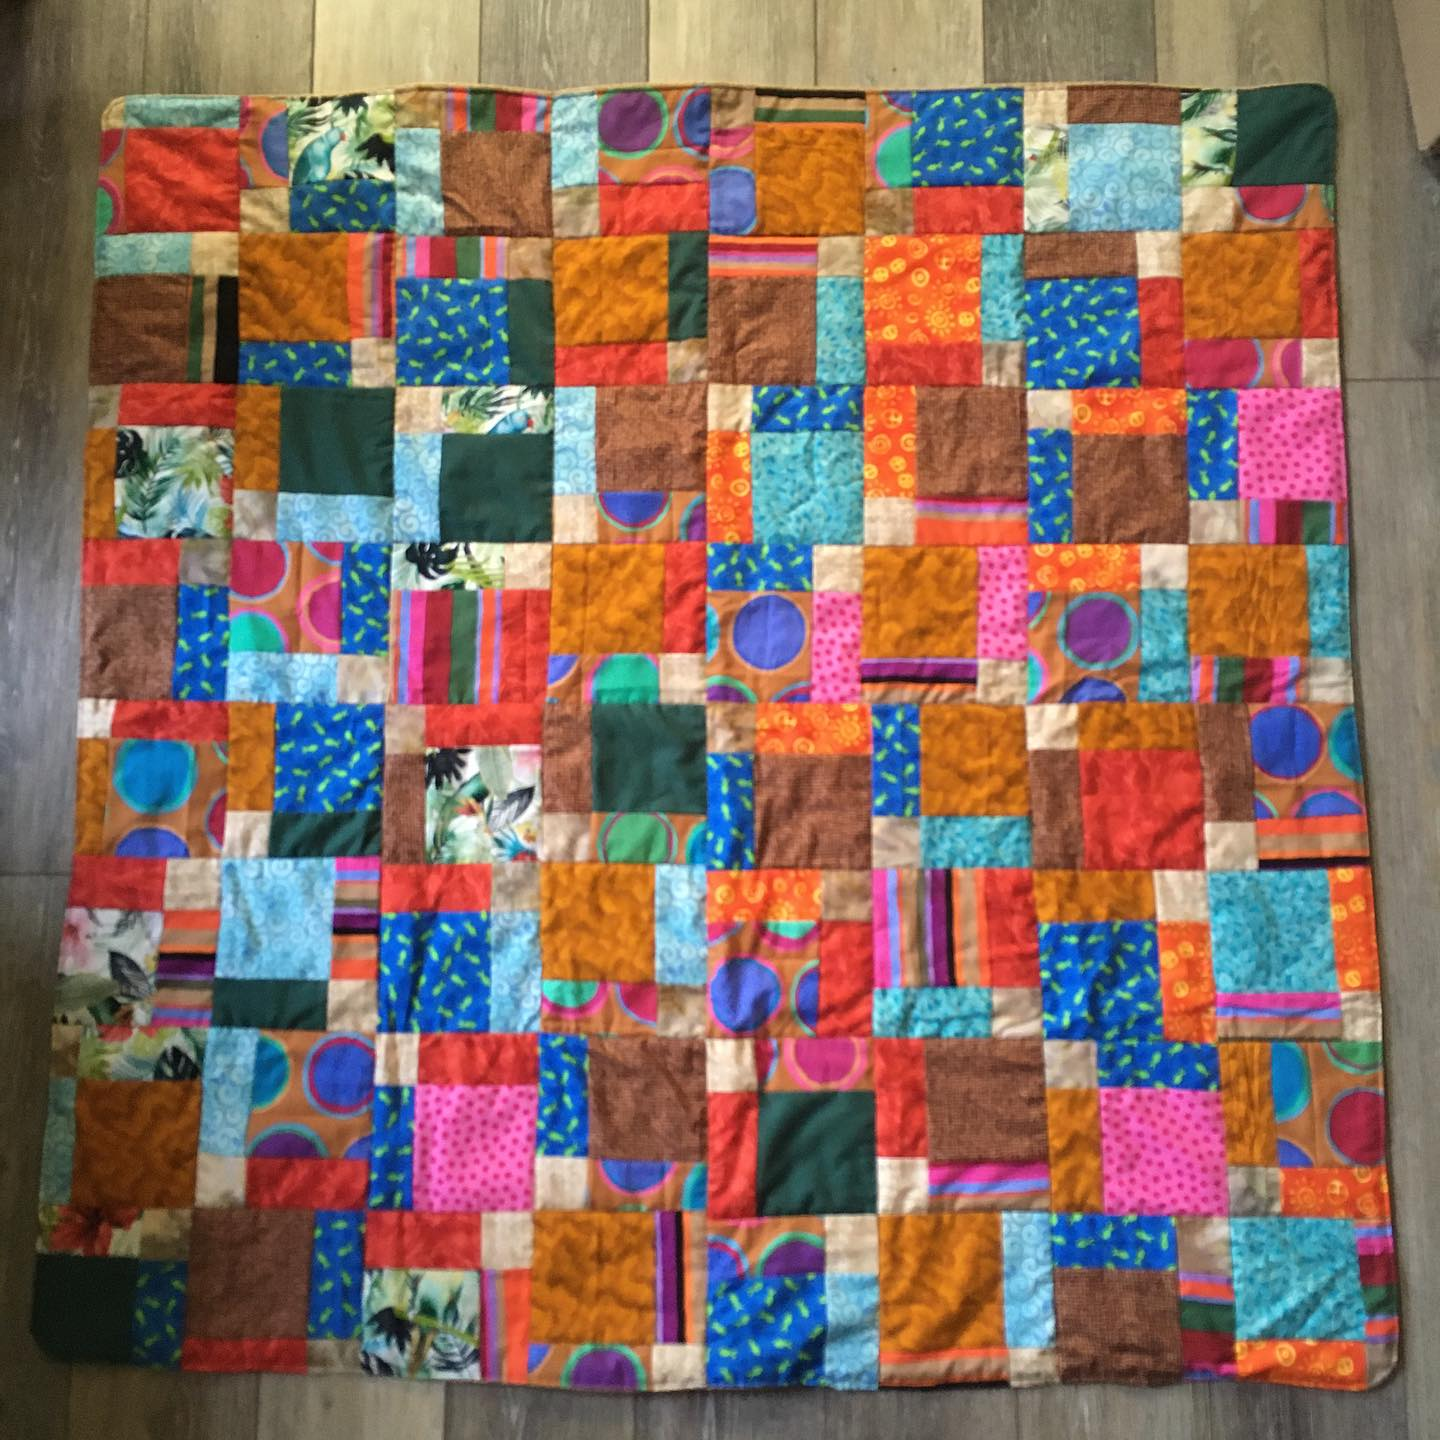
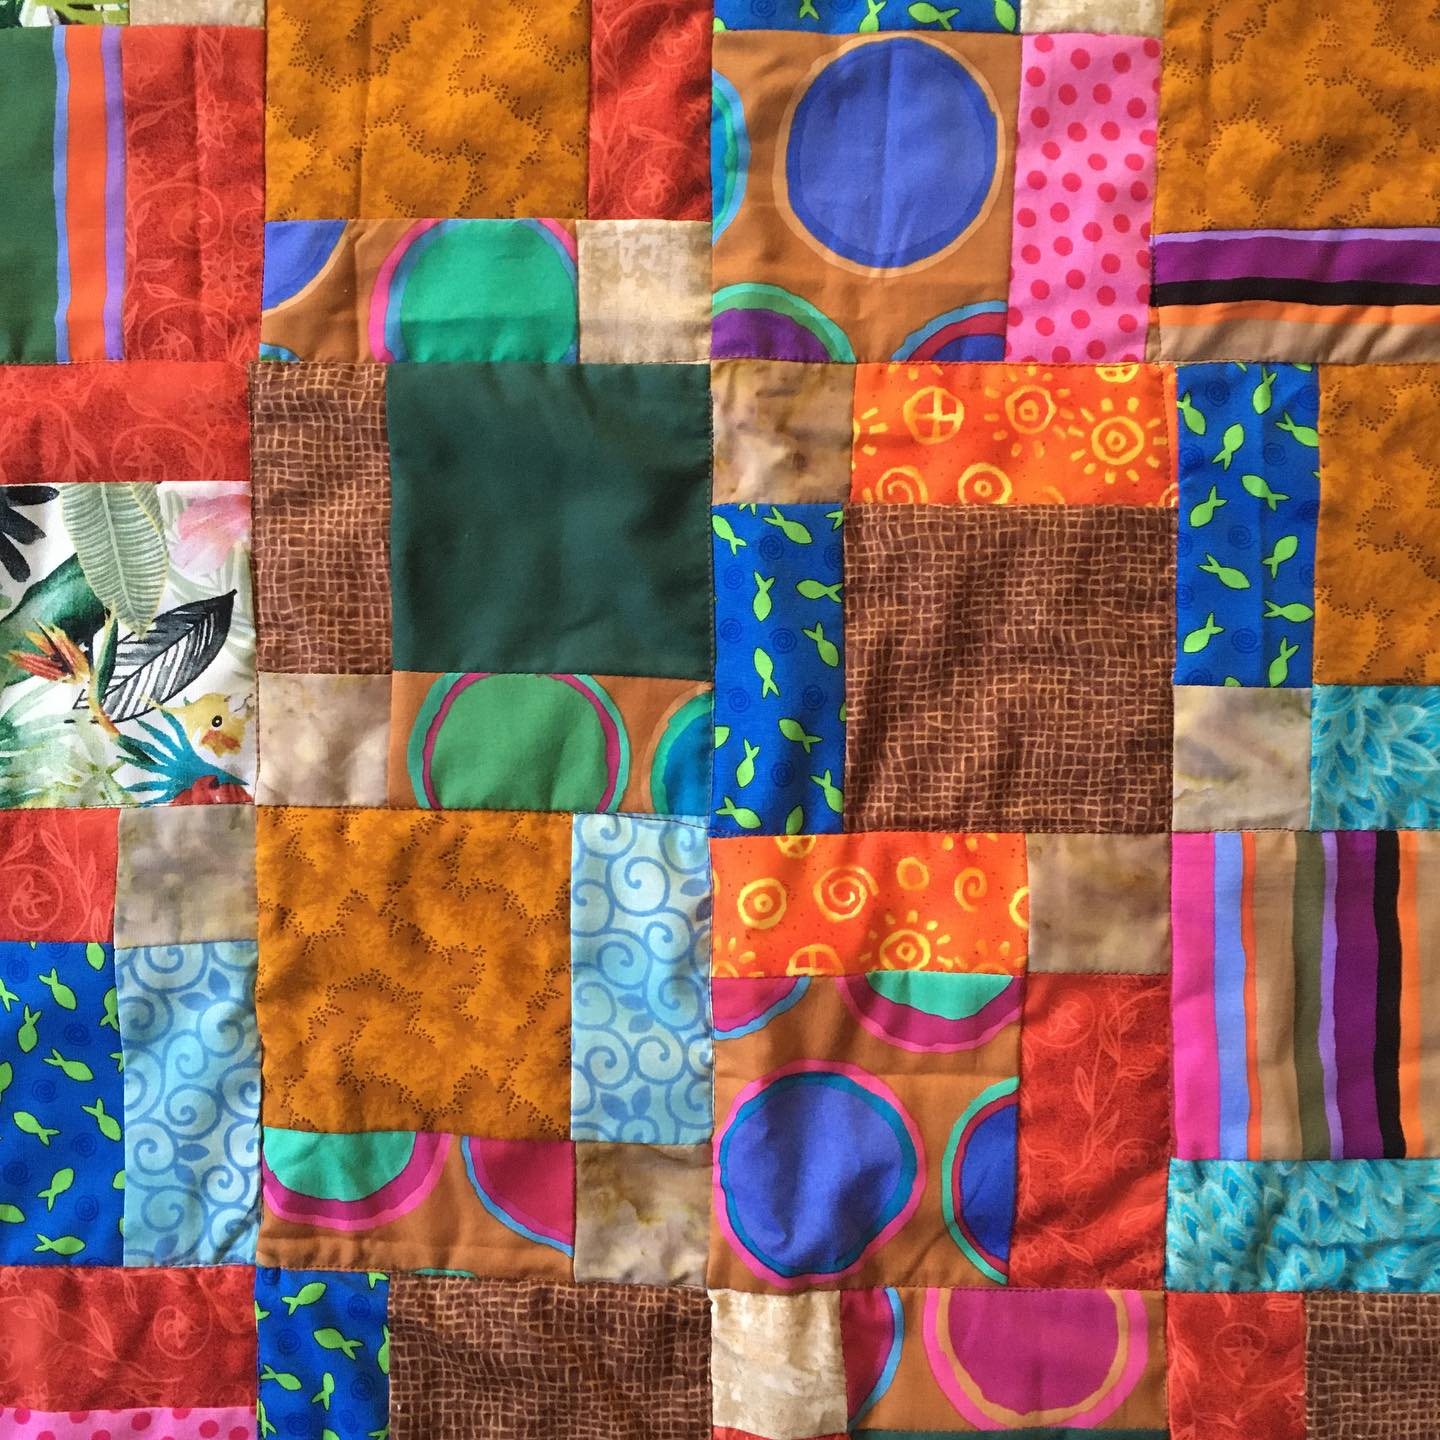
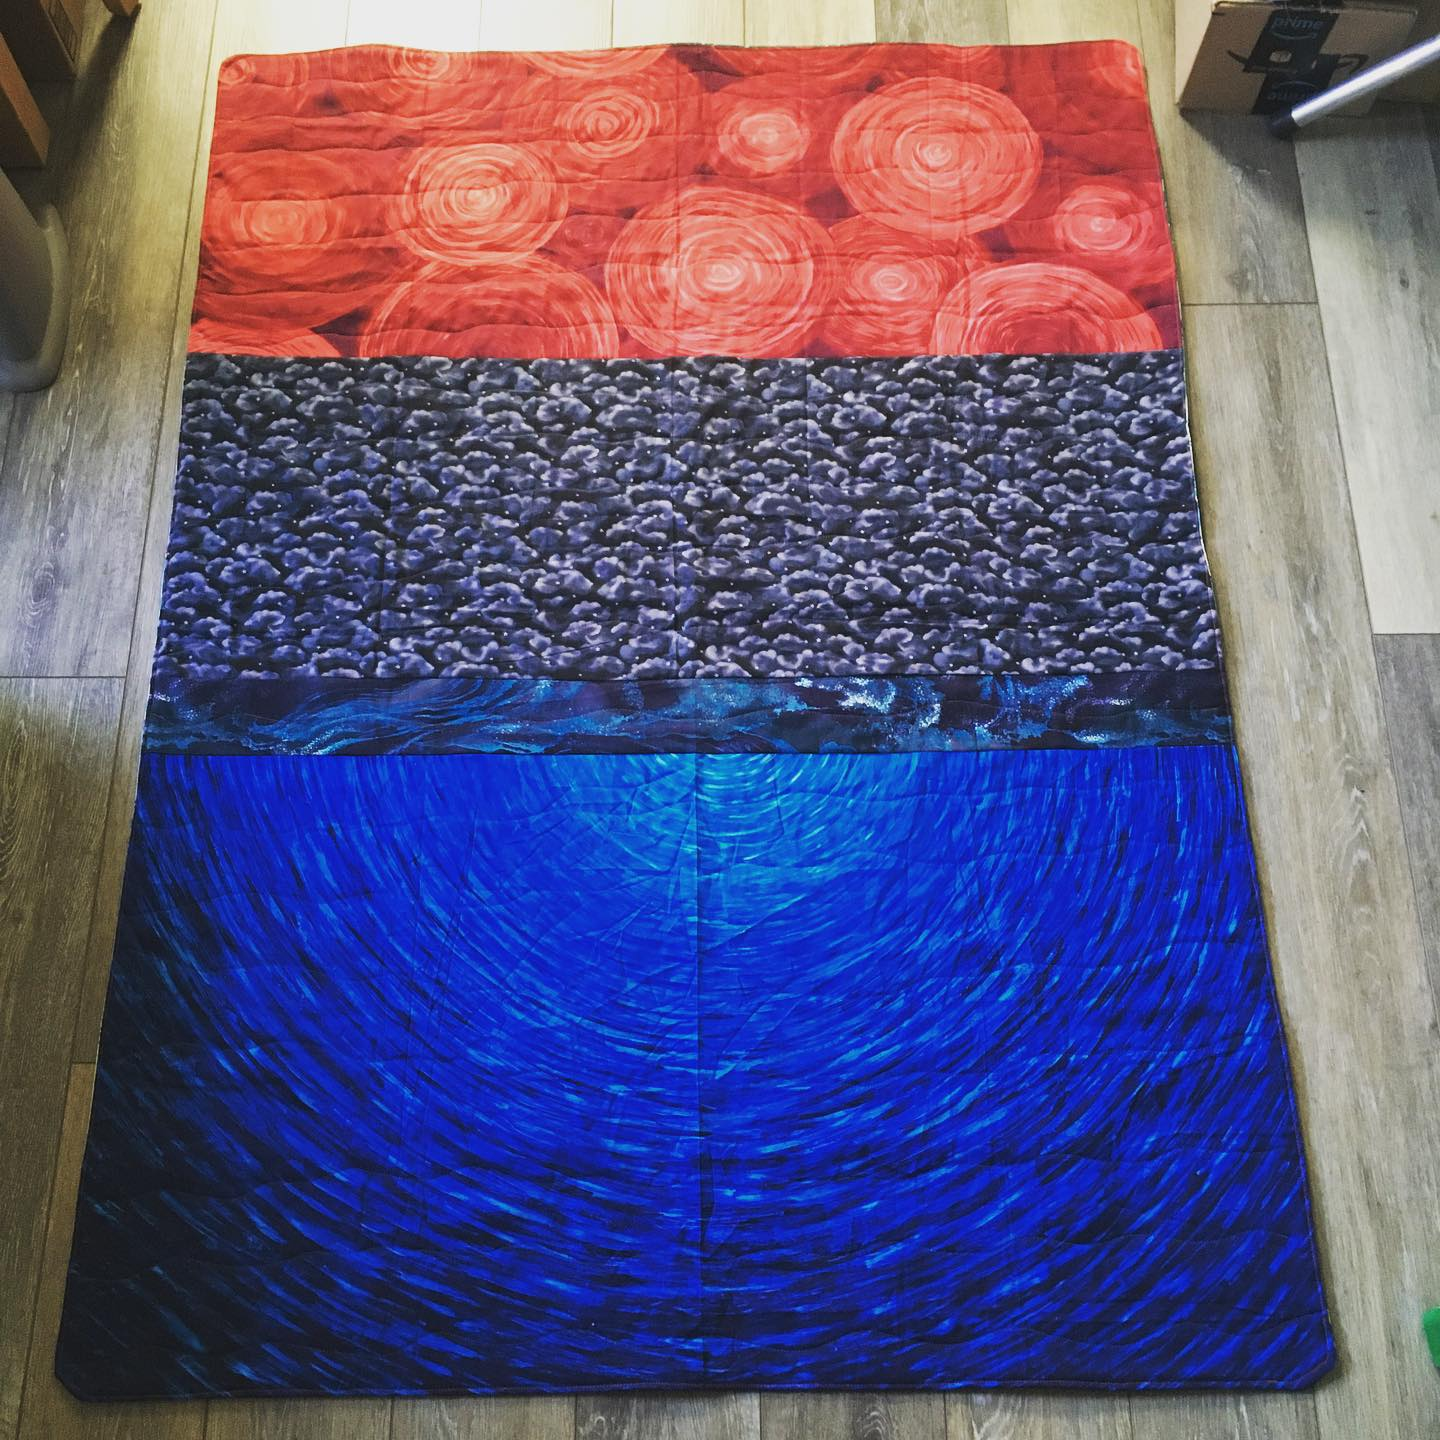
#57 finished 12/12/25 Science fiction landscape. All fabric from Smart
The back
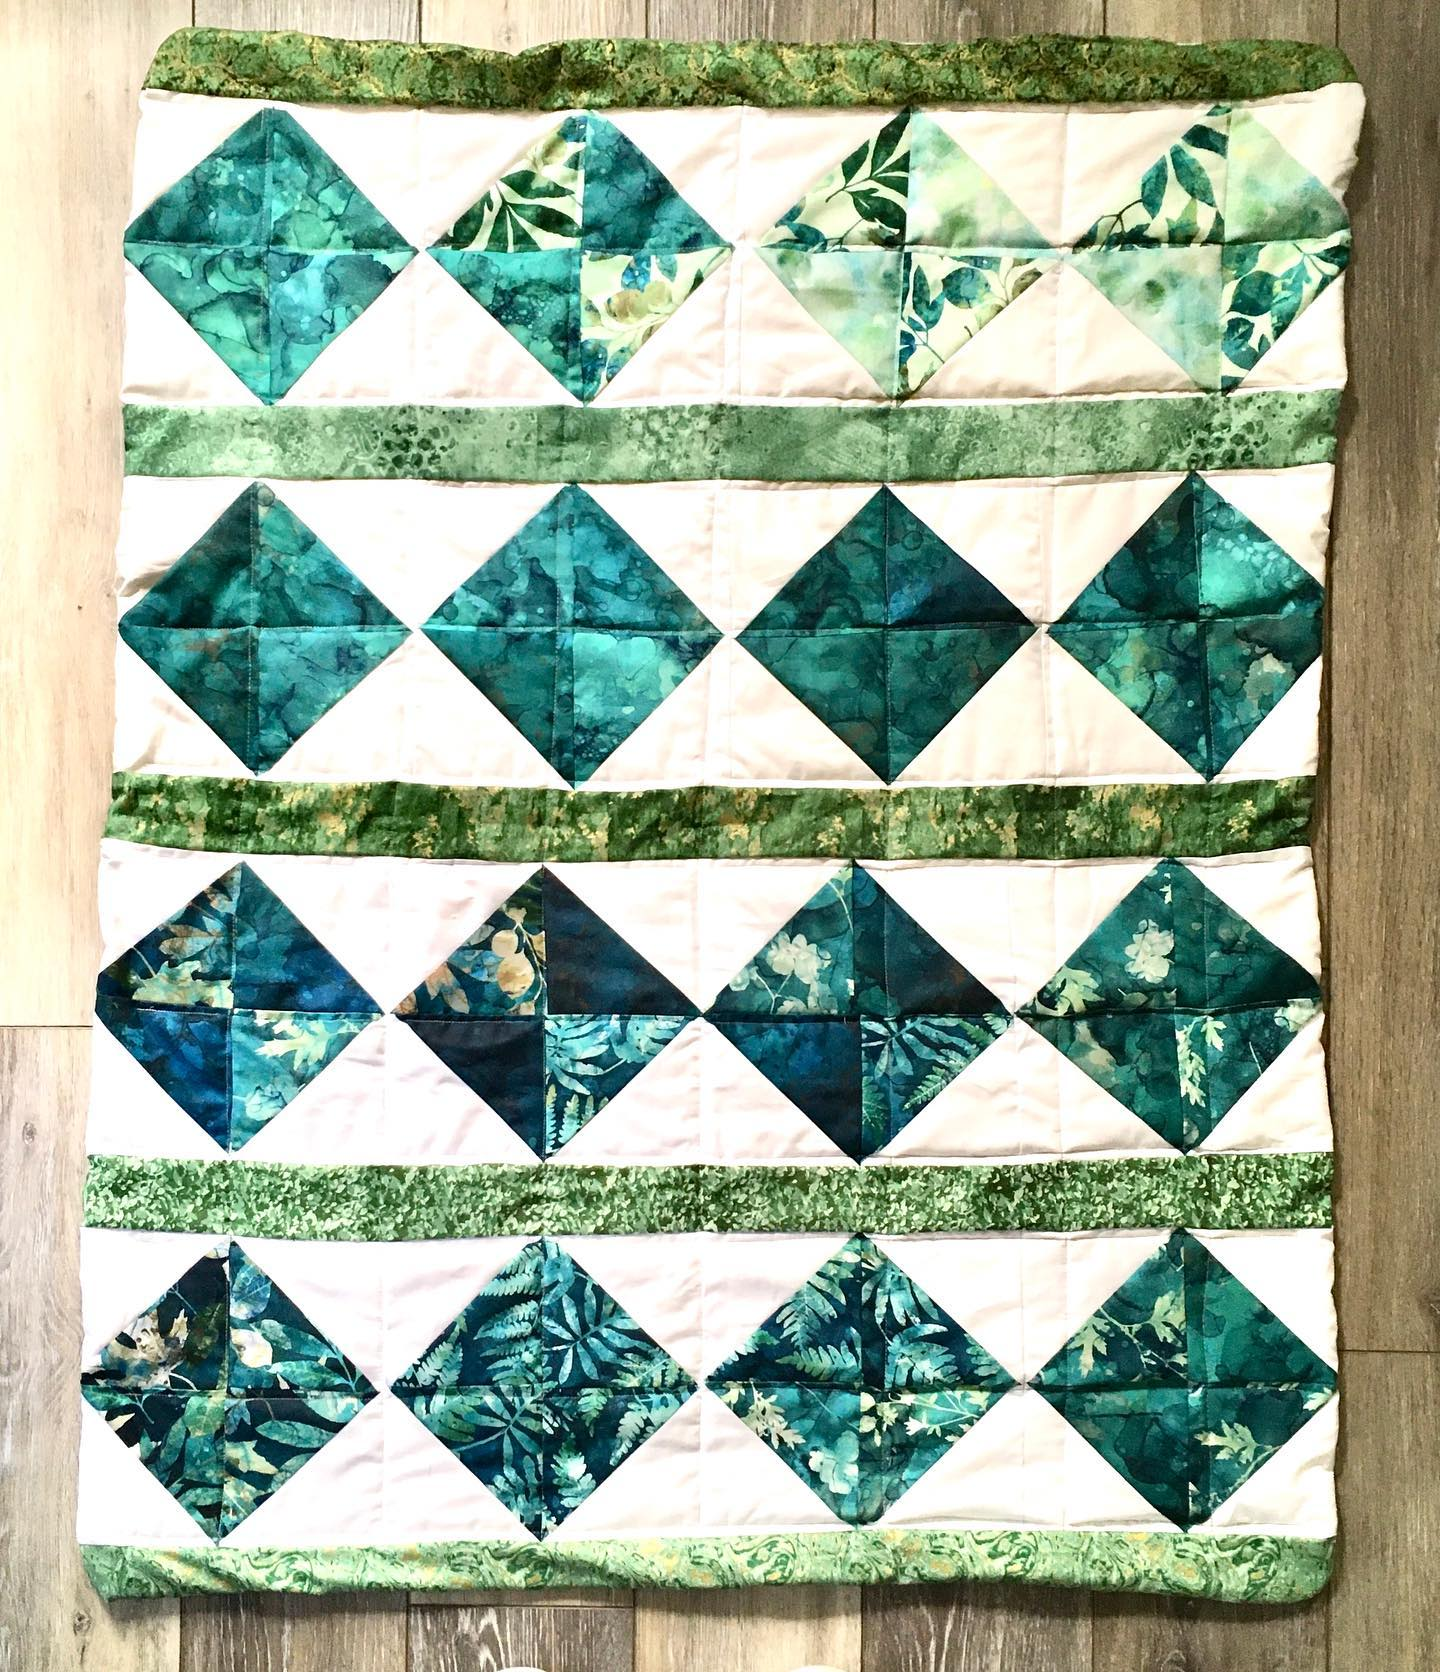
#58 Finished 12/18/25 Donated 2/20/26 Terry Rowland’s color wash, Polaroids
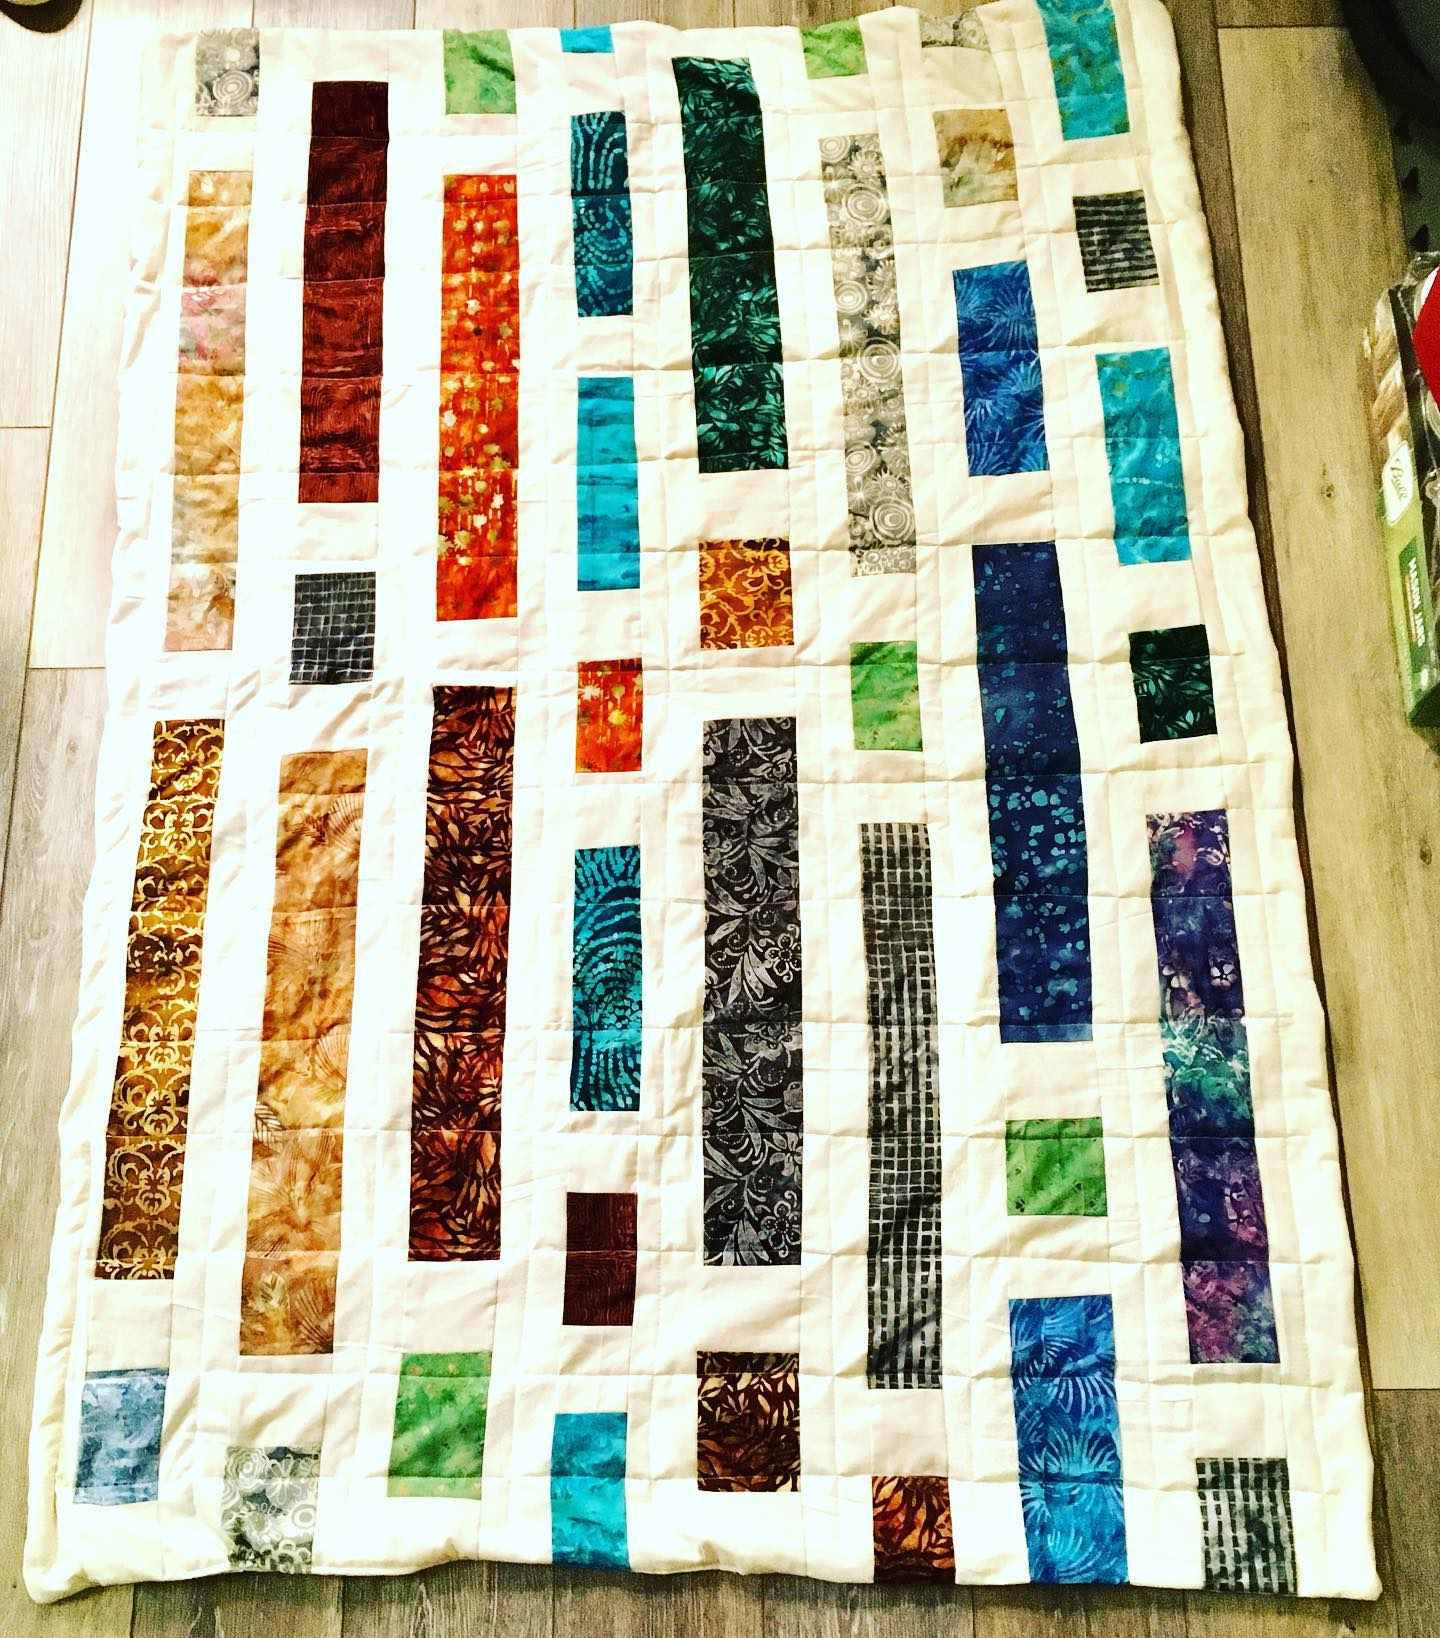
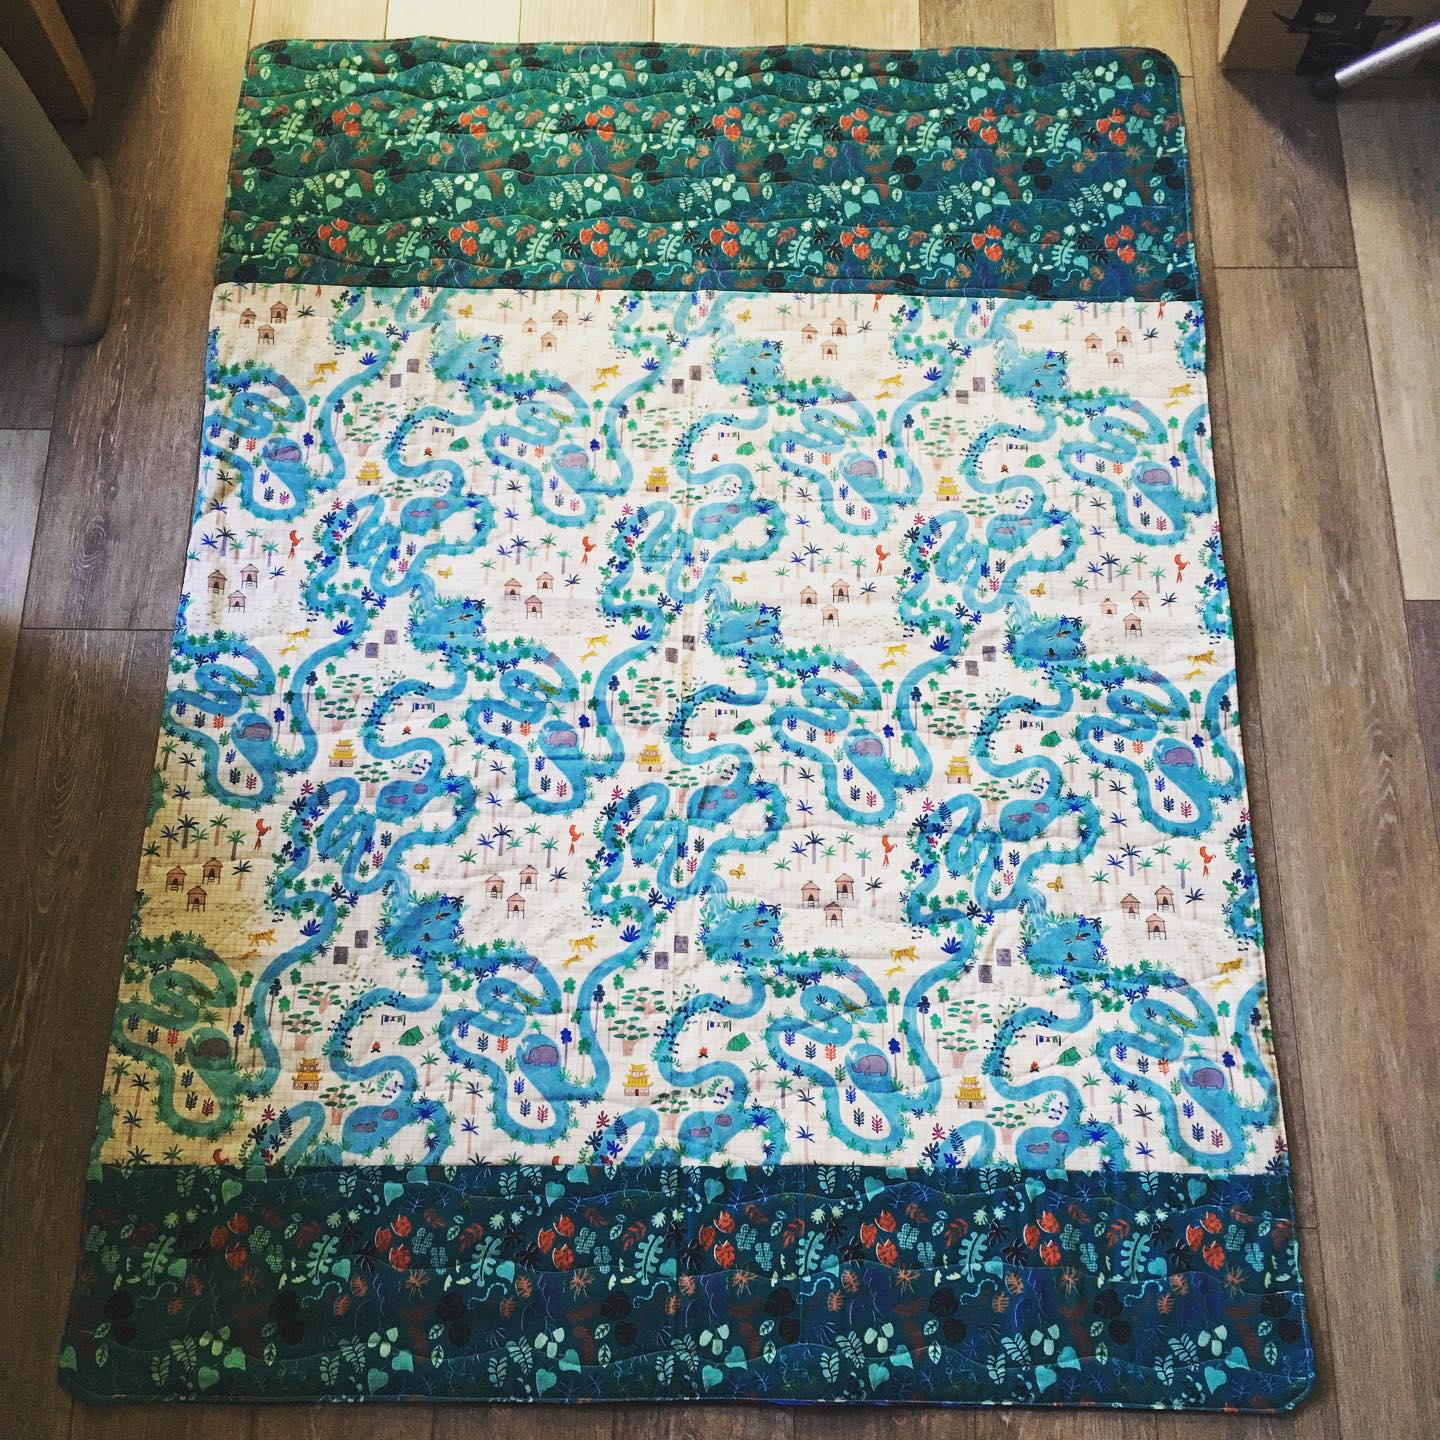
#59 finished 12/31/25 Tokyo nights. Marcia Derse fabrics, on Etsy
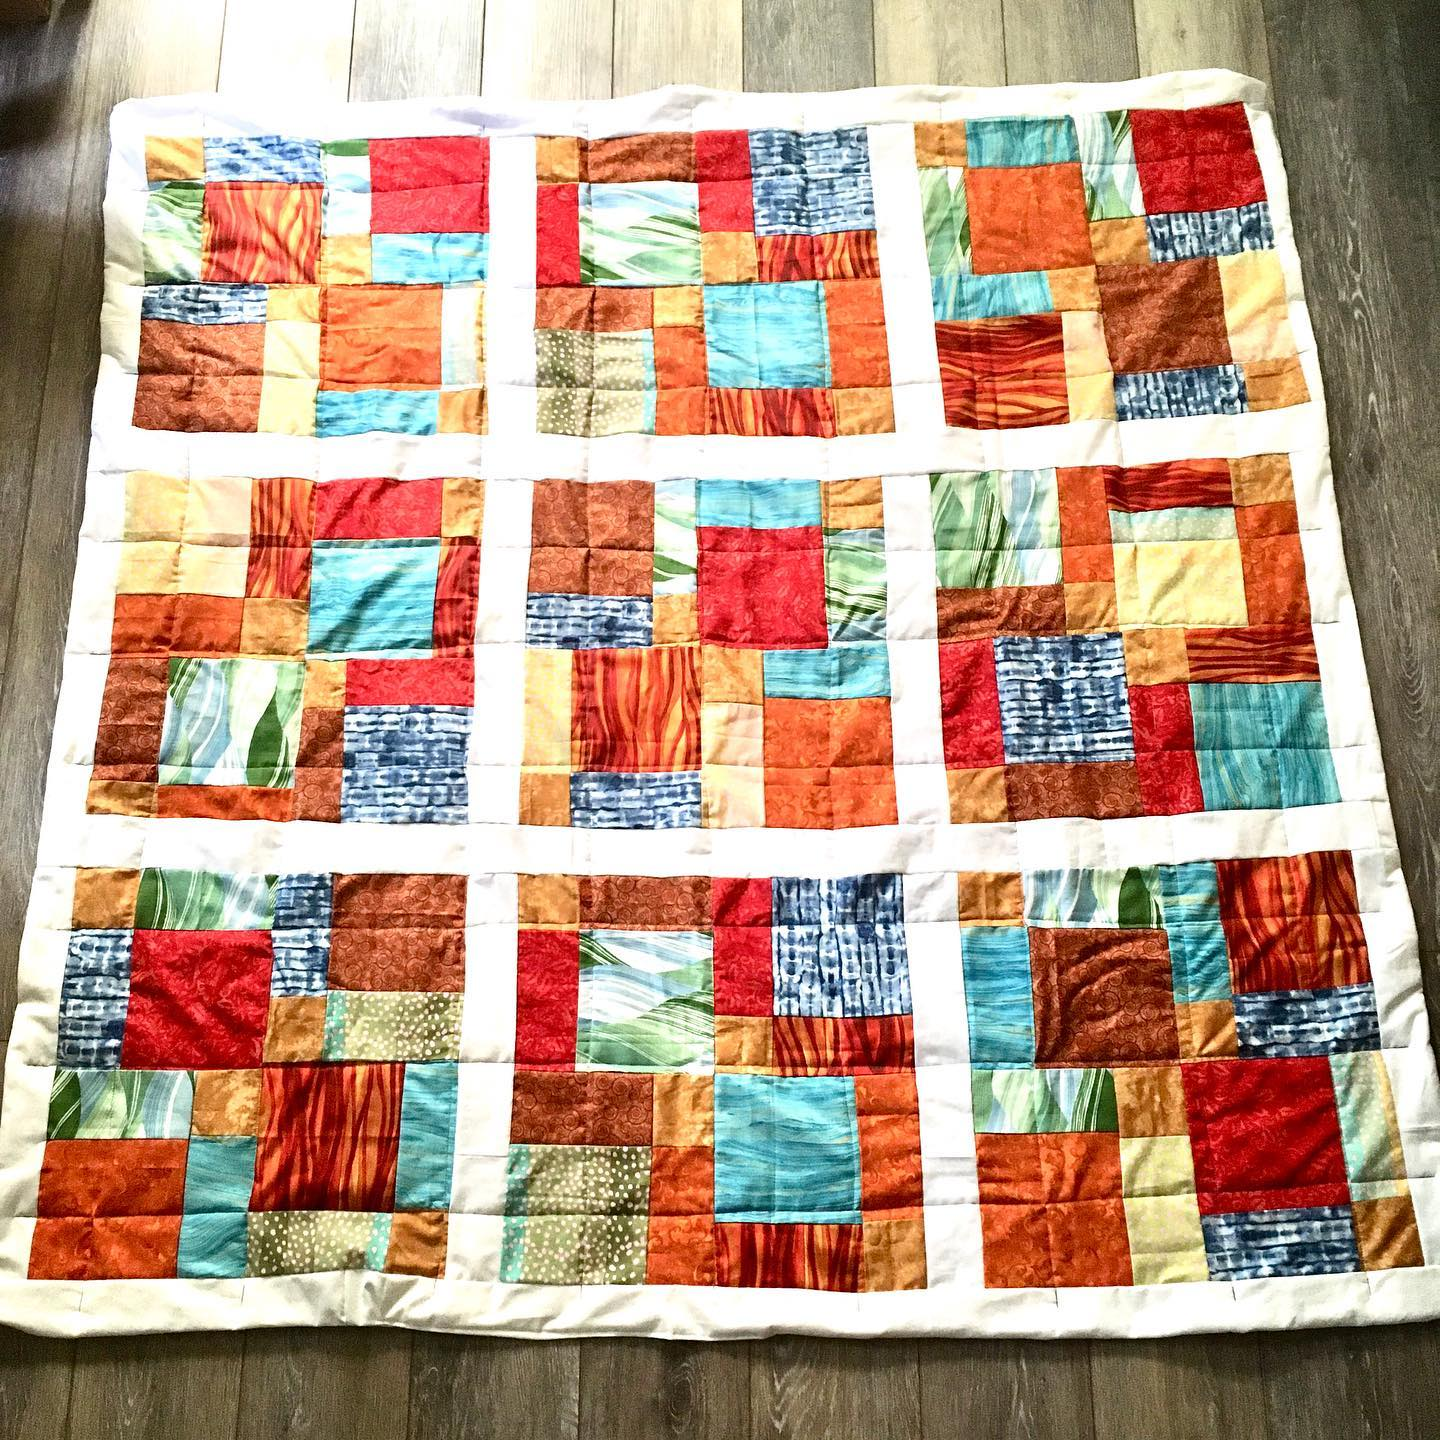
#60 finished 1/20/26 Tilda/Kaffe
Since September of 2021 I’ve made 60 quilts. Of those, I’ve given away 14 (of that, 4 were for babies), sold 3, and donated 13 to Hospice.
#61 African Star. 38” square. Started 5/4/25. Finished 6/13/26. Sawtooth Star and Flying Geese blocks. African wax print fabric front and back is from Smart Art and Craft Supplies. Mango Kona cotton from Joann Fabrics during the closing sale.
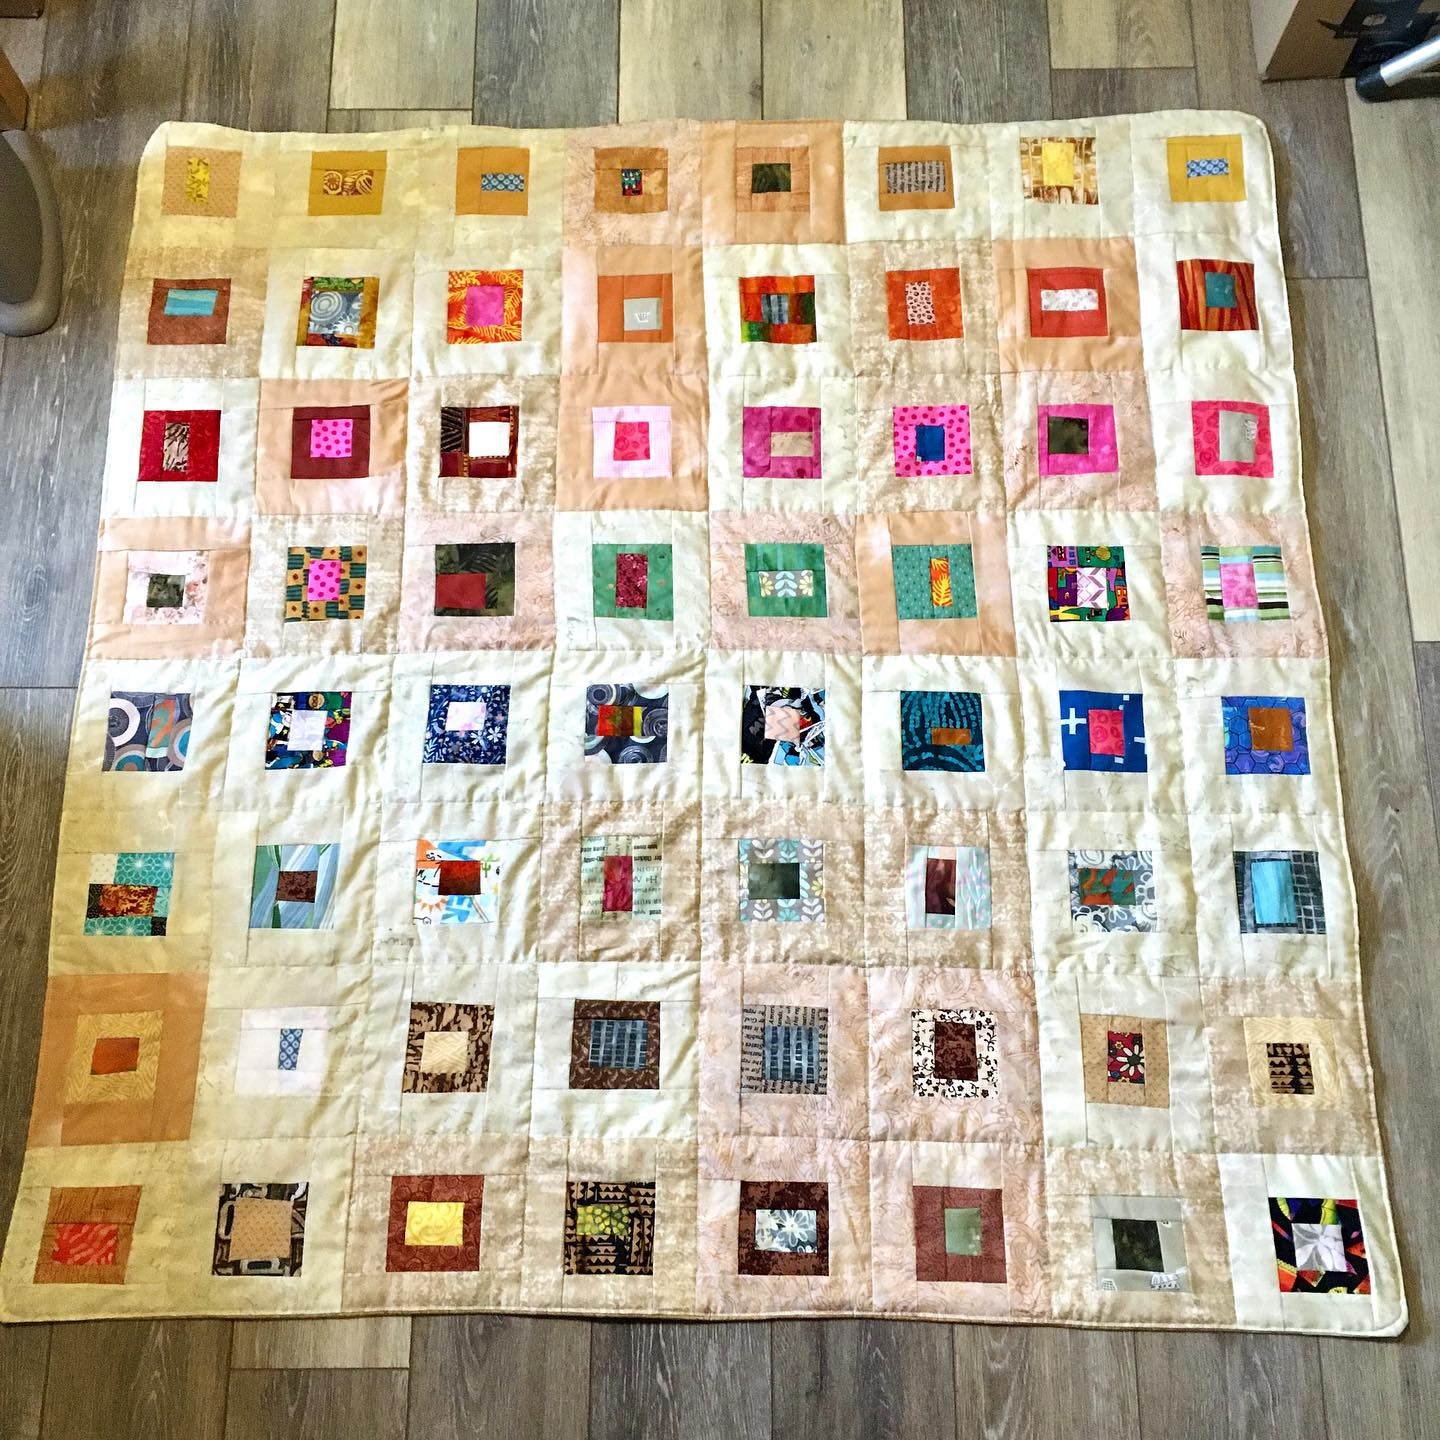
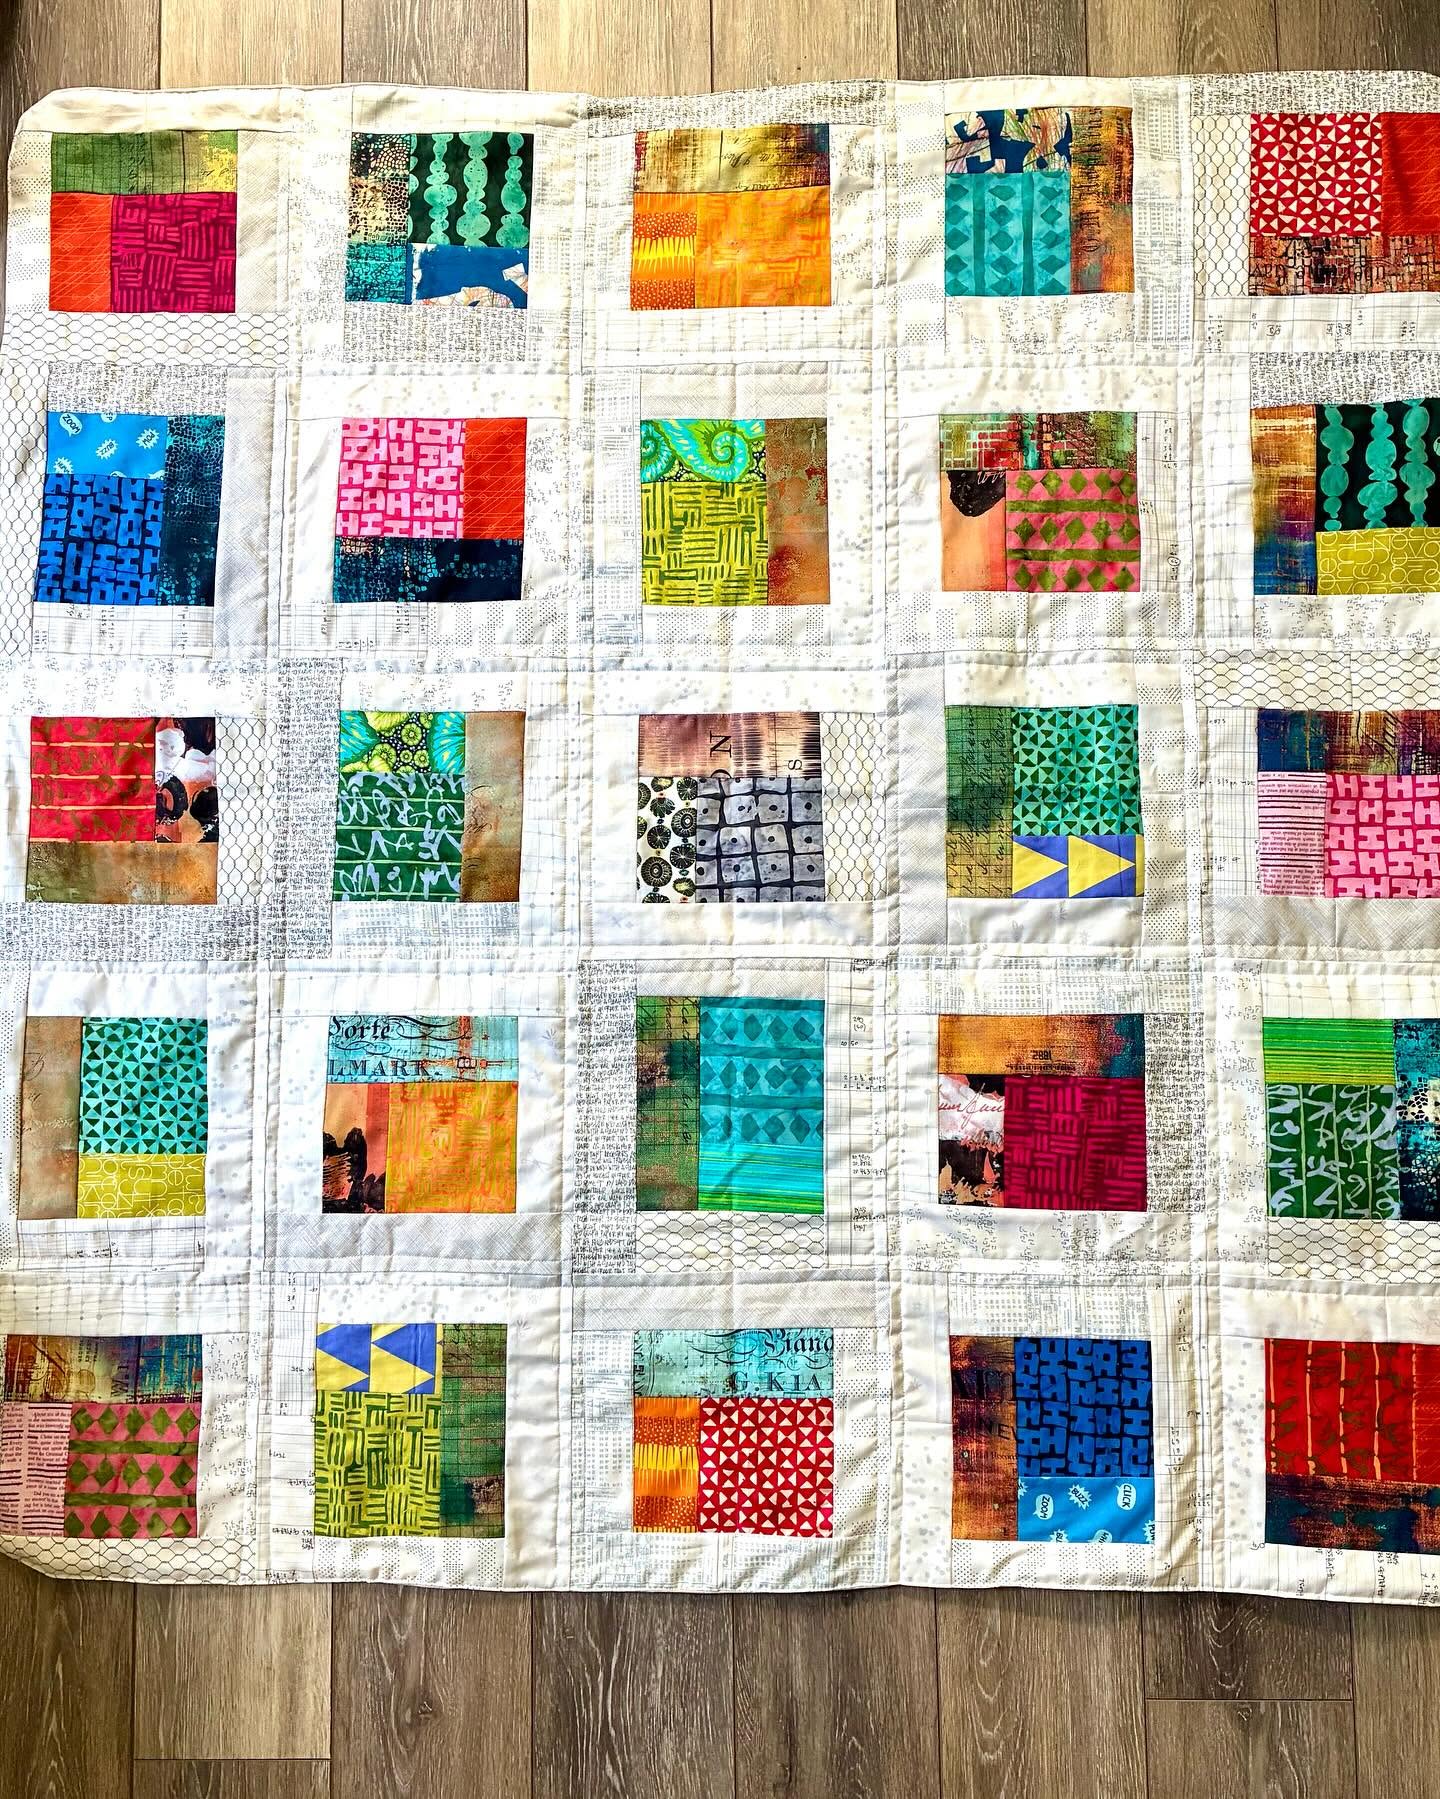
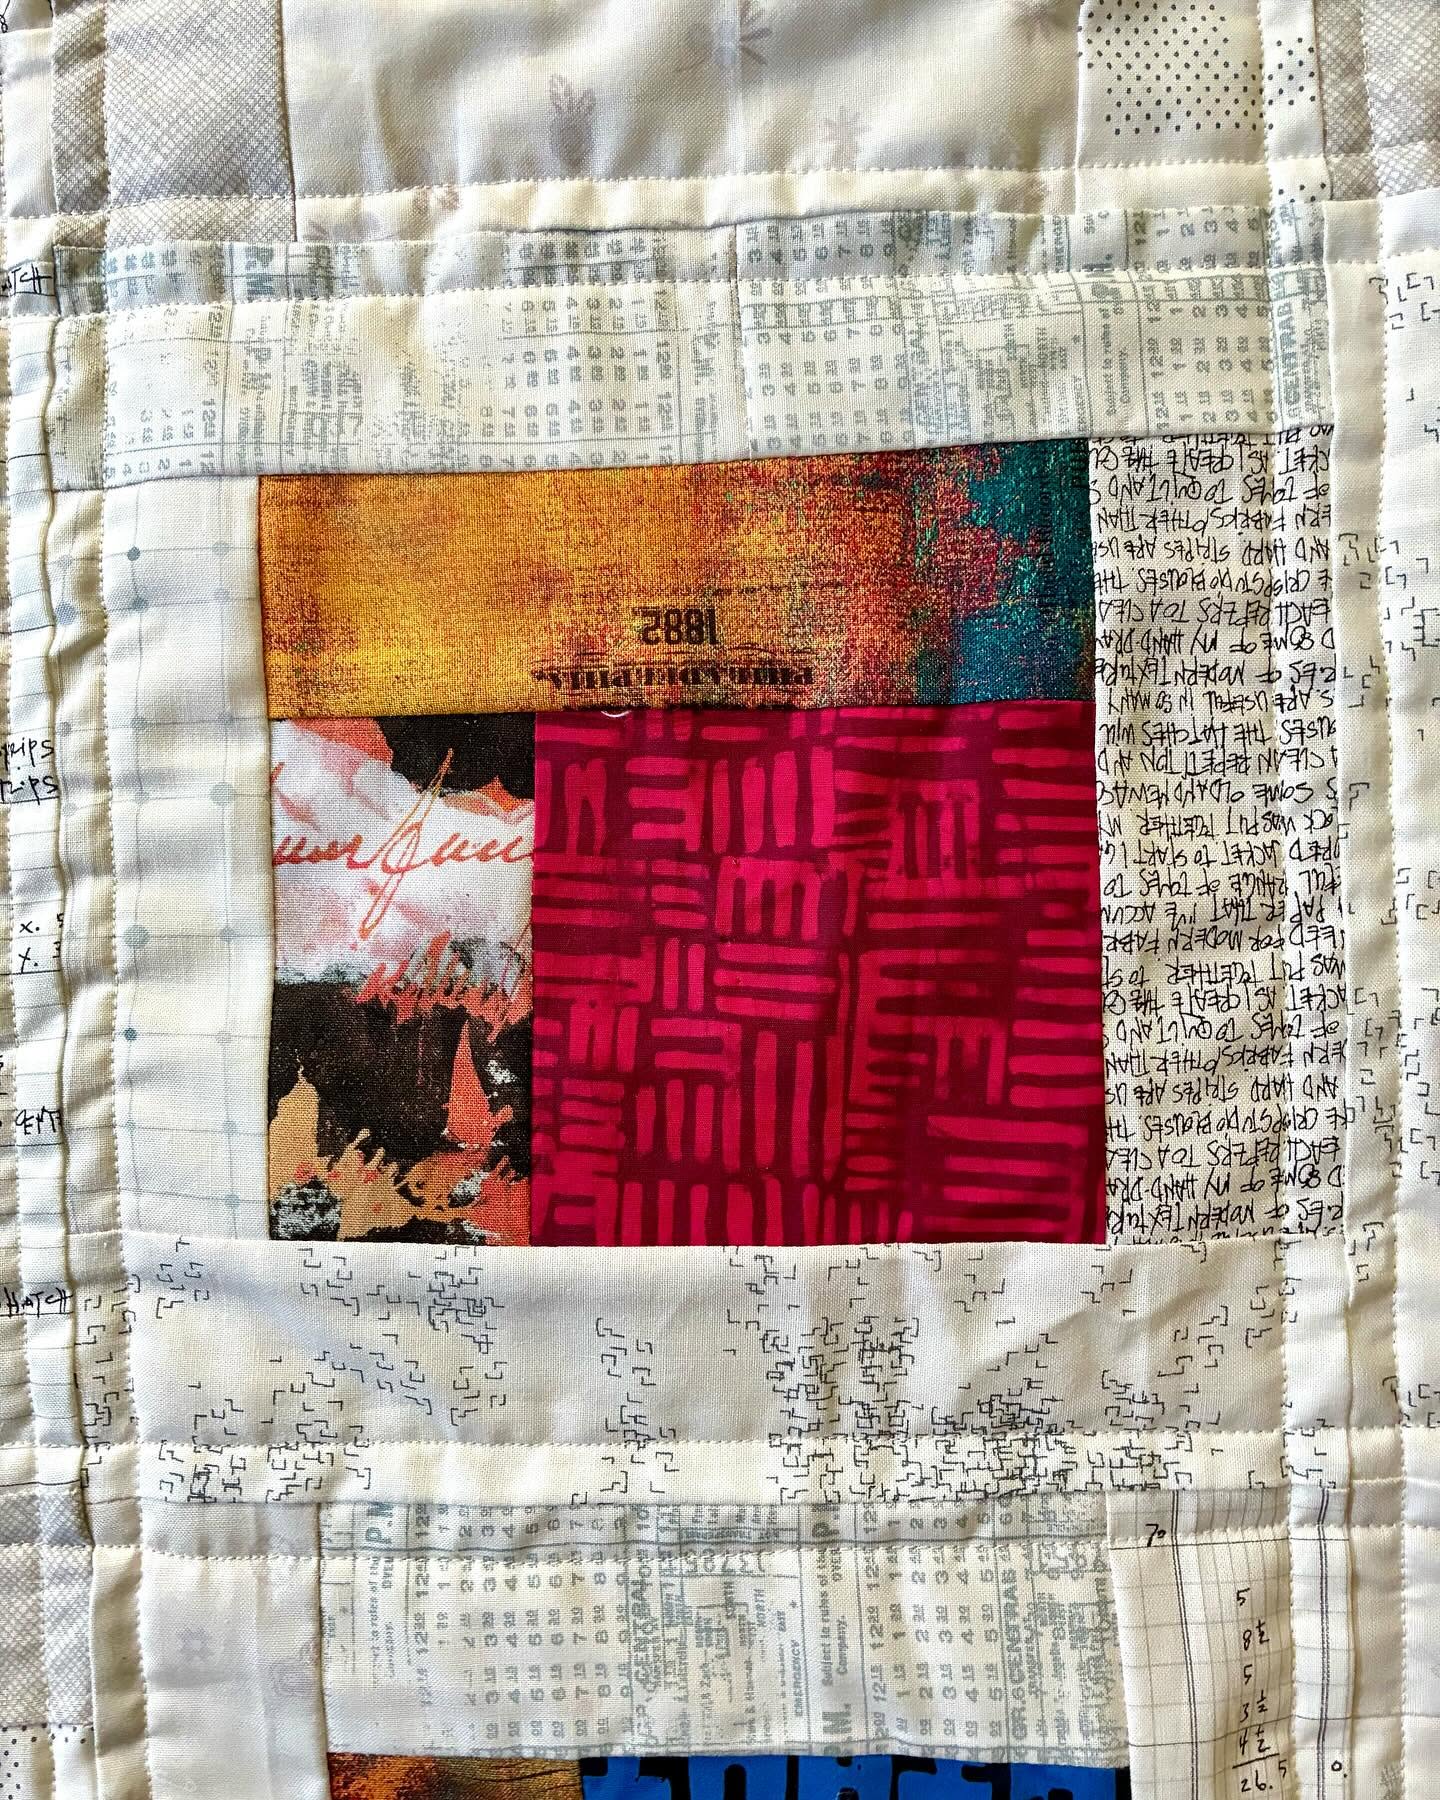
#62 “Art Journal” quilt finished 6/16/26. Started 3/13/26, top completed 3/23/26. About 46 inches square. Some fabric from Smart, some from Marcia Derse Fabric leftover from the “Tokyo Nights” quilt, and some low volume fabric I ordered. Back is a well-washed and thus very soft sheet.
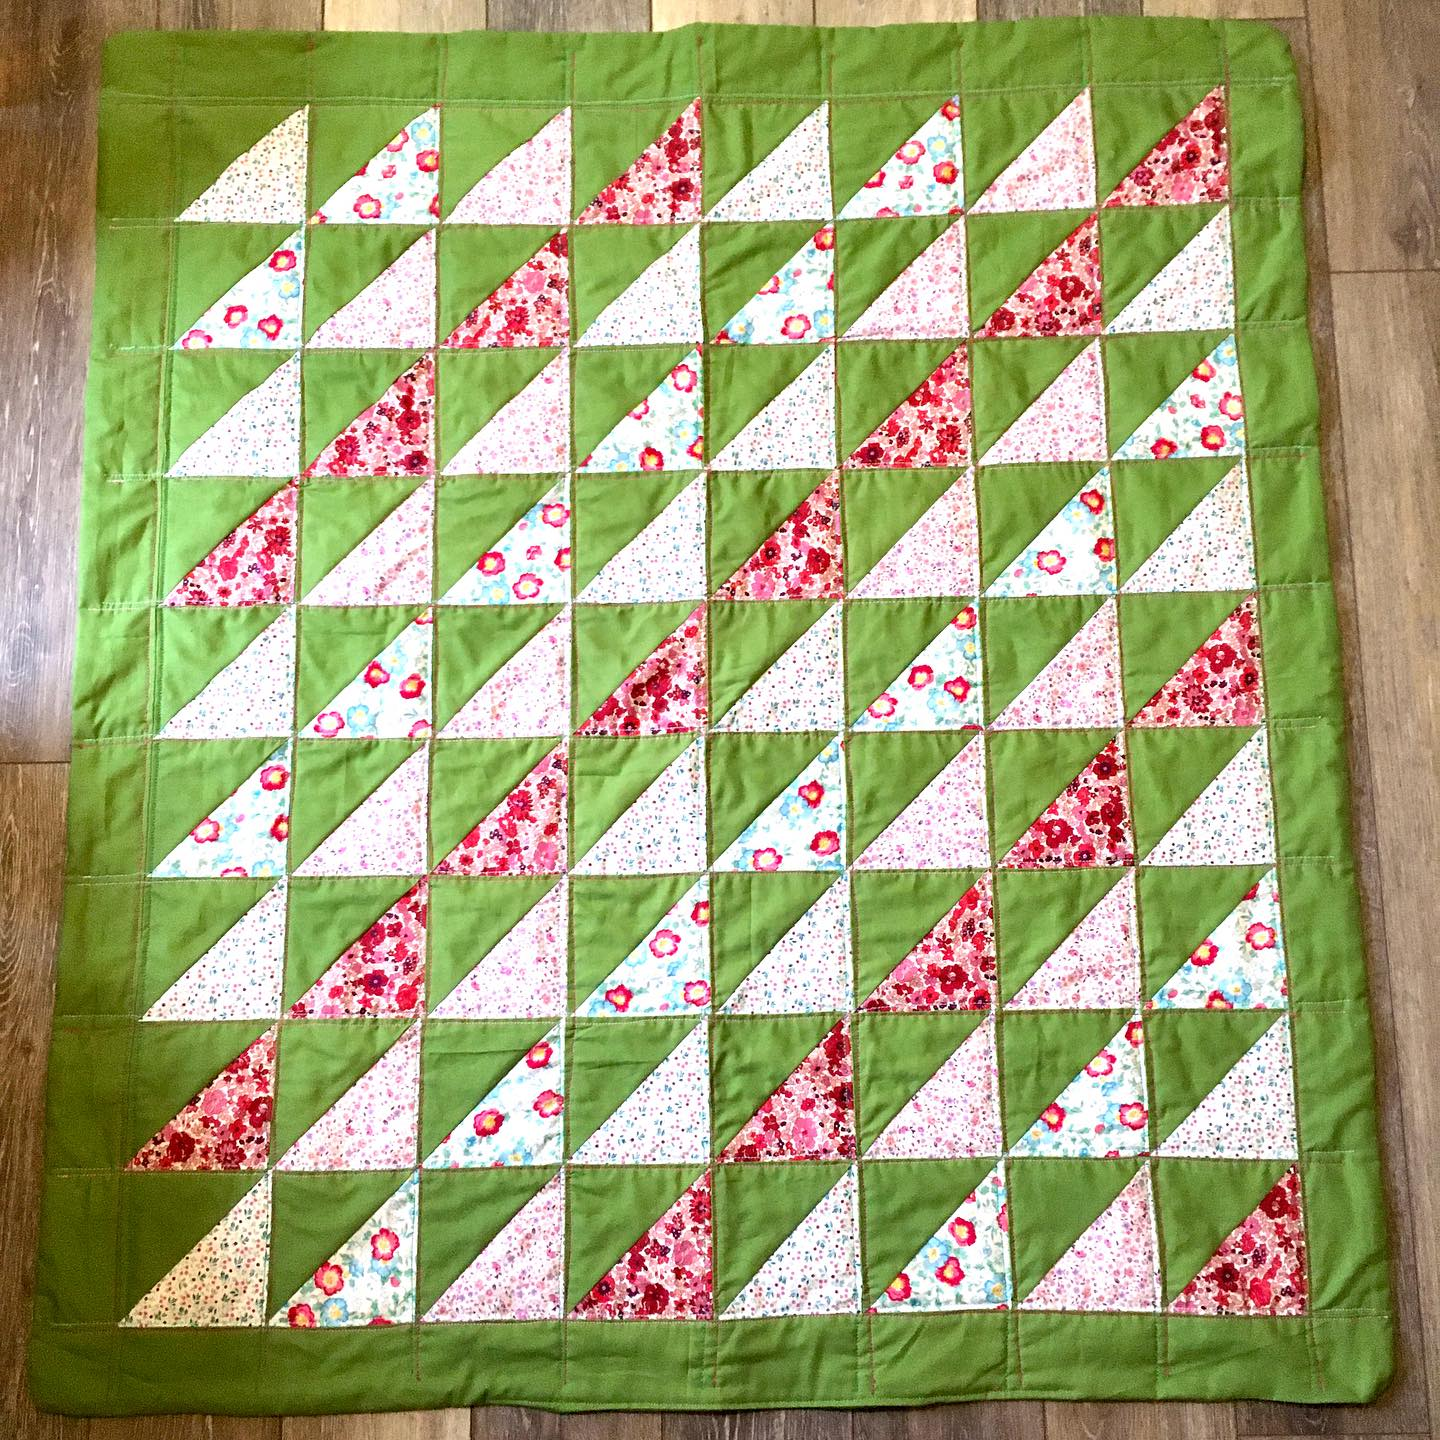
#63 Peace Walk
Started 1/20/26, final quilting 6/17/26. 70 x 53 inches. (5 feet 10 inches by 4 foot 5 inches). I started this when the monks were on their Walk For Peace. I studied photos of their patchwork robes and read about how they are made, so I used only scraps of fabric which I got from Smart. I noticed that the quilting was done by making 90 degree turns instead of straight lines so I tried that (it got a little off but that is OK too). I also chose to piece the back as well, which meant making two quilt tops. This is also an echo of their robes.
Front of quilt is first, back is second.
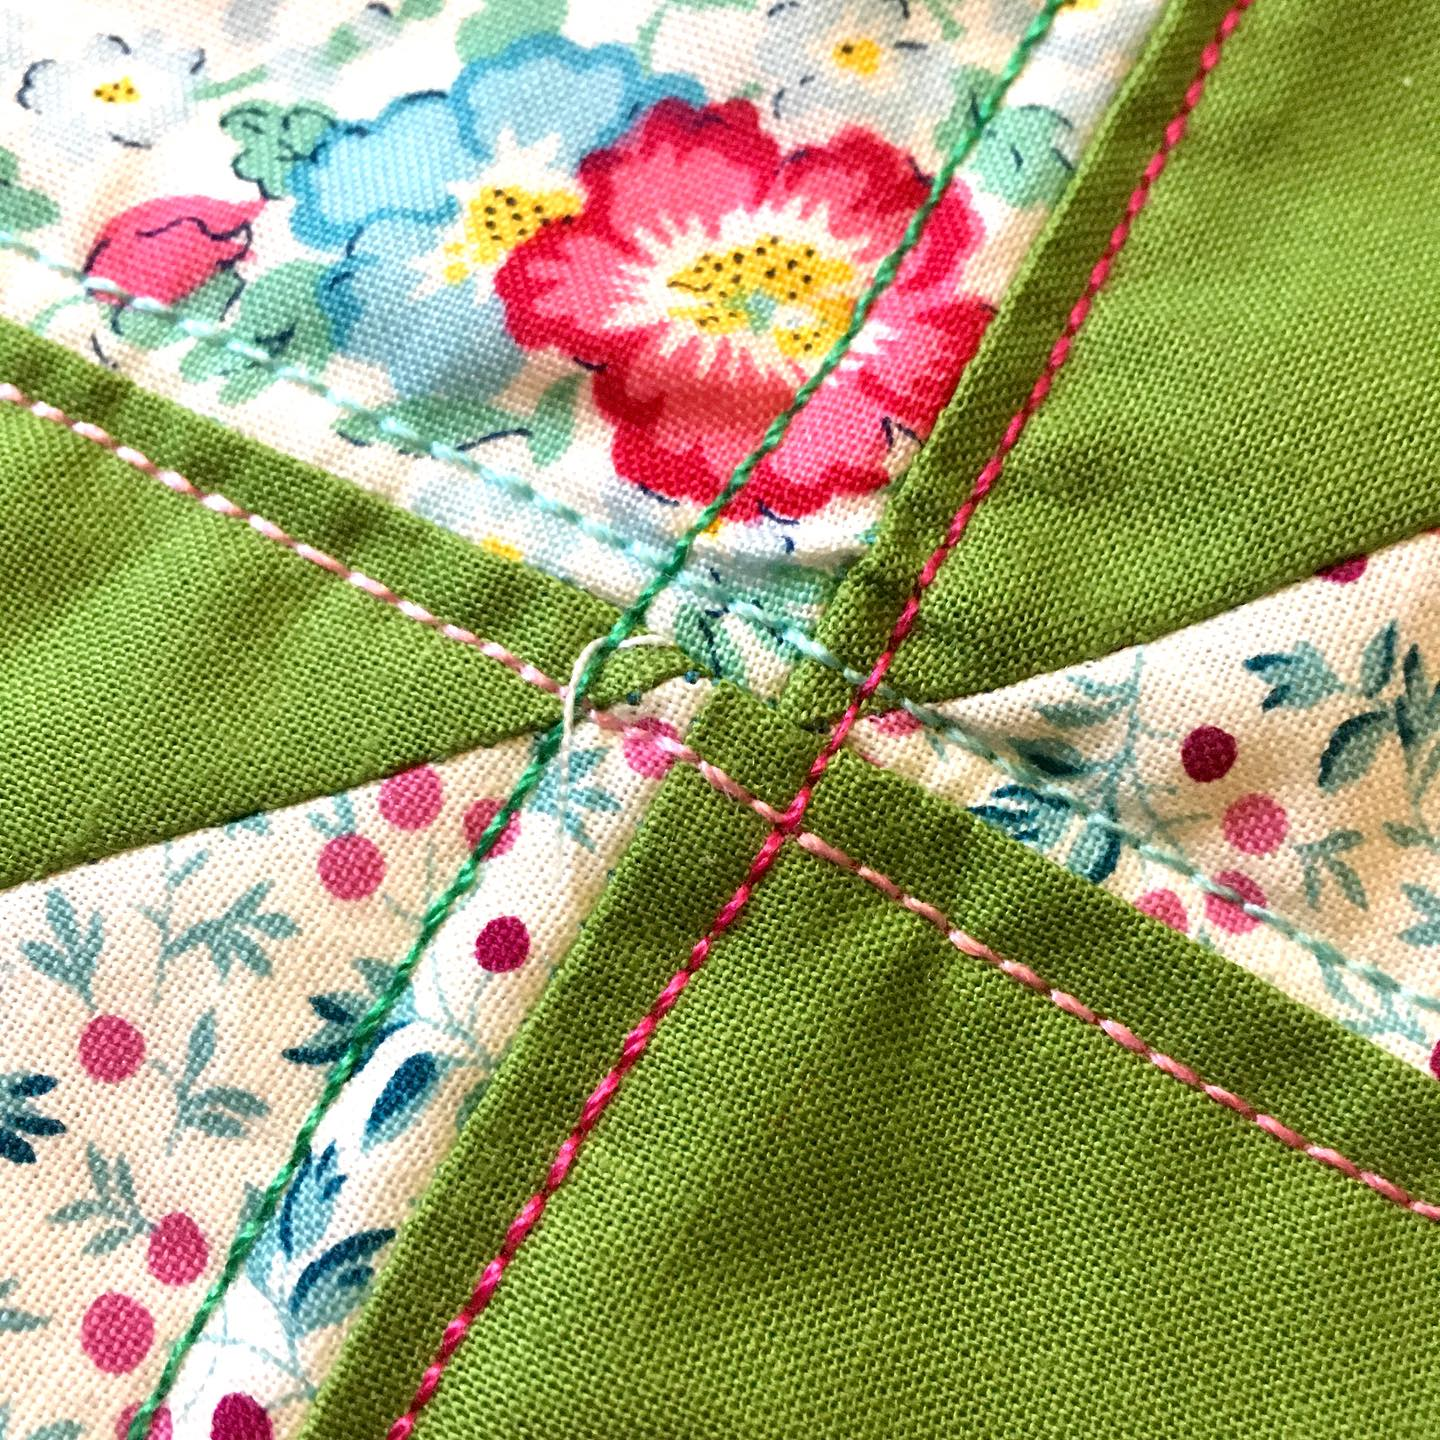
Detail of quilting
Online info about their robes –
“Pāṃsukūla Robe (Paṃsukūla Cīvara)
A Pāṃsukūla robe is a Buddhist monk’s robe made from discarded pieces of cloth collected from places such as refuse heaps, roadsides, cremation grounds, or other abandoned locations. The word “Pāṃsukūla” literally means “cast-off rags” or “discarded cloth.”
During the time of the Buddha, some monks would: Collect discarded cloth pieces, Wash and clean them, Sew them together, Dye them, And use them as their robes.
This practice helped cultivate: Simplicity, Contentment, Non-attachment to material possessions, Renunciation and detachment.
In the Buddhist ascetic practices known as Dhutaṅga, the Pāṃsukūlika Dhutaṅga refers to the practice of wearing only robes made from discarded cloth rather than accepting newly offered robes.
In summary: A Pāṃsukūla robe is a robe made from discarded cloth, symbolizing simplicity, humility, and freedom from attachment—qualities highly valued in Buddhist monastic life.”
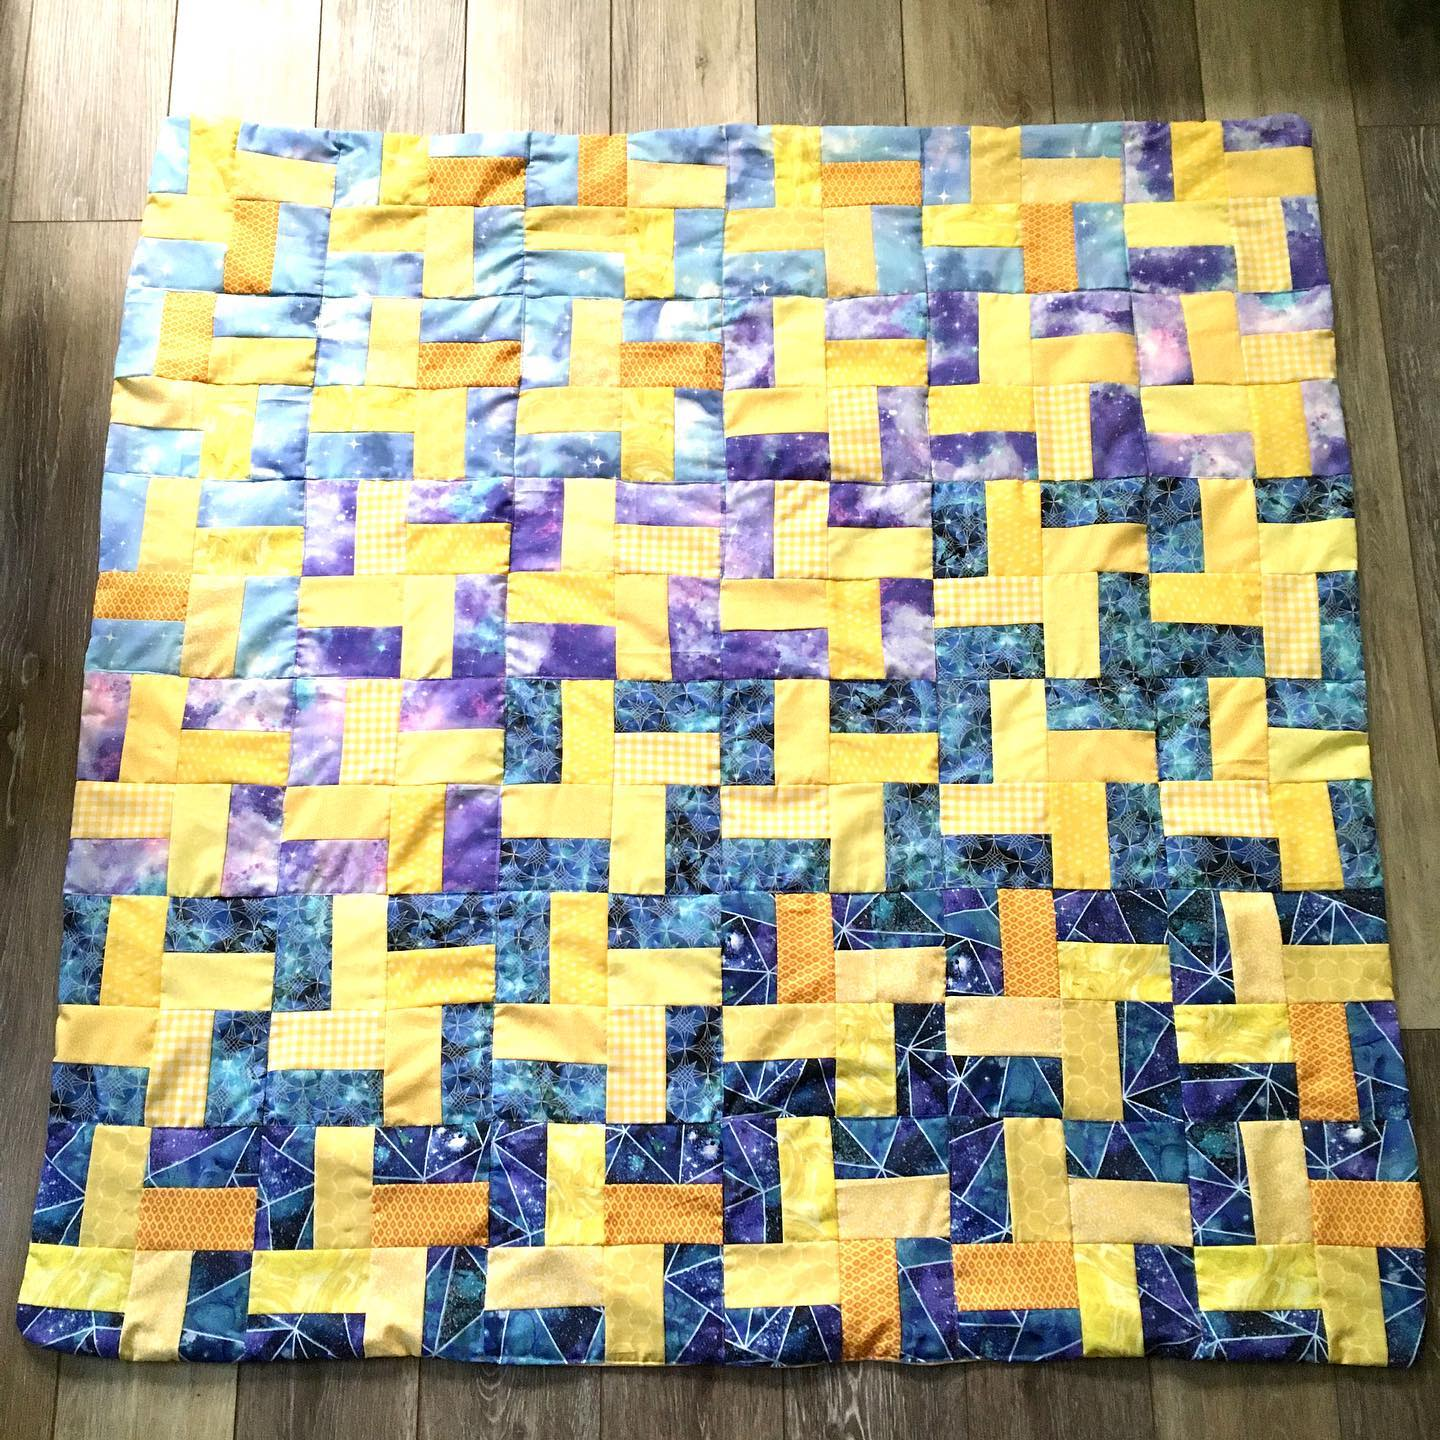
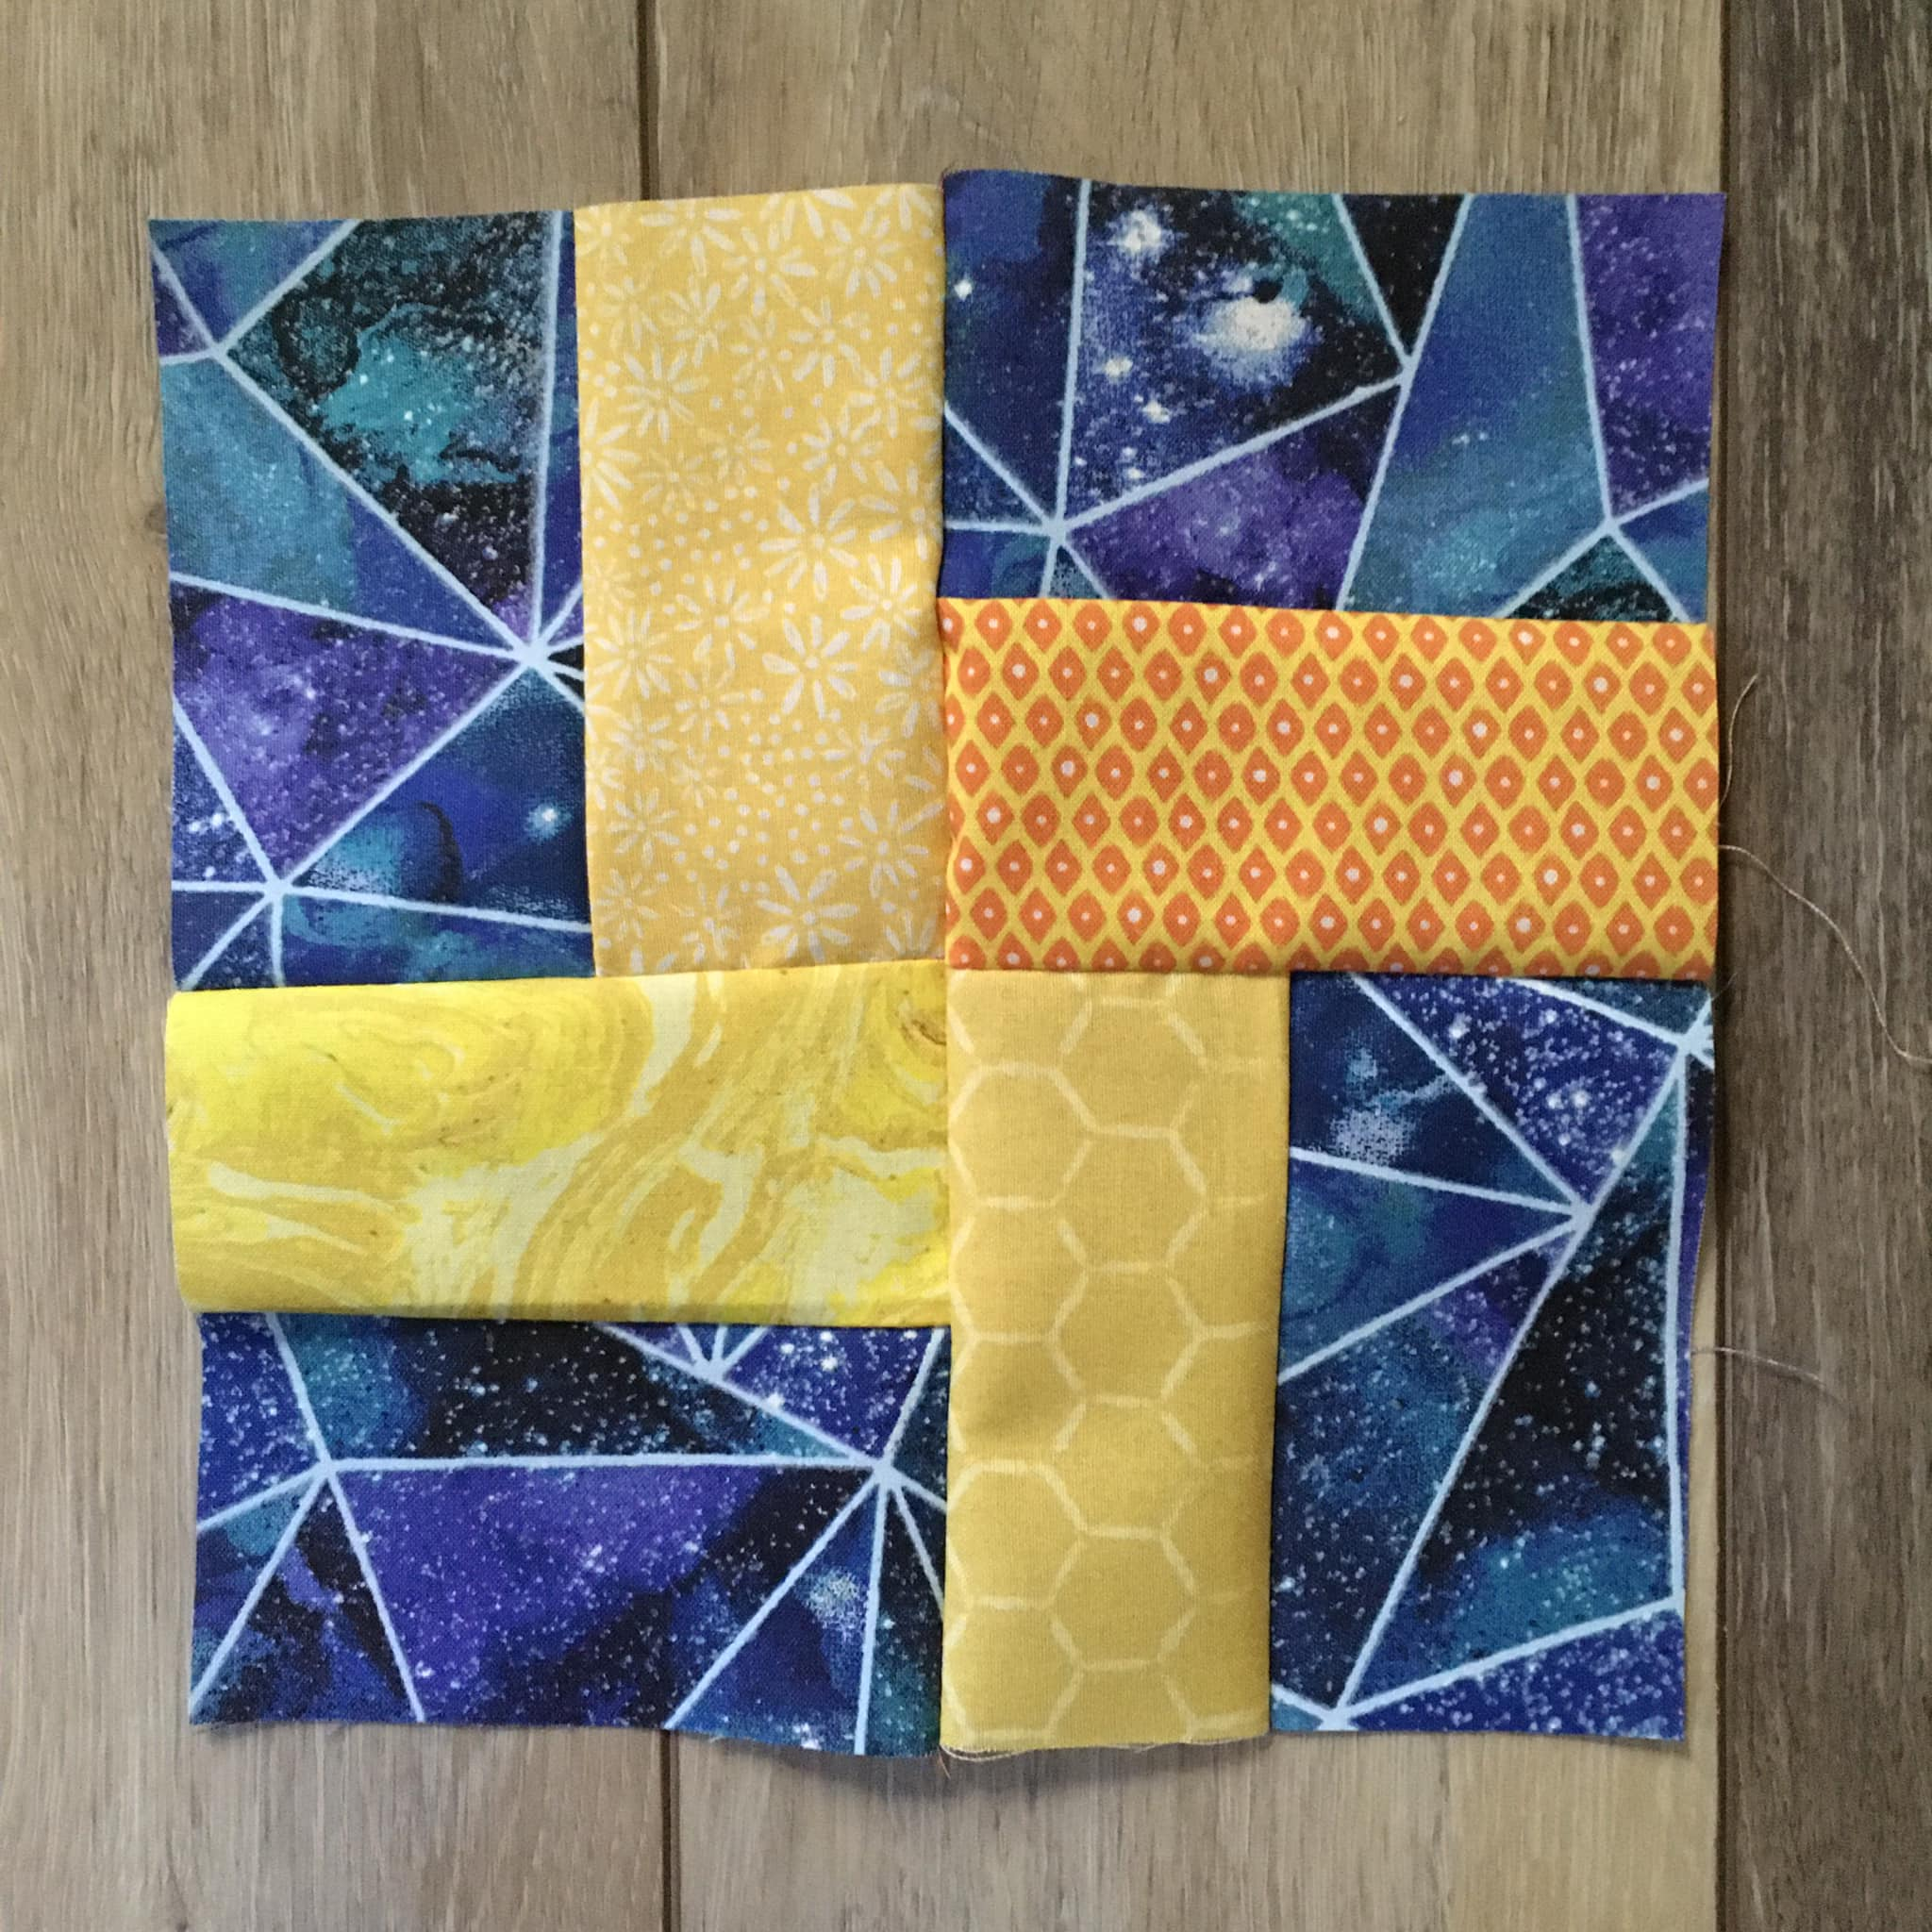
You can make a nice quilt out of just 9 fat quarters. Depending on the size you need you may want to add sashing. These examples are using the traditional quilting design known as “Disappearing 9-Patch”, which I’ll sometimes refer to as D9P here.
I trimmed these fat quarters (originally 18 inches by 21 inches) into 18” squares, then cut those into 9 squares that are 6” each.
The yellow at the top was the middle of all the 9 patches. I used the colors in order, and then rotated the first one that I started with to make them all different.
This is what it looks like with the 9 patches sewn together. There are 9 sets of 9-patches.
Then I cut the patches in half horizontally and diagonally, rearranged the units, and re-sewed them. These are now “disappearing 9-patches”, a traditional quilt block.
The colors that you want to dominate the design need to be in the corners of the original 9-patch. They remain uncut after the division to make it a disappearing 9 patch. The color in the middle of the design gets cut up the most – it becomes four small squares. So put the fabric that you like the least in the center, or the one that overwhelms the others. The remaining fabrics (they are on the sides, in the middles) become rectangles.
But after all that sewing, a lot of the fabric was in the seams, so the 9-patches weren’t big enough for an adult quilt. They would work fine for a baby quilt. So I added sashing.
Each completed D9P is 14.5” square, as sewn into this quilt. If I’d not included the sashing, the quilt would have been about 43” square, which is 3’7”.
I added “jelly roll” sashing (2.5” before sewing) and it became 51” square, which is 4’3”.
The first would be fine for a baby quilt, or maybe a lap quilt for someone in a wheelchair. The second works as a nap quilt, or for a couch /TV/ snuggle quilt. It is also good for taking on road trips.
With the following example I cut the 18”squares into four 8.5” squares. I’d intended them to be 9” but I had a problem. So I adapted. There are four disappearing 9-patch panels, sewn together. I didn’t want it to be a square so I added more fabric to the top and bottom.
The patches are 22” square, so the quilt is 44” (3’8”). The extra fabric at the top adds 14” to the length. (4’10”)
This used 9 fat quarters for the D9P. Four in brown, four in blue, and one neutral (for the center). I used (I think) four other fat quarters (two brown, two blue) with maybe 9” squares, with some leftover, for the top and bottom extensions.
****************************************
If I cut the fabric into four 9” squares, the finished D9P should be about 25” square. Three panels across would be about 73 inches (6’1”). Square, that would be very large. That would require 21 fat quarters, with some fabric left over.
If I arrange them two across by three down, it would measure 50” (4’2” across) by 73 inches (6’3”)
This means there are 6 D9 Patches, which comprise 54 pieces of fabric total. That requires 14 fat quarters (will have two 9” squares remaining)
If I have two 21-piece bundles of fat quarters, I can make three D9P quilts with this design.
Quilts don’t have to be hard. Take this for an example. It is 44 x 59 inches. This is a quilt top – the first part of making a quilt.
The strips are pre-cut. I bought them that way. That makes it easier. No reason to fool with cutting and measuring when you are first learning.
This is one “jelly roll” of 20 batik fabrics (2 in each color) and one roll of 20 cream strips. “Jelly roll” is one name for precut fabric that is usually 2.5 inches wide by 44 inches long. You can also buy “charm packs” which are 5 inch squares. There are others – “fat quarters” are generally 18×22 inches. I’d recommend waiting on those because you’ll need to get better at cutting fabric since they are too big to use by themselves. (Well, you could…but you’d have really large blocks of color.)
I’m a big fan of showing that art can be easy and still beautiful. There is zero reason to make it more complicated than necessary, especially when beginning. Look for precuts to start with.
I’ve been to independent shops that sell quilting supplies and they were pretty snotty about precuts. Beginning quilters have money too. If you don’t have what they need, they’ll never come back when they get better skills. So I bought these fabrics at a major craft store.
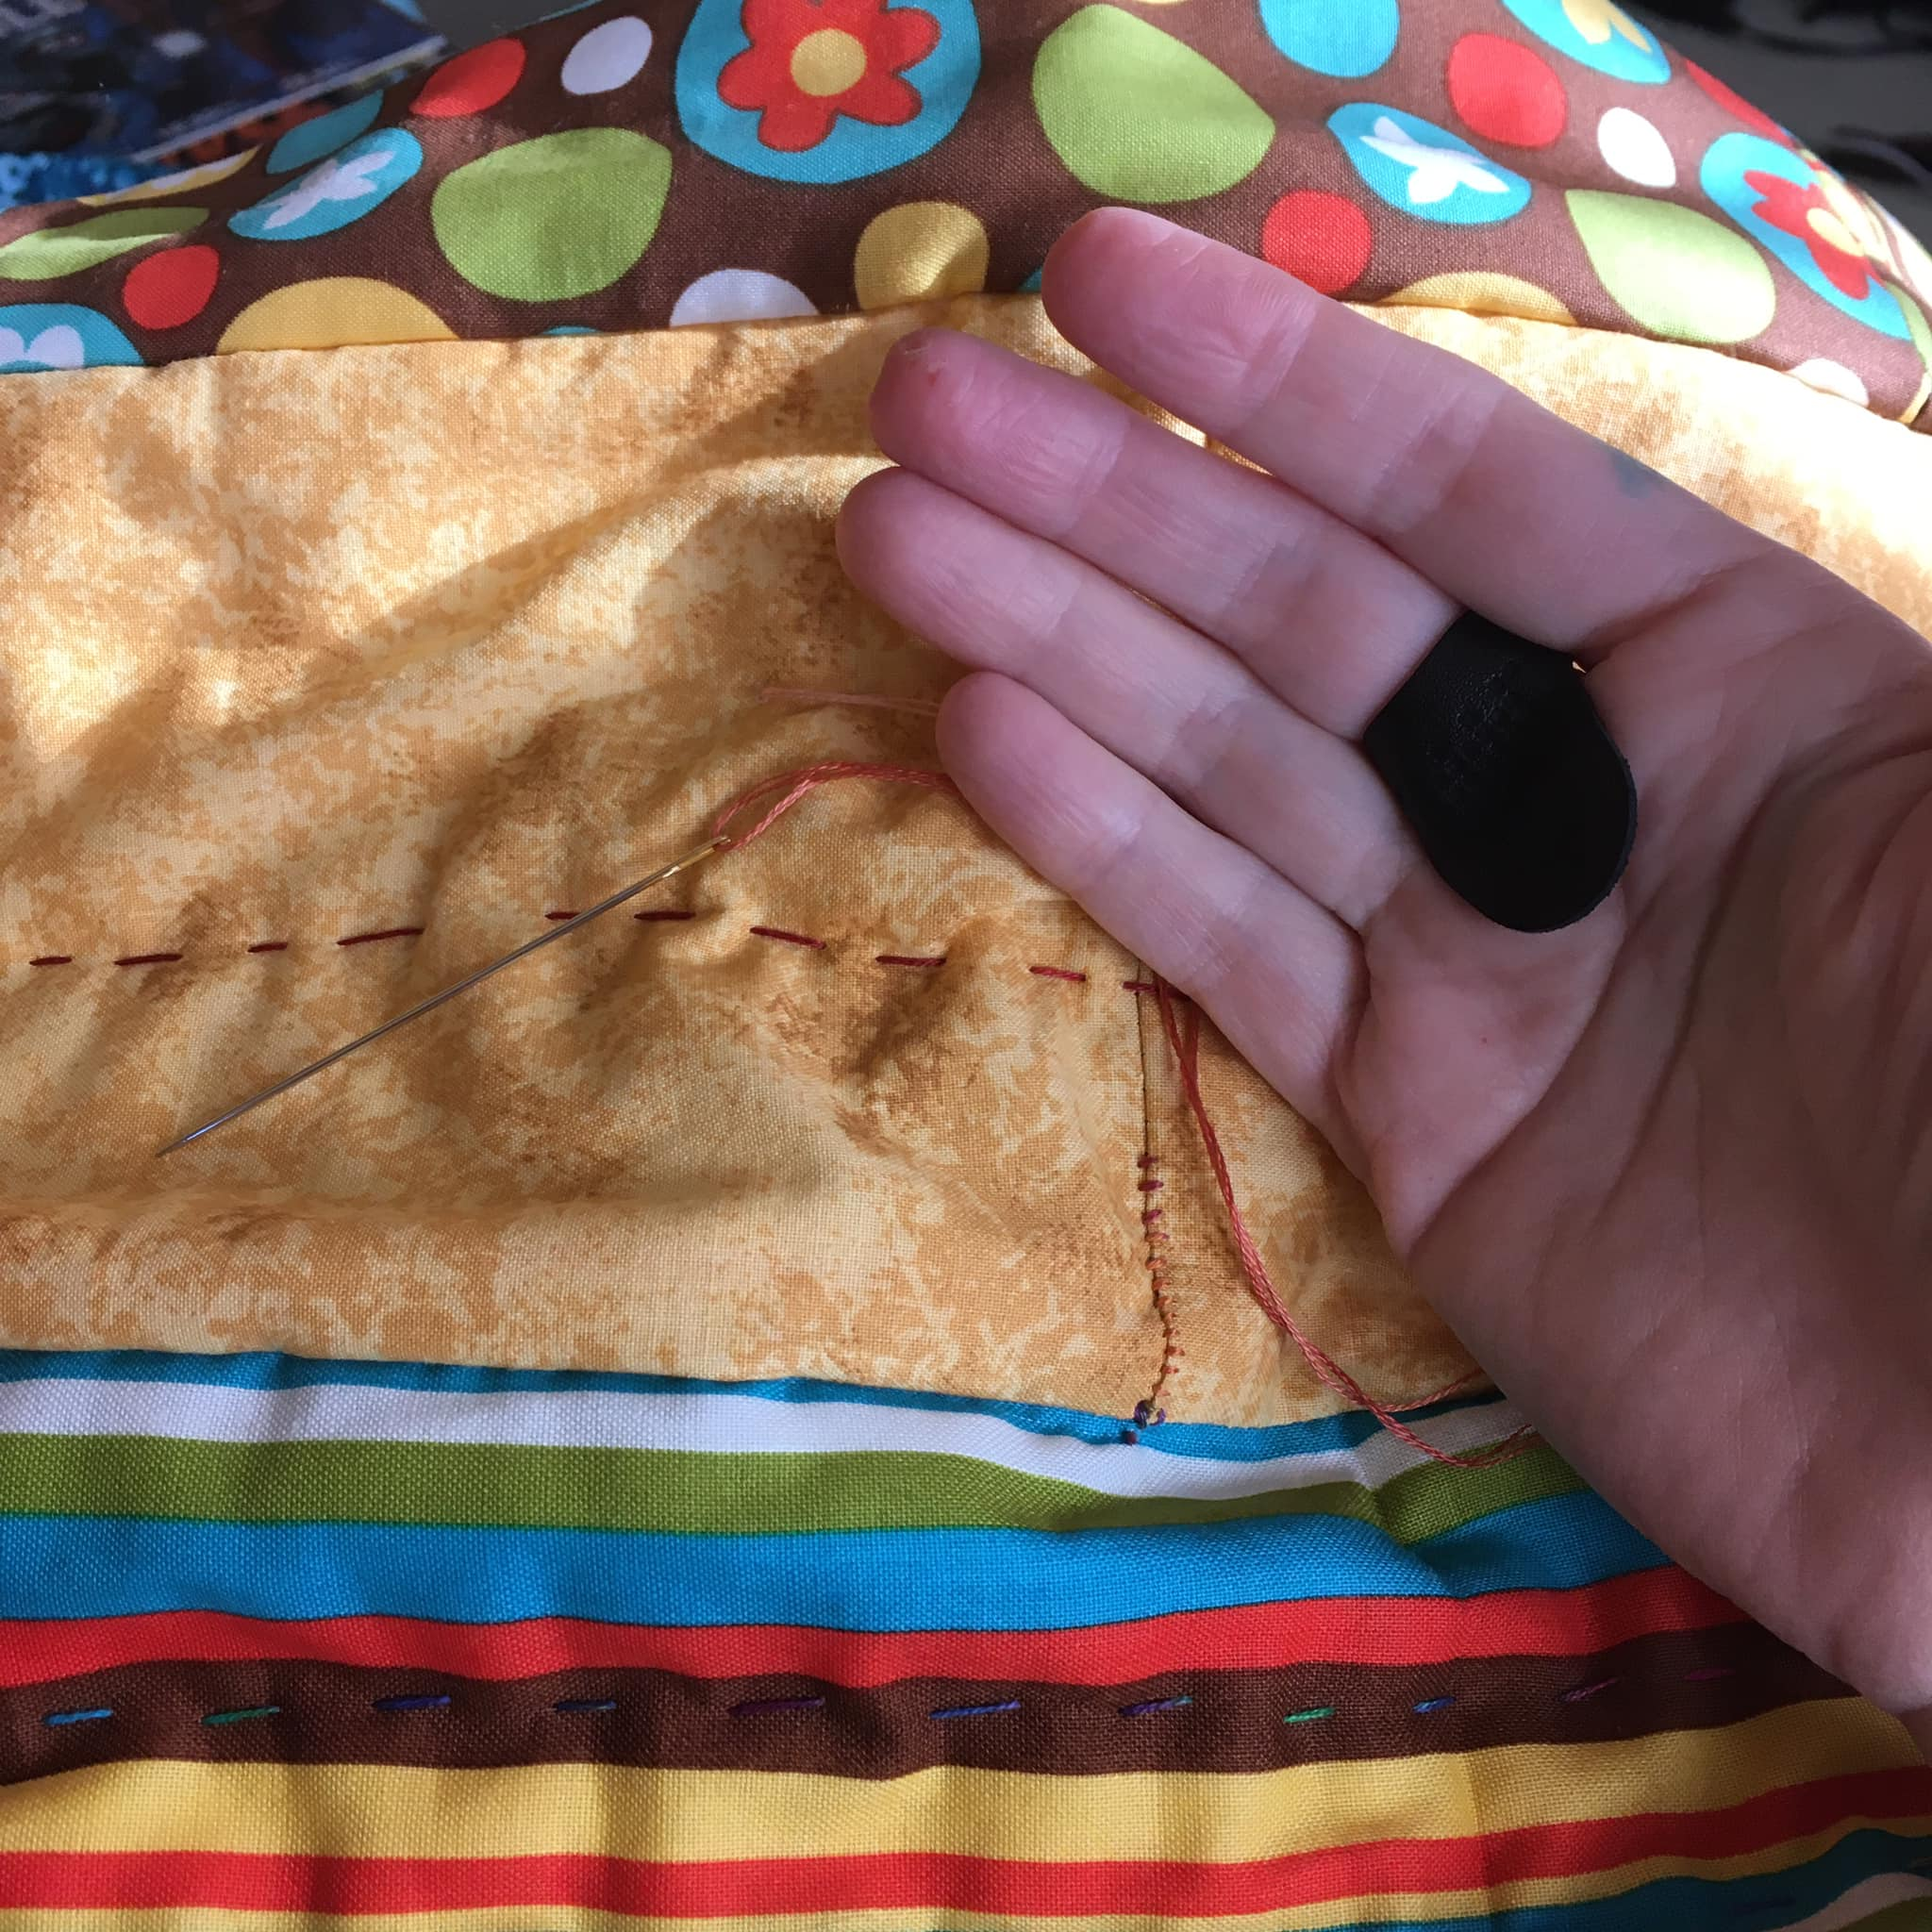
I’ve learned that I don’t even need to fuss with binding tape. I make a “quilt sandwich” with batting, backing, and the top (wrong side up) and sew the 3 together, leaving a gap about 15 inches wide at the bottom. Once sewn together, I clip the edges, turn the thing inside out and boom, the edges are tidy. Then I sew up the hole where I turned it, then quilt from the middle outward. I use the machine for all of this.
Curved quilting safety pins are essential to hold the layers together. You’ll need them at the quilt sandwich phase, then take them out when you turn the fabric, and use them again when you are quilting.
The patterns you sew for quilting can be easy. You don’t have to use a free-motion attachment on your machine – just get used to the idea of moving three layers of material around without getting them bunched up too much. One way of sewing is “stitching in the ditch” – which means sewing along the seams where two fabrics meet. Sometimes that is difficult for beginners, because there are several layers at that point. It is OK to use the seams as a guide for sewing – so sew ¼ inch away from the seams. How closely your quilting lines need to be depends on your batting – check what the tag or bag says. A general rule is that your lines need to be a minimum of 4 inches apart.
Start quilting in the middle of your quilt, and work outwards. This helps to keep the material from bunching up. It will still happen – just not as much. Puckers are part of the process – and they will become nearly invisible after you wash the quilt.
Don’t do like I did and sew all around the edge after you’ve turned it – and then start quilting. The thing will pucker and shift in unhappy ways. Start in the middle and quilt moving out to the edges. Then, if you want, you can sew all around the edges.
Making the edges curved looks nicer than square. You can’t see it on the top photo because it is a quilt top. I’m talking about when you sew the quilt sandwich together. Curve the edges as you sew and see what you think. To me, it makes the quilt look more friendly.
There are things I do to make the process easier. They aren’t exactly short-cuts, but they are efficient. Maybe even lazy.
I don’t iron. Somehow the idea of pulling out the iron and the ironing board makes me want to not even start. So I don’t. You can finger-press the seams to make them lay flat if you like.
Buy cotton fabric. Don’t use polyester or other synthetic fabrics. Cotton just works better. Better materials make better finished pieces.
It is totally OK to cut up old clothing or bedding if you need fabric and don’t have a lot of money. Also, you can often find material in thrift and secondhand stores. You also might have an art material thrift shop in your town – ask around. Where I live, there are two!
If you are buying fabric that you need to cut, look into getting a rotary cutter. They are a little tricky to learn how to use to start with, but worth it. You’ll need a mat to cut on and a ruler. For quilting, there are special see-through rulers that make it easier.
Don’t buy really expensive fabric for your first quilt. You won’t want to use it. Get something that you like, but don’t love. That way you won’t be sad when it turns out differently than you imagined. This is a new skill for you, and has a learning curve. Be patient and set yourself up for success by choosing forgiving fabric.
Don’t prewash the fabric. Prewashing would make a big mess of precuts, and it makes the fabric wrinkle. It is easier if you aren’t going to iron to skip this part. When you finish your quilt, then wash it and all the fabric will pucker in a nice way that makes the quilt look better.
I don’t pin my fabrics together. I just can’t be bothered. I hold them together and work slowly and carefully as I sew. The time spent pinning is spent sewing instead. And this also means that I skip having to pick all the pins out and forgetting several.
Patterns to consider – Four Patch, Nine Patch, and Disappearing Nine-Patch. Look online to see examples. You can also make a “crazy quilt” with lots of random fabrics however you like.
Disappearing Nine Patch is a very nice pattern to give you a lot of interesting fabric arrangement with not a lot of fuss. It looks like you did a bunch of piecing. You make a nine patch panel, and then cut it horizontally and vertically. Move the resulting squares around until you get an interesting design and resew. You can get different effects by planning where you place the fabrics at the beginning. Since the corners don’t get cut, consider putting the fabrics you like the most there. The center is cut into four pieces – so make it the busy fabric. The middles are going to be rectangles, so experiment with making them all the same neutral fabric. You can experiment using colored paper and tape first if you like.
You can do all of this using a regular sewing machine. No reason to hand sew or quilt unless you really want to. And no reason to buy a fancy computerized machine either. Get one that you can open up and clean out and oil by yourself. That will save you a lot of frustration when (not if) your machine starts to sound clunky. You can clean and oil it yourself rather than losing time taking it to the shop. Buy actual sewing machine oil with a long spout. It is smell and stain free, and easy to get into the spots it is needed.
To make my life easier, I bought the entire bolt of cream colored muslin at the fabric store. It is 120 inches wide (it is wrapped on the bolt folded over 4 times) so I have enough to work with for a long time. To me, the back doesn’t matter much. Some people like to coordinate front and back, or even make a second quilt top from the scraps from making the first one and use it as the back.
I also like buying a king-size bag of batting. It is 120 inches square, which is enough for 4 quilts that are 60 inches square. If you make smaller quilts, you can get even more. Save the larger scraps of batting – you can Frankenstein them together on your machine by butting them together and using the zig-zag stitch. Or scraps can be used if you are making a bag or clothing that needs some thickness. Not all batting is the same – some are easier to work with than others. Find what you like and stick with it.
YouTube quilters I like:
Just Get it Done Quilts
Melanie Ham
Missouri Star Quilt Company
April Story
Probably the most important instruction is to have fun. This is supposed to be a hobby – not a job. Enjoy doing it. There’s no reason to make it stressful. Sometimes I’ve made a quilt top and I just don’t want to finish it into a quilt. That’s OK. It can wait. I move on to another quilt top that I want to make.
What I’m doing is called sketching, or urban sketching. I’d love to talk with you about it but then I’d miss out on time to sketch, so I made this handout for you. Thanks for understanding.
I use watercolor pencils. I sketch dry and add water later. There are other ways to use watercolor pencils – this is just the way I like to use them. You can see the finished sketch @betsybeadhead
Yes, I am an artist. Anybody is if they make art. Being creative is part of being a human being. I also work a full-time job. I don’t get paid to be an artist. I still make art, because it makes me happy.
You may say “I can’t even draw a straight line.” That is not an excuse to not make art. Get a ruler. Or notice that how little in nature is composed of straight lines. Straight lines are boring anyway.
Nobody’s art looks great at the beginning. It takes years of practice to be good at it. That is not a reason to not make art. If you want to get better at anything, you have to practice it. Making art is just like learning how to play the piano. Make a “play date” with yourself – schedule time to make art.
You can get books from the library (subjects: sketching, urban sketching, art journaling) and learn how to do this. You can also take a class for free through the Nashville library system. You can get a free library card even if you don’t live in Davidson County. You don’t need a card to attend a class.
The fact that you are interested in what I’m doing means you too are an artist. Go make art!
Don’t worry about it. You can’t do it wrong. Whatever you want to do is correct. This is an excuse to play and express yourself in a new way. Nobody has to see it, so you don’t have to worry about it looking “right”. You don’t have to be an artist to enjoy art journaling.
Remember “A picture is worth a thousand words”? You can often express yourself in ways you’d never have words for by doodling, scribbling, or splashing paint on the page.
Cut and paste is a totally legitimate form of expression. I use magazine cut-outs all the time.
This doesn’t have to be an expensive hobby. Often it is best to start out with a simple inexpensive journal that you don’t especially love. If it is too precious, you won’t feel free to cut into it or paint on it.
It is good to pick a journal that you enjoy holding and is portable if you are going to sketch away from home. I like one that has a spiral spine so I can work on just one side at a time. Good paper matters – you want something that will hold up to what materials you are using. If you are using wet mediums you’ll want to use thicker paper so it won’t warp.
If you are going to be gluing things into your journal, go ahead and cut out every 5th page before you even start. This gives the journal room to absorb the extra bulk without making it splay open or breaking the spine.
You can combine scrapbooking, journaling, and sketching. There are no limits to this art form. You can glue in concert tickets or menus from a memorable evening. You can take photos and print them out and glue them in.
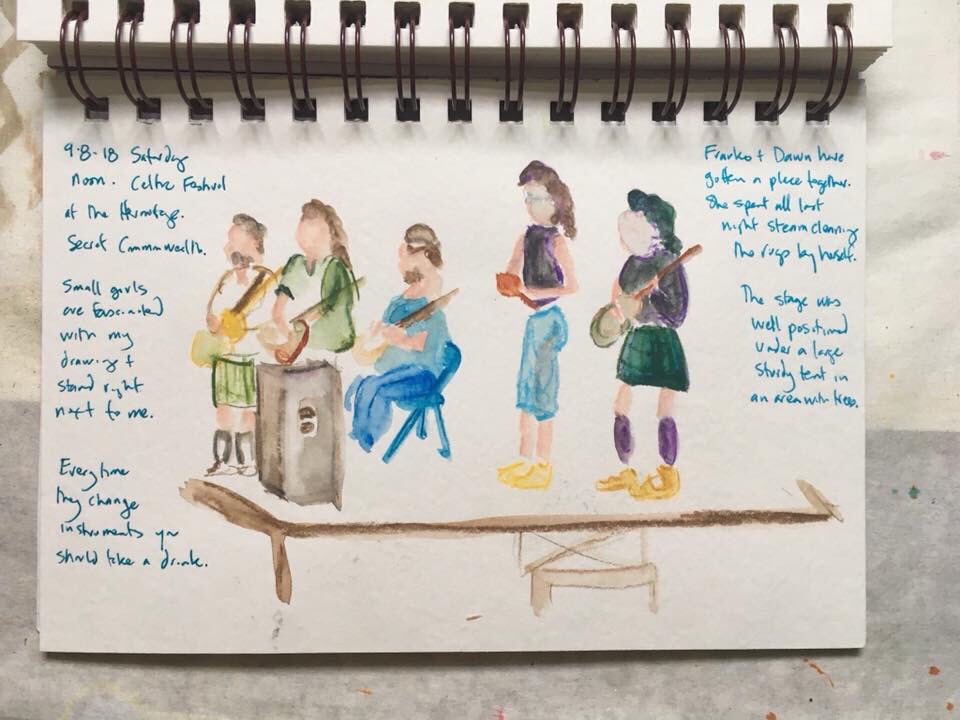
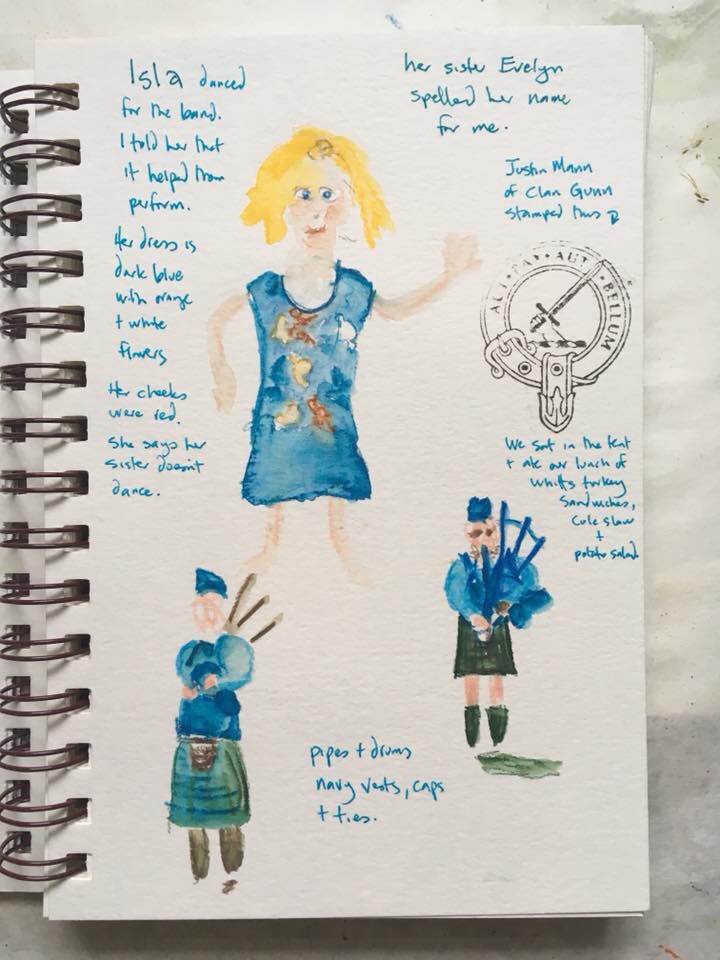
If sketching people who are moving (like musicians or workers), watch them for about 5 minutes. They will have a ‘default” position they will return to. Roughly sketch that position. When they move out, sketch what is around them. When they return, add more to that part.
Most people won’t even realize you are sketching them because they are so distracted by what they are doing. But try to be polite and discrete about it anyway. People are best to sketch when they are being themselves.
Sketching isn’t about making a photograph. You’ll need to leave some things out. The goal is to capture an impression – not to make a perfect replica of what was there.
Leave space in your sketch to write in notes. Things I like to include – day, time, how long the sketch took, location, what was going on (why was I there – was there a special event?) and weather conditions if I am outside. Consider using an interesting ink color.
There are many different materials to sketch with. I like using watercolor pencils. They are portable and easy to work with in the field. I add water using a small brush later.
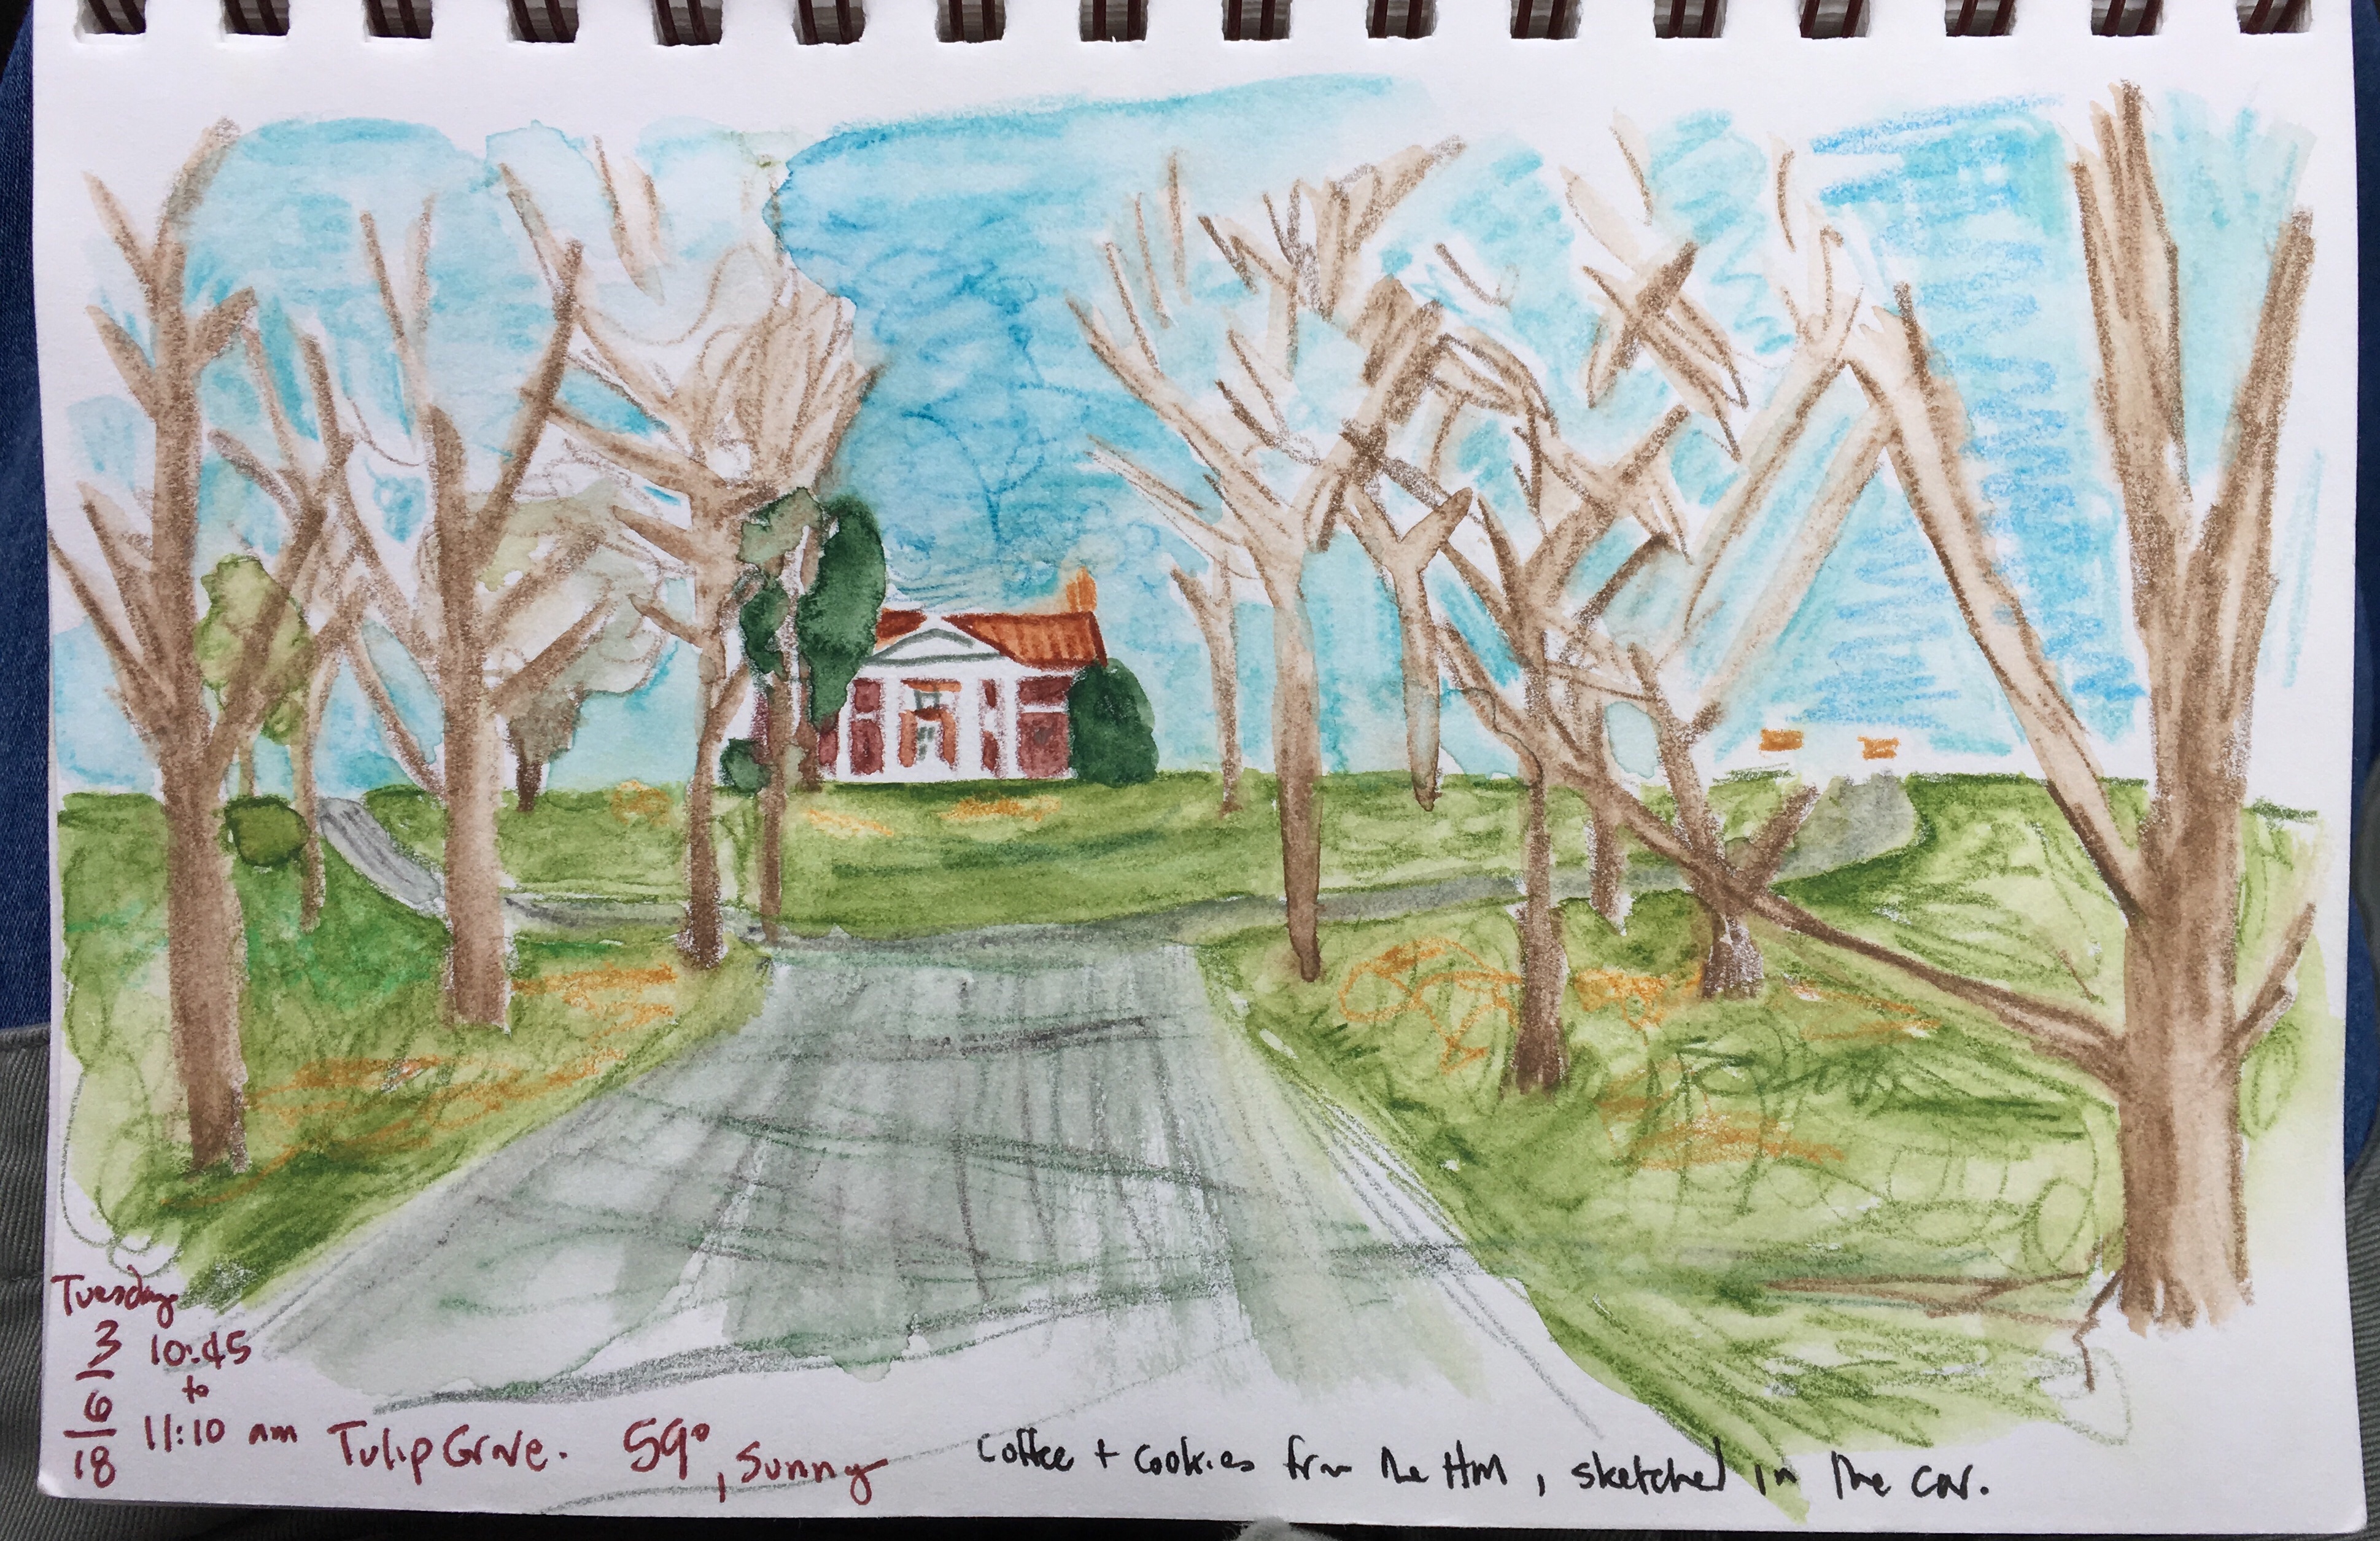
Tulip Grove, 10:45 to 11:10. Tuesday morning before work. I had to go and get a ticket first to visit this part of the Hermitage property. And I also bought a coffee and cookies.


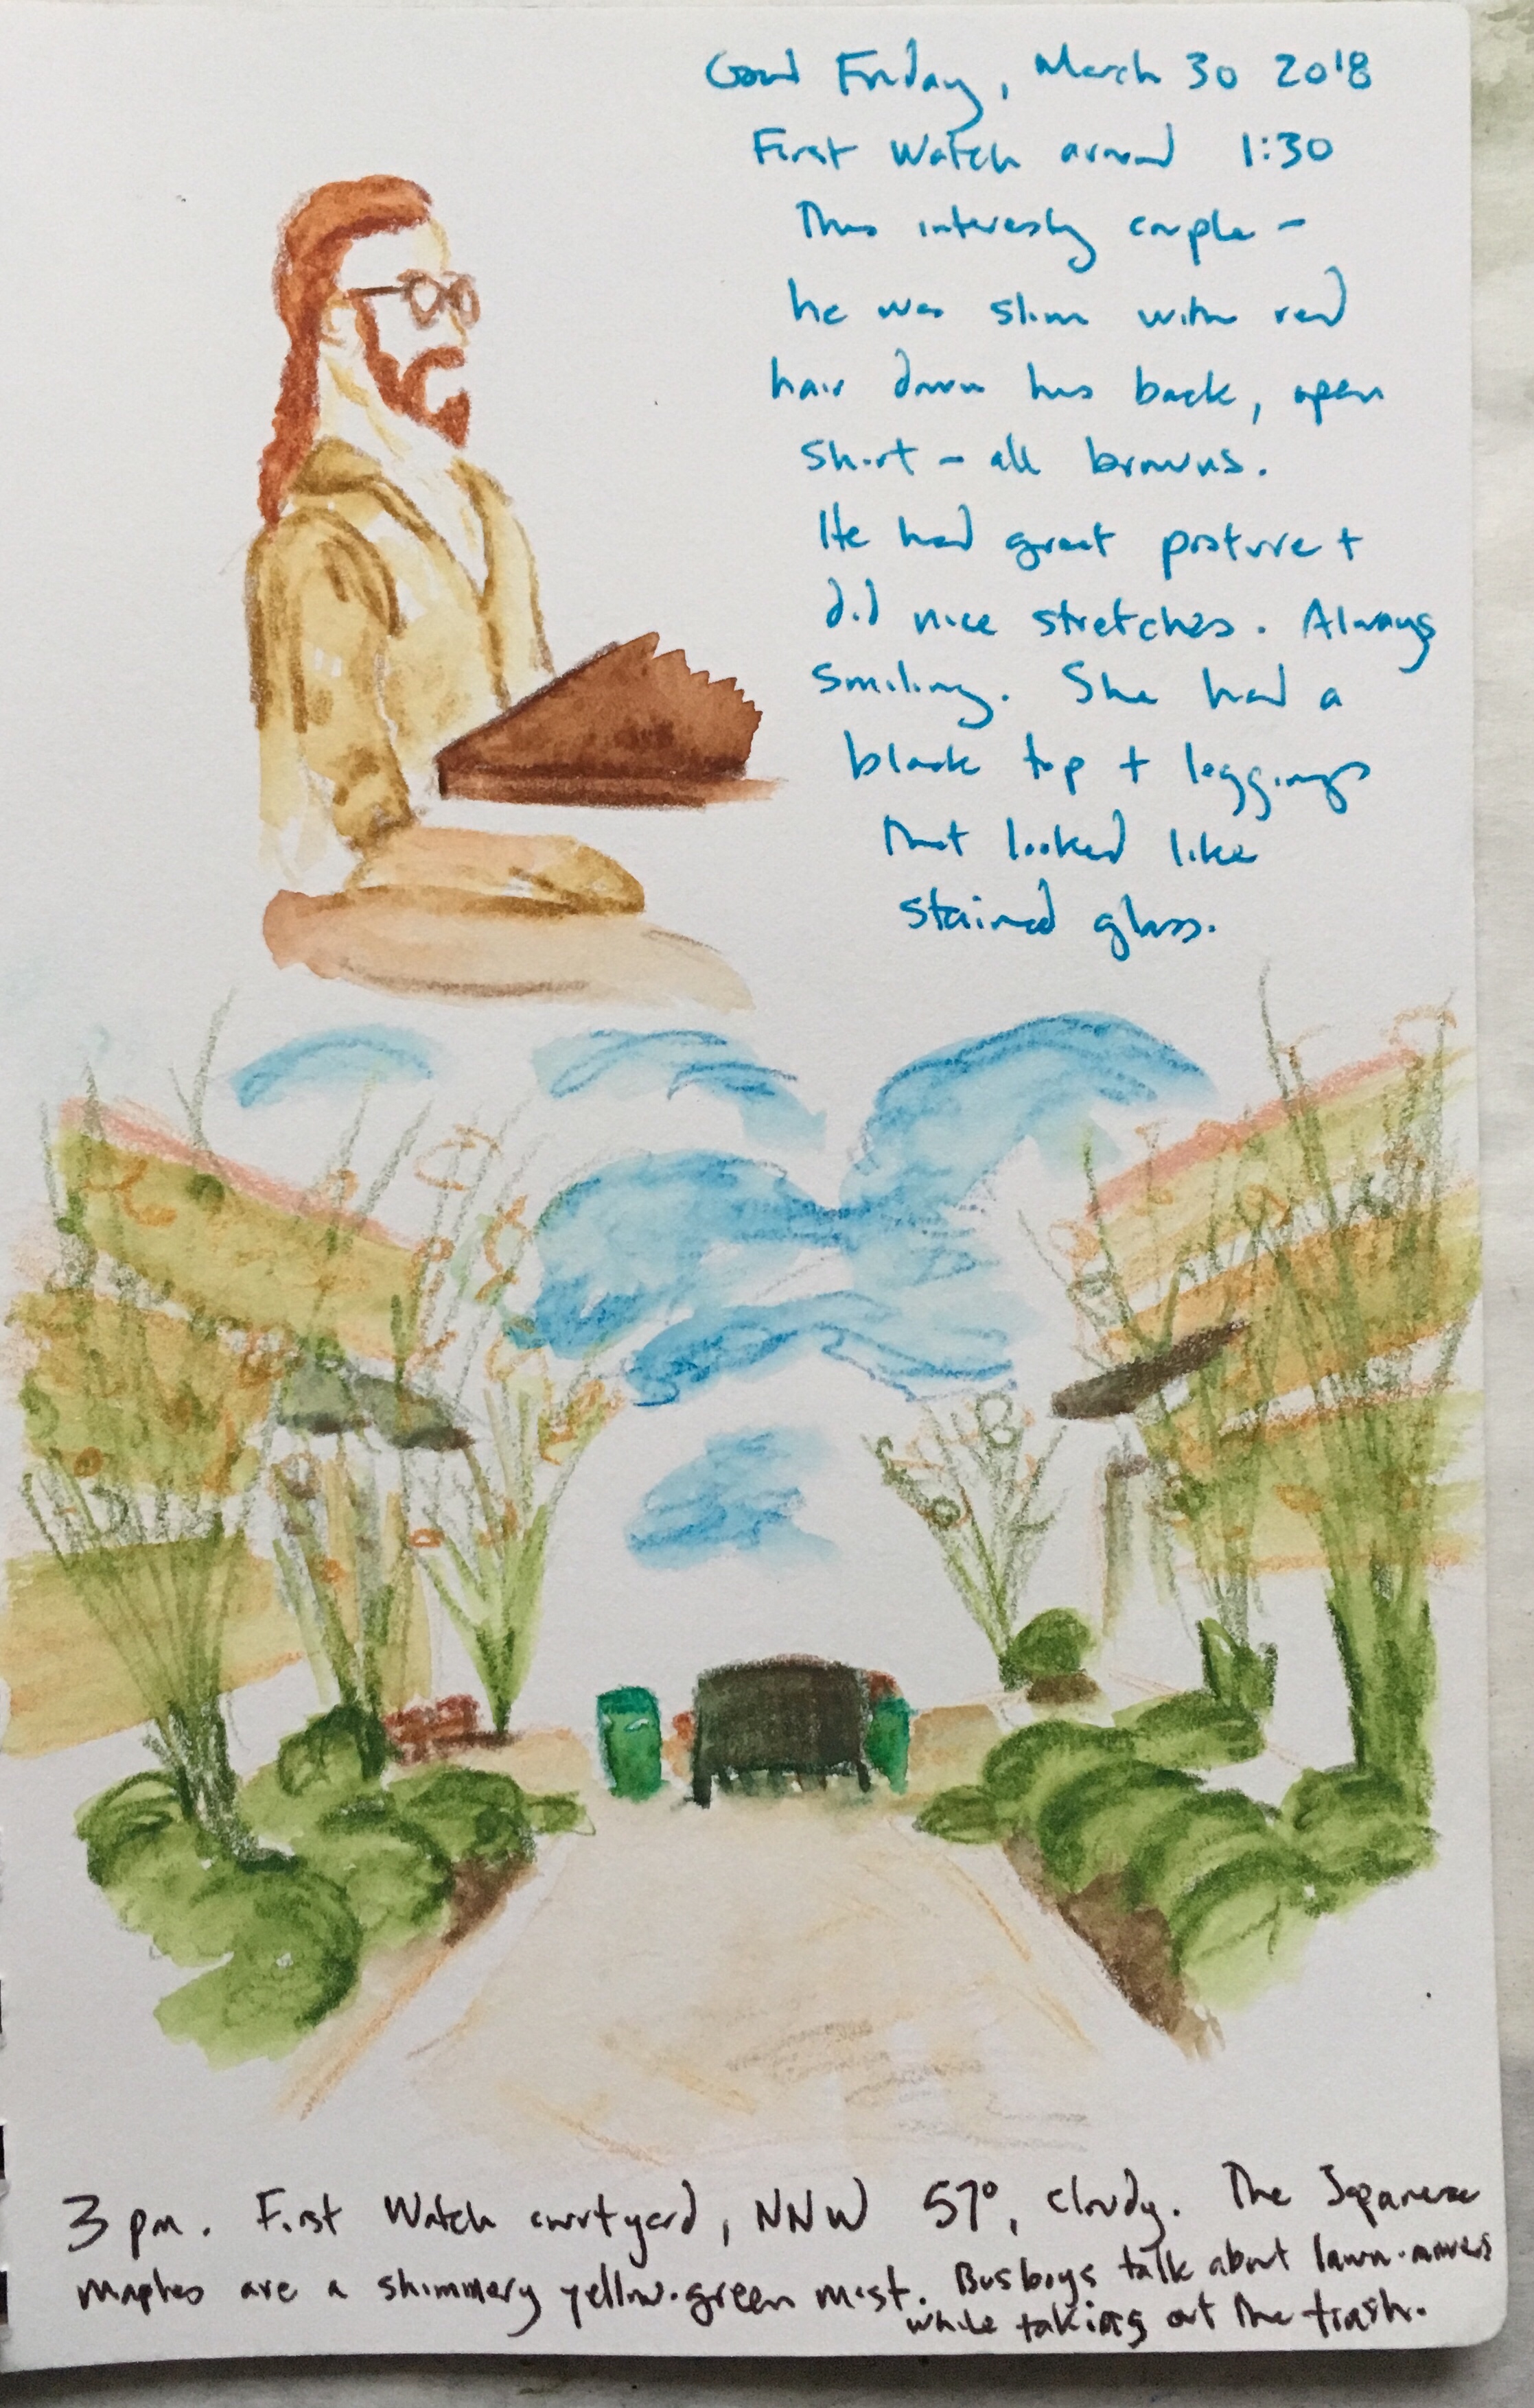 Good Friday, 3/30/18. Afternoon at First Watch.
You must be logged in to post a comment.