How to self bind a quilt
This is the easiest way I know to bind a quilt.
No faffing about with bias tape or wondering what color to use as a frame for the quilt top. All you see is the quilt.
This is what it looks like completed.

Lay out your quilt sandwich like this –
quilt top right side down
backing, right side up
batting
You can also do this in reverse, with the batting on top if you like. Just make certain that the quilt top and back are right sides together.
I use canned vegetables to hold the layers as I lay out the pieces.

Pin thoroughly. I use curved quilting pins.

Sew all around the edges, leaving a gap at the bottom for turning. I usually make it about 18 inches long. Backstitch the beginning and end of where you leave the turning gap. I find using a walking foot at this point is very helpful.

Here is a photo of the turning gap. Note how the layers are arranged. I often use muslin for the backing so I don’t have to think about what to use. Plus, there is no “right” or “wrong” side to it.

Lay the quilt on the floor and trim around the edges of the quilt about ½ inch. Be certain to trim the corners at an angle.
Remove the quilting pins.
Turn the quilt inside out, and use your finger or a tool (like a knitting needle) to turn the corners all the way out. You can finger-press the seams to make them flatter.
Lay the quilt back down on the floor and repin it with quilting pins.
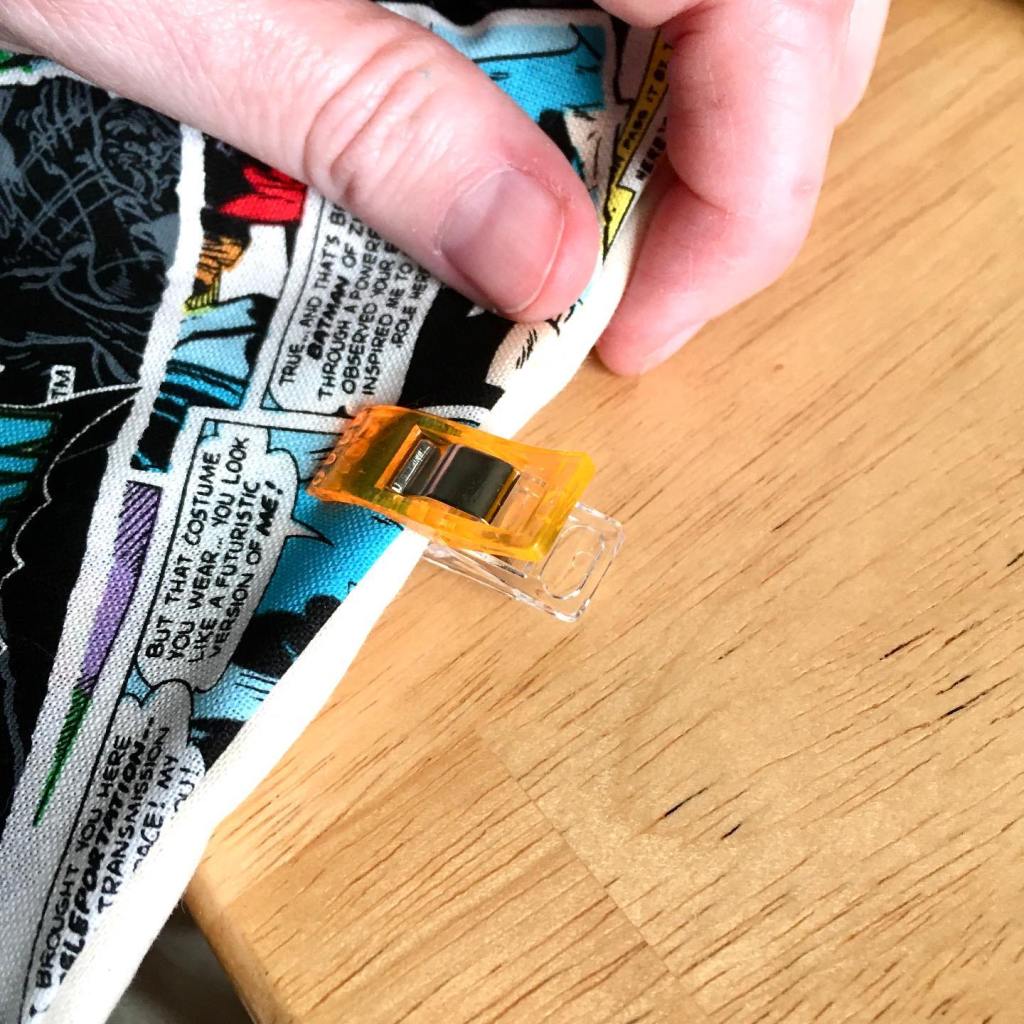
Fold in the turning gap. Use clips to hold the turning gap closed. Sew it closed.

Quilt however you like.
I suggest you first try this out with some scrap pieces to learn how to do this.
You must be logged in to post a comment.